240TB NAS Build: Part 1
That moment when 128TB isn't enough
Like a decent number of techies these days, I have a NAS. I built my first one in 2011 using an NZXT H2 case and eight 1.5TB Seagate hard drives, no drive controller or expander, and a copy of Windows 7. Without knowing pretty much anything about RAID, I just ran the drives as regular NTFS storage. This served me well until I ran out of space a few years later. These drives were then upgraded to twelve 3TB drives and then, after the Seagate fiasco, twelve Western Digital 4TB drives to yield 36TB and 48TB respectively and I ran them in RAID 6 eventually changing to RAID 5 with a hot spare. Over time even this filled up to capacity.
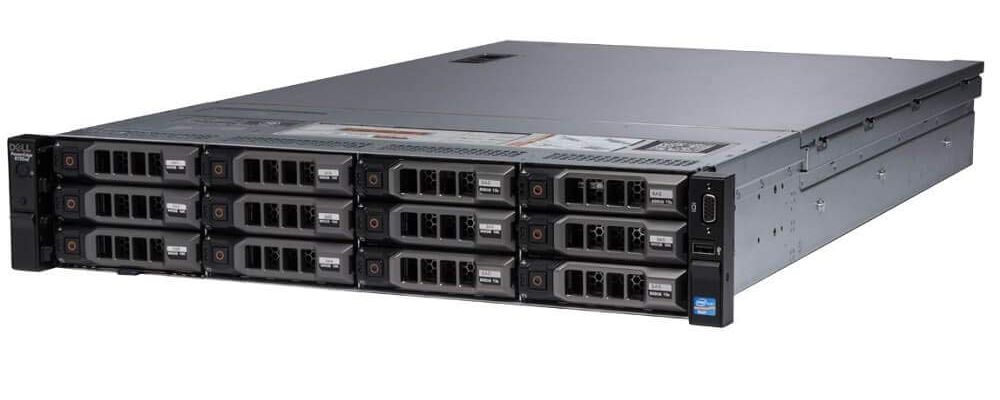
 Not actually mine, this is from Google
Building a digital archive like this has been somewhere between a hobby and a passion of mine for the last fifteen years. I won’t get into what I’m storing or how I’m acquiring it, but needless to say the archive has been steadily growing over time. Call me a data hoarder, you’d be 100% correct by the way, but I’ve never liked the idea of deleting something unless it’s an old/outdated version of something like a half-finished document that I finished and saved on another drive, computer, etc. In truth, back when I was young and everyone feared the Y2K bug, gaming was my reason for running out of drive space. If I had the option to install a game so that I didn’t have to use the CD and endure spin up and load times (hey I was a kid, I was as impatient as the next) or, as eventually became the case, read errors due to a scratched disc, I did.
In 2002 I learned about Daemon Tools and disc imaging. This solved all my problems with scratched discs because now they could be preserved on my hard drive, though as you would expect it did create one new problem: disk space. Yep, now for almost every game or program I bought not only did the program/game itself take up its install space, the disc image would eat up to another 700MB (much larger when DVD’s replaced multi-CD installations). I later used UltraISO to create and mount my disc ISOs but my ever present need for disk space remained. Using multiple hard drives (and larger ones) always worked for a few years until larger capacity drives got released, but even that caused me to hit a bit of a wall because I could only fit so many drives in my machine without getting creative. Since I was in college during these times and frequently moving my setup in and out of a dorm room I wasn’t comfortable mounting drives using zip ties or something equally as janky. What’s worse? A little past the halfway point in my university academic career I was introduced to the magic of DC++. Cue the creation of a monster in the form of a data hoarder.
1TB drives were the sweet spot for high capacity hard drives in 2010 and being able to shove 4TB of storage in my desktop at the time (Antec Sonata case) probably earned me some serious bragging rights in some corner of the Interwebs, but as I said, DC++ turned me into a data hoarding monster. Now in addition to my already sizeable ISO collection which really was formed from 100% legitimate purchases, I also had an alternative to stacks of DVDs and Blurays whether they be in cases or disc binders. And when you’ve got to lug your entire life around every few months for on-campus life, the less you have to carry the better. I already move my desktop, being able to move several more binders worth of data for a little monetary investment but no increase in size or weight? That was a no brainer.
Last paragraph of rambling, I promise. So what started out as an experiment in practicality became an adventure in data hoarding. Now I had a media collection that I could watch at my leisure and I didn’t have to fuss over what DVDs were in my current possession or back home. I also managed to locate a few of my college textbooks on the network and anyone that’s done the same should immediately remember how nice it is to not have that particular financial burden. But I was hooked. And over the following few years not having to be at the mercy of network television, paying extra for on-demand, worrying about whether streaming services would still have what I wished to watch based on whatever contract they had with whomever, or even just filling bookcases to capacity with DVD/Blu-ray cases, it was quite nice only having to manage free hard drive space.
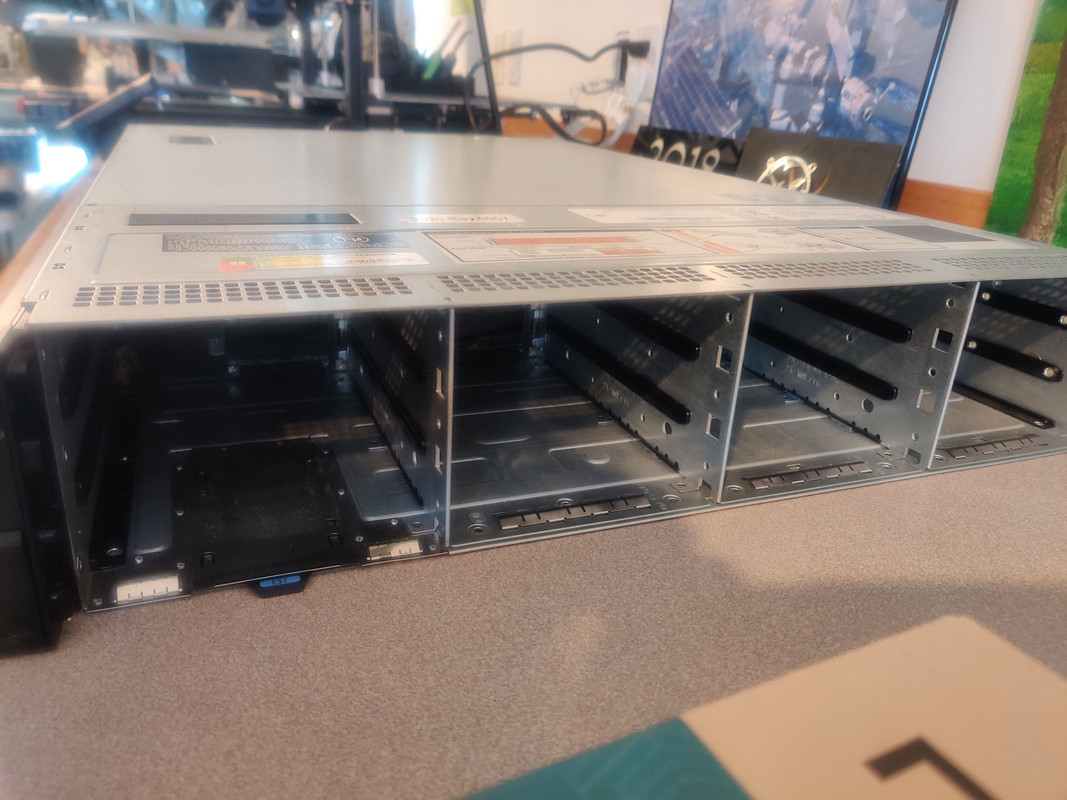
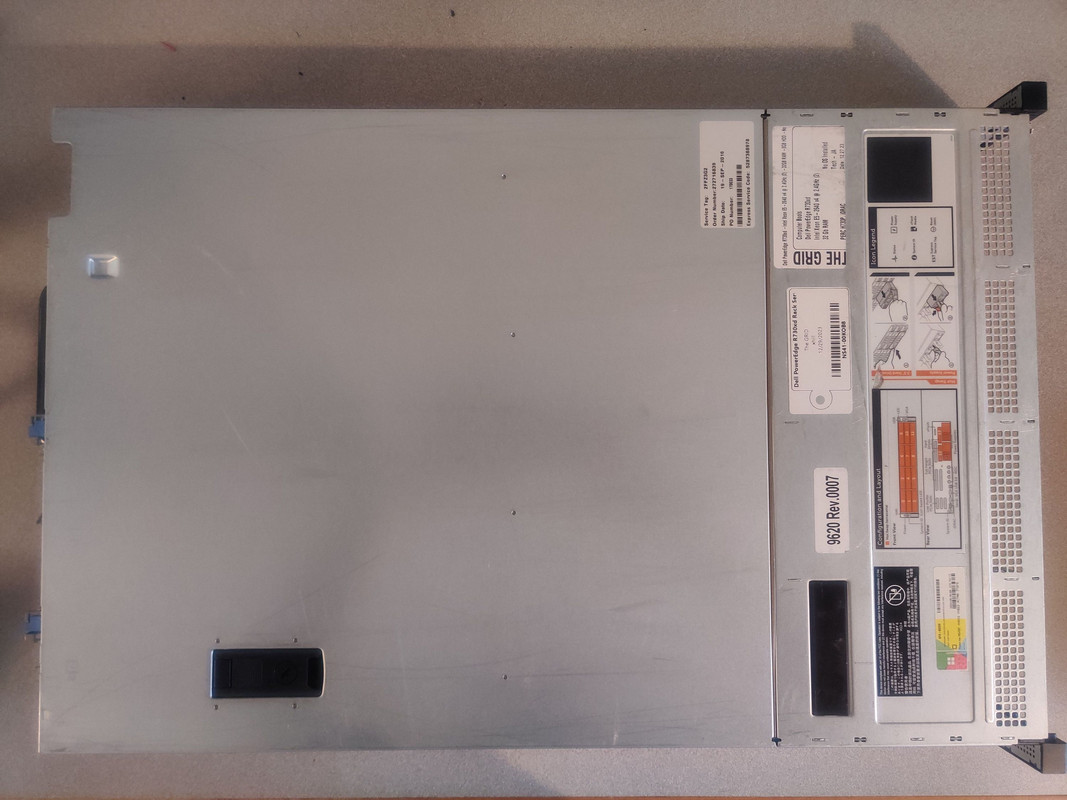
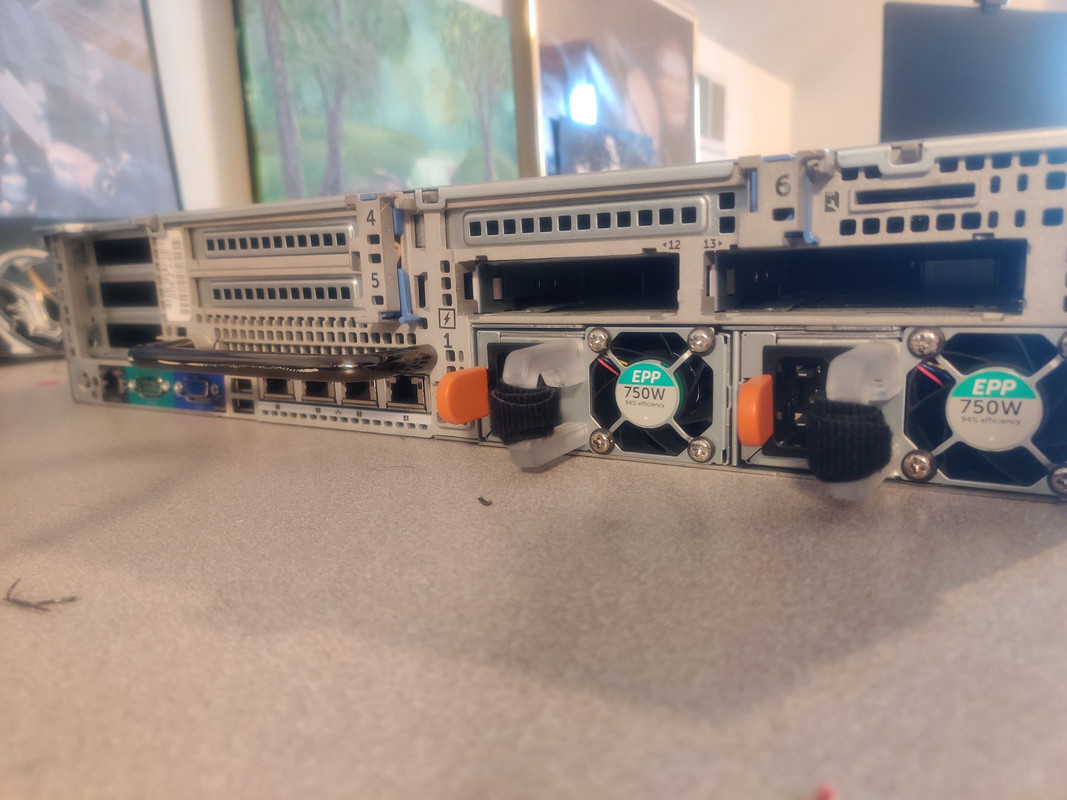
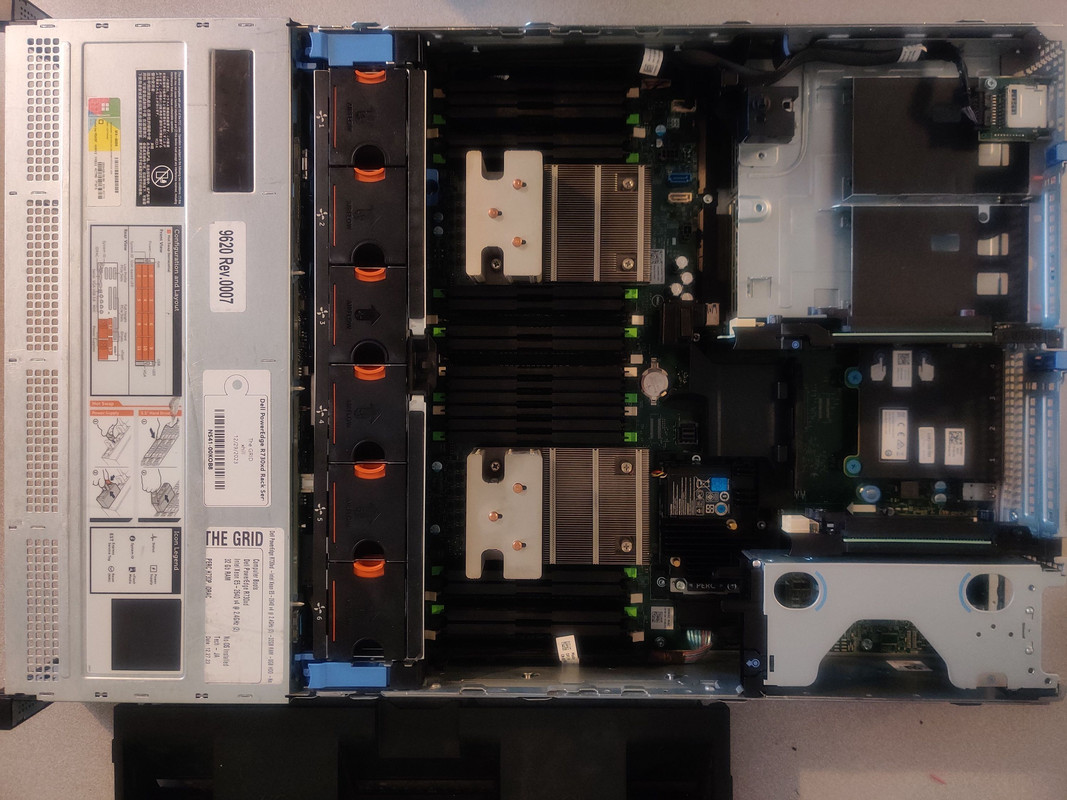
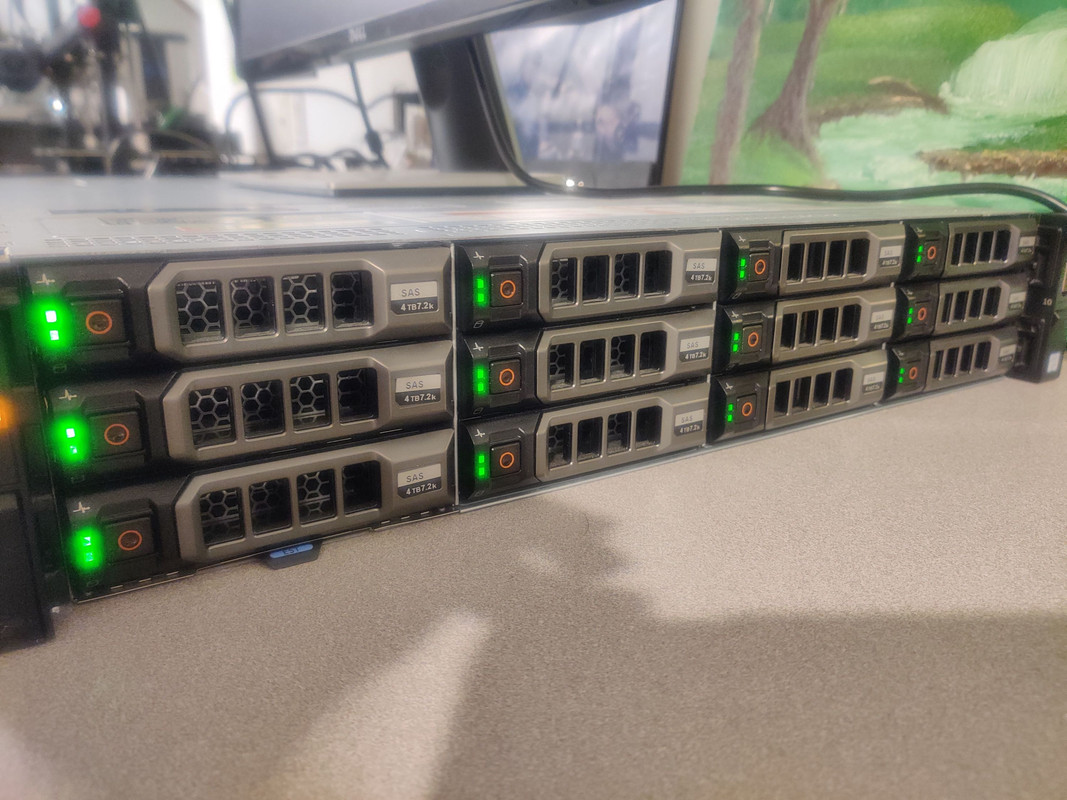
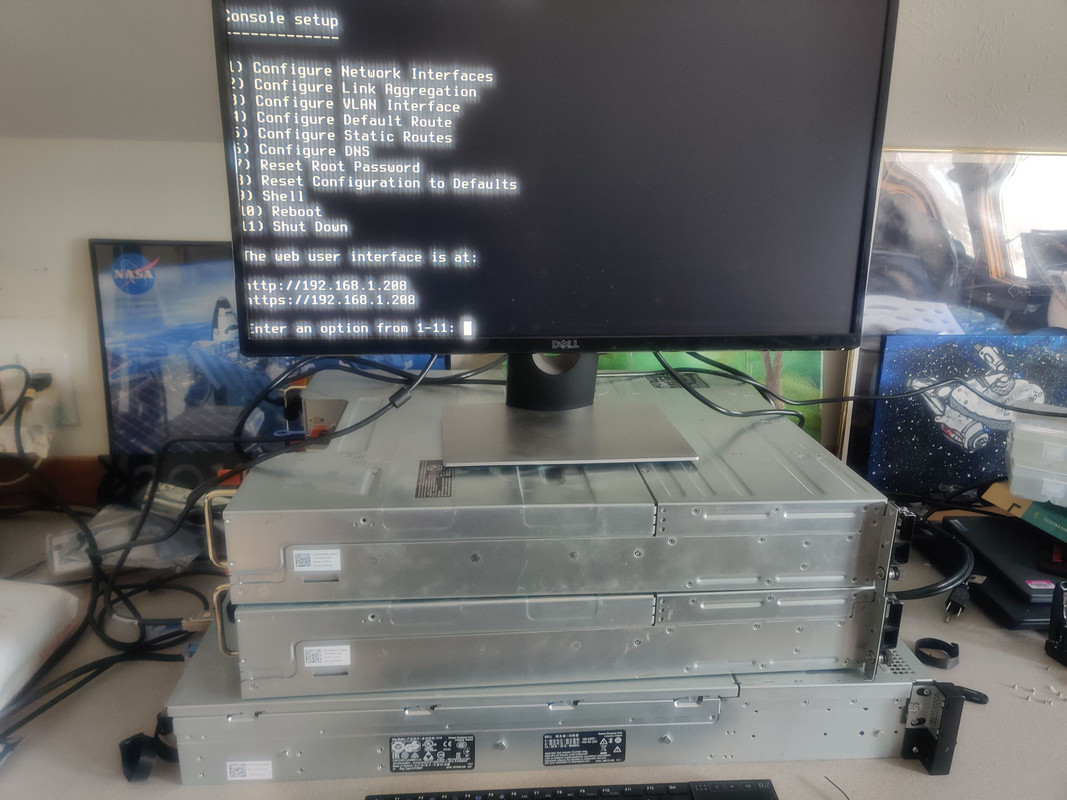
That brings us to what I’ve been working on the last few weeks and just finished a few days ago. I’ve expanded as needed over the years and I’ve done so again making use of eBay and sales directly from Western Digital (combined with payments via Affirm). My previous NAS was 16x 8TB Western Digital Red drives running as one massive vdev in ZFS RAID Z2. For those that know ZFS very well and are recoiling at what I’ve just said, don’t worry, I’ve learned my lesson and thankfully it wasn’t painful. The 8TB drives gave me 128TB of raw storage, which after the RAID Z2 configuration netted me roughly 100TB (reported as 92TiB in Windows) of usable storage. The hardware used was a Dell PowerEdge R630 with an external SAS controller that fed into 2x Dell Compellent SC200 enclosures that held up to 12 3.5” drives each. While there isn’t anything inherently wrong with this setup, because the actual server is using minimal power (NASes really don’t use any CPU power unless you’re running other services) and the disk shelves were only powering hard drives, I was using six power supplies with a very small fraction of their rated power, leading to some inefficiences that I knew I could improve. In retrospect, what I’ve done now is what I should have done instead of buying the Dell R630. Just before this past Christmas I snagged a Dell R730XD off eBay for just under $200 USD. While this is the same generation as the R630, this has 12x 3.5” bays plus 2x 2.5” bays in the rear for boot drives, and room for more PCIe expansion cards should I ever need them. The other bonus is that because this is the same generation as the R630, the CPU and memory are reusable in this system. I’ve already spent a lot on hard drives, buying a newer CPU and 256GB of RAM on top of that isn’t exactly my idea of fun.
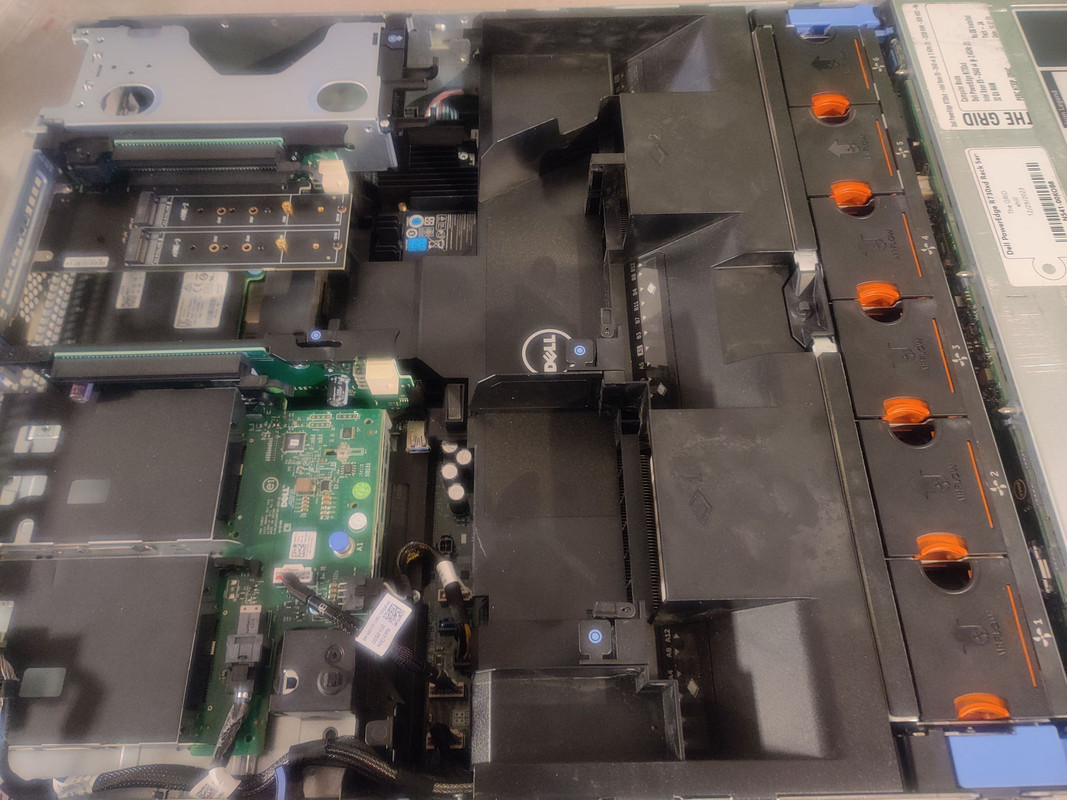
Like with most car enthusiasts, the first thing to do was pop the hood.
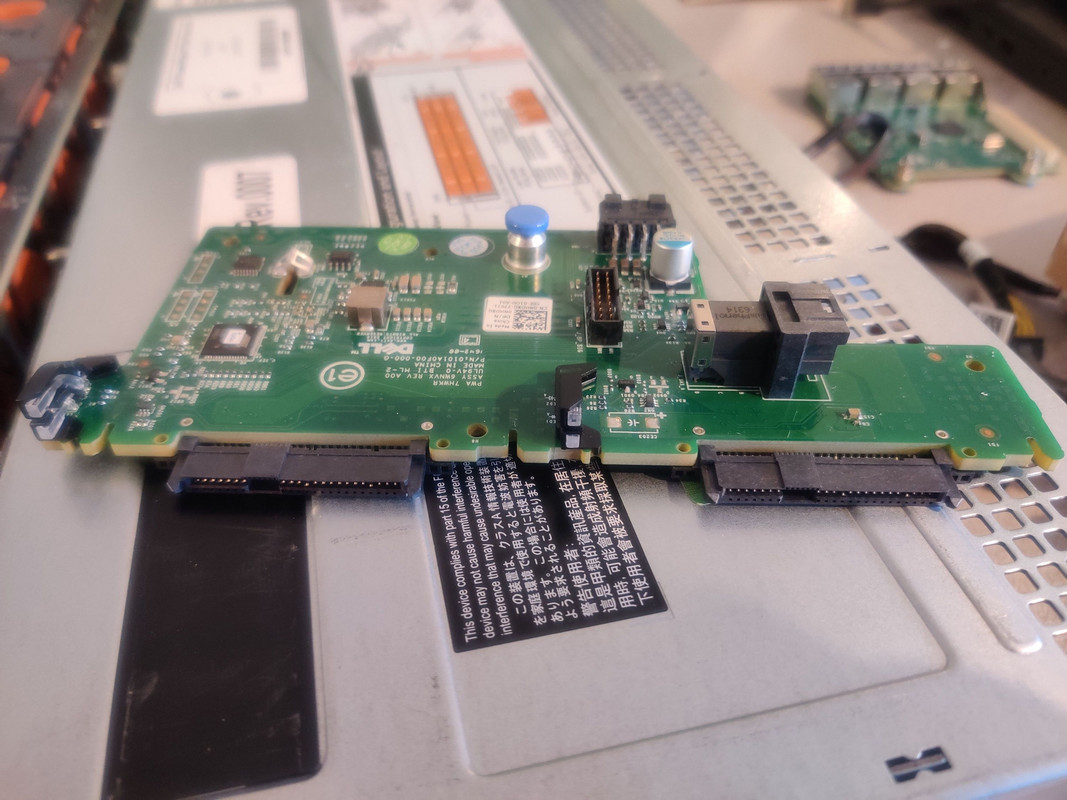
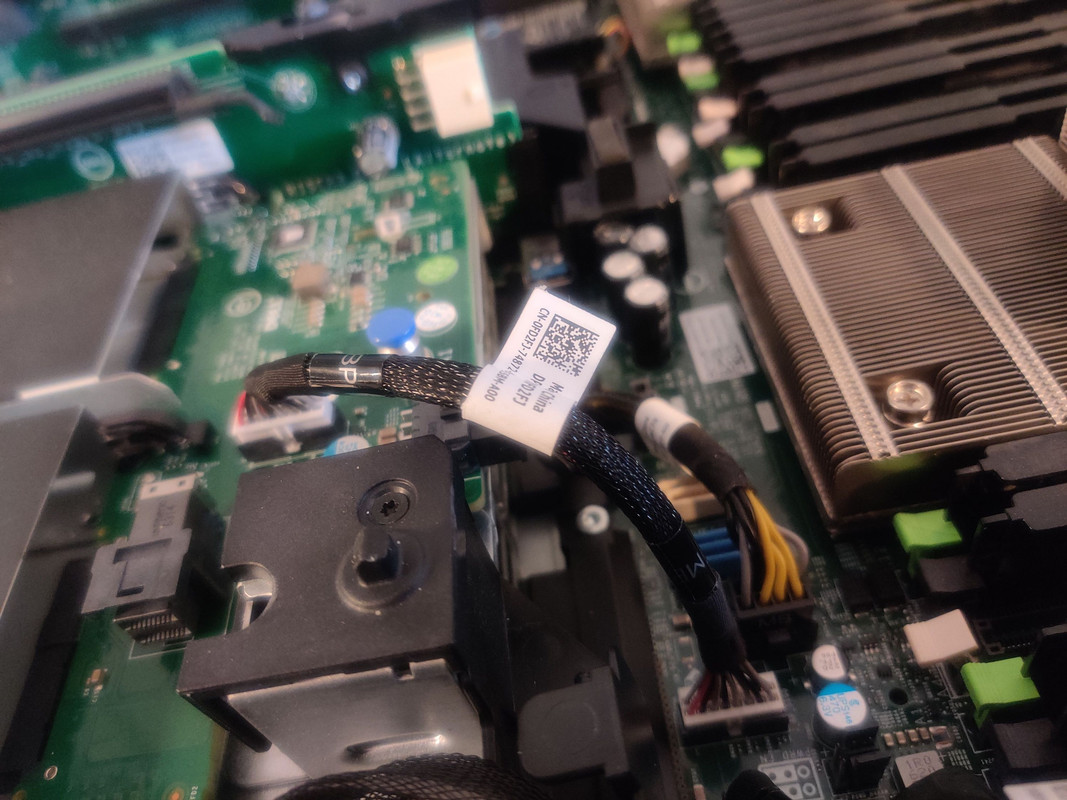
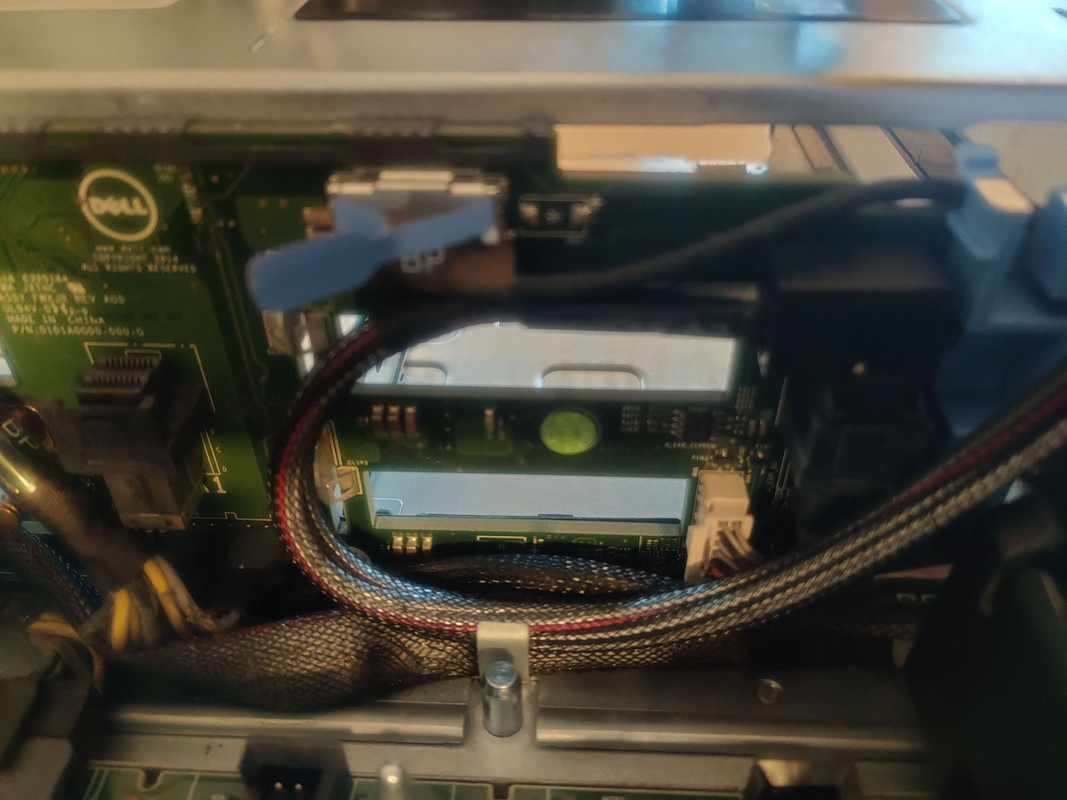
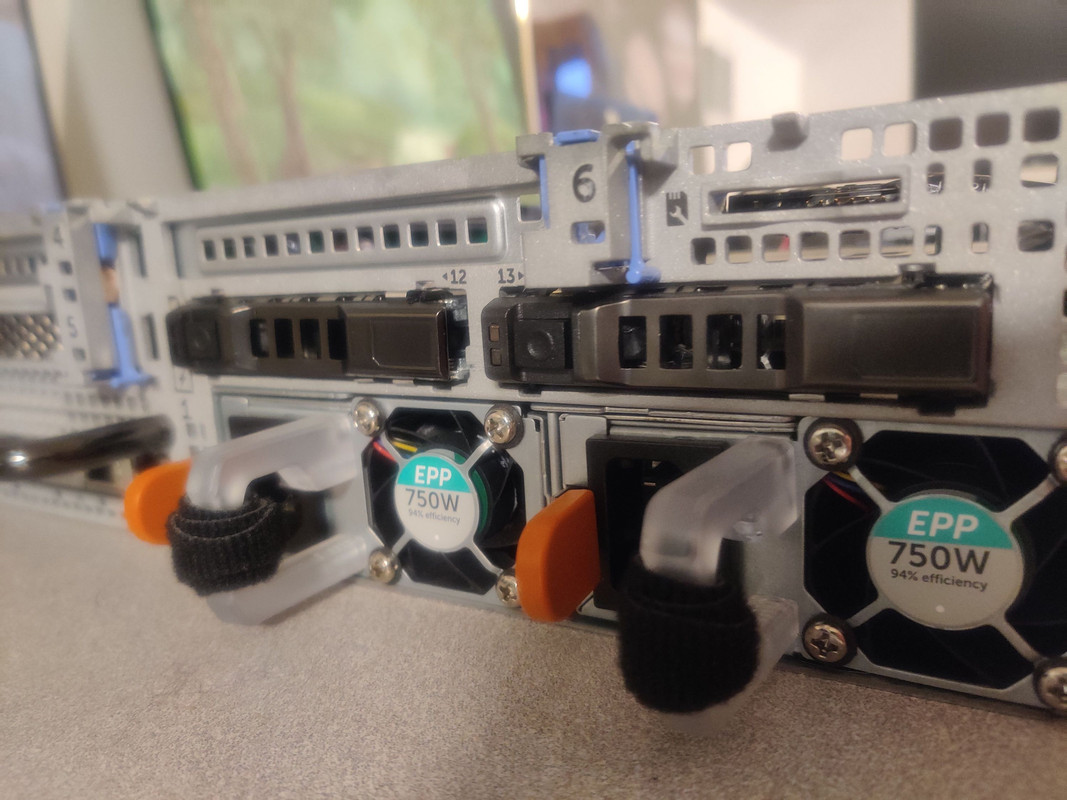
From the eBay listing I knew that the rear 2.5” bays weren’t connected but it only cost me around $30 to get the control board with SAS cable needed to get that working. This took me longer to take pictures of than to install. Snap the board in (no screws), plug in and route three cables, done. What isn’t shown is me removing the fan modules to get to the backplane connections. Since the entire fan assembly was only held in with two locking tabs, releasing those and some upward persuasion was all that was needed to remove that.
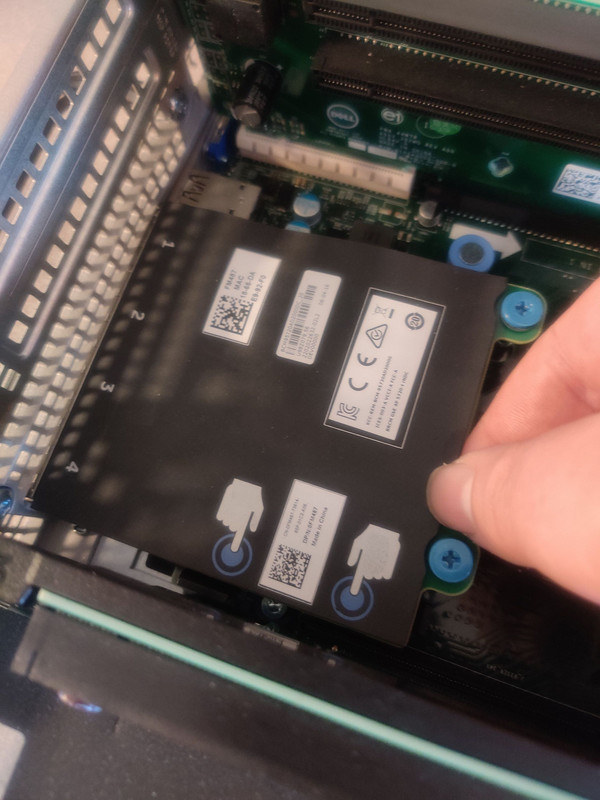
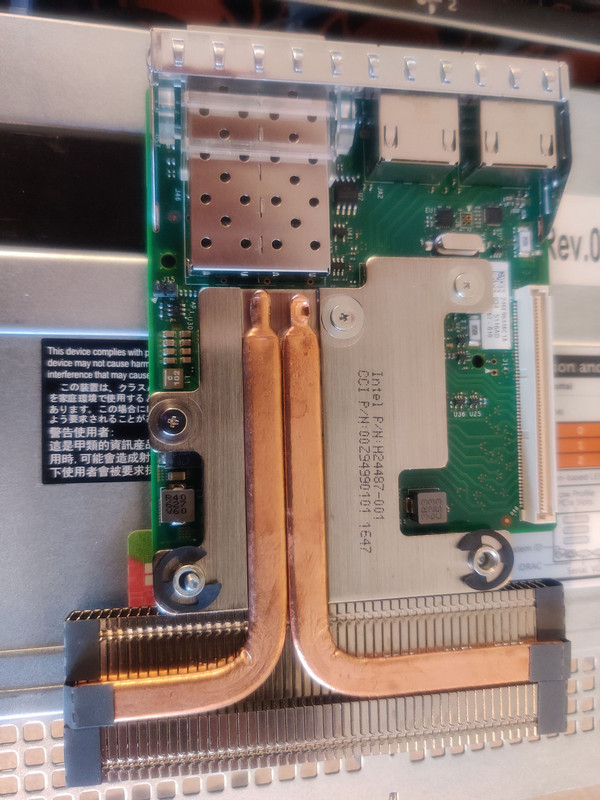
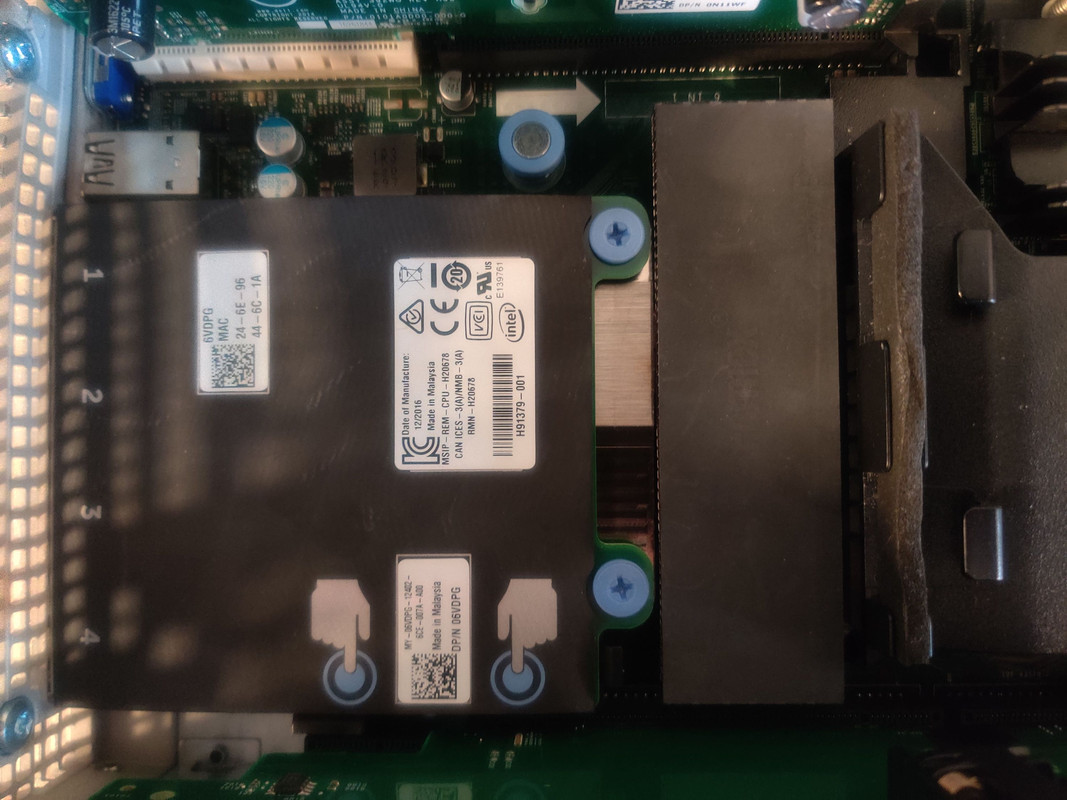
Next up was swapping the mezzanine quad gigabit Ethernet adapter for the 2x 10Gb fiber and 2x 1Gb Ethernet combo adapter from my R630. Currently I don’t have any SFP+ fiber ports on my network switch but that is very much on my list of planned upgrades for the future, and considering I already have the better adapter it’d be a crime not to use it. So out with the new and in with the old.
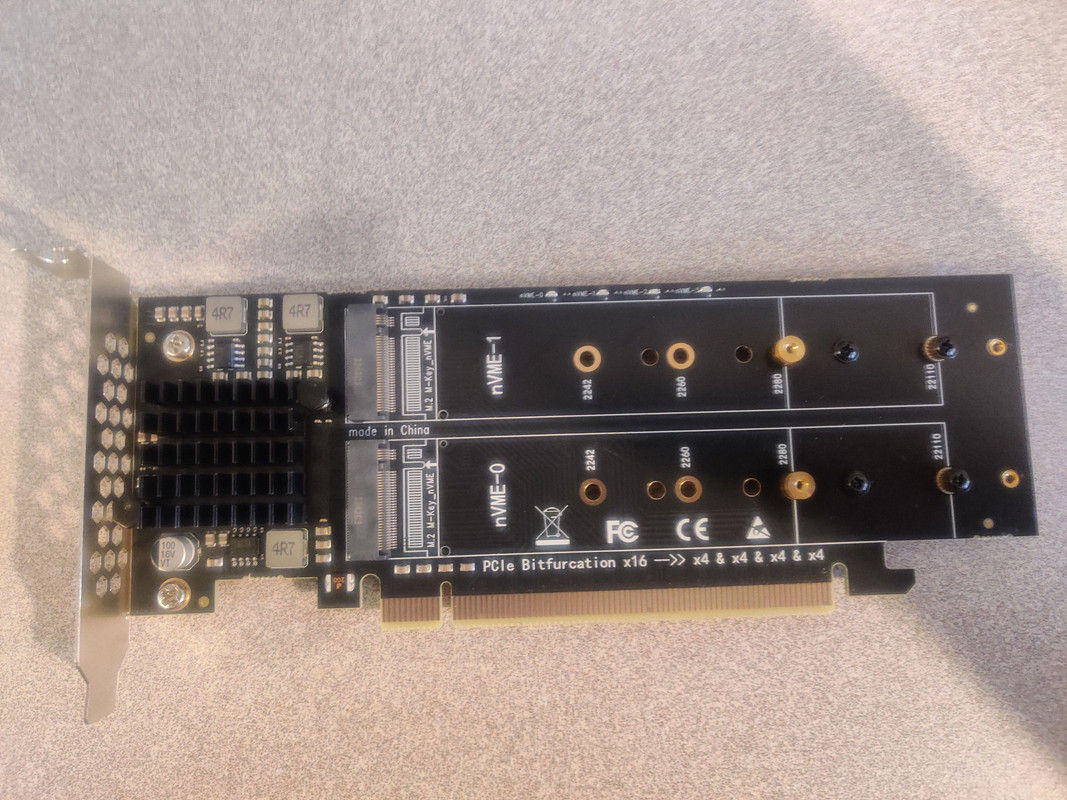
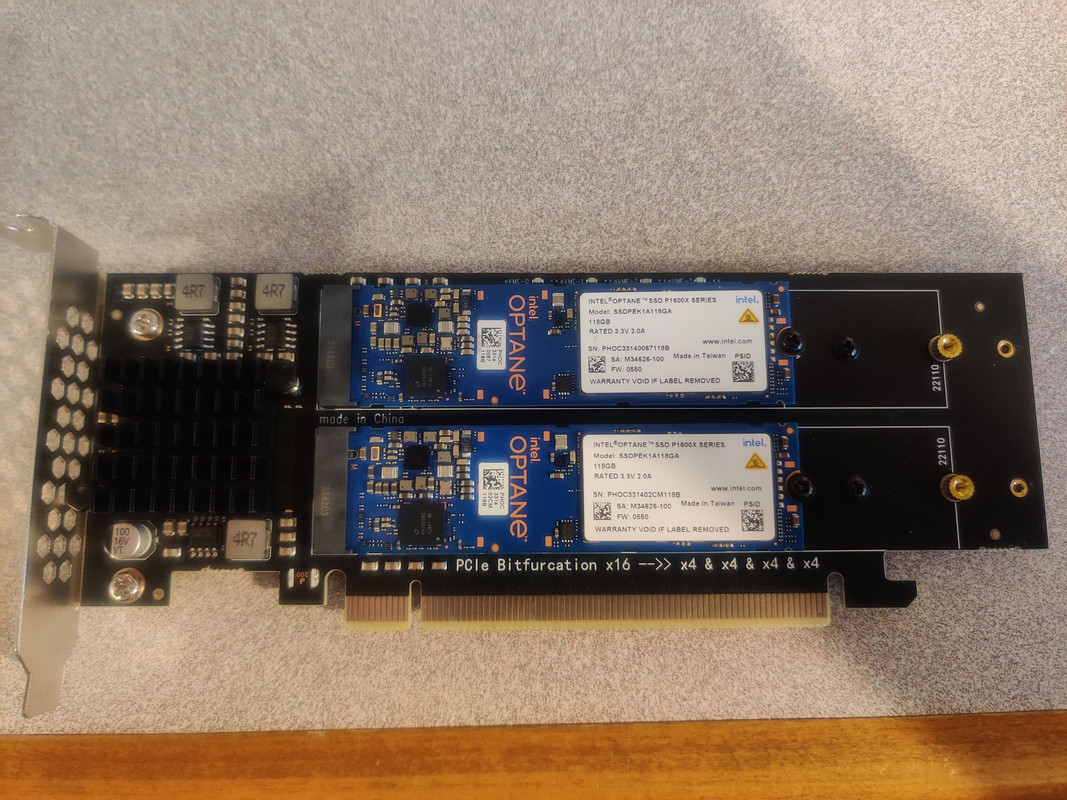
The final internal modification was installing the 4x m.2-to-PCIe adapter that would allow me to make use of some Intel Optane 118GB P1600x SSDs for ZFS metadata storage. Wendell from Level1Tech did a YouTube video on this subject, which does an in-depth breakdown of why these drives are so useful. The key points here for using Optane for metadata storage: 1) Optane is extremely resilient compared to any other form of SSD flash in existence so you can absolutely hammer the crap out of it and it won’t blink an eye, 2) Optane is incredibly low latency so random access is in the microsecond range, not millisecond, and 3) storing metadata (in TrueNAS this is referred to as a “special metadata device”) separate from the data on the spinning drives will significantly reduce the wear on them over time. Whenever a scan is done, such as getting the total number of files in a folder or the amount of space it uses, every single file in that folder is queried and the hard drives would normally have to perform that scan every time this operation is done. This not only takes a while because the drives aren’t solid state storage, it also puts extra wear on the drives. But with the Optane powered special metadata device, all of these downsides are avoided making for a much happier and longer lasting zPool.
I confirmed that PCIe lane bifurcation was supported before I even bought the server, so I didn’t have to buy an adapter card with an onboard bifurcation controller. This past Black Friday I ordered two of the Optane SSDs I mentioned earlier, but I’m kicking myself for not ordering four because the price is back up and because they have been discontinued (along with all other Optane because Intel shut the entire division down) I probably won’t be able to pick up another two drives at this price point. What could I use those other two drives for? The answer would be a SLOG device for the array. The reason I held off on buying the extra two drives is my research is telling me that because I’ll be doing SMB (Samba) shares the zPool won’t benefit from it. I’m still doing more research on this. As for the PCIe adapter I still opted for the quad adapter because the price difference between this versus dual was only a few dollars.
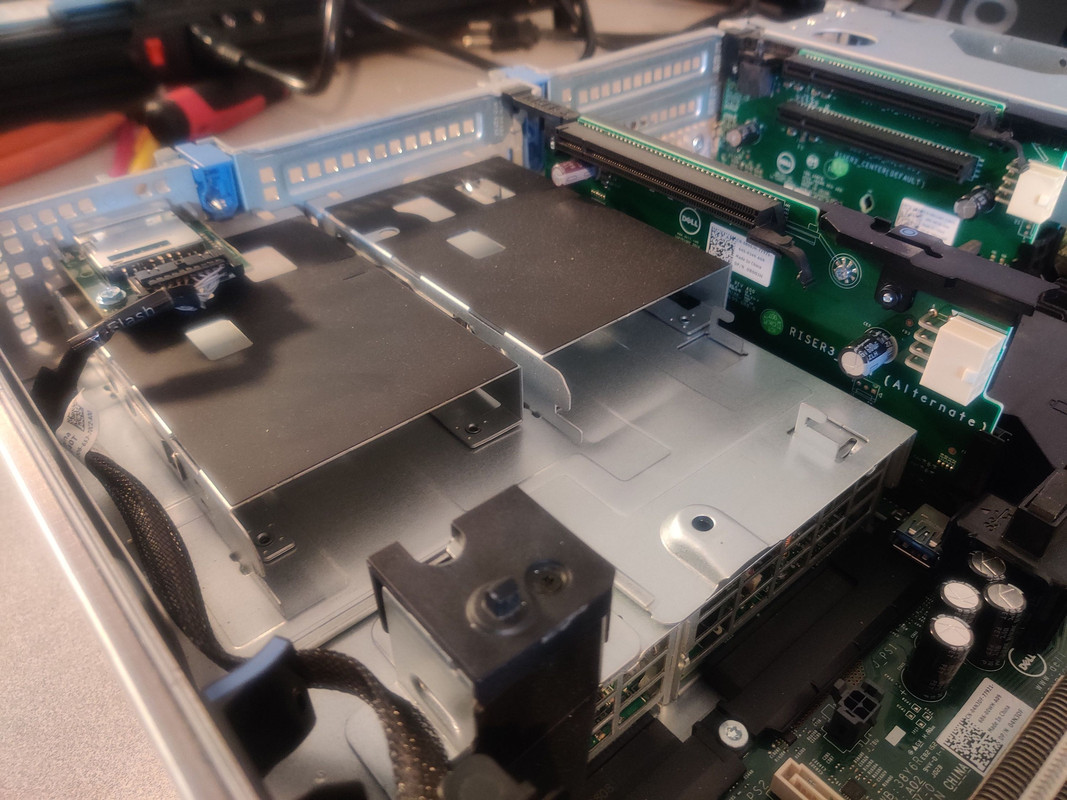
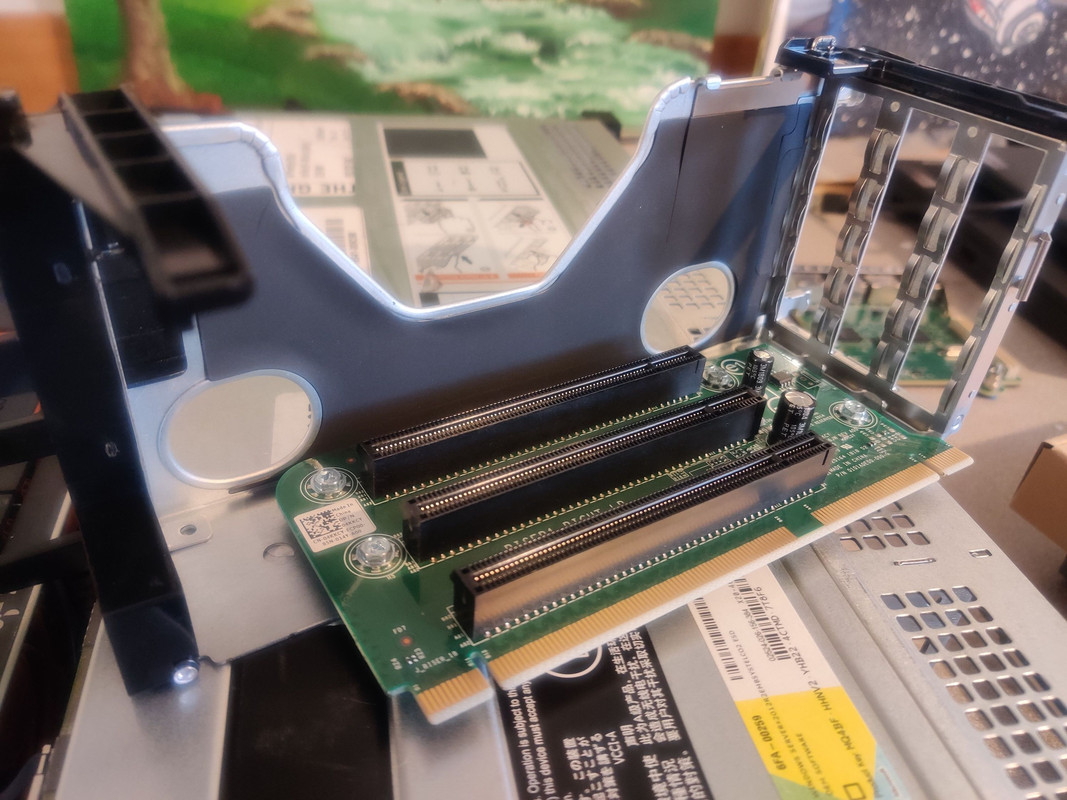
This part was also very simple with the hardest part being getting the PCIe cage removed from the chassis.
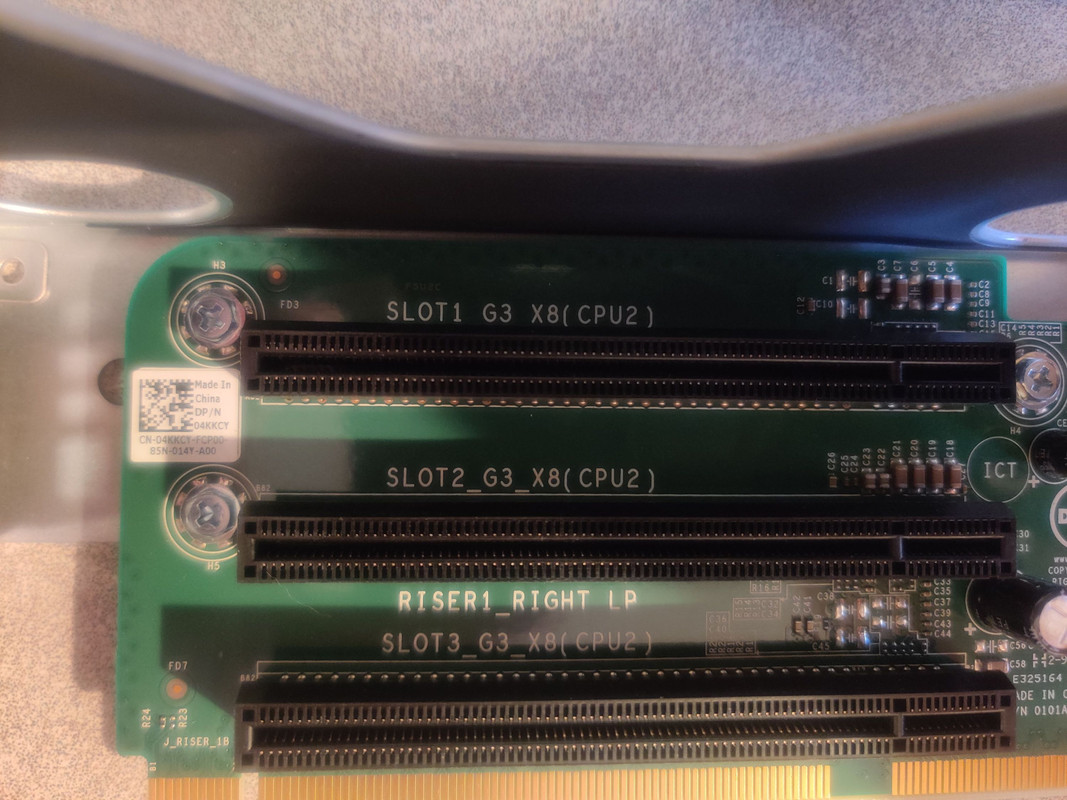
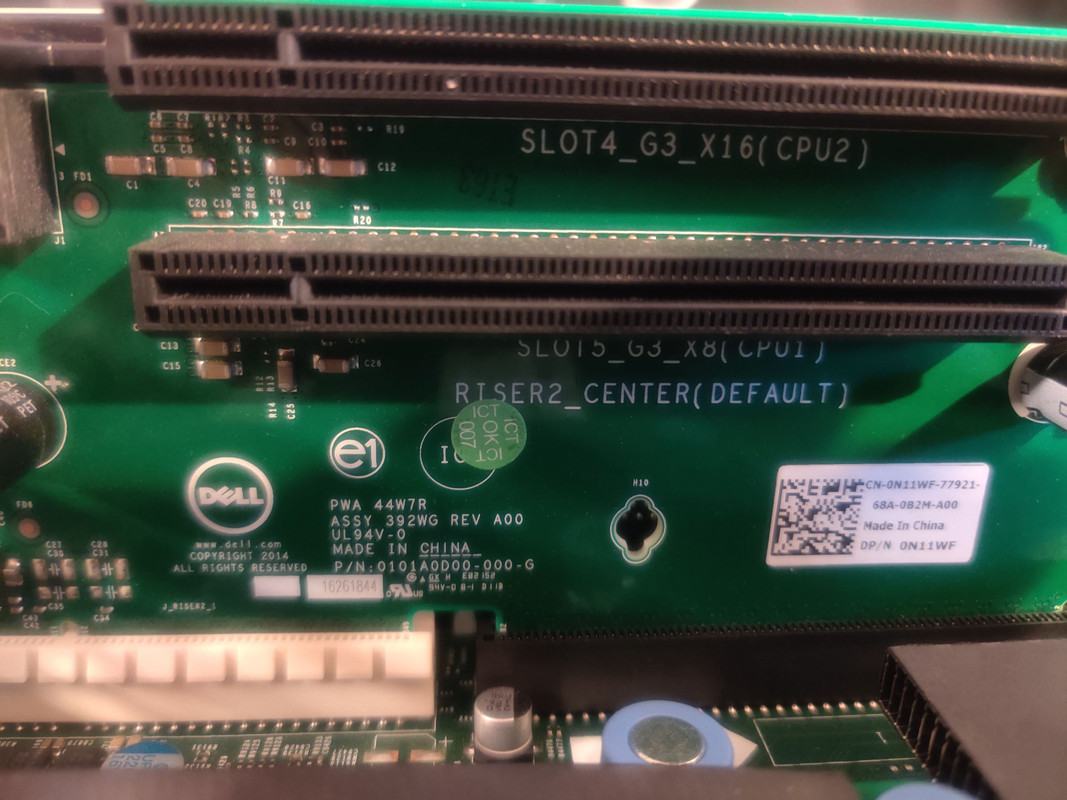
I did have to figure one thing out and this falls firmly under the heading of learning the intricacies of enterprise server hardware: which PCIe slot should I use? As fate would have it, while I’ve worked with 2U servers before, I haven’t installed any PCIe cards in them, so it came as something of a surprise when the PCIe slots in the R730XD designated the corresponding CPU for each slot. Not that this didn’t make sense to me, mind you. It’s a dual CPU system, so it makes perfect sense that PCIe slots that aren’t routed through the motherboard chipset would be unique to a given CPU. Since this system came with two CPUs already installed (much to my surprise since that wasn’t mentioned in the eBay description) I opted for a slot connected to CPU 1 in case I decide to remove the second CPU in the future. I could have gone with the slot over the rear 2.5” bays but I felt a location where these drives could run a bit cooler would be prudent.
With the system buttoned back up it was time for a rust party, spinning rust that is. Mostly.
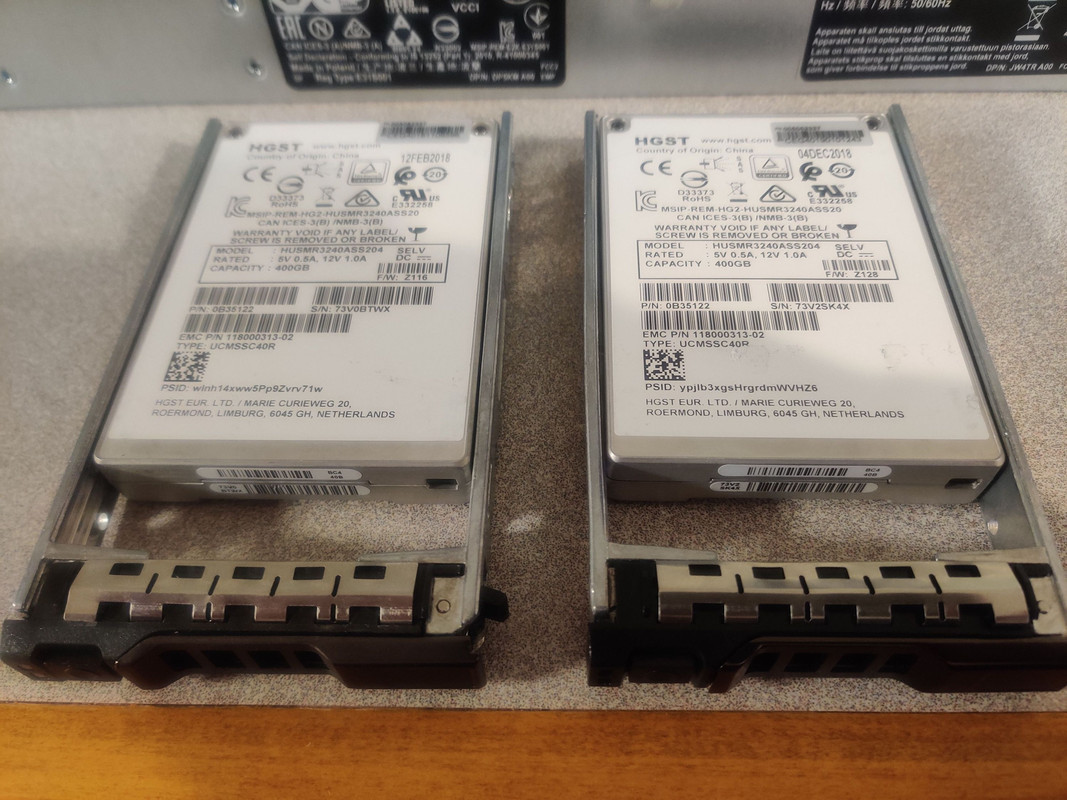
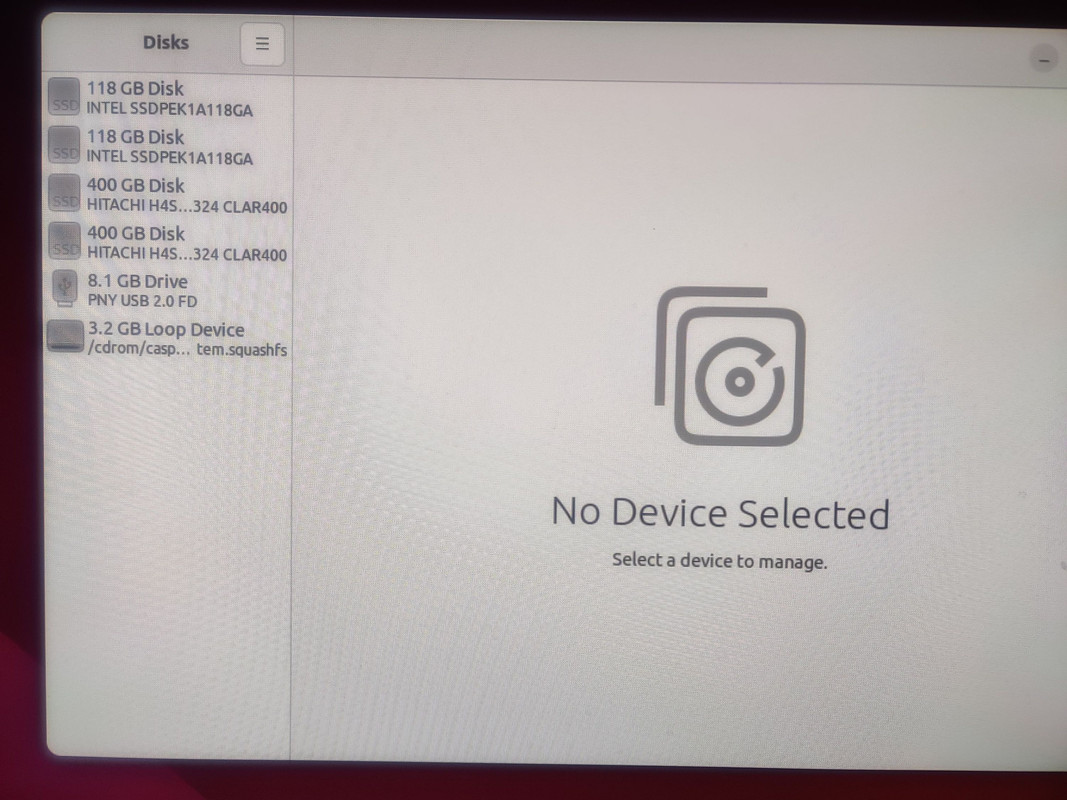
The rear 2.5” bays each received a 400GB HGST branded SAS SSD. Only one of these will be used for now as the boot drive for TrueNAS. While it was common practice to have mirrored boot drives back when this generation of server was new, I won’t be doing that because TrueNAS doesn’t benefit from this. Still, I used both SSDs in case I find a use for the second one in the future. I picked these up off eBay at least a year ago and I think they were only around $20 at the time. I then booted into Ubuntu Live to check that everything was properly detected and I was pleased that everything was working.
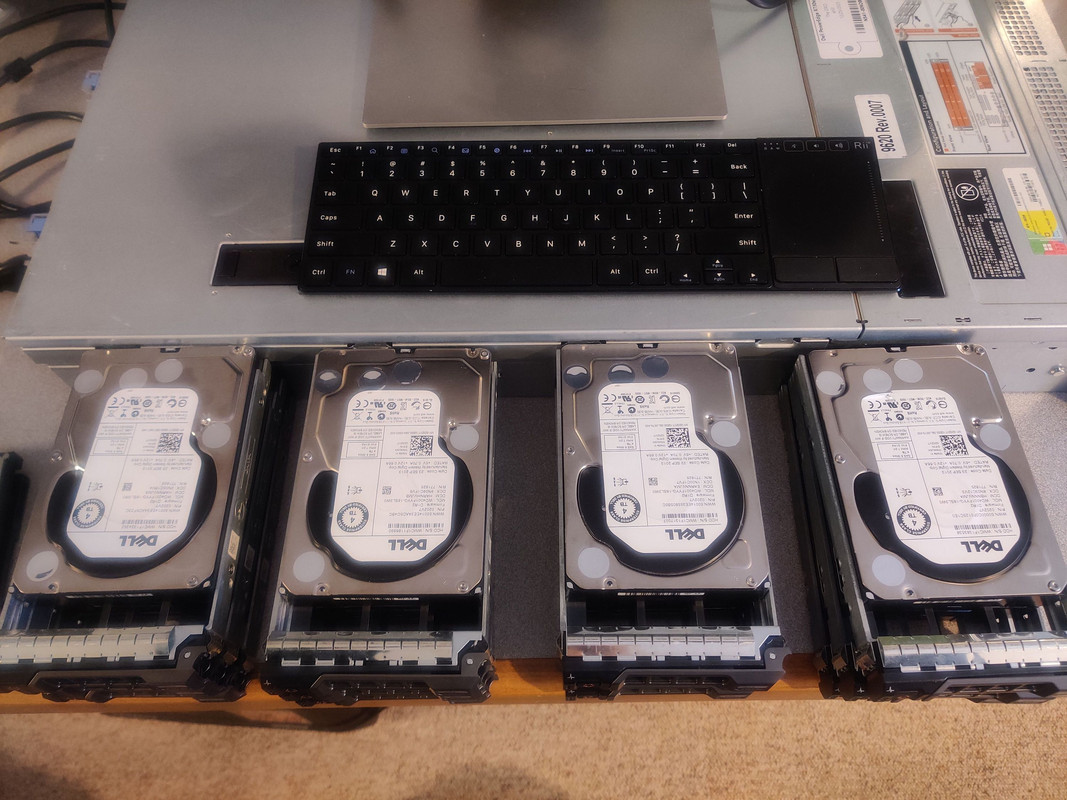
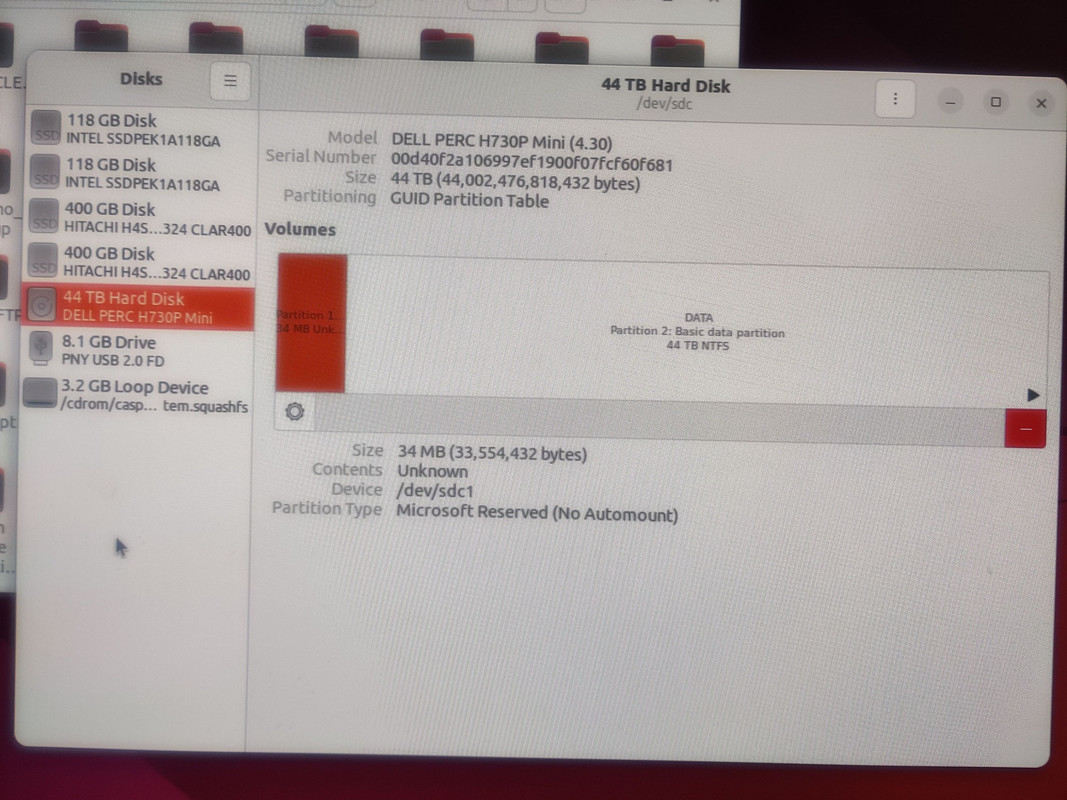
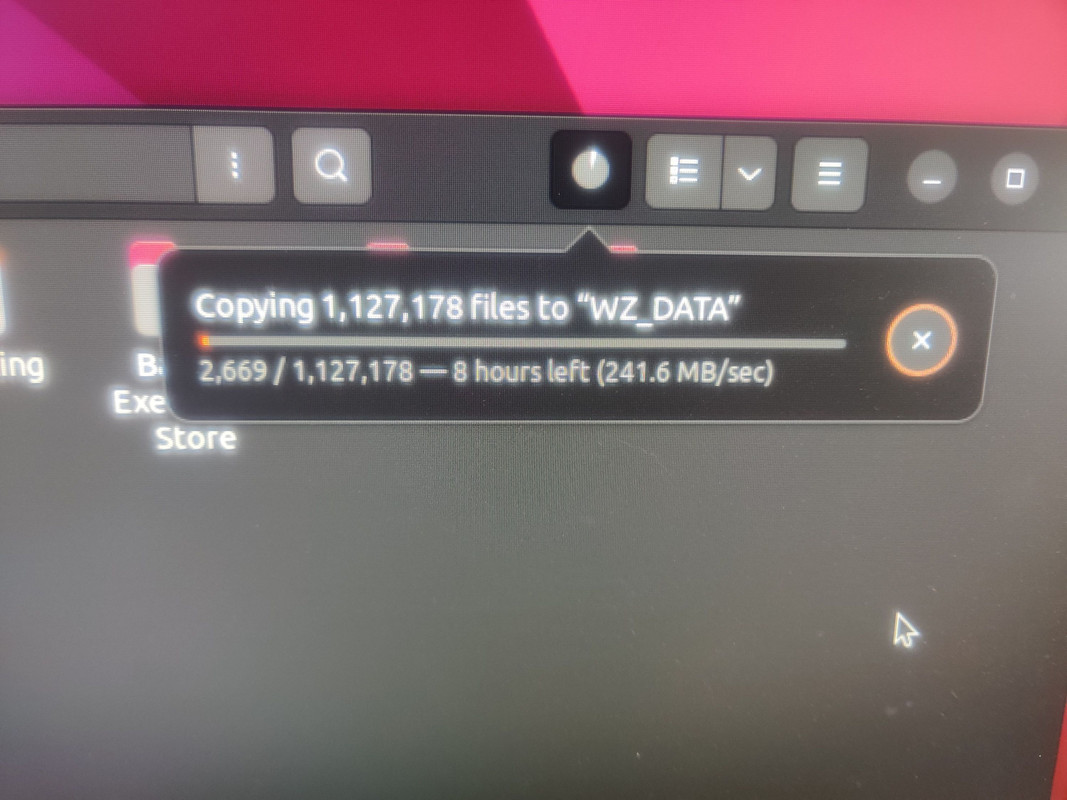
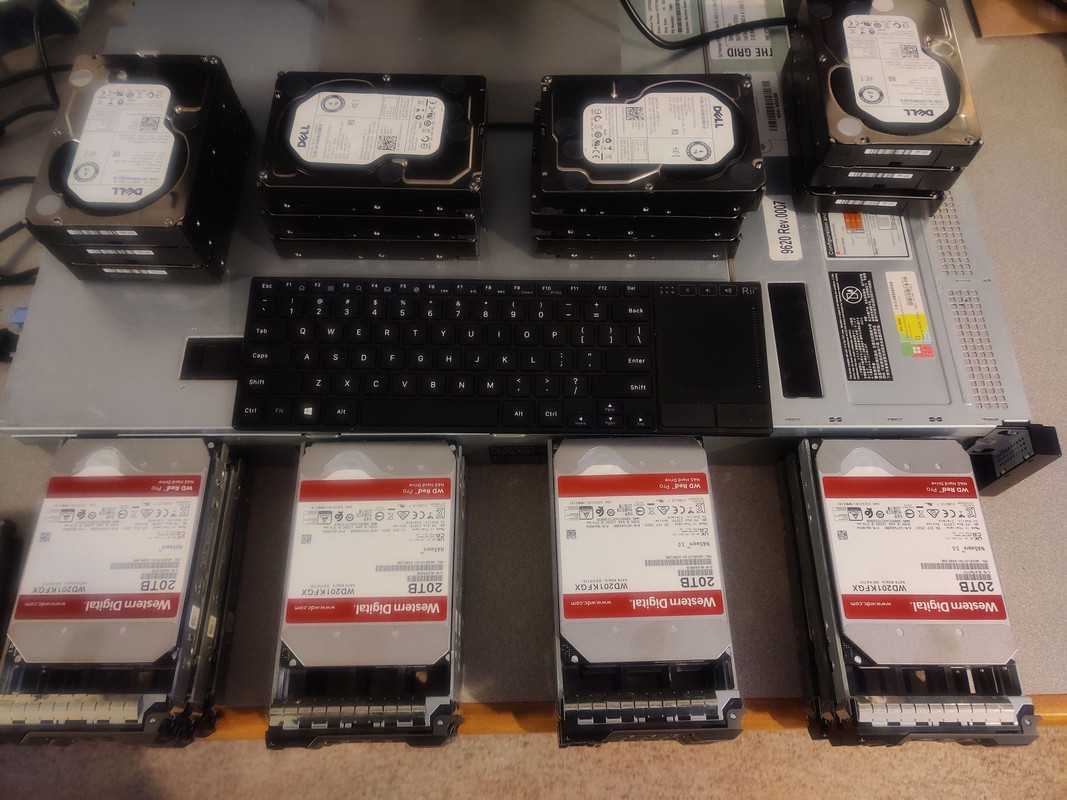
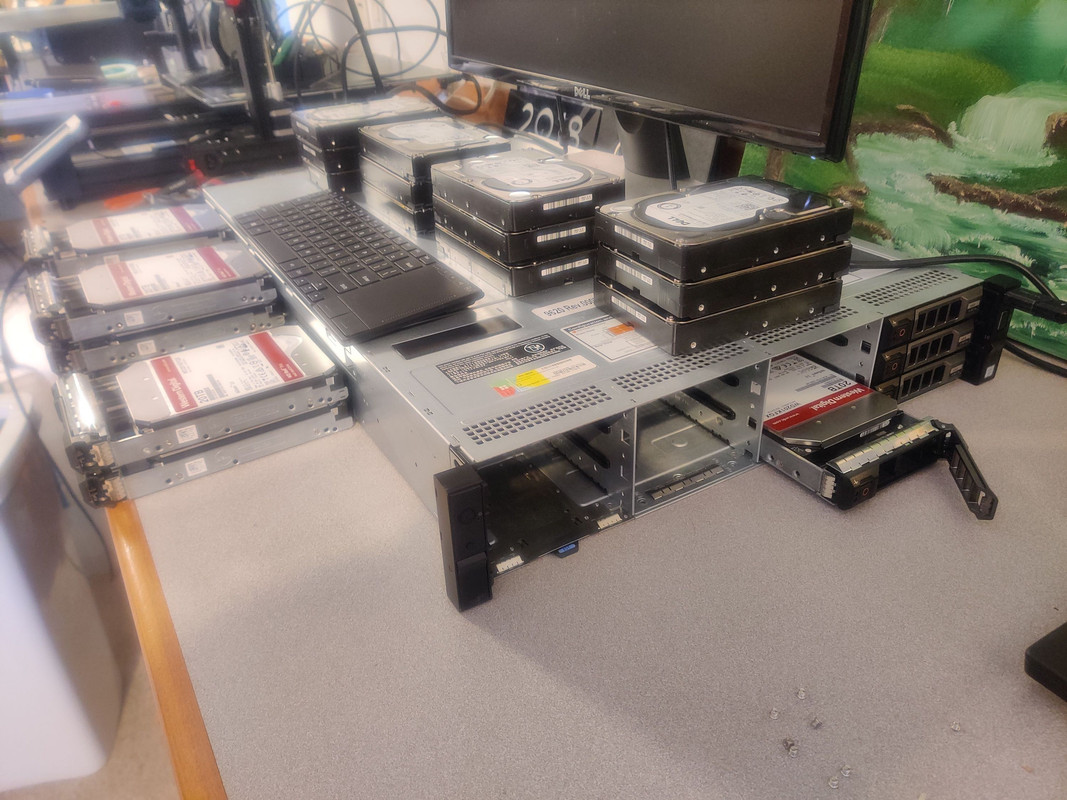
Now is actually when I needed to take a little detour. This server didn’t come with drive trays but I have an old PowerVault server (never used) that uses the same kind. But since these trays have drives in them I wanted to pull the data off of them before I put the drives into permanent storage (I will eventually sell them if I can). These weren’t from a previous NAS of mine, they were actually from an old work server. Spoiler alert: there was stuff on them, but nothing to write home about. The bulk of the data was old Windows test system images (Acronis and Norton Ghost) and backups, some software ISOs (nothing I didn’t already have), the odd ancient dev tool, random files being used for software bug testing. But I didn’t know this at the time so rather than spend a whole day sifting through it, I opted to copy it all to a 12TB drive I had on hand.
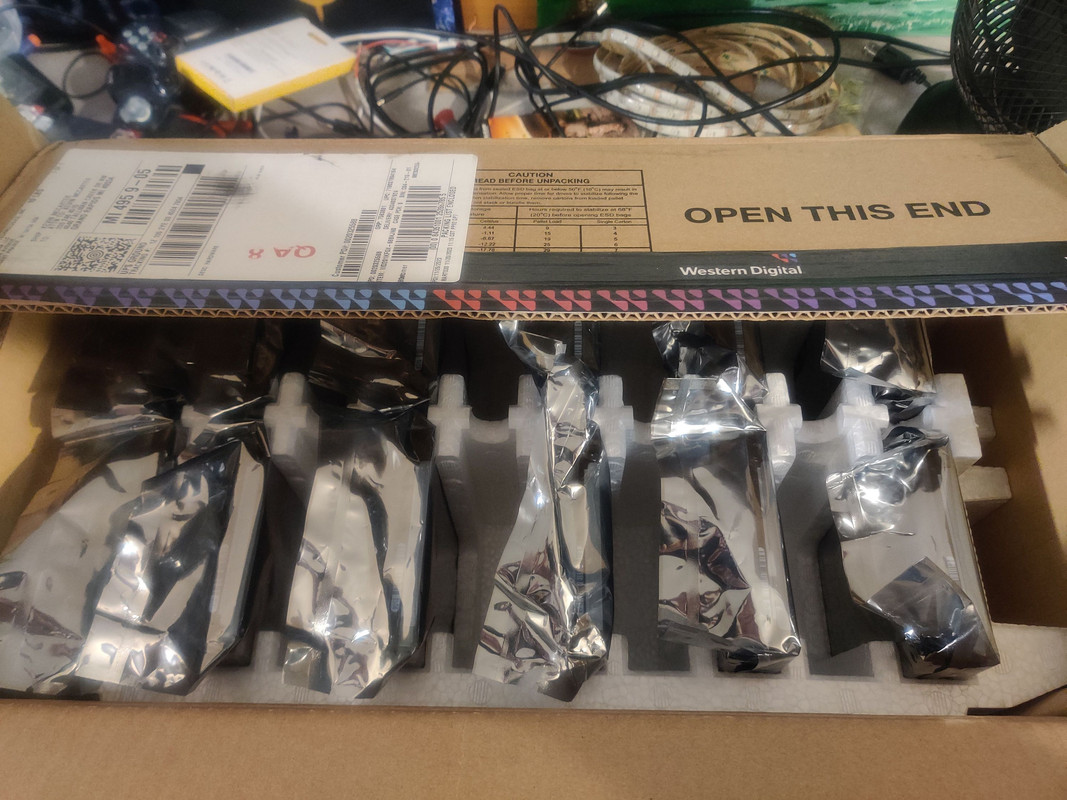
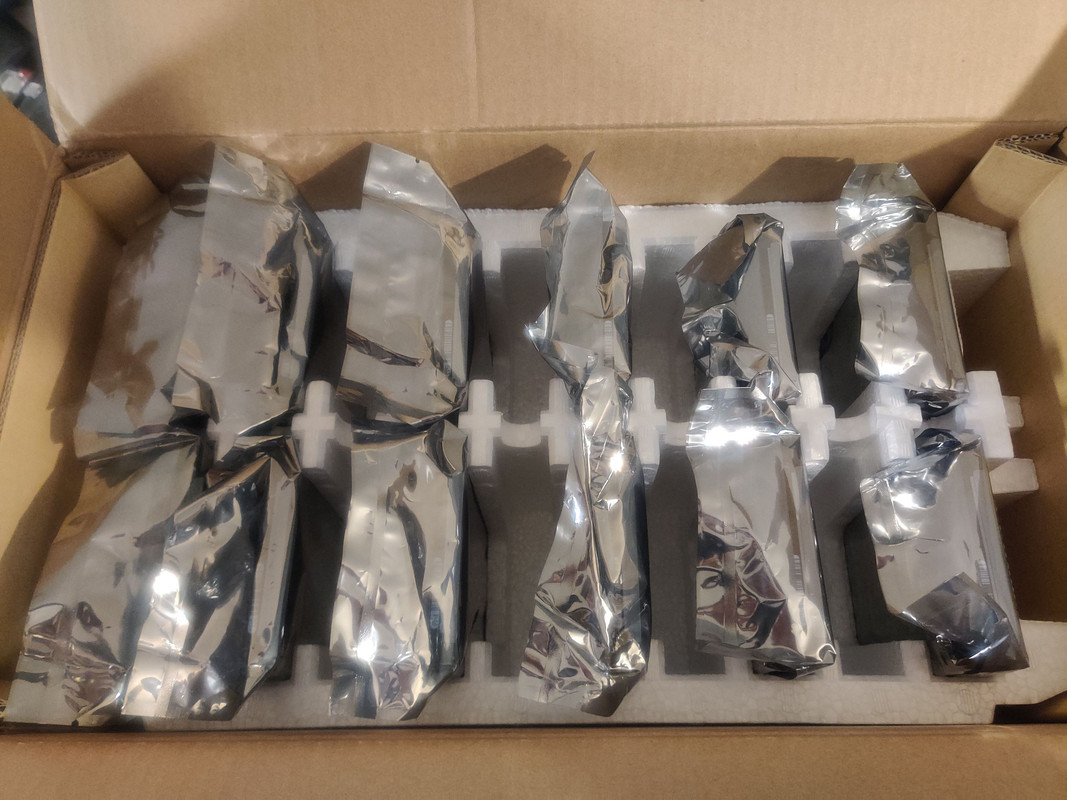
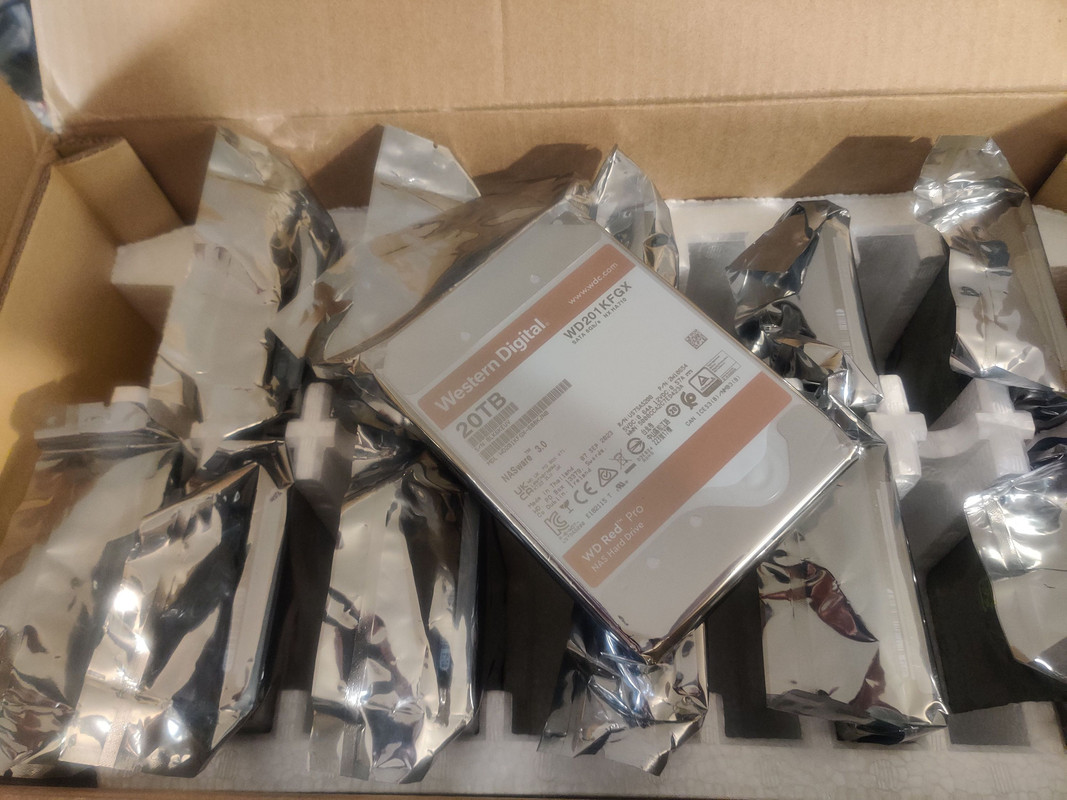
The copy process took the better part of a day since it was a gazillion tiny files mixed in with the big system backup images. Between that and life I didn’t get to installing the 20TB drives until two days later.
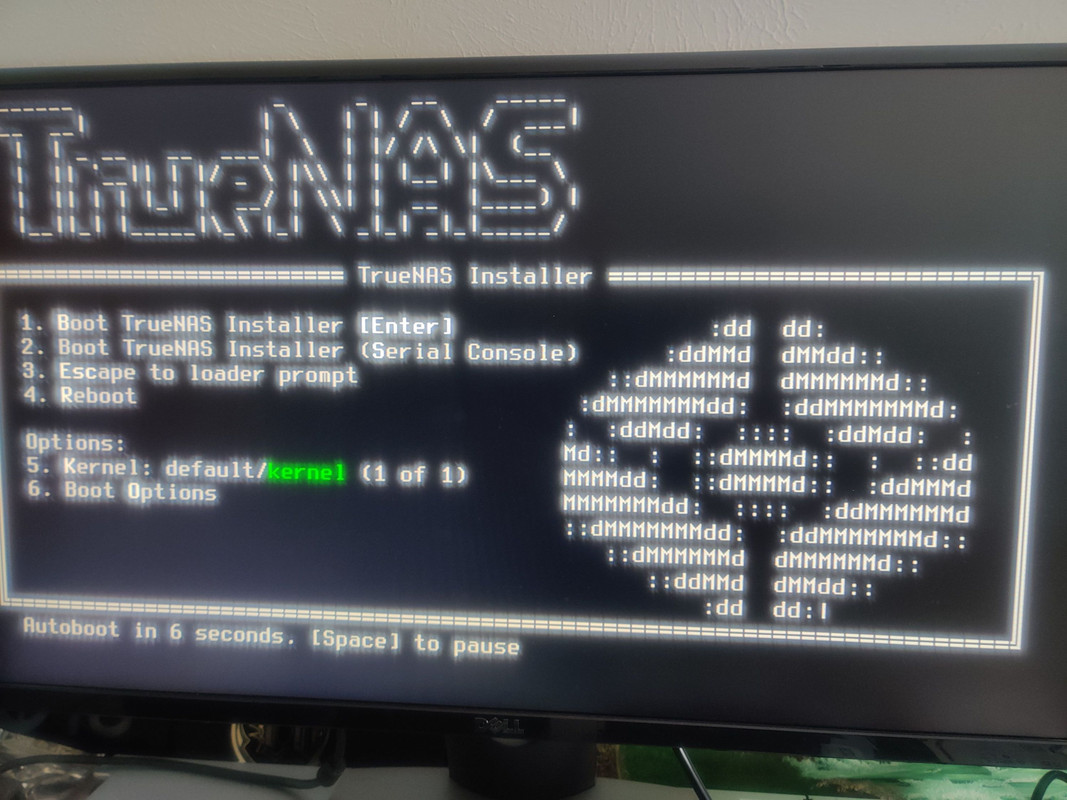
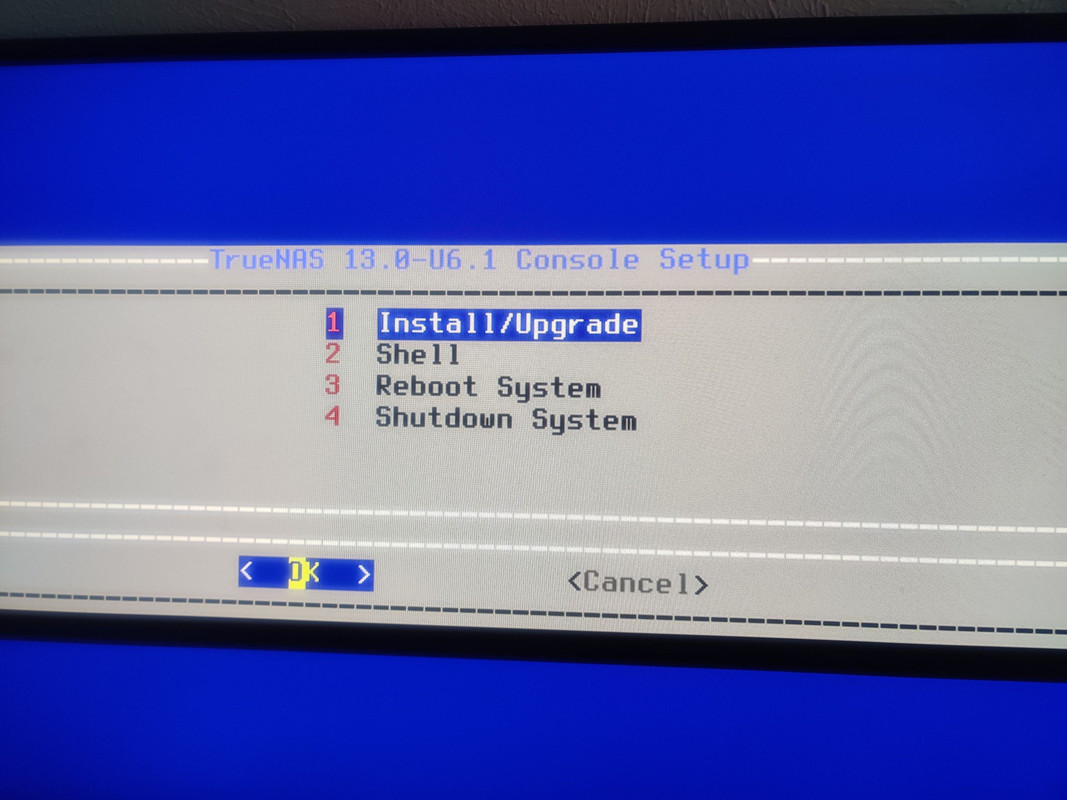
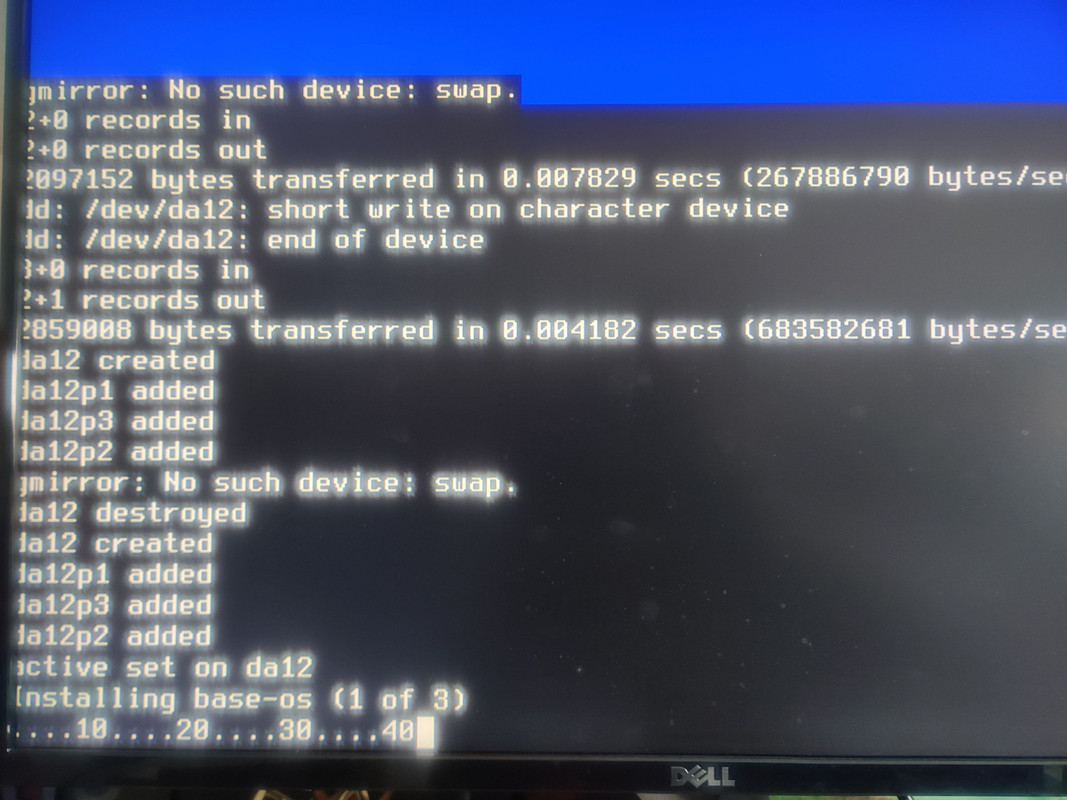
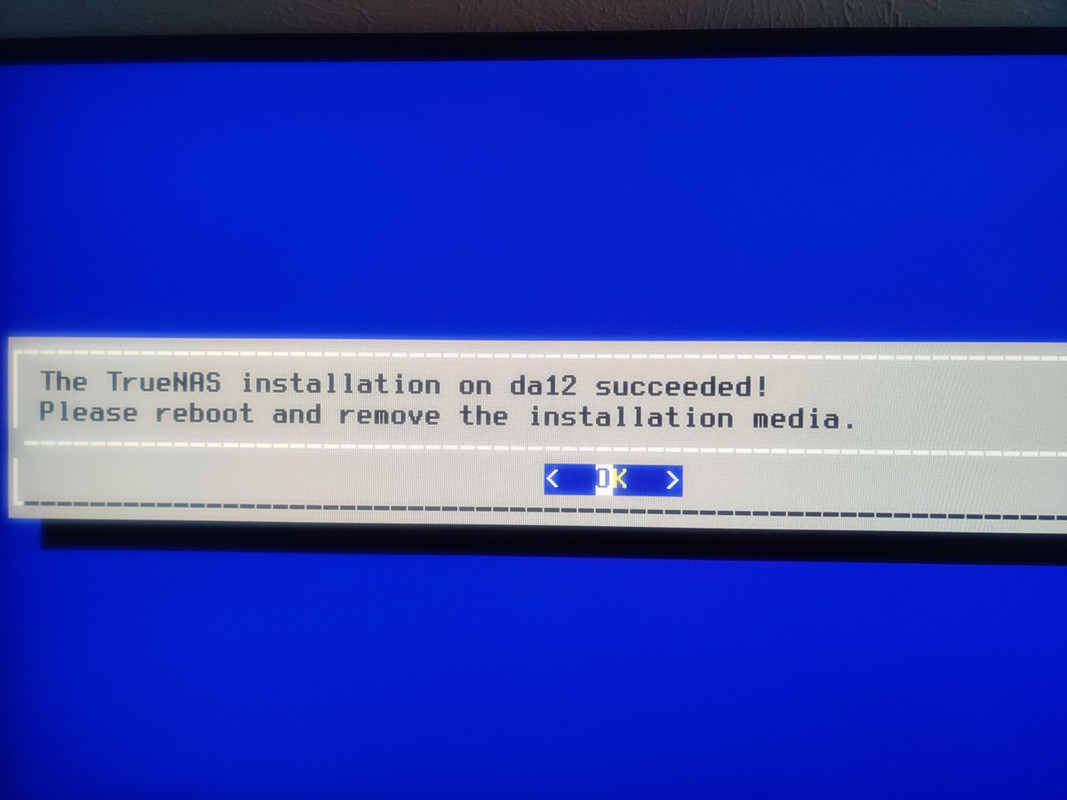
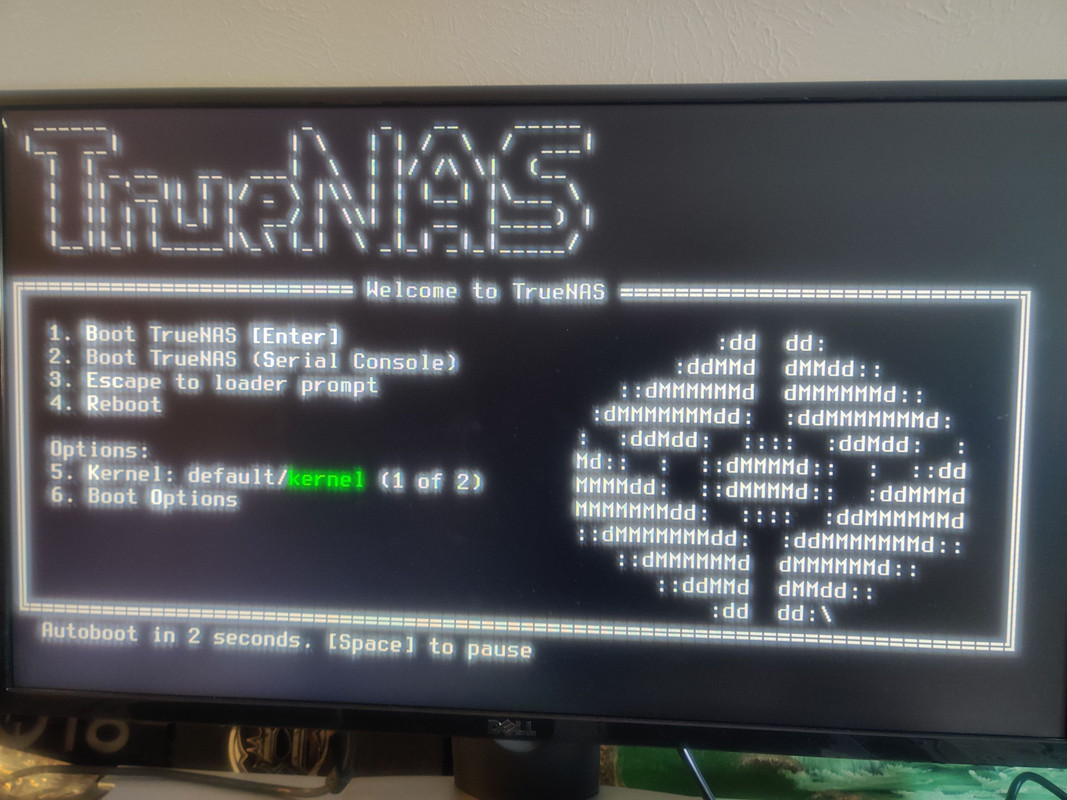
At last I can now install TrueNAS Core and start copying the data from my old NAS into this one.
If anyone is wondering why I’m choosing TrueNAS Core over Linux-based TrueNAS Scale it’s because Core, which is based on FreeBSD, has better hardware compatibility and is currently much more stable than Scale. Depending on how things develop in the future, I may migrate to TrueNAS Scale, but for now I’m sticking with what has been proven to be rock solid.
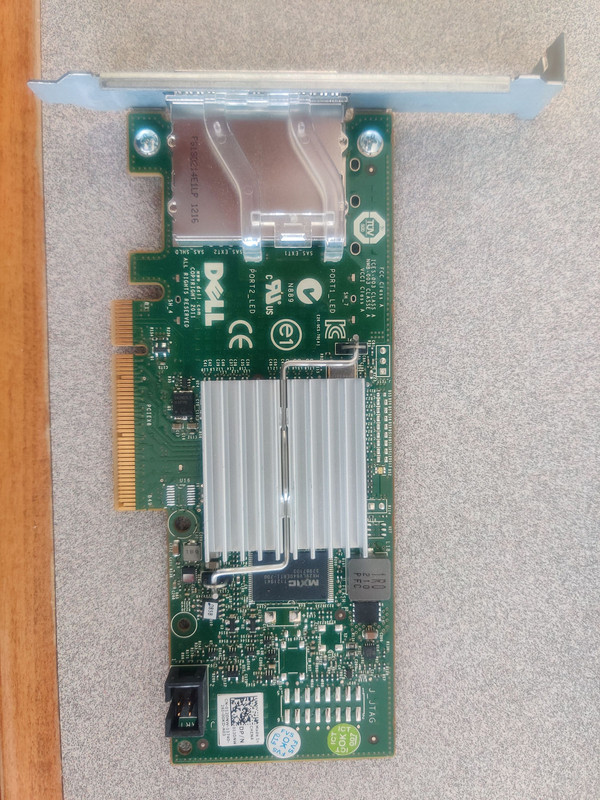
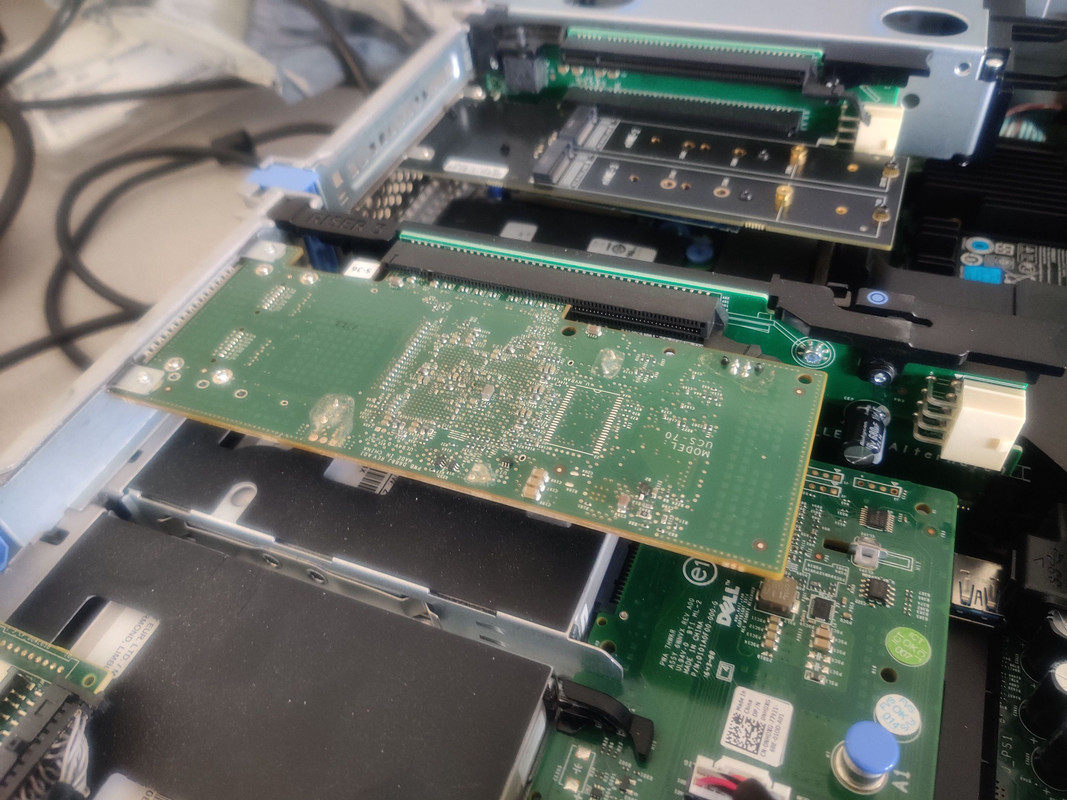
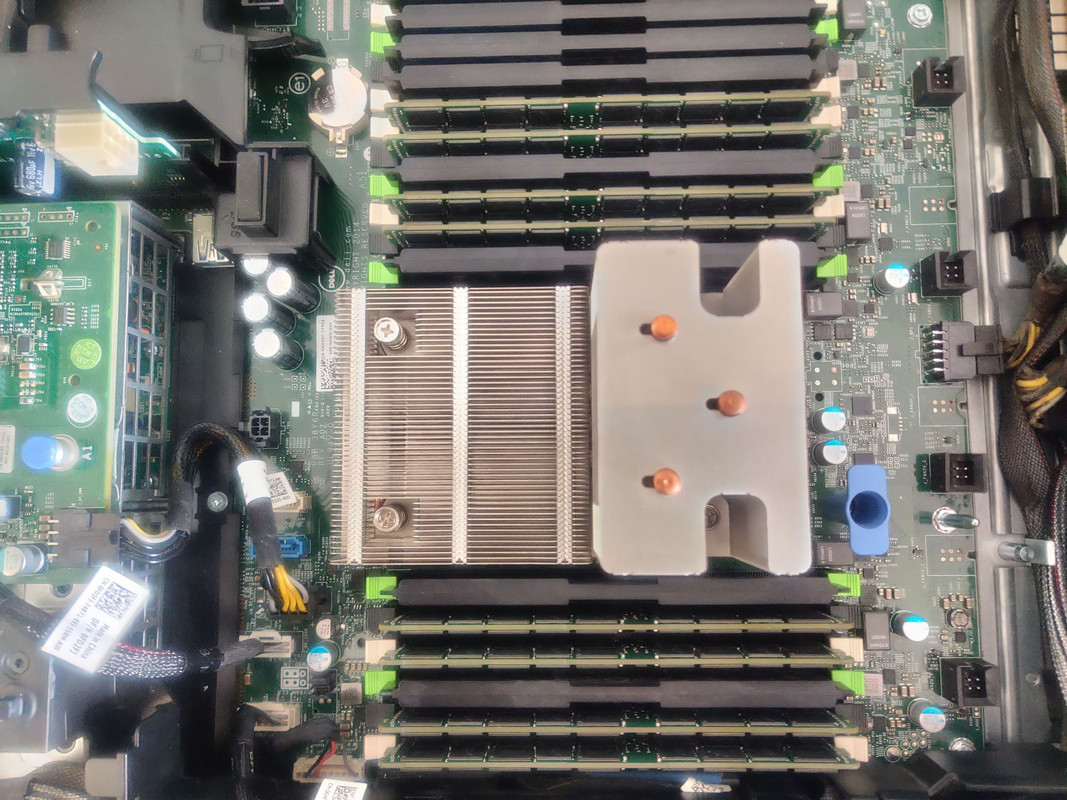
With the installation complete I powered down the server and then ripped the cover off once again, this time so I could install the external SAS controller that connected to the Compellent disk shelves from my previous NAS. One definitive bonus of have an external connected and expandable system is that you can connect everything to one system when doing the data migration, so you’re not speed limited by your network throughput, it’s just the SAS interfaces, which far exceed the max speed of spinning rust drives. I also installed the 8x 32GB DDR4 ECC RAM chips from my previous NAS. ZFS recommends 1-1.5GB per terabyte of raw storage in your pools and with this system receiving 240TB in the end, I’m very glad I already have this in my possession.
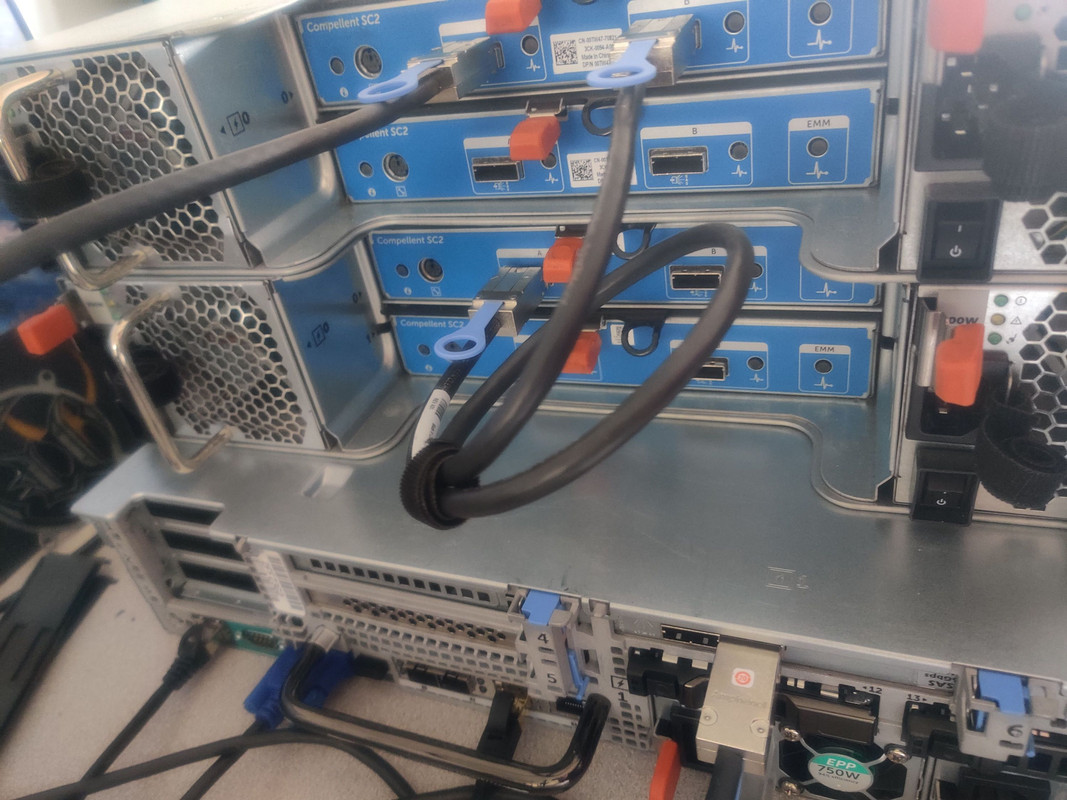
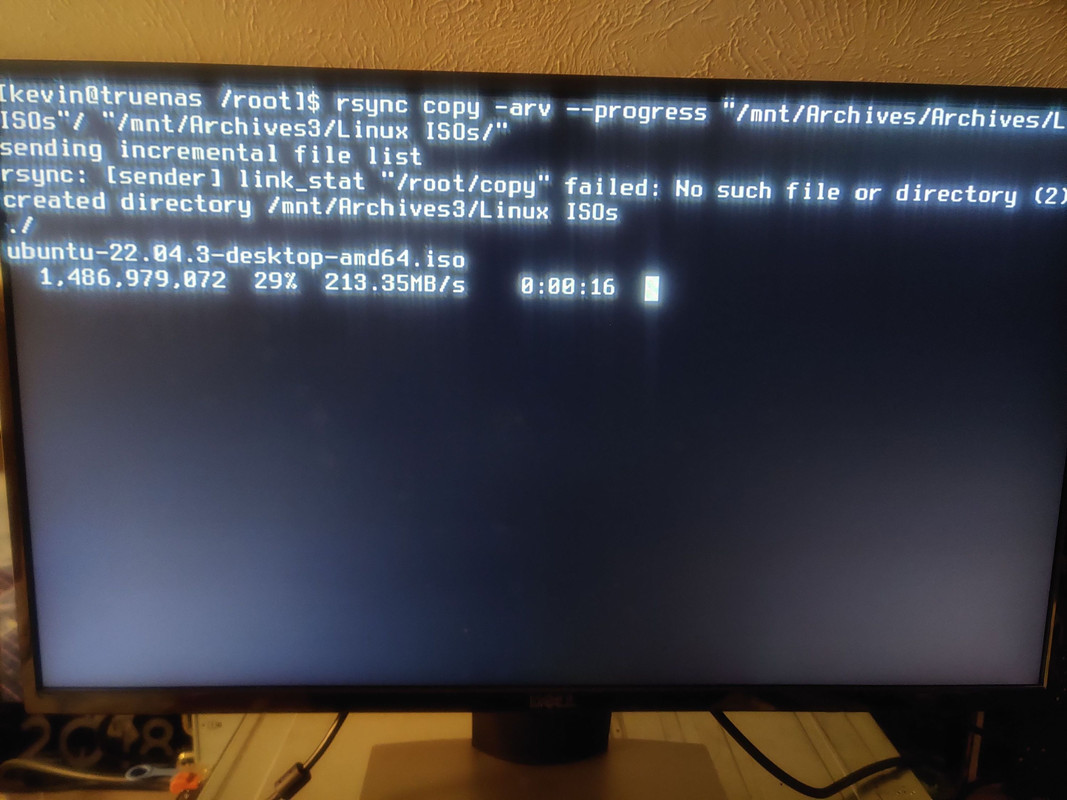
After closing up the system I connected my two disk shelves and then powered the system back up once more. This time I opened a command line shell in TrueNAS to do a speed test and verify that the SAS connection would yield the fastest possible transfer speeds. I was not disappointed.
Despite the 200+MB/s speeds, this migration took over a week, and that’s not including the extra time it took me to set up TrueNAS so that it could distinguish between my old storage pool and my new one since they both had the same name. But since this post is long enough as it is, I’m going to continue the software side of this project in Part 2 where I’ll show how I set up the new pool and how I dealt with the issues I encountered from the duplicate pool names. There’s always something. Until next time.
