240TB NAS Build: Part 2
Bringing 240TB to life
This is a follow-up to my last post 240TB NAS Build: Part 1. In this post I’ll be covering my experiences on the software side of the build: ZPool vdev setup, ZPool importing, and drive burn-in testing. What I won’t be covering is the setup of TrueNAS itself because this isn’t a tutorial and there is a plethora of those online, especially video tutorials and they will do a better job explaining it than paragraphs of me rambling. So with that out of the way, let’s pick up where I left off.
With TrueNAS Core up and running, user accounts created, and permissions set, it was time to create the ZFS Pool or ZPool. The pool is the top-most level of ZFS storage and consists of one or more virtual devices or vdevs. Vdevs themselves are comprised of the individual drives installed in the system. Another way of visualizing it is if you had a bookcase full of books the bookcase itself would be the ZPool, a single shelf would be a vdev, and the books would be the individual drives of each vdev. In traditional RAID (e.g. RAID 0, 1, 5, 6, etc) you are limited to a single RAID configuration per pool, however ZFS gives you an extra layer to work with, so you can use multiple configurations, and by extension multiple drive sizes, in your storage pool. Additionally ZFS has the option of utilizing drives for special configurations to augment a storage pool. More on this last bit in a minute.
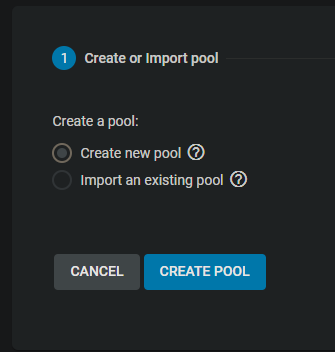
Creating the pool is pretty simple. TrueNAS uses the default ZPool name of “tank” but I’ve been naming my NAS storage “Archives” for over ten years now so I stick with that.
With the pool created next up were the vdevs. The vdev level is where the ZFS RAID type is configured and managed. What type of ZFS RAID you use and how many drives you use per vdev is completely up to you. There are several camps of thought on the subject and I spent considerable time on the TrueNAS forums as well as other tubes on the Internets gathering opinions. In my previous ZFS setup I was using sixteen drives in a single RAID Z2 vdev (equivalent of RAID 6) configuration. While I didn’t encounter any problems or data loss, I did eventually discover in doing my research that using smaller multiple vdevs rather than one large one will result in less wear on the drives during resilver (rebuilding of data after replacing a drive) because fewer drives are accessed, and quicker resilver times. Simplified this means lower risk of drive failure and losing data during resilvering. Fine with me. So armed with that knowledge I set about creating three RAID Z1 (equivalent of RAID 5) vdevs consisting of four 20TB drives each.
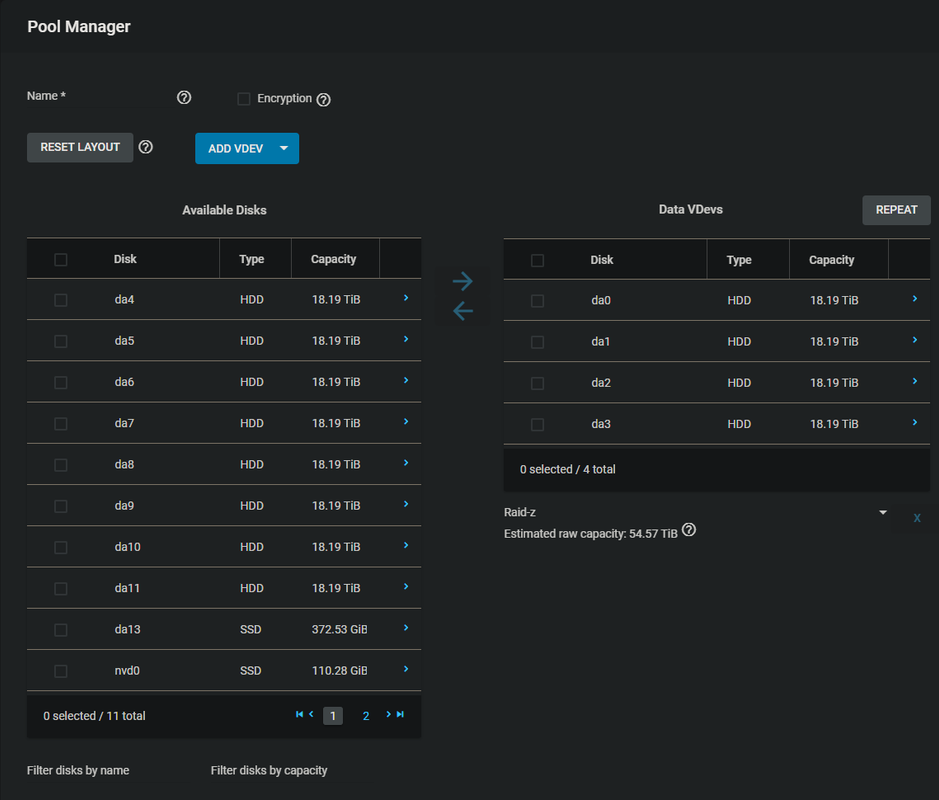 The first vdev is already created, you just need to select which configuration you want from the dropdown below the drive listing on the right
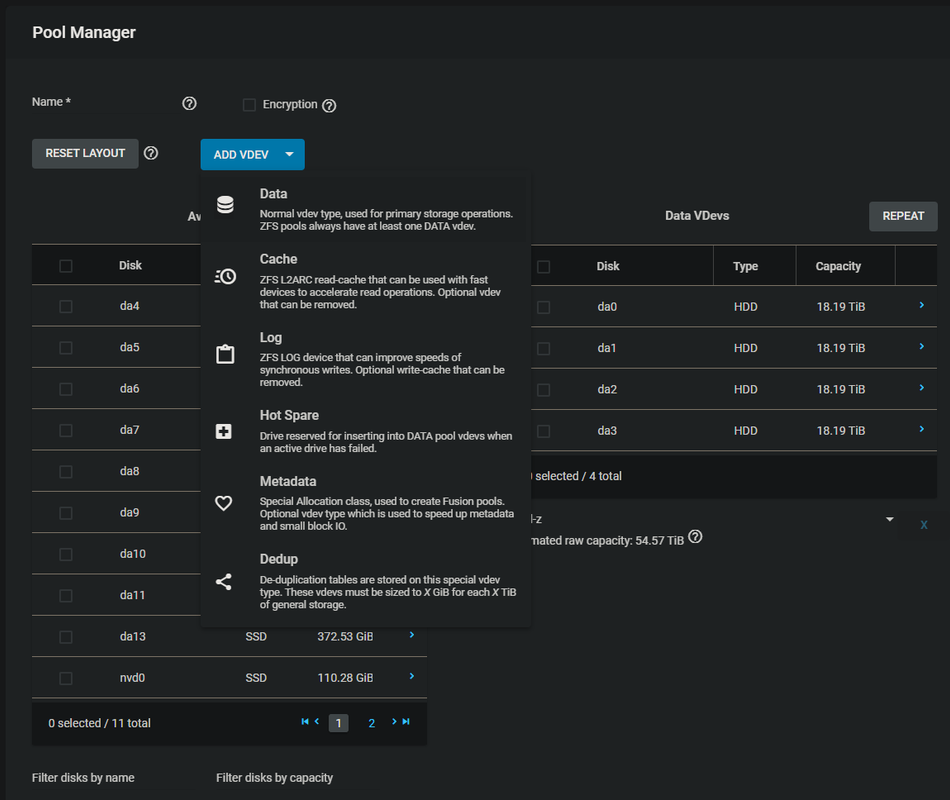 Click “Add vdev” and then “Data” to create additional vdevs
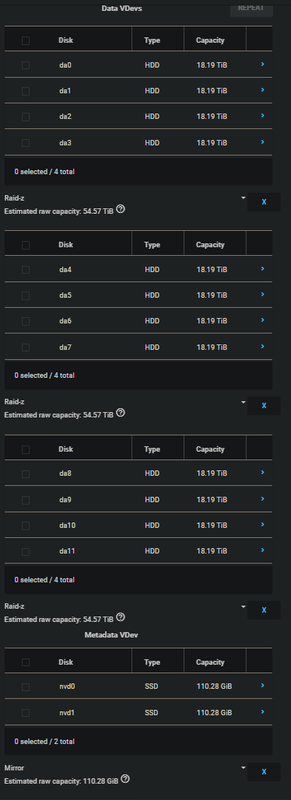
Once all three vdevs were created I then created a fourth of the Metadata type. In the hardware post I mentioned the Intel P1600X Optane drives that were to be used as a special metadata device and this is where you go to assign that function to them. In the end my list of vdevs looked like this:
Notice that for the metadata vdev the two Optane drives are in a ZFS mirror configuration. Not only do you need a minimum of three drives to create a Z1 vdev, there is nothing to be gained by doing this. The same is also true of creating a stripe vdev (RAID 0). Since the Optane drive latency is ludicrously low there is no observable gain by striping two of them together for metadata. That and, if my understanding is correct, if the metadata device experiences catastrophic data loss you lose all metadata in the entire pool. Common sense dictates that going this route would taunt the ghosts of both Darwin and Murphy. FAFO at your own risk, I don’t when it comes to data preservation.
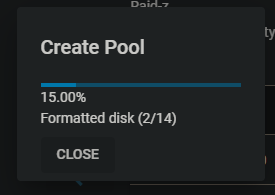
Now I just had to wait a few minutes for the drive to be formatted and configured.
The TrueNAS web UI doesn’t have a nice condensed list view of every drive in an active pool so I took a screenshot via SSH terminal to show the final result:
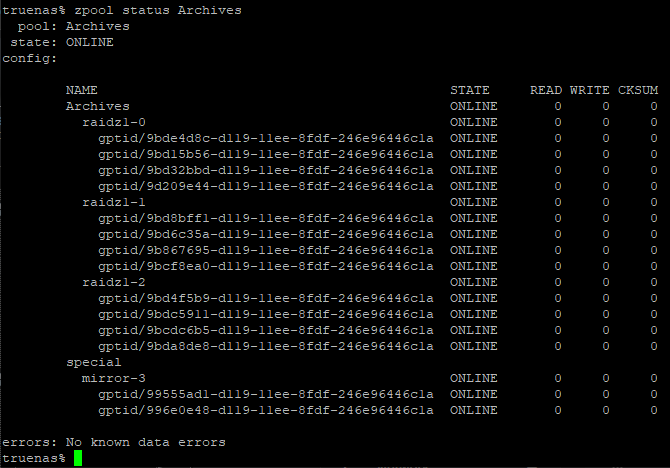 As LeVar Burton said when staring at the upgraded warp core of the Enterprise D: it’s a thing of beauty
Next on my list was performing a burn-in test to check for defective drives. While extremely rare, sometimes a hard drive can fail almost immediately after using it for the first time and a burn-in test is designed to facilitate that by writing random data to the entirety of the drive and then reading the SMART data to see if any errors or anomalies appeared. There are numerous ways to perform this test including software, but when I came across a method that used two “dd” invocations from the command line this turned out to be the most appealing to me. The first command is:
dd if=/dev/urandom of=/mnt/Archives/testfile bs=1M count=174214591896576 status=progress
This writes randomly generated data to the entire pool using a block size of 1MB with the count being the sum capacity of available space in the pool in MB. The status=progress parameter shows a real-time progress readout of the operation.
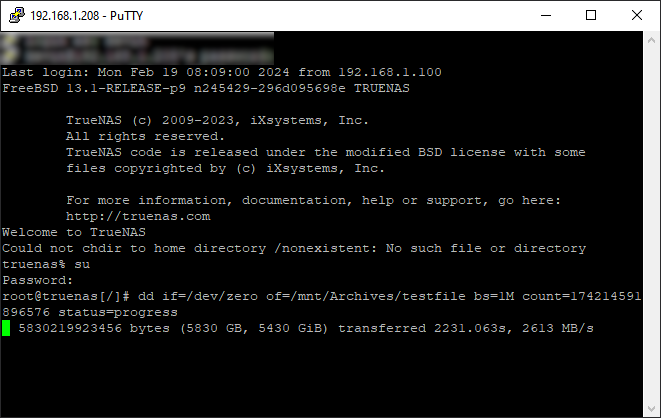
The second command, as shown in the screenshot below, is:
dd if=/dev/zero of=/mnt/Archives/testfile bs=1M count=174214591896576 status=progress
This writes zeroes to the entire pool instead of random data. This has the dual advantage of adding a second set of writes to all of the drives to test for I/O errors but it also completely clears out the pool. Each of these tests took nearly a day despite 2.6GB/s (not Gb/s) speeds. Big pools require big patience.
Once the tests were complete I read the SMART data on each drive and checked for any bad sectors. If any I/O errors were to occur these would present during the dd operations, but they would also be listed at the top of the data.
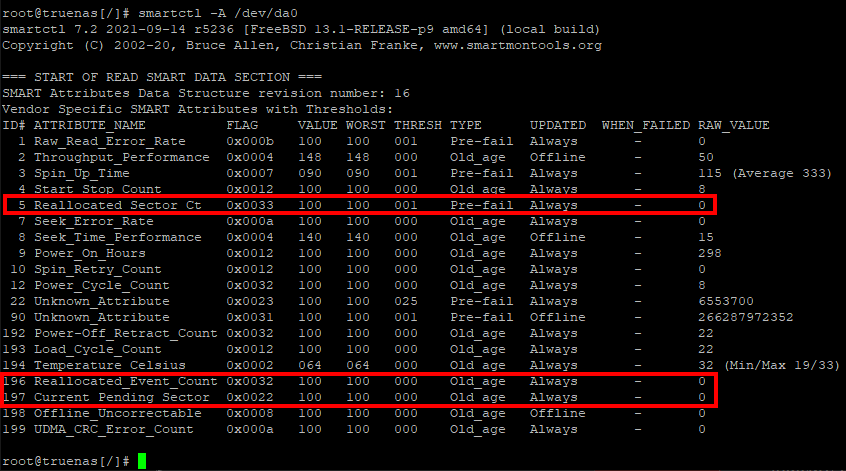 All zeroes is just what I like to see
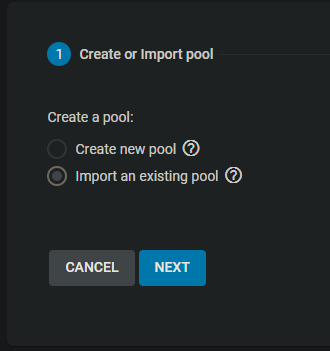
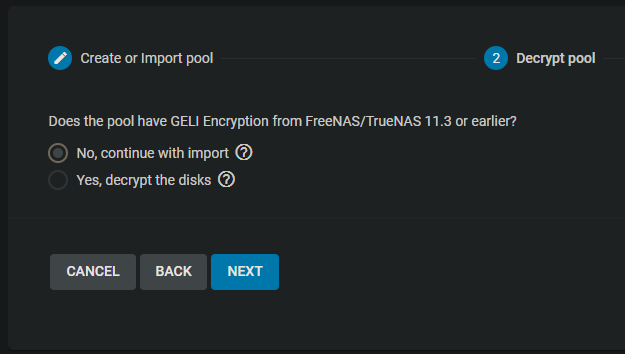
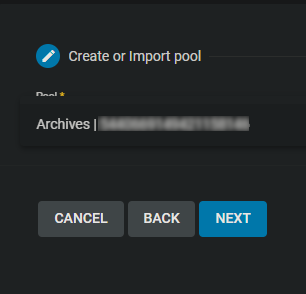
I mentioned patience, well all I’ve done is create a pool and burn-in test the drives and that took two whole days! I haven’t even started migrating my data yet. Thankfully that was next. However this is also where I encountered the biggest headache. Hooking up the disk shelves to the external SAS controller went fine and TrueNAS saw the fully intact ZPool on those drives, however because the storage pool had the same name as the one I just created, it wouldn’t let me import it. Sadly I didn’t get any screenshots during this process as I was in troubleshooting mode and completely tunnel visioned. Figuring this one out took a lot longer than I expected but I did solve it. What I needed to do was rename one of the pools to something different so that TrueNAS didn’t have duplicate pools (by name). Unfortunately this required me to play a bit of musical chairs. I couldn’t rename the old pool because I have to import it in order to be able to do that. Furthermore this operation can only be done (or so I am told) via command line, there’s nothing in the webUI for it. I’m comfortable with the command line, but keeping track of which pool is old or new was my concern. So with a sense of caution I renamed the newly created pool to Archives2 which then allowed me to import the old pool in the webUI.
The import only took a minute but then I needed to rename the old pool. I called this Archives3 and then I renamed the new pool back to Archives. I didn’t bother renaming the old pool again to, say, Archives2. It wasn’t necessary.
Now came the worst waiting game ever: migrating my data.
TrueNAS has a built-in function called ZFS replication but I wasn’t comfortable going this route because it relies on data snapshots instead of just doing a straight up copy operation, so I opted for using rsync with metadata and timestamp preservation parameters. In retrospect I probably could have done a single rsync copy command for the entire pool, but being the overly cautious data hoarder that I am, I opted to go by folder at the top level since there weren’t that many, maybe forty, so that if something were to fail I would know precisely what I was copying. This actually did happen but it was due to a super long file path. I don’t remember what the file was exactly, but it was unnecessarily nested inside of several folders with long names. Removing the extra folders fixed this and the migration resumed.
As I said earlier this was the worst waiting game ever. It took a grand total of nine days, mostly due to transfers completing during the night instead of interruptions, to complete the migration. But now it’s done, everything is working, the data has been preserved, and my power bill should go down a tiny bit since everything is condensed into a single chassis. This is the kind of tech journey I love going on and I’ll be going on it again sometime later this year when I get around to rebuilding my Proxmox server with, no surprise, another Dell R730XD (2.5” bay version this time). I still need some additional hardware before I can jump into that project. But in the meantime there is a TON of snow outside that is calling my name. ‘Scuse me!
