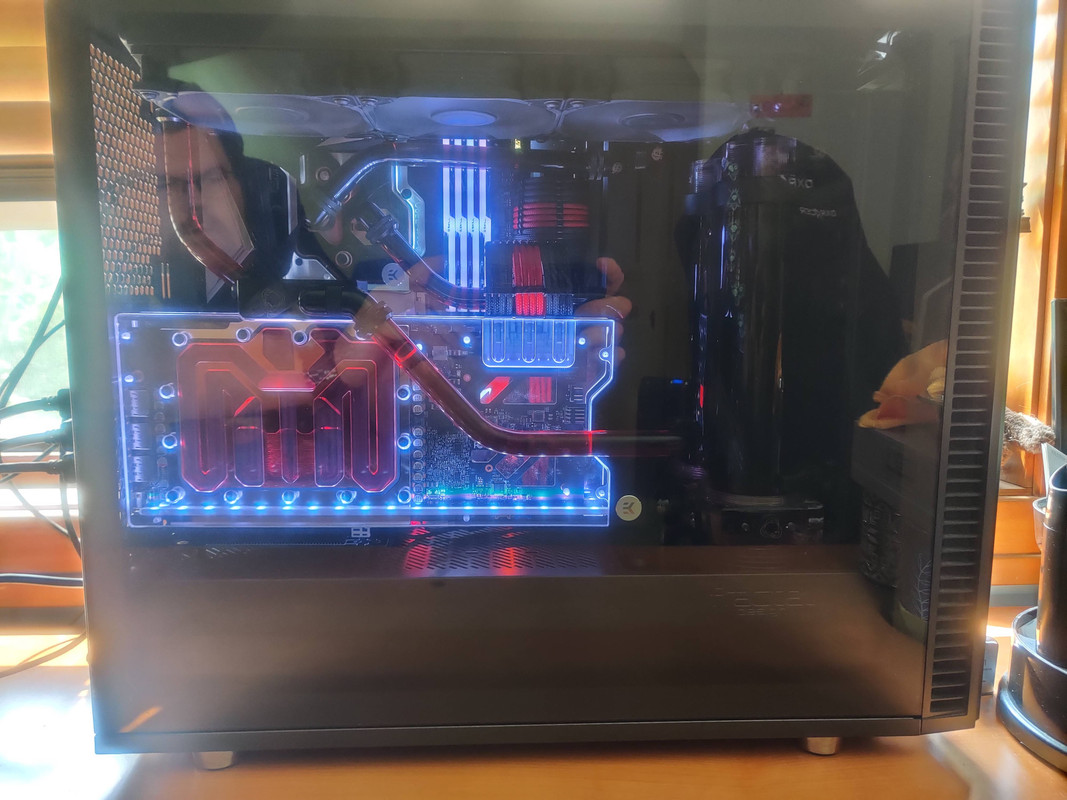
Water Cooled 3080 Ti Upgrade
RIP GTX 1080 Ti #1
Schrödinger’s GPU might be a better way to put it, except that the outside observer can’t tell whether it’s alive or dead either. But what is definitely true is that this 1080 Ti could no longer be trusted. Backtracking a little for context, roughly two years ago I built my current water cooled desktop computer using dual GTX 1080 Ti graphics cards in SLI because I didn’t feel a move to the RTX 2000 series cards was a worthwhile investment due to the super high prices from GPU shortages during the earlier days of the COVID-19 pandemic. But the RTX 2000 series had the final nail driven into its coffin when the 3000 series was announced with claim of major performance gains, immediately tearing all 2000 series GPUs to shreds. Prior to the GTX 10 series launch, the trend used to be a given GPU would have roughly equal performance to the card one notch higher in the previous generation. This time the gamers’ voices have been heard and now a 3070 outperforms a 2080 Ti, over three notches higher on the ladder! I’m not counting the “Super” releases because I’m of the opinion they shoudn’t exist. But with all that being said, I’ve had my eye on the 3080 Ti ever since it launched last year and the evidence I’ve seen definitely points to it being the ultimate sweet spot GPU. Yes, the Titan GPUs are at the very top of every lineup, but the meager performance gains over the 3080 Ti combined with the significantly higher power usage and price difference aren’t justifiable to my wallet.
I streamed the original build in its entirety on Twitch, minus the 3D printed parts. If you’re interested, the build gallery is [here].
So a bit of disclosure, I actually bought my 3080 Ti last year when EVGA had some serious discounts when you ordered directly from them. I paid $900 USD which is still a lot, but better than the $1200 it was at launch. The two reasons I waited so long to put it in my rig are because EK Water Blocks announced a new water block design for the 3000 series that didn’t release until August last year, and then the solar power projects which took up all of my time for nearly half a year, coincidentally starting around the same time. Because of this, I’m missing a few glamor shots of various stages of this project.
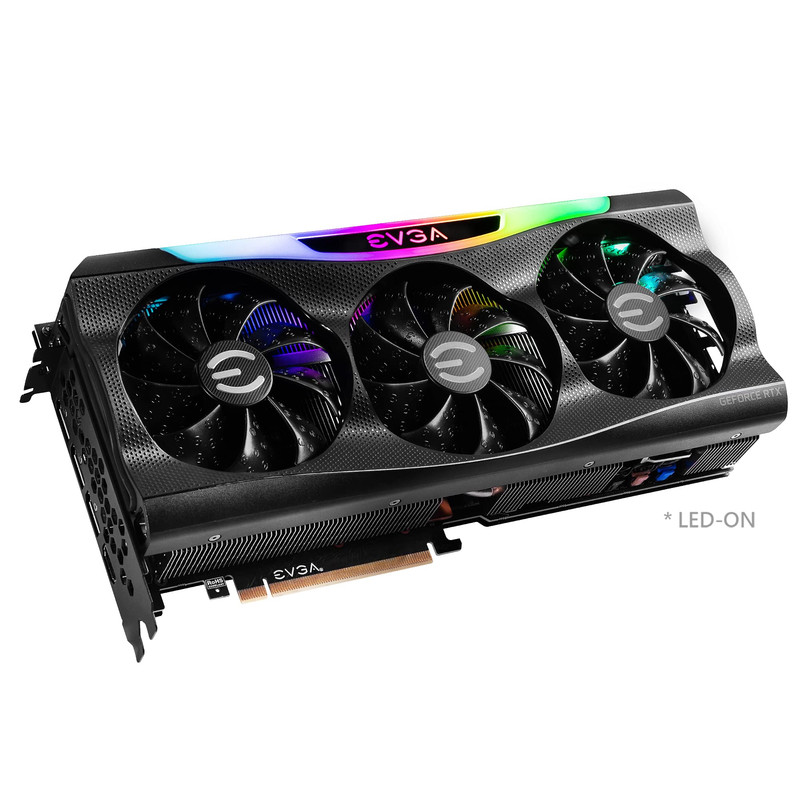
The 3080 Ti I bought is EVGA’s FTW3 model and I’m using EKWB’s Quantum Vector² Active Backplate set for the waterblock (technically waterblocks).
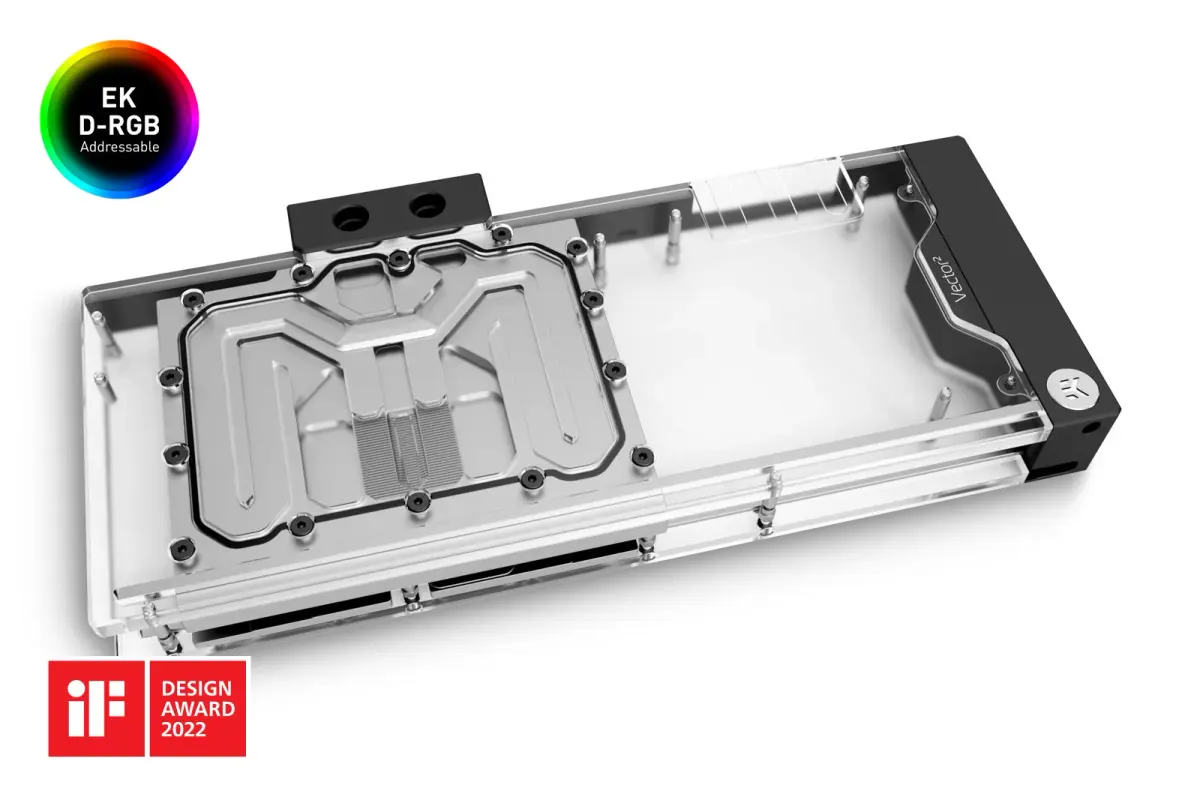 Image taken from EKWB product page
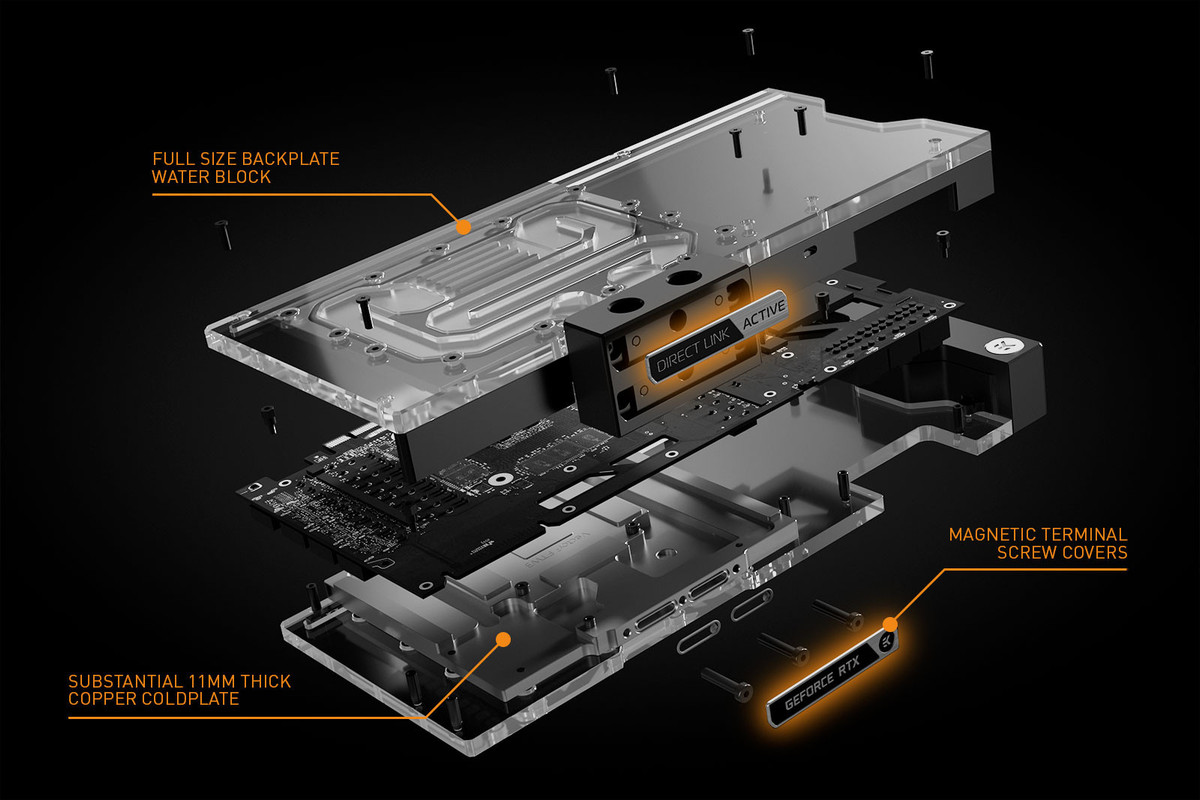 Image taken from EKWB product page
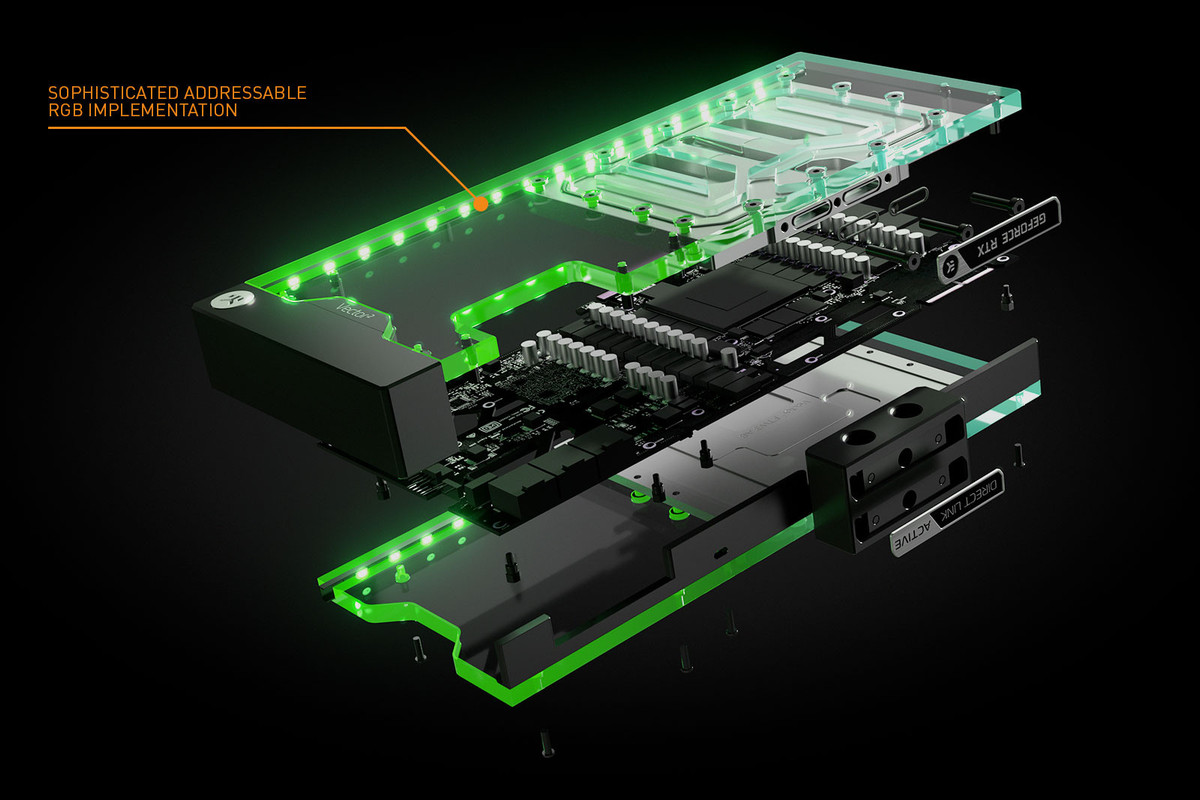 Image taken from EKWB product page
EK has officially, in the words of Fred Ward from Tremors II, “put a whole new shine on the word ‘overkill’”. There really isn’t even anything to cool on the back of the 3080 Ti, just some VRAM chips and the backs of the mosfets. Originally I just liked the look of this over the original design, which continued the design from the RTX 2000 series and I didn’t really care for that. This is way better. If they made a non-active-backplate version I’d have purchased that but for some reason that was released long after this one, so I bit the bullet and paid the premium for this set. But ultimately I’m not complaining, just acknowledging that I didn’t set out to get overkill, but I ended up with it. But enough philosophical debate on waterblock economics. On to the upgrade!
When I built my rig in 2021 I made it a point to install fill and drain ports for precisely this sort of occasion. I don’t even have to take the side panel off, I just undo the drain plug, hook up a hose with a threaded fitting, and drain the fluid into a bowl while opening the corresponding fill port up top to let air into the loop. Side note: if anyone is interested, I use distilled water mixed with EKWB’s blood red concentrate that contains dye and antimicrobials to prevent algae and other bacteria from forming.
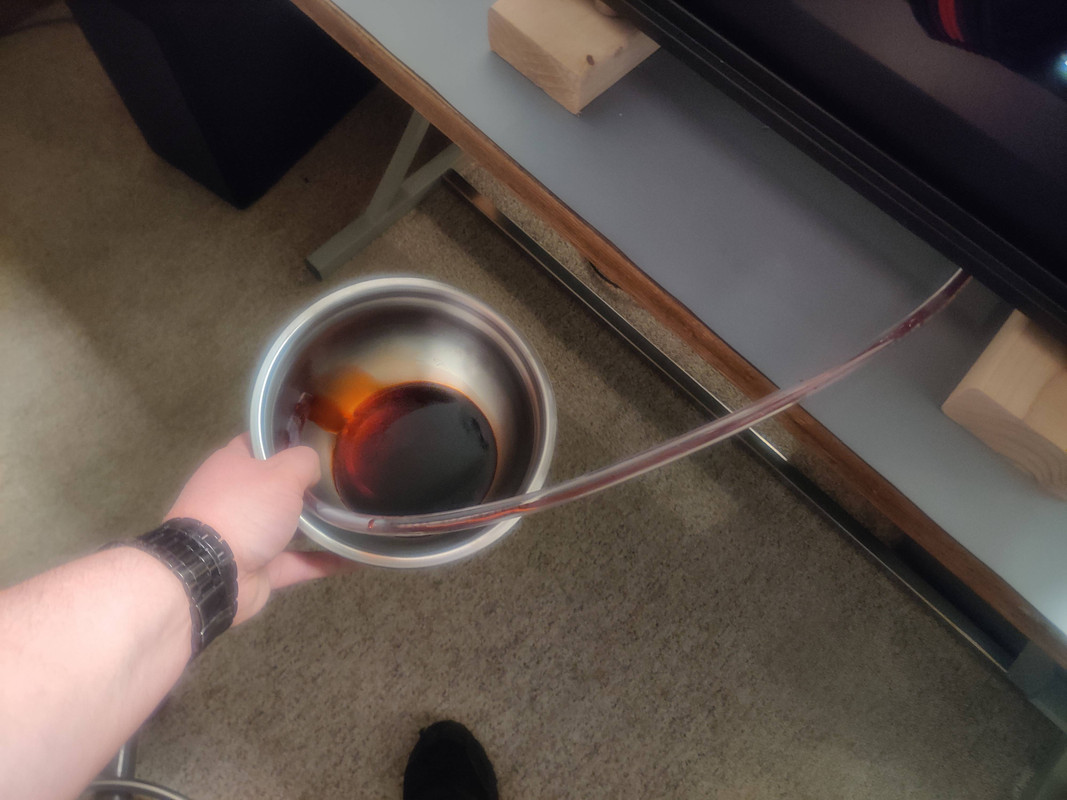 In retrospect I should have made it look like this was draining from my arm just for the lulz
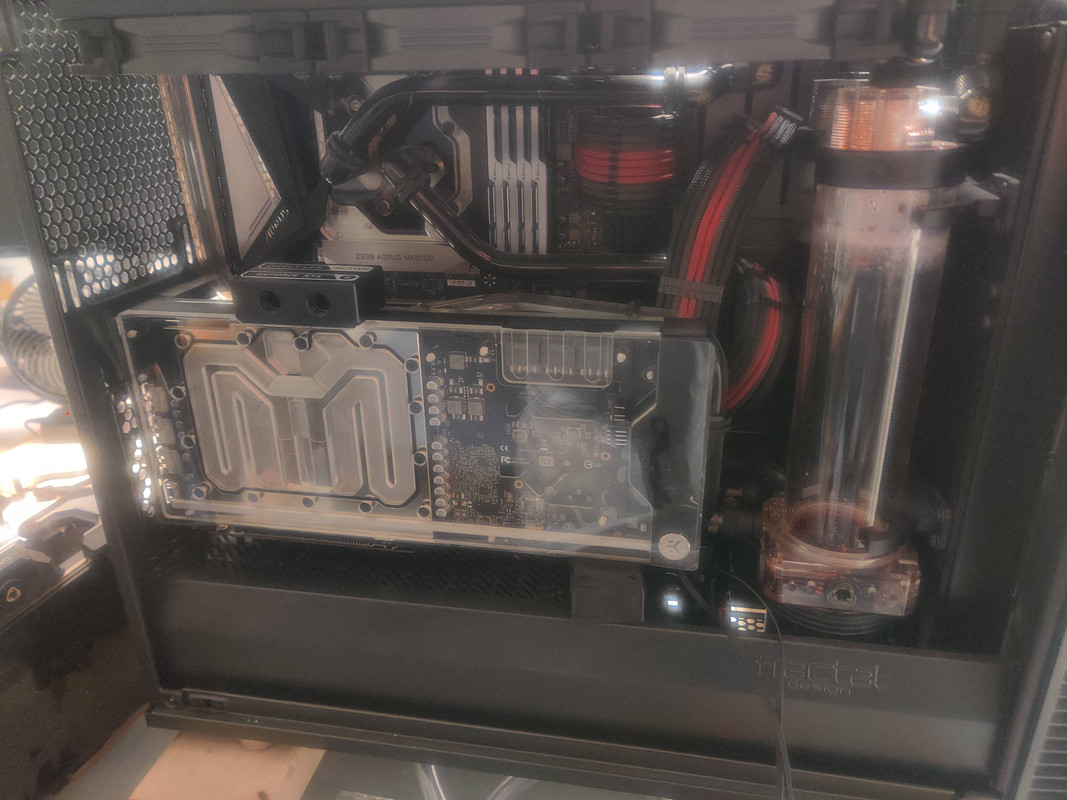
Once the GPU loop was drained the 1080 Ti’s came out and the 3080 Ti could be test fit in the case.
While the GPU fit just fine, the output from the pump on the right came out too far to the left for me to be able to run tubing to the top or front of the GPU. While running a tube along the back into the terminal block on top is technically possible, water cooling is as much about aesthetics as it is performance in my book. And as the old saying goes: a job worth doing is a job worth doing well. Hard tube water cooling allows you to make form out of the function, so of course I’m going to run the tube where it’ll be visible. The problem is, while I had a 5mm extender coming off my pump block, that’s the only piece I could remove to move that output tube as far right as possible, and that wasn’t enough. It was time to get creative, but in order to do so I needed to plan the tube route first.
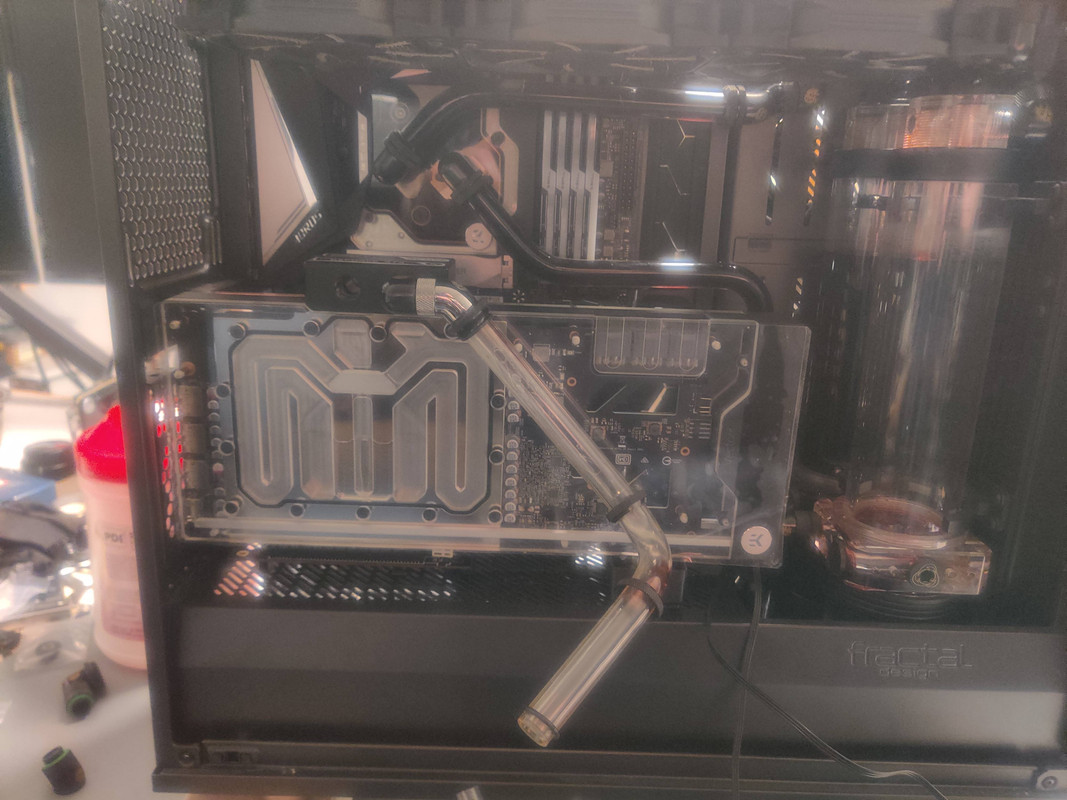
In two other custom water cooled builds I did prior to my own, I formed the tubing so that it framed the GPU, coming up on the right side of the GPU, taking a 90-degree bend at the corner, and then going left, eventually connecting to the waterblock ports. But my machine is based on 45-degree bends instead of 90, so I wanted to keep that if possible. Having a tube come up out of the GPU at a 45-degree angle and then straightening to vertical before connecting to the top radiator seemed simple enough and visually pleasing. With this in mind I grabbed some random fittings and reusing an existing tube I mocked up what a diagonal path across the front face of the GPU waterblock might look like.
After staring at this for way too long two options came to mind. The first was run the diagonal all the way to the bottom of the block, put in a 45-degree bend at the same height as the fittings coming out of the pump block, and then do the rest of the run horizontally with the tube taking a 90-degree bend to the back to connect to the pump fittings. The second option was to have the 45-degree bend halfway down the face of the GPU block and then continue the run in the same manner as the other path. In the end the pump block fittings made the decision for me. No matter what I did I couldn’t squeeze a horizontal 90-degree bend at the same level as the pump and connect a drain via tee fitting. While some would call this jank (and I’d somewhat agree from an aesthetic standpoint) what I ended up doing was using a 45-degree rotary fitting coming off the top port of the tee connected to the drain, and then a 90-degree double rotary to make the turn to the front. This created a perfect place for me to connect the tubing following Option #2.
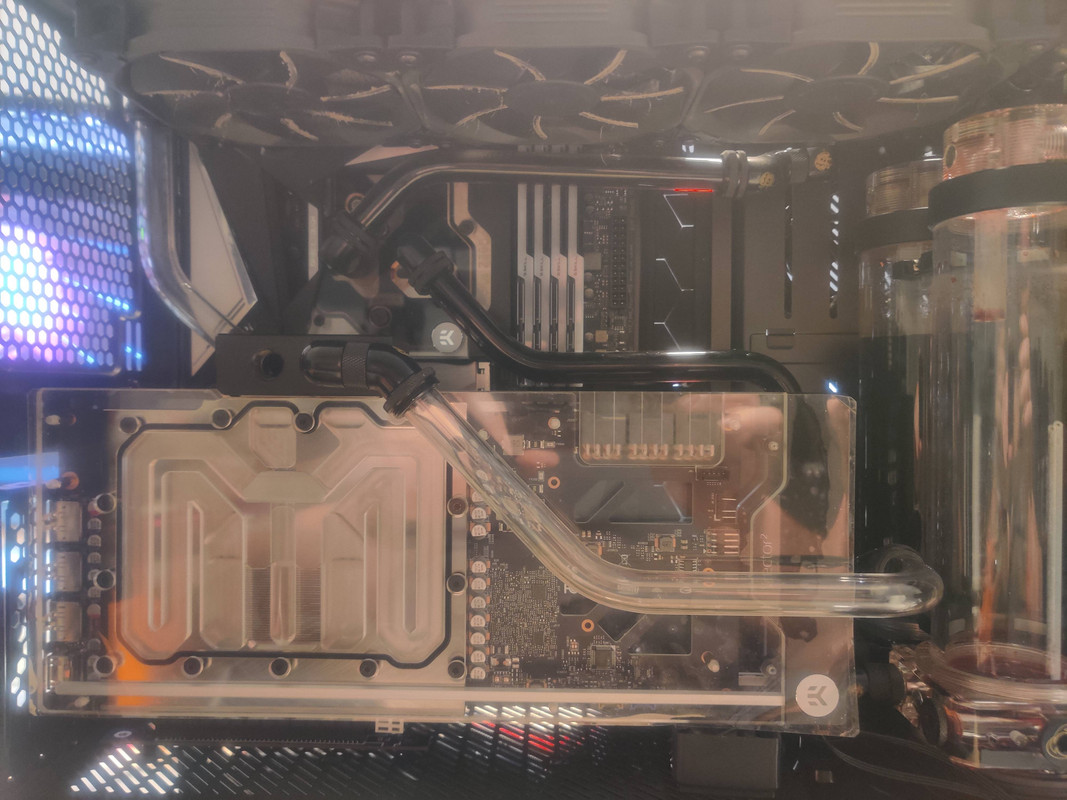 A bit ironic for the water flow to almost do a 180 before entering the clear tubing, but sometimes you gotta go with the flow (pun intended)
What I didn’t take pictures of was expanding one of my existing PCIe power cables from dual 8-pin to triple 8-pin. Since this would mean the cable has the same number of wires as my motherboard power connection (24 wires) I opted to duplicate the color pattern with the PET sleeving. On the labor side of things this actually wasn’t a ton of work since I could still use all of my existing wires, I just needed to sleeve four wires in red and four in gray and then move some existing wires into new terminal connectors. In all this only took me about an hour once I figured out my working strategy.
After this I did an air pressure test to check for leaks and after letting the system sit for a few hours at 0.5 bar it passed with flying colors. Next I mixed up a new batch of dyed water using more of EKWB’s blood red concentrate that I still had on hand from when I first built the system two years ago and filled the loop up. On a side note I’ll say that one advantage to having parallel loops where you only have a single radiator per loop is that when filling, if you have a reservoir tube around the same size as mine, you can get away with just one fill and that will be enough to prime the loop. No need for turning the system off and back on to refill the reservoir, just power on, let it loop around, and then fill to the top.
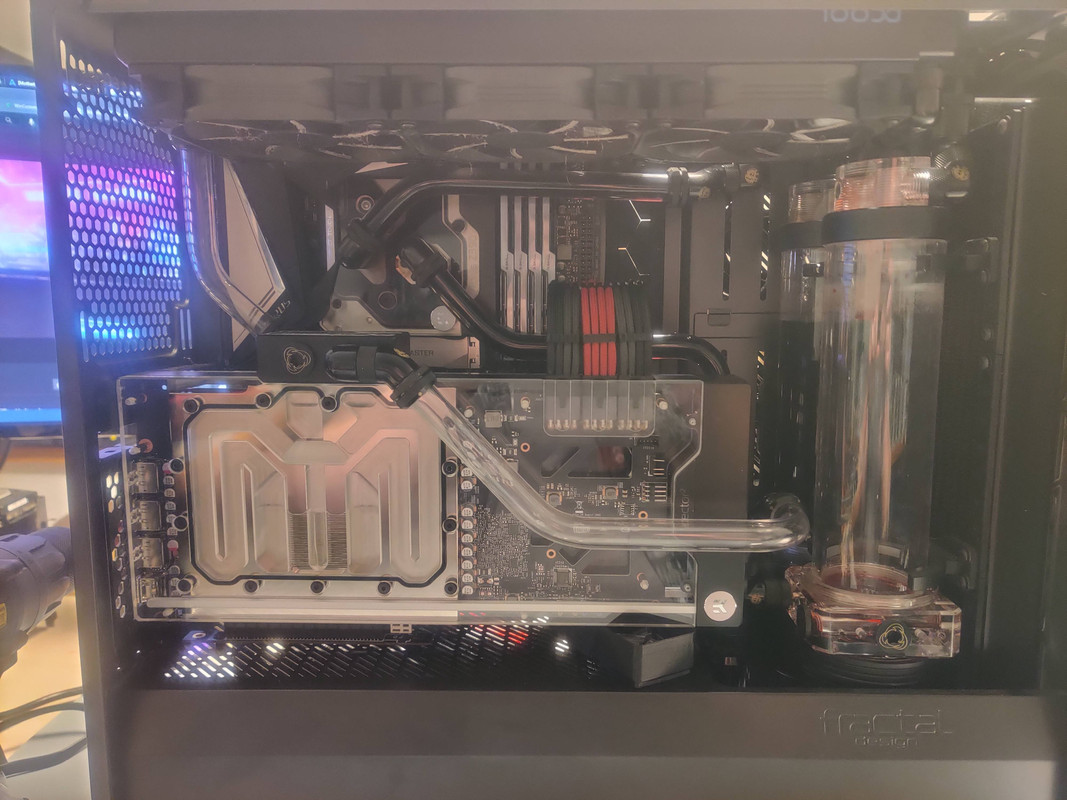
With the loop filled my system is back in action and ready for battle!
Super happy with how this turned out and while it’s only been a few days I haven’t had a single problem with any of the games I’ve thrown at it and the load temperatures are fantastic, averaging around 50-52°C with maybe a spike up to 60°C and fluid temps around 40°C. For reference I game at 1440p resolution and 144Hz refresh rate and the 3080 Ti is cooled by a single 30mm thick 360mm radiator with fans running at 85% because I programmed them to hit 100% when the fluid temp is 45°C.
The next computer project will be building three portable LAN rigs for QuakeCon 2023. Considering QuakeCon has been held in online-only format for the past three years because of COVID, I’m beside myself that it’s returning to in-person and as such, I’m very excited to be building SFF LAN rigs for myself and the family. I may combine the write-up into a post for QuakeCon depending on how much custom work goes into the builds along with how much things sneak up on me prior to the trip. At any rate there will be a lengthy post about all of the shenanigans!
Welp, lunch break is over, back to the day job. See you next time!

