Immich LXC Revisited
The Proxmox VE Helper Scripts now includes Immich!

Four months ago I posted about self-hosting Immich in an LXC container to manage photos and videos from my phone. Me being me it wasn’t enough to just get the service up and running and all data be stored in the container drive, no I had to mount multiple ZFS paths for each user I planned to create and then create a batch of symbolic links for every relevant user path so that the media could also be accessed in a simpler manner via SMB share for our Windows machines (e.g. dragging photos into Discord or a local photo editor). We engineers are all about designing and tweaking things to meet our needs, so am I an engineer? Yeah I think so. Am I crazy? Haven’t you already asked that question before? Besides, I thought I established that years ago. Anyway moving on.

Given how much of a headache it was getting Immich set up using an LXC container instead of Docker I’ve been keeping an eye out on the Proxmox VE Helper Scripts website for an LXC installer script and unbelievably the DAY after I made my last post the script appeared! In the voice of Simon Pegg as Scotty: ONE BLOODY DAY!! Why wait so long to test it out? Four reasons: job hunting, working on my solar array, prepping for QuakeCon, and dealing with the fallout of the American Airlines from QuakeCon. But enough about my excuses, let’s get ‘labby!
Creating the container

The webpage for the installation script and instructions can be found here and the command to create the Immich LXC container from the Proxmox host shell as root (or via SSH) is:
1
bash -c "$(curl -fsSL https://raw.githubusercontent.com/community-scripts/ProxmoxVE/main/ct/immich.sh)"
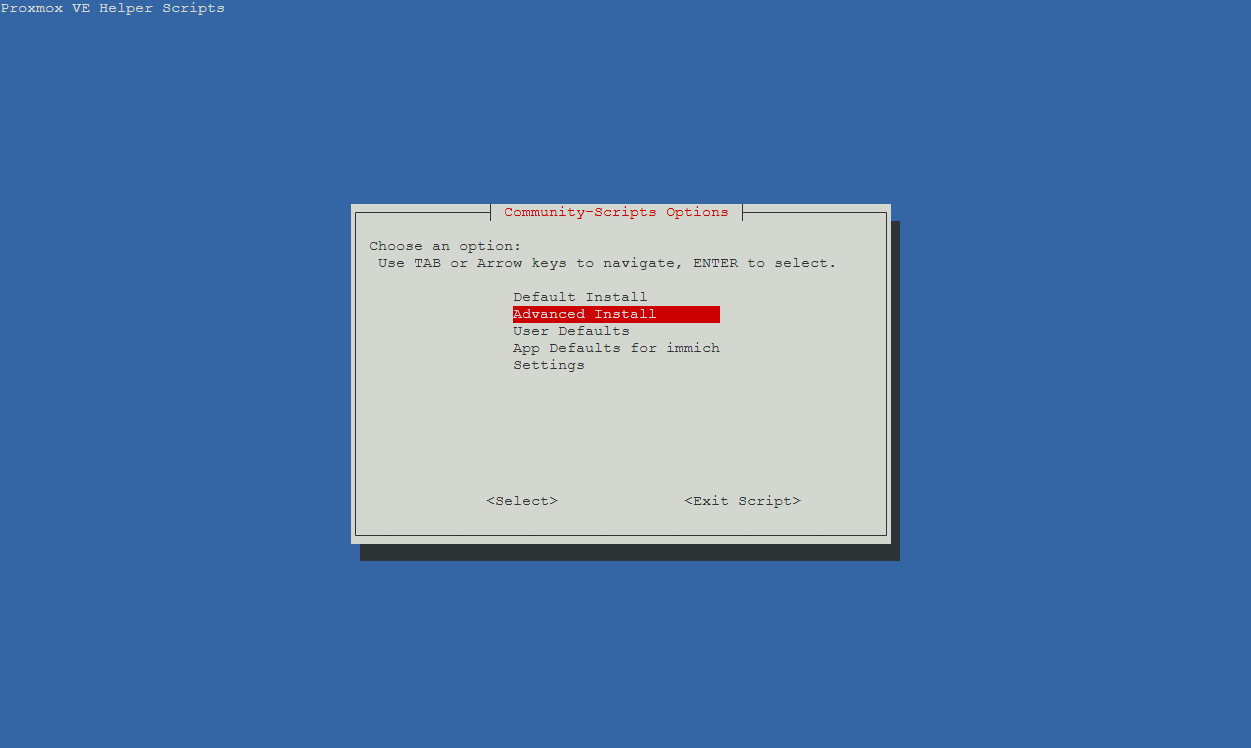
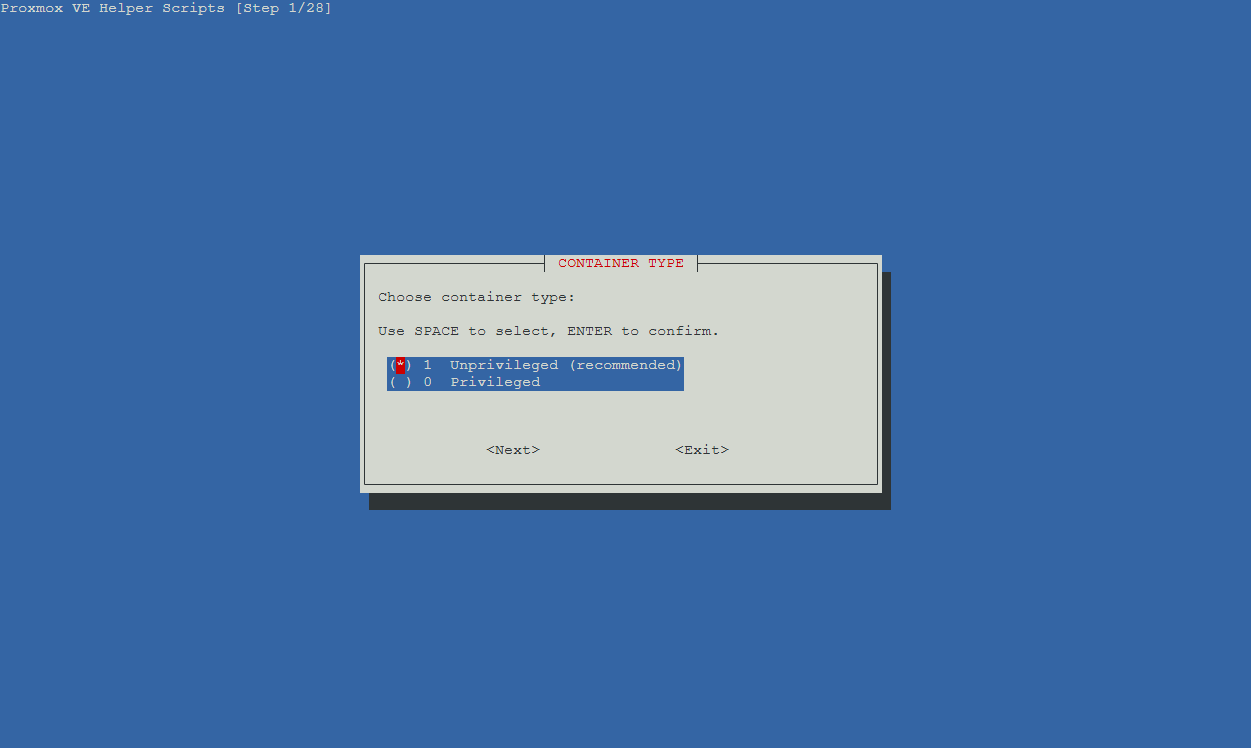
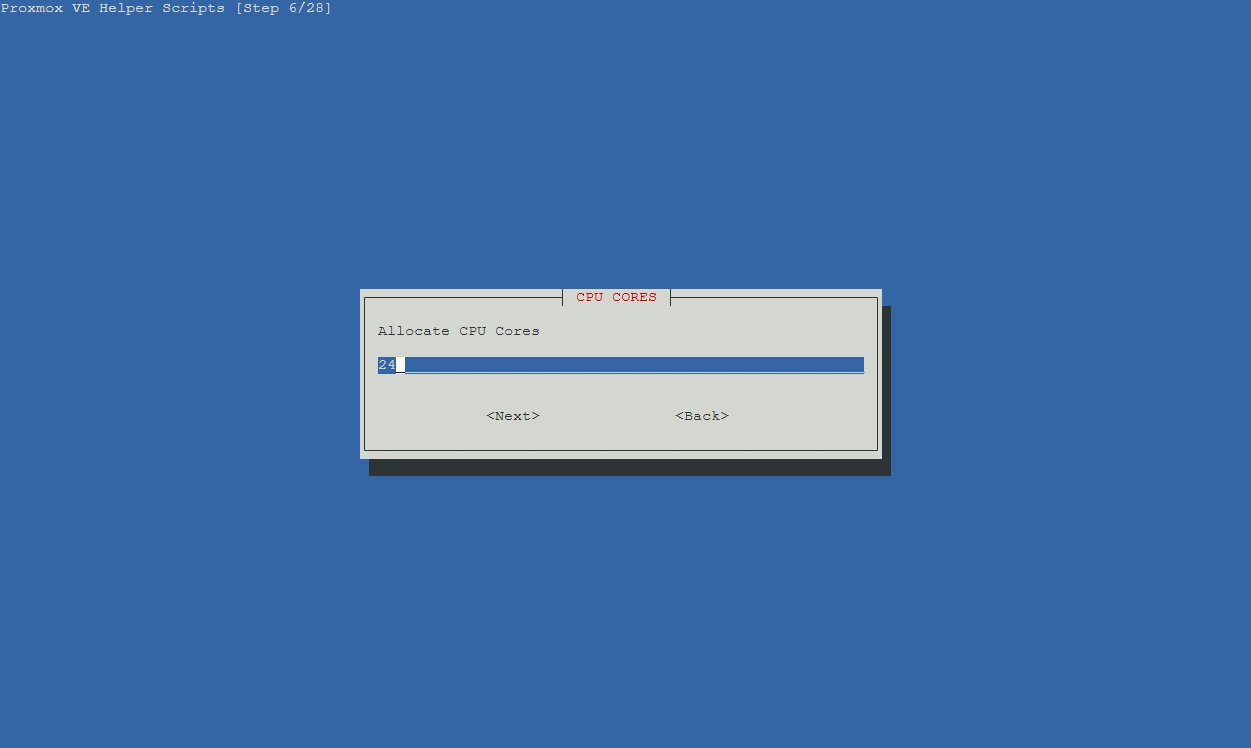
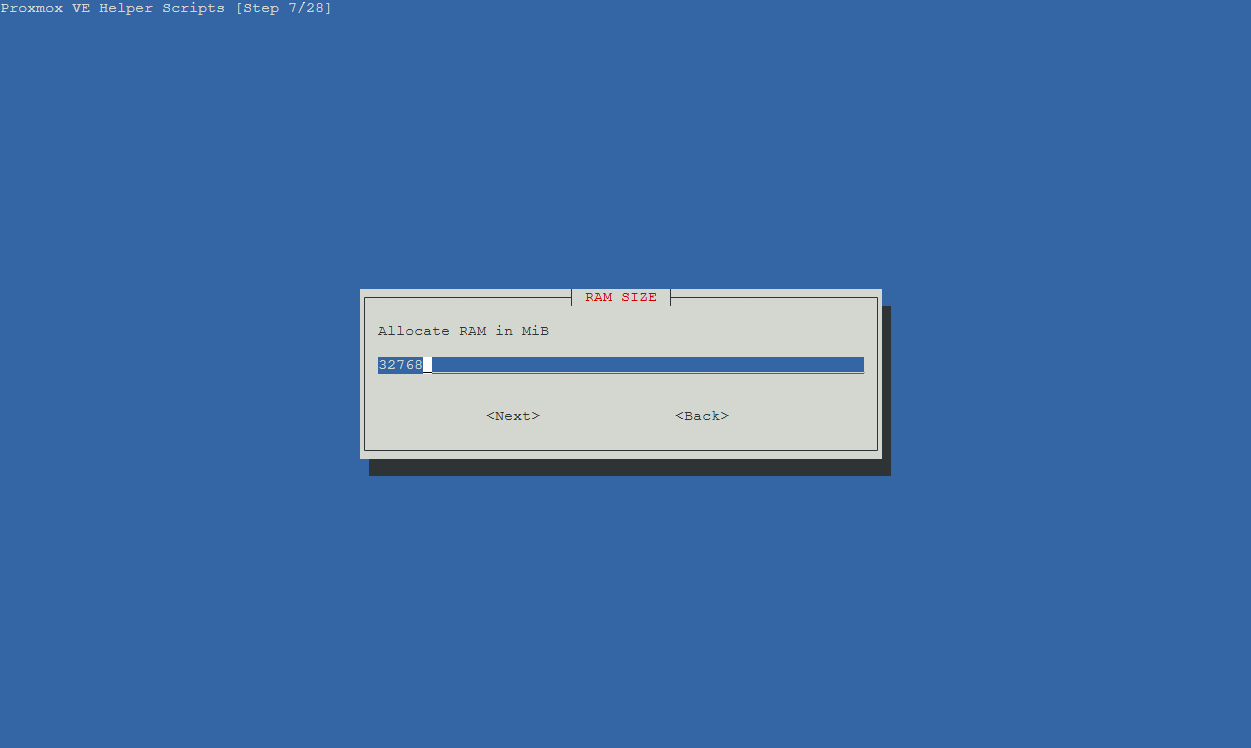
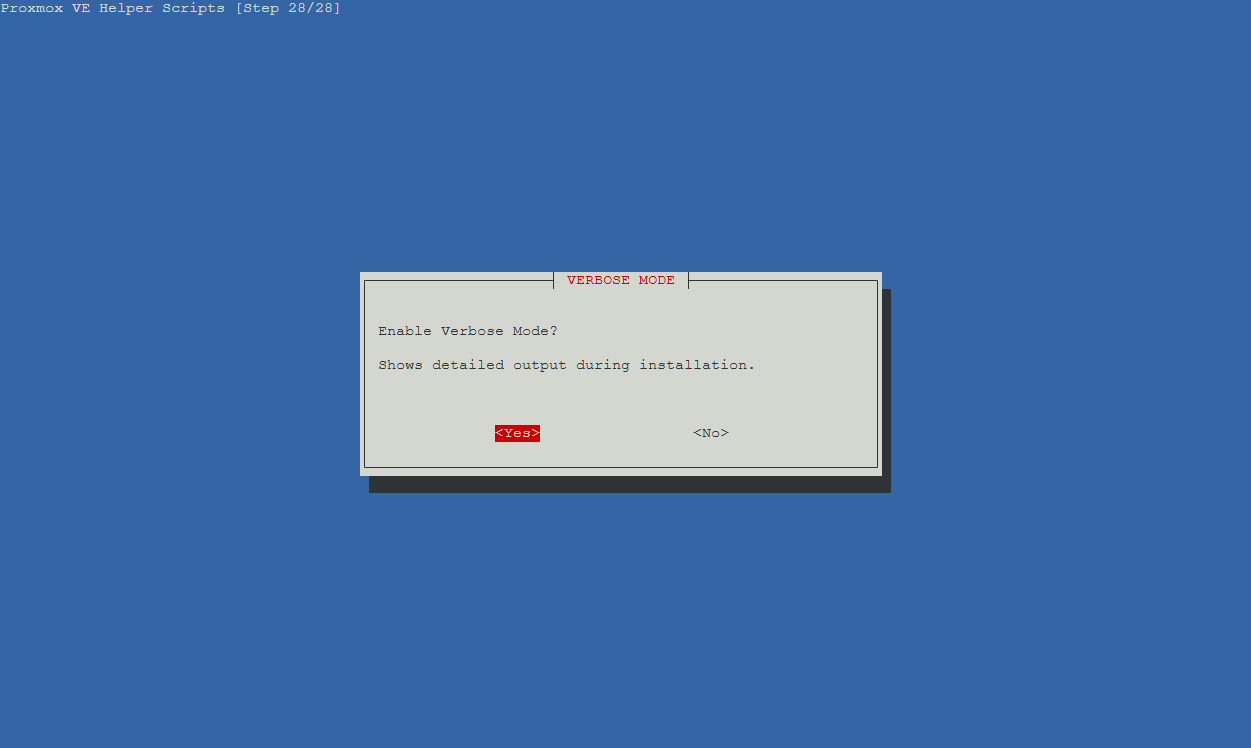
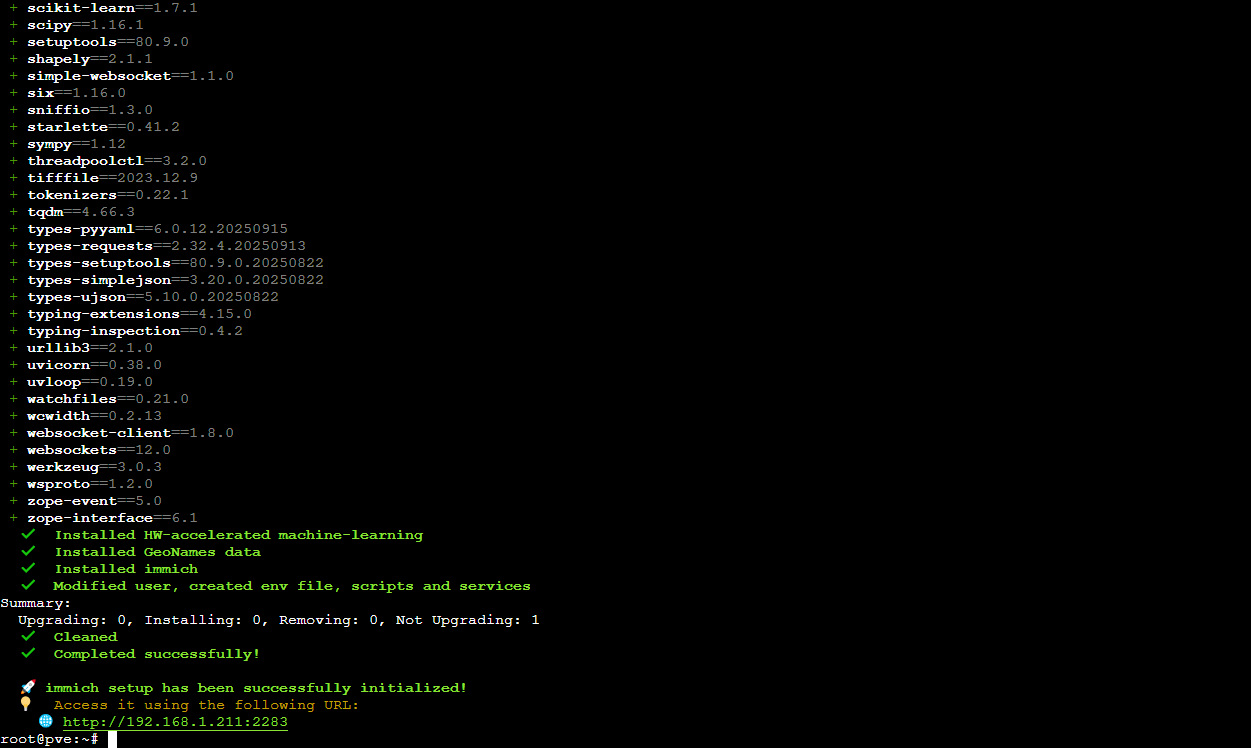
Once the script loaded I chose Advanced Install so that I would have access to all of the configurable options. I created the container using most of the default settings but I increased the CPU cores to 24 and gave it 32GB of RAM since I knew Immich would use the processing power after dumping the entire contents of my phone. Once the dump was complete and the processing jobs complete (more on those later) I reduced the resources to 4 cores and 4GB of RAM. The default disk size was 20GB and I left that alone. Since I keep IPv6 disabled in my homelab I disabled it in the container as well. I also enabled SSH access for root and verbose mode for the installation output. Once I specified the virtual disk location the script ran.
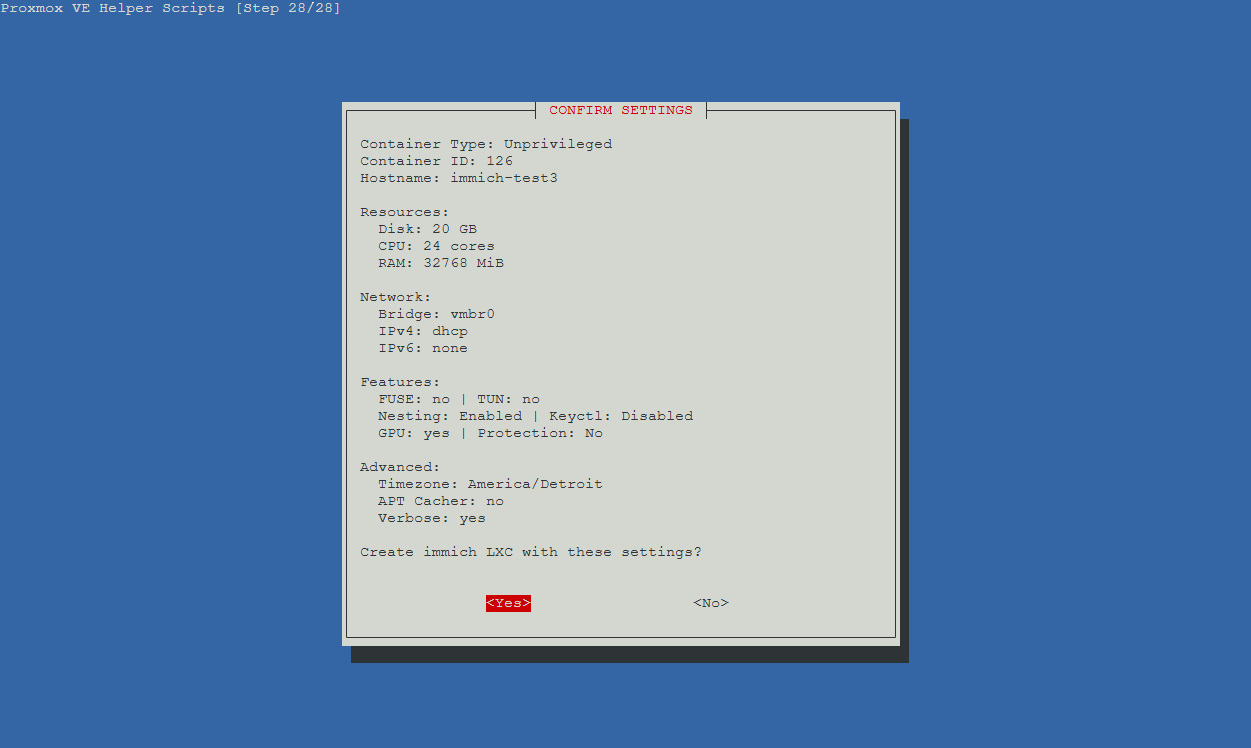
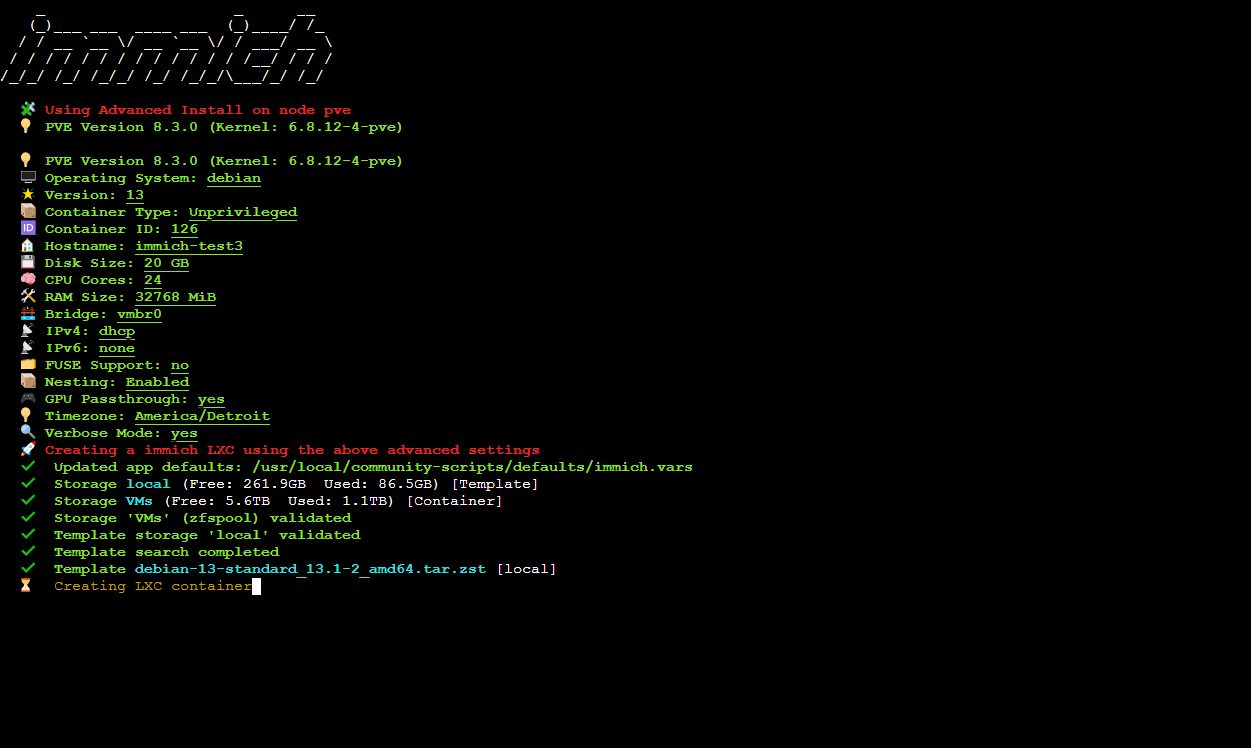
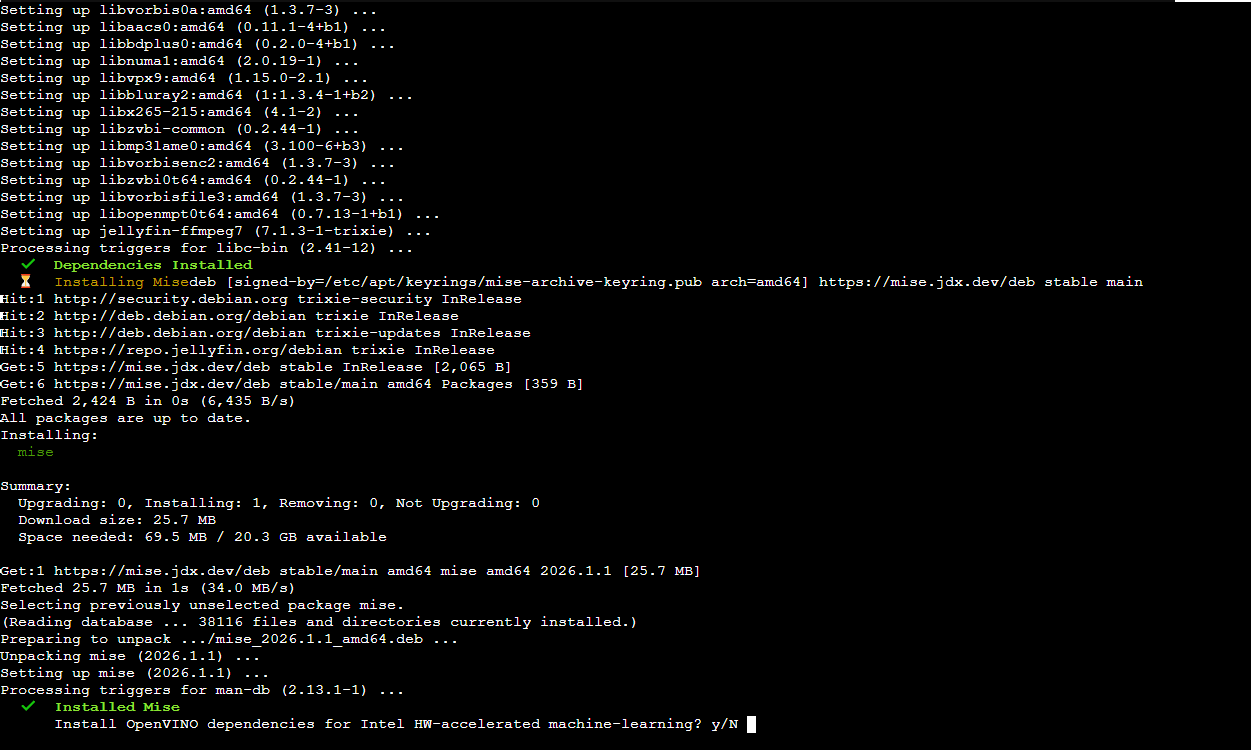
During the installation I was prompted to install the OpenVINO dependencies for hardware-accelerated machine learning to which I said “yes”. The Dell R730XD server that runs Proxmox in my homelab doesn’t have a GPU but it can certainly accept one, so I opted to install the dependencies and if I ever need to install a GPU for Immich or other services that would make use of one, such as self-hosted AI LLMs for agentic use or with Home Assistant (I would LOVE to make a voice activated setup that uses Vega’s voice profile from Doom 2016 and Eternal), the option is there.
From here I just watched the text fly by for a while until it was done.
Mounting storage and configuring Immich default upload location
The next steps are somewhat unique to my usage case and are therefore optional. Per the documentation on the Proxmox Helper Scripts page for Immich, changing the IMMICH_MEDIA_LOCATION path variable in Immich’s environmental configuration file allows for the use of mounted storage for the main library storage locations. Immich does have an External Library function, however it does not have the ability to use external libraries as the upload locations for incoming media. Perhaps that could change in the future (I’ve thought about putting in for a feature request with the devs so the benefit could be shared with both Docker and LXC users) but for now we need to replace the upload path information. Additionally as I mentioned above and in my previous Immich post, I like to be able to access my media over Samba (SMB) share on my home machine, and by extension provide the same access for my family on their computers as well, which are Windows-based hence SMB instead of NFS. If we all switch to Linux someday I might change that, but for our purposes SMB is perfectly sufficient. The reason for this is for quicker and easier access to the raw files should changes need to be made such as batch editing photos, selecting photos to upload via Discord or attach to emails, or renaming the files.
In order to do this I needed to shut down the LXC container, create a mount point for the mounted storage, set the ownership and permissions for the mounted storage at the host level, and then finally edit the Immich environmental config file.
To shut the container down I just issued halt from the command line inside the LXC. Next I switched to the host shell and edited the config file for the LXC container.
1
nano /etc/pve/lxc/[vmid.conf]
I then added the following line to the config:
1
mp0: /path/to/local/storage,mp=/path/inside/lxc
which resulted in the following output:
1
2
3
4
5
6
7
8
9
10
11
12
13
14
arch: amd64
cores: 24
features: nesting=1,keyctl=1
hostname: immich-test3
memory: 32768
mp0: /path/to/local/storage,mp=/mnt/Immich
net0: name=eth0,bridge=vmbr0,hwaddr=BC:24:11:8F:C9:DC,ip=dhcp,type=veth
onboot: 1
ostype: debian
rootfs: VMs:subvol-126-disk-0,size=20G
swap: 512
tags:
timezone: America/Detroit
unprivileged: 1
Using /mnt/Immich for the internal path was my choice, you can set this to whatever you like, but note the path for later as we need that for the environmental config file.
With the mount point created I started up the LXC again and then ran the following command to get the User and Group IDs for the Immich user account:
1
2
3
cat /etc/passwd

immich:x:999:991::/opt/immich:/usr/sbin/nologin
For unprivileged containers Proxmox offsets the ID numbers for both users and groups at the host level so as to differentiate user accounts that have the same IDs inside the container, such as root which always has an user and group ID number of 0. This prevents someone that has obtained, for example, root access to the container from gaining root access to the host system even if they eventually obtain the correct password for the host. The offset amount is 100000 (one hundred thousand) so when setting ownership of the mounted storage in the host I switched back to the host shell and ran chown as root.
1
chown -R 100999:100991 /path/to/local/storage
This sets ownership of the storage to the Immich user inside the LXC so that all of the data can be managed by the Immich service, which is exactly what I wanted. However the default permissions for the Immich user account set this folder to read and write only and for just the owner (600), which would prevent any of my SMB accounts from being able to serve up the media files, so I needed to include group permissions.
1
chmod -R 660 /path/to/local/storage
My SMB shares are served up through a separate LXC, however if you want to host that from within the Immich LXC container you certainly can do so by installing Samba and then creating your user accounts and shares as instructed in the Samba documentation. But when you create the Samba user accounts, whether you’re running SMB in the same container or a different one, you still need to add the user accounts to the same group as the Immich user account in order to be able to take advantage of the group permissions we gave to the mounted storage for Immich.
1
2
groupmod -g [new GID] [new GroupName]
usermod -g [991] [SMBUser]
I repeated the usermod command for all SMB user accounts. Since the SMB accounts exist inside an LXC container, I didn’t need to offset the GID by 100000 like before. This also applies if you decide to host SMB shares from within the Immich LXC container.
The next step was modifying the Immich environmental config file so I started the container up but then stopped the Immich web and machine learning services.
1
systemctl stop immich-web.service immich-ml.service
With the services stopped I could then edit the Immich .env file. Inside the file I changed the IMMICH_MEDIA_LOCATION variable to the path of the mounted storage inside the LXC.
1
2
3
4
nano /opt/immich/.env


IMMICH_MEDIA_LOCATION=/path/inside/lxc
After saving and closing the .env file I then needed to copy all of the existing library folders from the old upload location to the new one. This was kind of unnecessary at this stage because I hadn’t even created an Immich user account let alone uploaded any media files, however if that has already been done, copying the library folders is critical. After copying I verified that the .immich file was present in each of the directories I copied since there was no other data.
1
2
3
4
5
6
cp -a /opt/immich/upload/* /path/inside/lxc

cd /path/inside/lxc/backups
ls -la

-rw------- 1 immich immich 13 Jan  3 00:52 .immich
Updating the symbolic links
The final steps are to remove two existing symbolic links that are now invalid since we modified the .env file and re-create them with the updated path information.
1
2
3
4
5
rm /opt/immich/app/upload
rm /opt/immich/app/machine-learning/upload

ln -sf /path/inside/lxc /opt/immich/app/upload
ln -sf /path/inside/lxc /opt/immich/app/machine-learning/upload
I then verified that the new Immich upload folder had the same ownership as the original. My new upload path was /mnt/immich so the output is reflected in the example output below.
1
2
3
4
cd /opt
ls -l

drwxr-xr-x 10 immich immich 12 Jan  3 00:37 immich
If this folder did not report the correct ownership I would have needed to run chown -R immich:immich as root for the new upload folder from within the LXC.
With that done I could then restart the Immich services.
1
systemctl start immich-web.service immich-ml.service
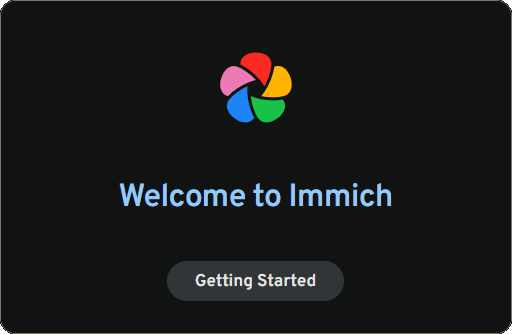
With Immich running it was time to move to the web UI for user account creation, configuration, and media dumping.
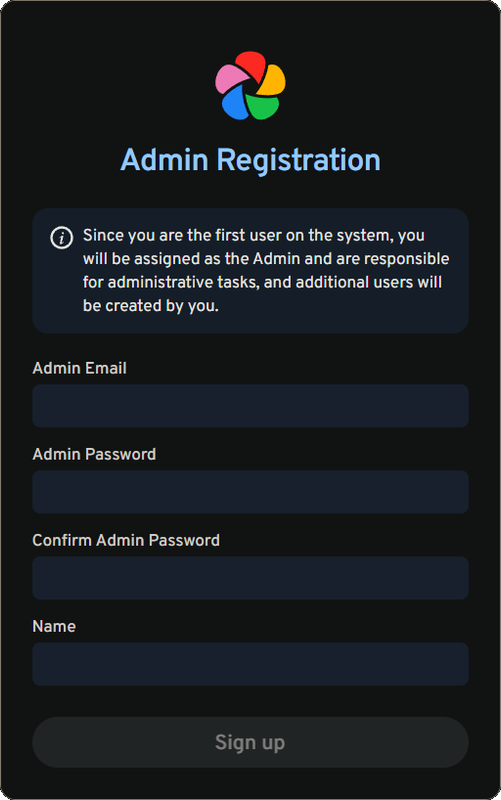
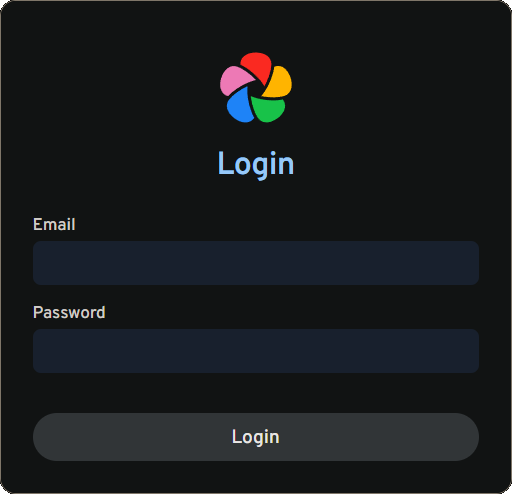
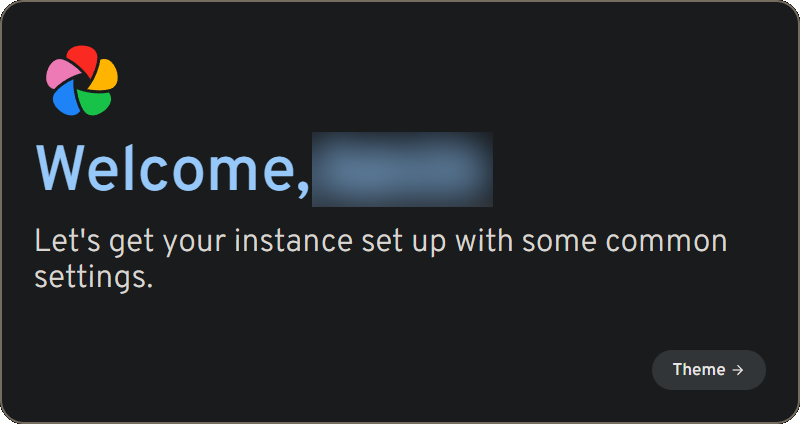
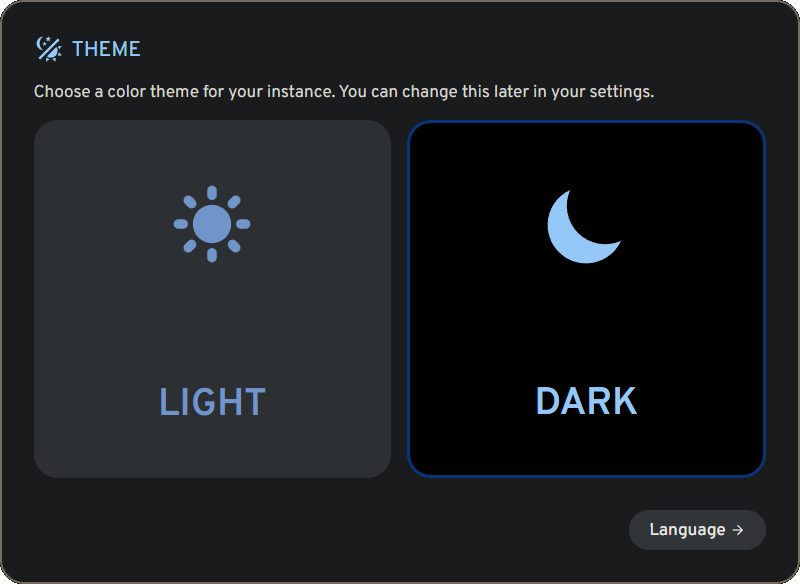
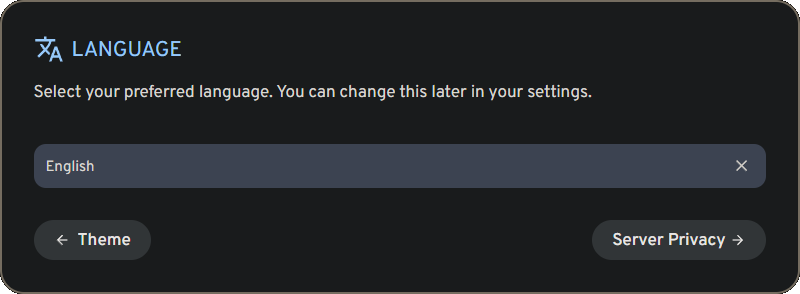
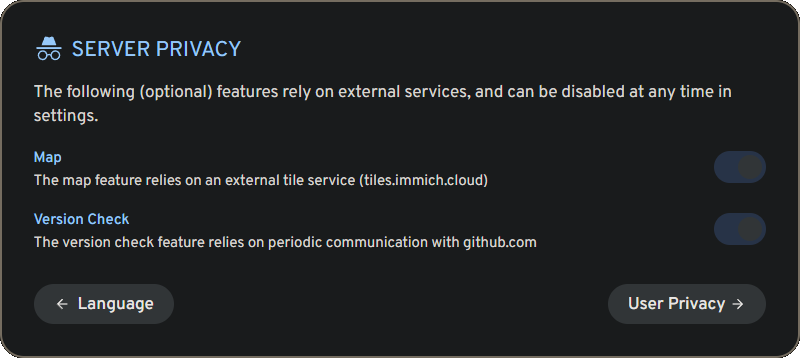
Immich initial setup and user creation
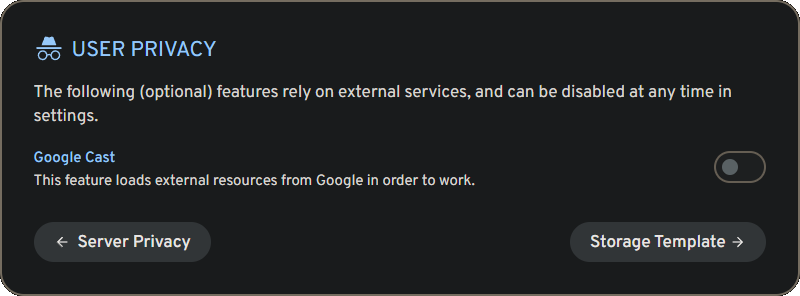
Entering the IP address of the LXC container with port 2283 brought me to the Immich web interface and the initial setup wizard. I first had to create an administrator account after which I logged in to proceed with the setup. I was then asked to select Light or Dark theme, my language preference, server privacy options, user privacy options, and then finally to configure to the Storage Template.
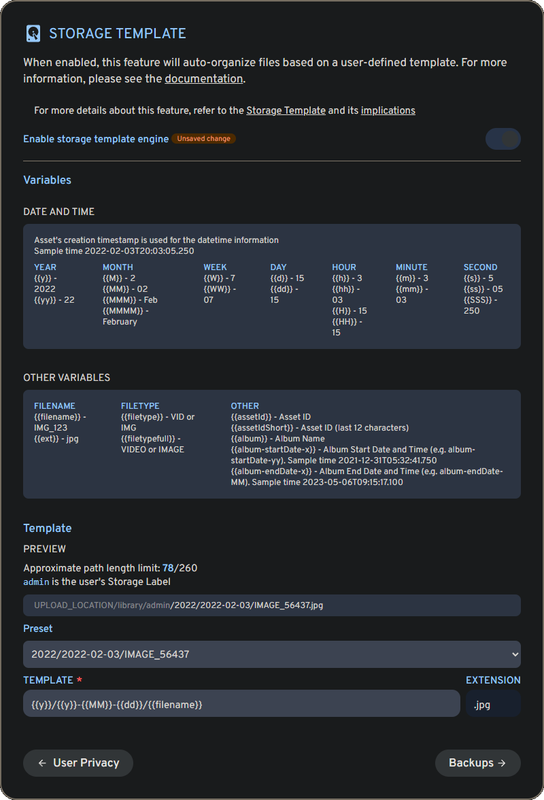
By default Immich stores uploaded files in hashed form for both the file names and the folders. I read recently that the reason for this is to minimize the full file paths so that they load faster. This makes perfect sense from a performance standpoint, and if I didn’t need to access my media files outside of Immich I would have left this alone. But since I prefer to make things a bit complicated behind the scenes I chose a preset that used the album name (e.g. Camera) and the original file name.
The only thing I don’t like about the Storage Template is that this is seemingly the one function that can’t be automated in Immich. I’ve seen a number of people posting about this on Reddit and on their Github and Discord so there is definitely a demand for this. Nextcloud’s internal file scanner has the ability to trigger when detecting changes to a file system after editing a config file, so I know this can be done. But in the meantime running the job manually from the web browser isn’t the end of the world since it really does only take a few moments of my time. I can live with that.
The next few prompt windows were just informational ones about 3-2-1 backups and ways to download the mobile app. Once I clicked “Done” I was presented with a familiar interface like with my pre-helper-script version but now it recognized the mounted storage as its main storage volume. This was very pleasing because now I knew that every relevant file including database backups was being stored in the correct location.
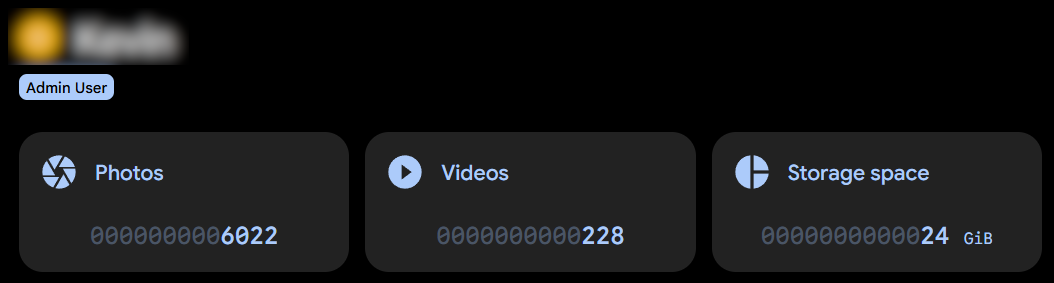
I’m not one hundred percent certain if the database itself is being stored in the mounted storage, but considering that after doing a full upload of my phone’s contents, which amounted to nearly seven thousand files, the container’s boot drive usage only increased by 2GB I’m not worried about that. Also, 20GB is pretty microscopic compared to the roughly 6TB of free space I have on the ZFS pool I use for all of my LXCs and VMs which doesn’t include the raw images for Immich. If I need to increase the boot drive, that’s literally done with a few mouse clicks and some keystrokes.
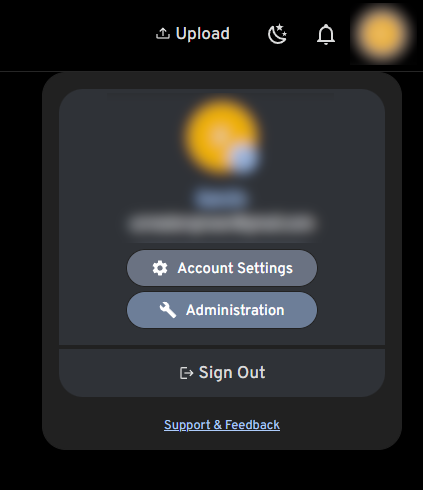
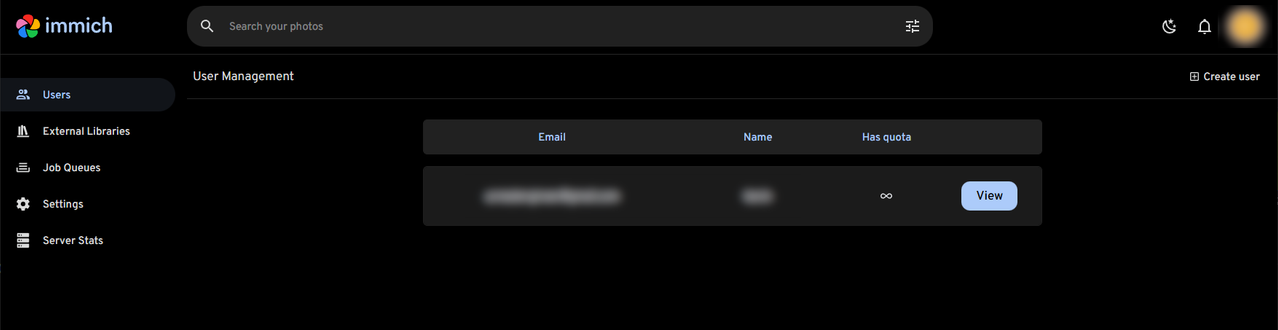
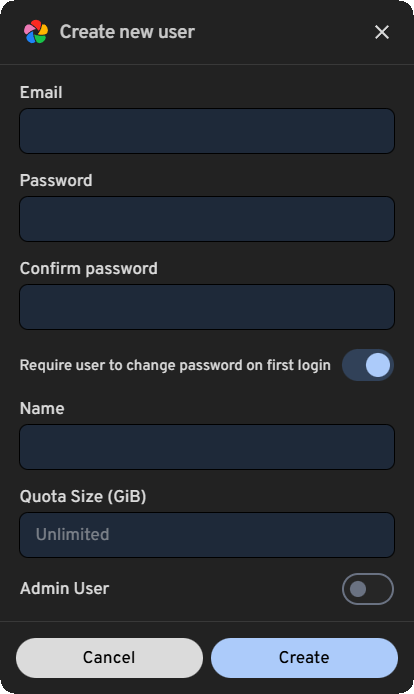
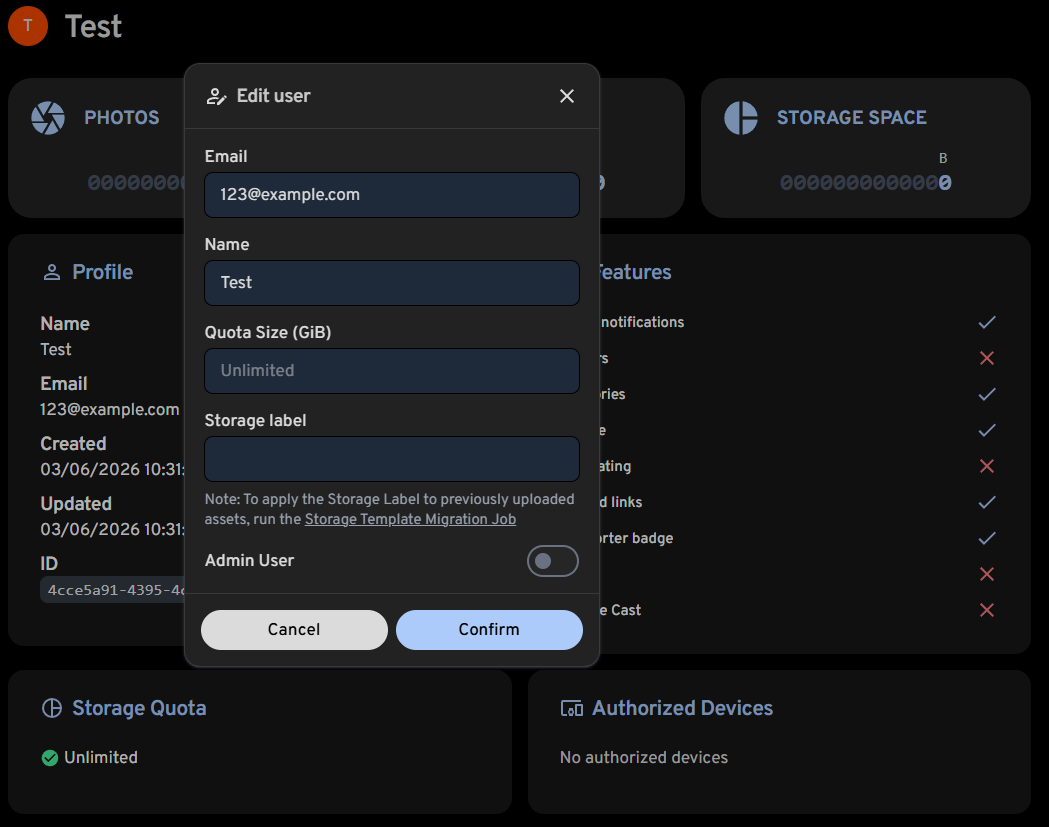
With the initial configuration complete I could now create the remaining user accounts for my family. Clicking on my user icon in the upper right corner gave me dropdown menu with an Administration button which brought me to the Admin page. From there I selected “Create user” on the upper right and after entering the required information the new accounts were created.
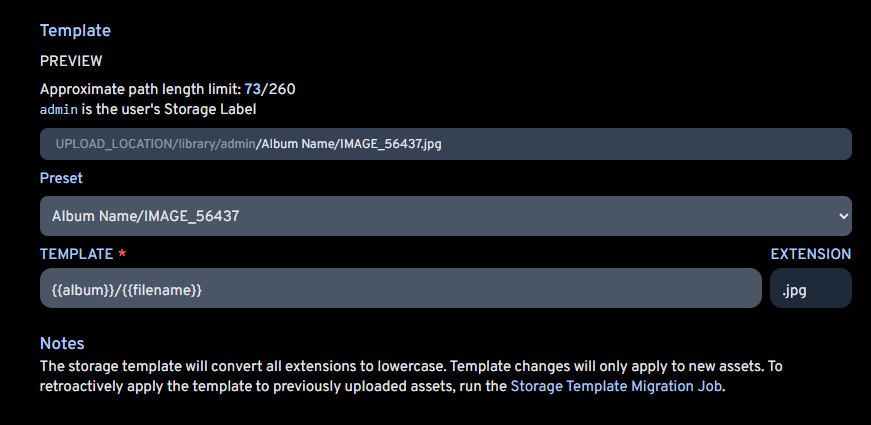
The next step was to give each account a storage label so that the storage template stores images associated with a given account in a folder labeled after the user rather than the generated ID.
This step is technically optional and really only something I deem necessary since I’m sharing the content via SMB share in addition to Immich. The folder labels are a non-issue when running Immich by itself because by default only Immich deals with the folder labeling, not the user. As a side note though it would be nice if Immich made a desktop client of some kind as this would eliminate my need of serving up the content on my local network via SMB. There’s nothing wrong with the web interface at all, it’s strictly a me problem because I don’t like things that are for a specific purpose being buried in browser tabs where I have to go digging for it. On Windows I use XnView as an image browser because it’s super fast compared to web pages, however it doesn’t have Immich’s search capabilities and other benefits that stem from its machine learning ability. But like I said, just a side note. Anyway, I’ve digressed.
Media dump
Setting up Immich on my Android phone was the same as in my previous post so I’ll skip the breakdown here, all I had to do was sign out of my existing server in Immich and then log into the new one specifying the IP address for it. I did a test upload with one image and one video file to make sure things were working and that the storage template, once the job file was run, was sorting files correctly into their corresponding folders. Everything worked so I moved onto the full media dump which really made me wish I could hook up a wired ethernet connection to my phone. My home’s WiFi speed is fine, but mass data transfers of small files over WiFi always gets bogged down compared to good ‘ol Cat6. So after about two hours I was presented with a feed full of media and the numbers in my user profile confirmed all of the transfers were successful.
Server updates
This is one of the underrated reasons I love the Proxmox Helper Script version of Immich compared to before: updating the server is now a breeze. Before I had to manually specify the version I wanted since I couldn’t just use a variable like “$LATEST_VERSION” (I did try) and even then I had to pray that the existing script, which wasn’t being actively worked on (that I saw), wouldn’t break with the newer release. And that’s not taking into account that I had virtually no idea what I was doing, I was literally just changing a version number specified in the installation script, nothing more. Now with the Helper script being an active project I only need to log into the LXC in Proxmox and type update in the console. Will it always work? No, but with an active community working behind it, I have faith that updates and issues will get resolved faster than a single-person operation. Absolutely nothing against one-person projects, but for something like this many hands generally tend to make light work.
Conclusion
While functionally the end result is still the same as it was before, the “under-the-hood stability” is much improved and because the mounted storage is now defined at the environmental configuration level, the need for multiple mount points and many symbolic links per user is drastically reduced with the bonus that the web interface now reports the actual disk space usage compared to before. Another issue I had pre-Helper script is that video thumbnails wouldn’t display. At this point I forget if that was an issue from the start or if that became a problem once I linked the mounted storage paths, but I do clearly remember that a clean installation did not resolve the issue, nor did reverting to an earlier version. However I am pleased to report that after a few days of regular use after the mass upload from my phone, everything is working as expected and I have not encountered any crashes or other errors. I have also tested updating the server and that responds perfectly smooth as well. Literally my only complaint in this entire saga is, as I mentioned much earlier, that the storage template job still has to be run manually to update the file paths for the SMB shares. The web interface doesn’t seem affected by media existing in both the specified as well as default paths as new and old images and videos all display in the feed and are equally accessible. Maybe I’ll look into running a cron job of some kind in the future that can monitor changes to a file path and run the storage template job.
Using the Proxmox VE Helper Script method to run Immich in your homelab is one I can get behind so much more than what I showed a few months ago, and that’s not an insult to the creators of the installation scripts and their tireless efforts to make it work. The reality is that while I am very far from an expert on scripting and package/service installation on this kind of level, it still took a lot of my power user skills to both successfully install Immich and more importantly not give up after something like twenty-to-thirty prior attempts all failed. I can accept the headache for myself because headaches are all part of building and operating a homelab, but I can’t recommend how I did things before to anyone without some serious tech savvy. Simplification is one of the marks of good engineering after all.
This time around I had a lot more fun and I hope you get to experience the same if you go down this route to take control of your personal data. Heh, just saying that is making me want to play Watch Dogs again. See you in the next experiment.