New Proxmox Server
One machine to virtualize them all
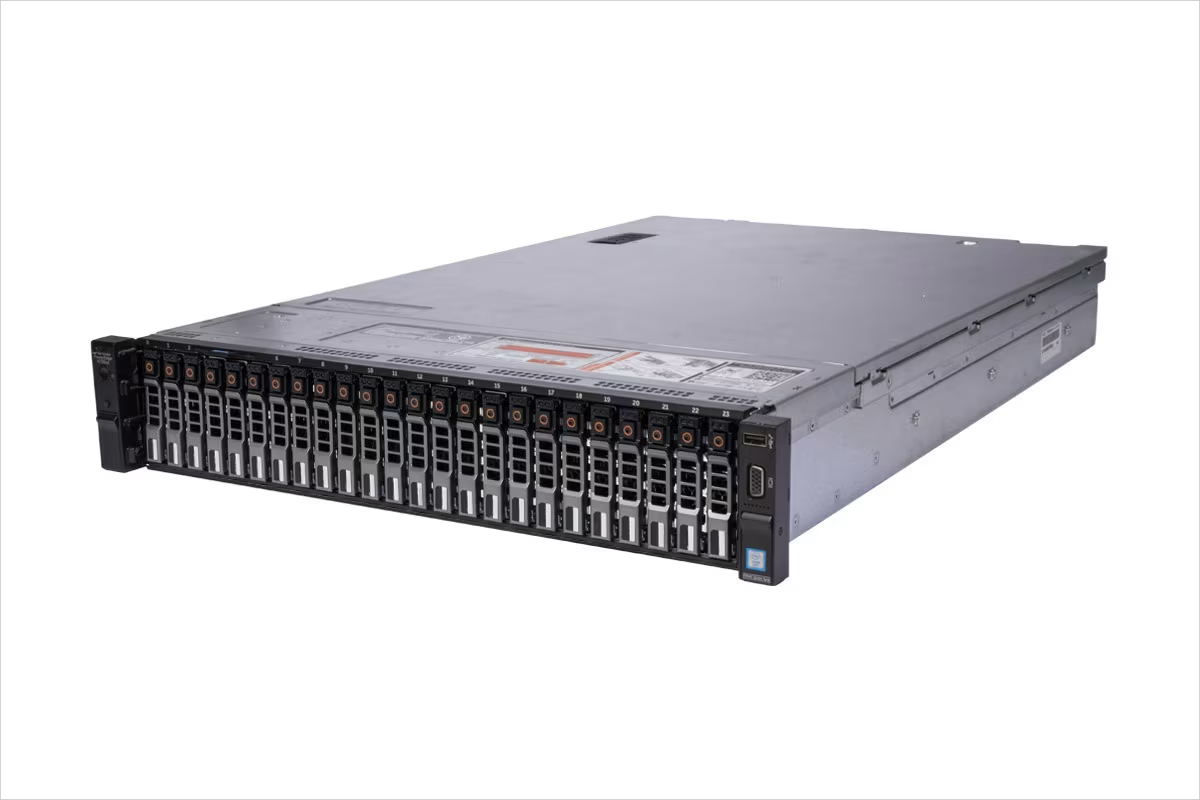
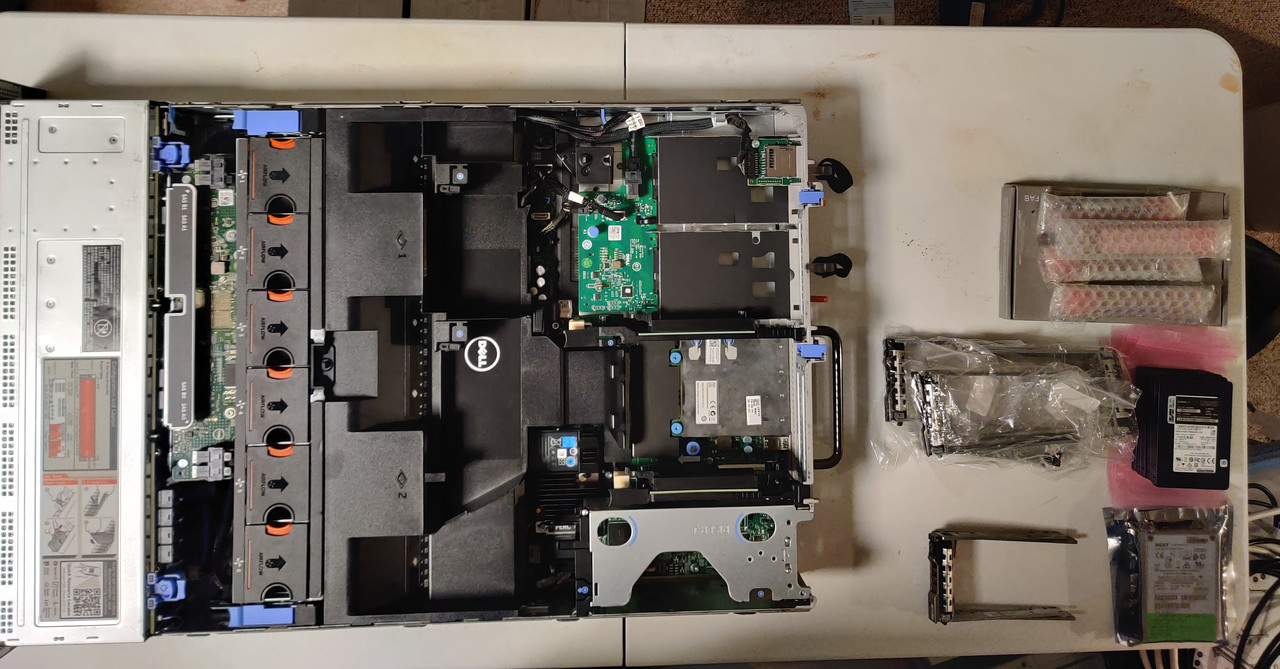
I’ve been using virtual machines in some form for various applications since the mid 2000’s however I only started using Proxmox in 2020, version 6.2 if my software archive is any indication. Back in 2019 I purchased a pair of Dell PowerEdge R630’s with the intention of creating a virtualization server and a NAS head controller and those machines both served their purpose until about a year ago. The NAS controller was retired in favor of a 12-bay R730XD and I did a write-up about my NAS rebuild. When I bought the R730XD the price was very nice (under $200 USD) so the idea of getting a second one but in the 2.5” bay configuration was very appealing. There was nothing wrong with the R630 but the R730XD has a few advantages over its little brother. Aside from 24x 2.5” bays up front there are also two 2.5” bays in the rear, plus six PCIe slots in back compared to the two in the R630. Both machines can have 4x U.2 NVME drives however the R730XD only needs the PCIe card to allow this while the R630 requires the 10-bay version because of the backplane, which I didn’t have.
The rationale behind getting the larger chassis, despite it being the same generation of Dell hardware, came about after my success with ZFS in the 240TB NAS as well as its predecessor. I’d been using SATA SSDs in my Dell R630 with ext4 partitions and while this worked, it could have been better. The drives were various sizes ranging from 120GB to 1.92TB with basically each drive performing a dedicated task from boot drive to application-specific storage. I actually thought it was a good idea at the time to have a dedicated drive for personal VMs and another for my day job (Windows testing environments). It was one of those instances where the thought seemed like a good idea at the time, but in practice turned out to really just be a cobbled together system. Nothing ever failed, which is a plus, but as I said, it could have been better. Some testimony from a few friends of mine in the homelab community convinced me that if there is any data isolation to be done, it should be between active virtualization and data storage. They were all using either two or four NVMe drives (depending on their host machine limitations) for VMs and containers and then either SATA/SAS SSDs or HDDs for data storage as appropriate. With this in mind I came up with a list of parts and took to eBay.
My brainstorming session consisted of around 20% beard scratching and 80% distraction in the form of video games and a mix of Red Green and Mystery Science Theater. But when all was said and done I had a complete shopping list:
- Dell R730XD 26x 2.5” bays w/750W PSUs and rear hotswap backplane
- 4x 1.92TB or 3.84TB NVMe SSDs (enterprise grade)
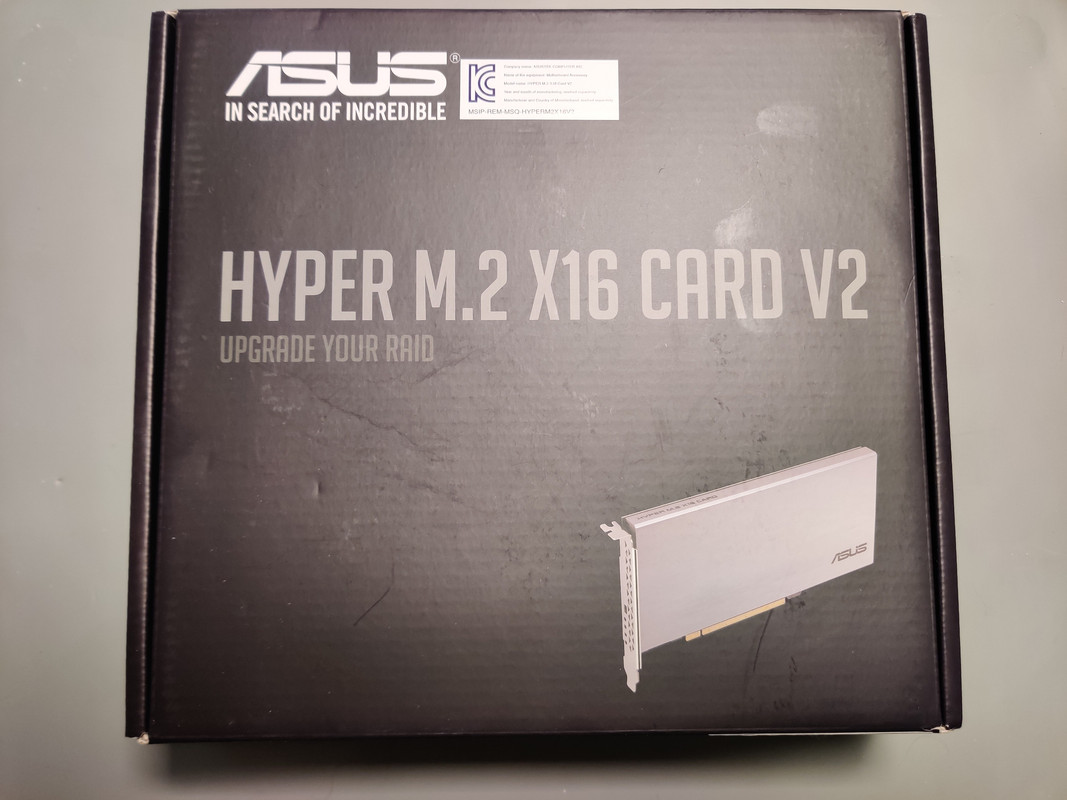
- 4x m.2 to PCIe adapter
- 6x 3.84TB SATA or SAS SSDs (enterprise grade)
Between these parts and a few others already in my possession this would yield the following storage configuration:
- 2x 400GB SAS3 SSDs in ZFS RAID 1 (mirror) for boot drives
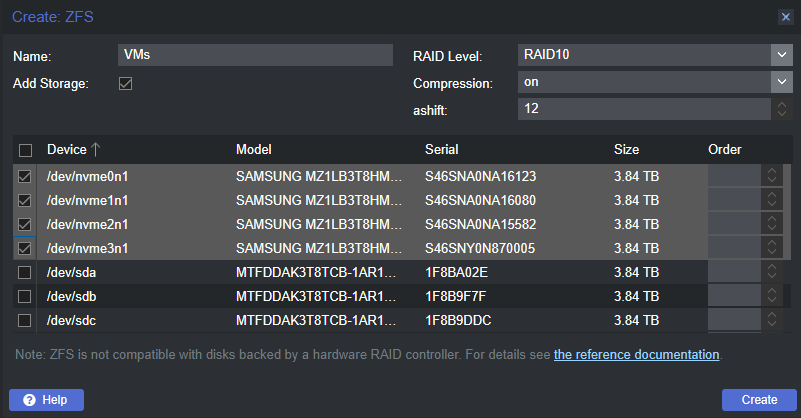
- 4x NVMe SSDs in ZFS RAID 10 (striped mirror) for VMs and LXC containers
- 2x 3.84TB SSDs in ZFS RAID 1 (mirror) for VM and LXC container backups
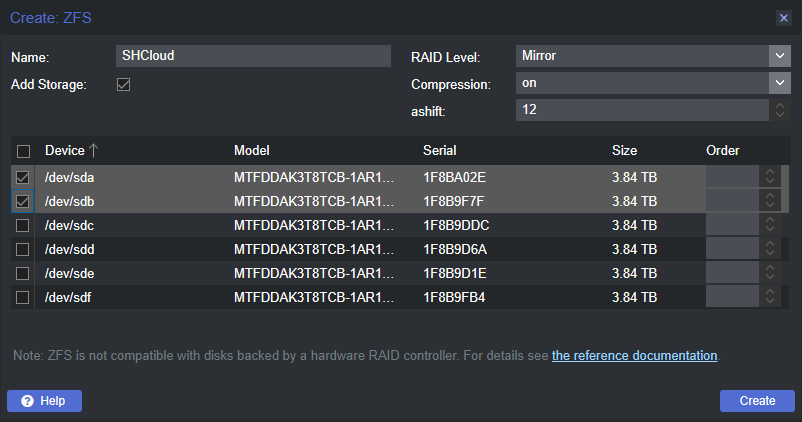
- 2x 3.84TB SSDs in ZFS RAID 1 (mirror) for self-hosted cloud storage
- 2x 3.84TB SSDs in ZFS RAID 1 (mirror) for a network share that serves test files for my day job
- 2x 1.92TB SSDs in ZFS RAID 1 (mirror) for ISO and template storage (if the boot drives aren’t sufficient long term)
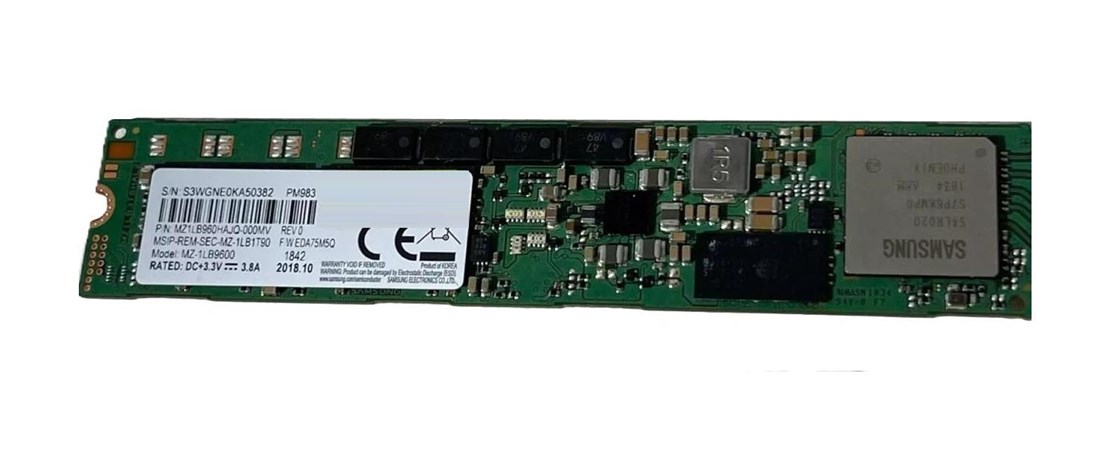
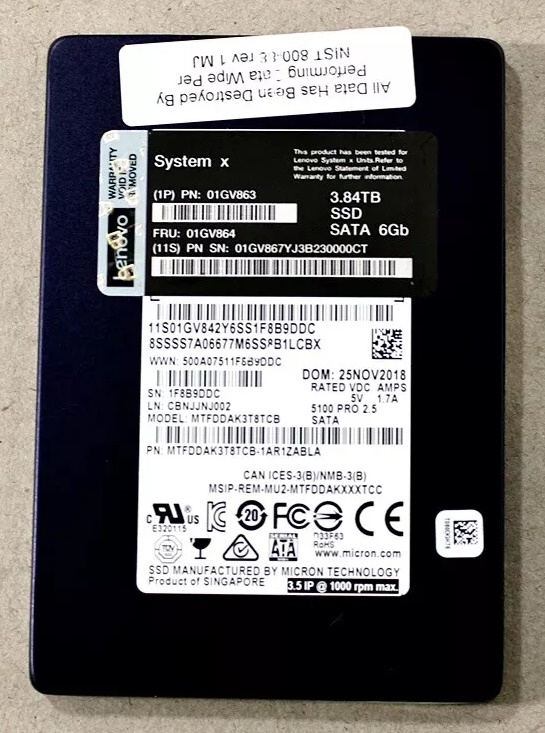
This project actually started almost a year ago. What got in the way was a combination of a rise in SSD prices over time on eBay and having sufficient spending cash at the right time. I was willing to play the long game, especially when it came to having sufficient funding for QuakeCon 2024. But the first purchase was the R730XD last January which cost me about $190. The mistake I made with this purchase was not testing it when I received it. More on that later. I found a listing for 3.84TB Samsung PM983 NVMe SSDs and the buyer accepted my offer of $160/ea for four of them, so that took care of high throughput storage. I also picked up the 4x m.2 to PCIe adapter for about $50 on Amazon. Side note: if you find any similar adapters that are seling well north of $100, there’s a very high chance those have on-board PCIe bifurcation. I knew that the R730XD supported this so on-board bifurcation was not required. Fast forward about eight months and after searching high and low and ignoring SSD listings with high wear levels, a diamond in the rough was finally located. I hesitated for a minute at first because I was more partial to SAS SSDs because of the higher throughput, but then the practical part of my brain, which almost never chimes in, said speed wasn’t necessary for the mirrored drives because even if something saturated 600MB/s SATA speeds it would be so rare to do so, and the resiliency of the flash cells in a SAS SSD are the same compared to SATA. The literal difference between the two is just the interface. With that decided I put in an offer for $144/ea on six 3.84TB Lenovo branded Micron 5100 Pros.
The Samsung drives were listed as 100% health and I was pleased to discover that the SMART data confirmed as much, with no evidence that the drive history had been erased or otherwise tampered with. The Micron drives however did present some suspicious information, namely zero or close to zero power-on time and zero or several terabytes worth of data transfer. While one or two drives (I can’t recall the exact number) could have been cold spares in someone’s possession that ultimately never got used, the other drives were much harder to determine the exact use case. I ultimately determined that the SMART data had been erased and when I contacted the seller they technically confirmed as much, stating to what standard they wiped the drives. Looking up the NIST 800-88 standard, if a drive is erased using the “purge method” this erases all SMART data, but unfortunately the seller couldn’t verify whether this specific option was chosen when wiping the drives clean. Well I wasn’t out of options yet. Pulling out Hard Disk Sentinel I selected a surface scan using a destructive write+read test so that random data would be written to every sector of the drive, read back, and any anomalies or I/O errors would be logged along the way.
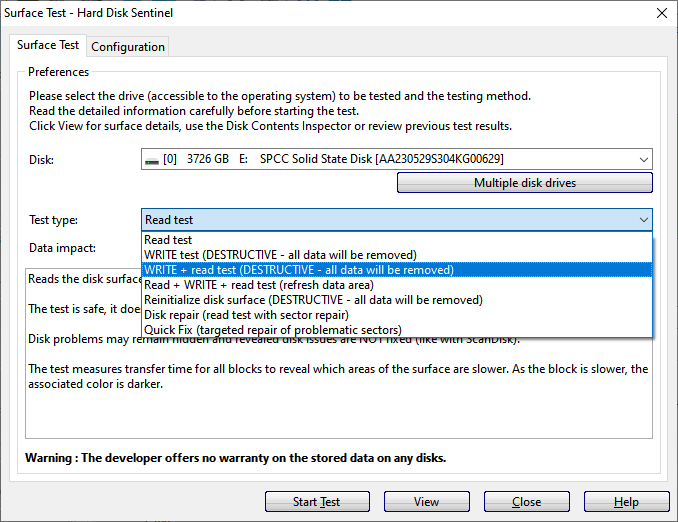 I forgot to grab a screenshot of this when doing the actual test, but this is what the selection window looks like
I was using a spare desktop to do this and since I could only test two drives at a time, this took a few days to complete. However I was very pleased when every test came back 100% with all indications pointing to 0% wear. I’m not 100% sure if this is a reliable method to determining if an altered drive’s true state can be determined because unfortunately I don’t have a drive with sufficient wear to test this, but some information online seemed to indicate that doing what I did would not only force a self re-test of the SMART data, it would also verify the drive state with or without valid SMART data. I suppose if I were doing this in a data center or other enterprise installation I wouldn’t use the drives just on policy alone, but this is a homelab project. This kind of experimentation and whatever information is learned from it is precisely what makes homelabbing a powerful hobby.
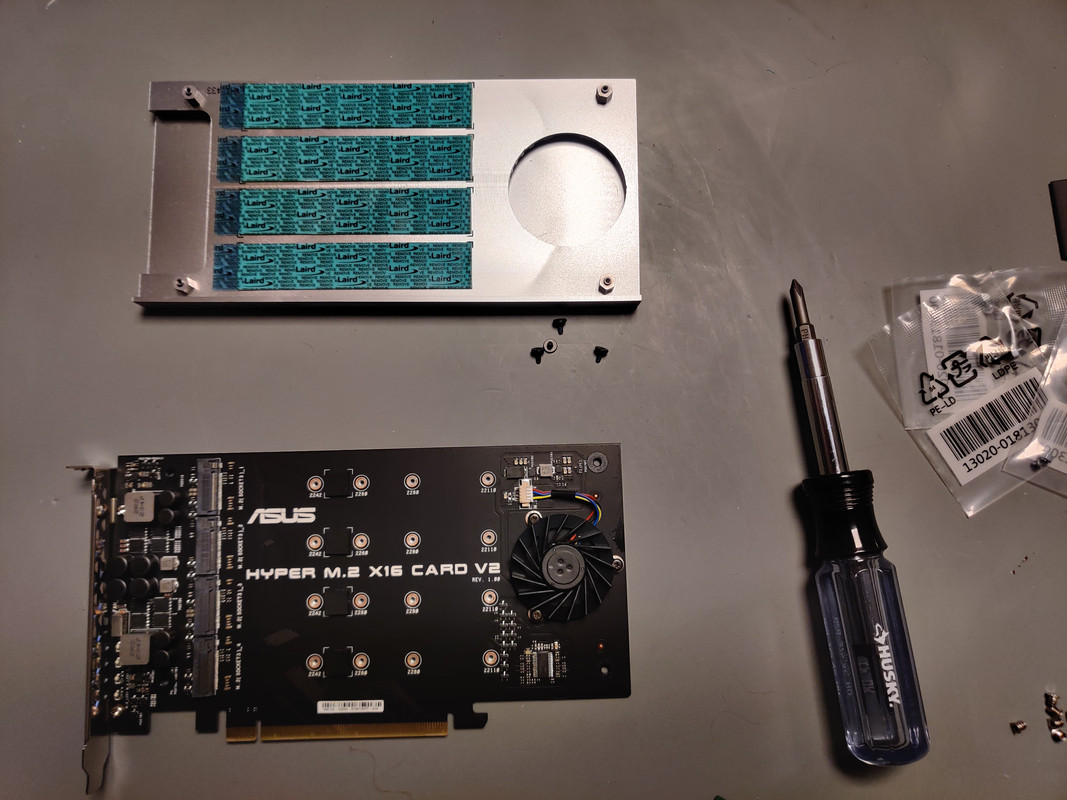
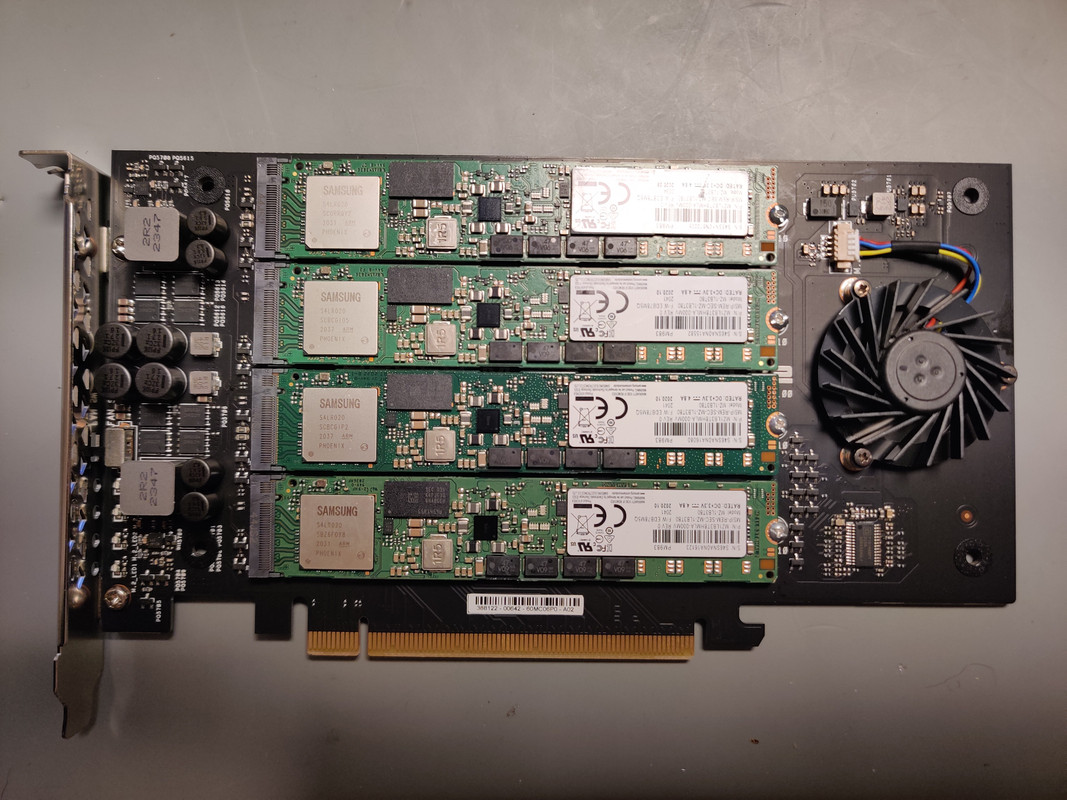
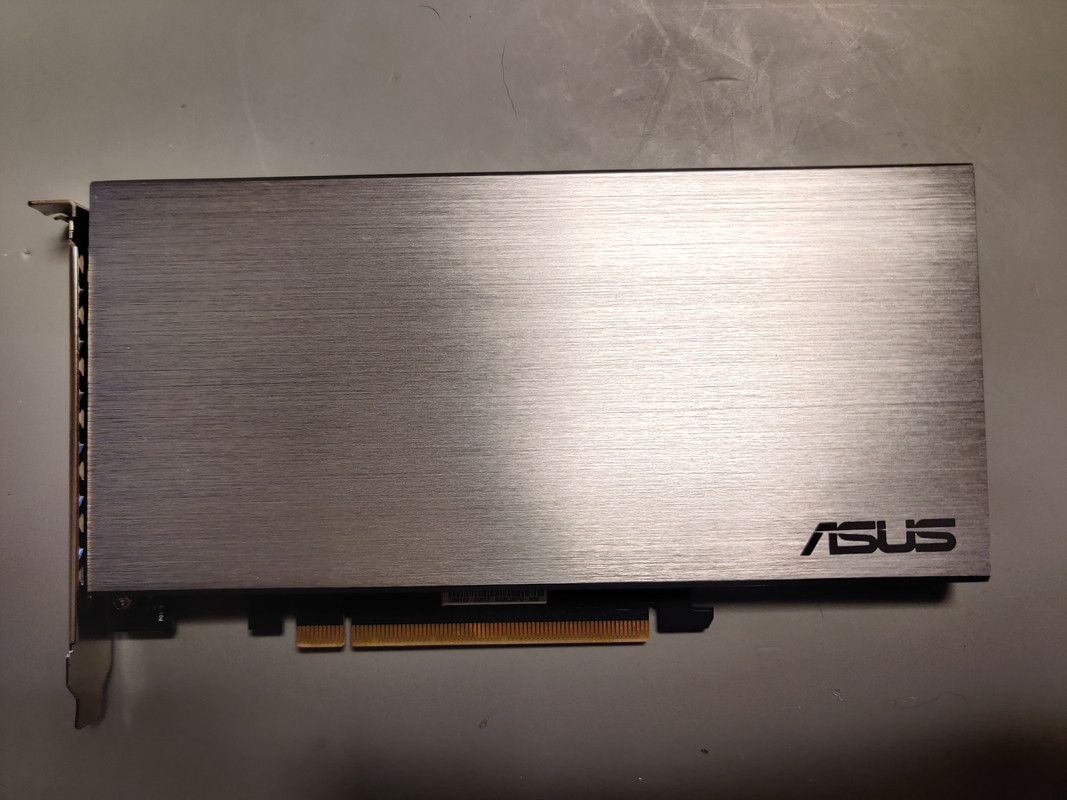
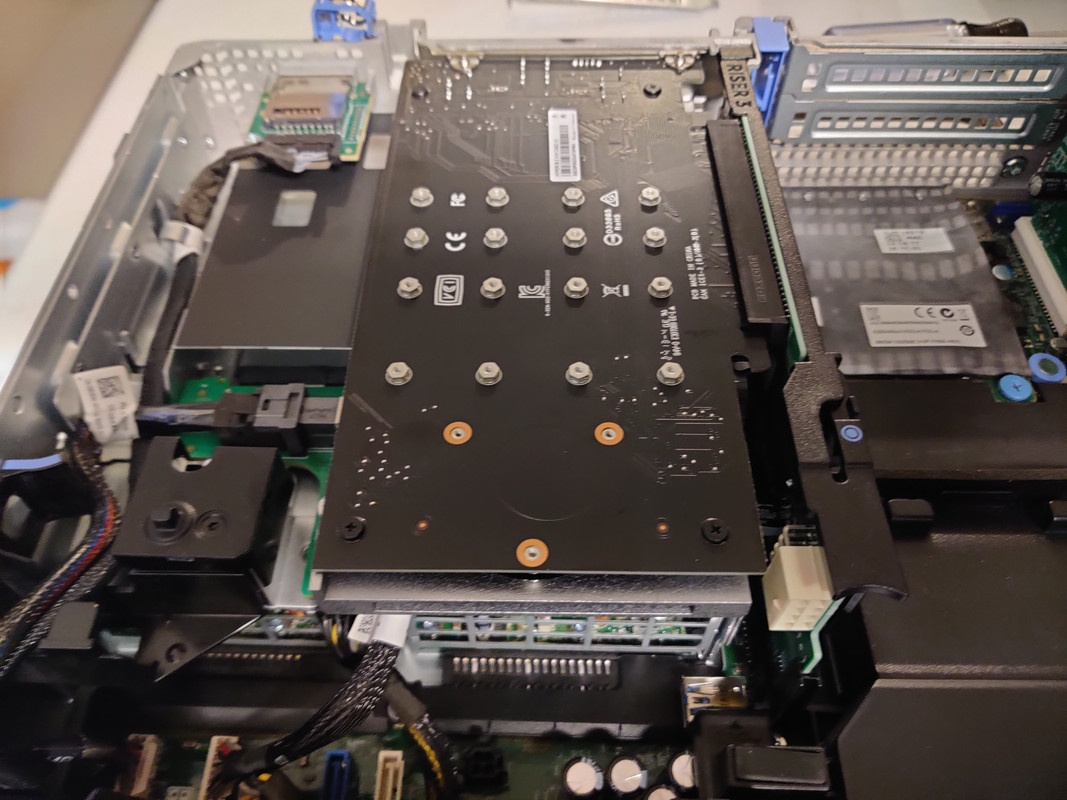
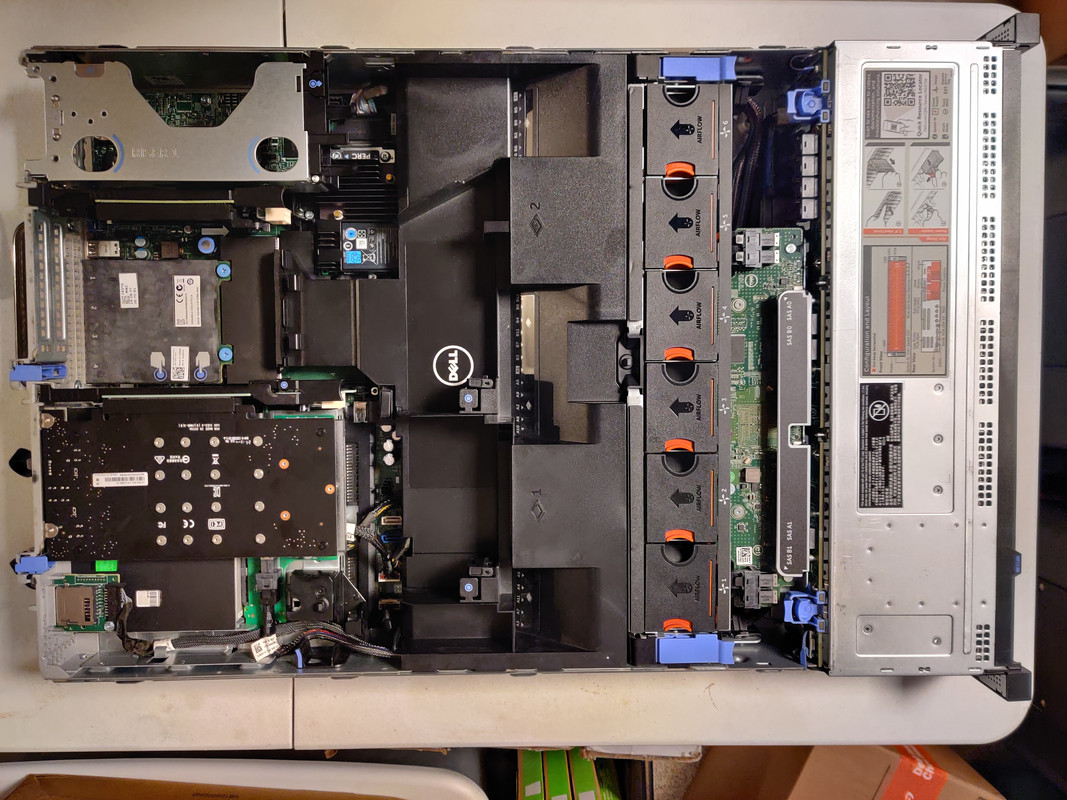
With drive testing complete I moved onto assembly, starting with the NVMe SSDs. The m.2 adapter I used was an ASUS Hyper v2. The Samsung PM983 SSDs are a 22110 form factor, meaning 110mm long, which is the longest m.2 form factor (that I know of) to exist. I mention this because there are m.2 adapters that have the slots oriented so the SSDs are vertical on the card. Unless you have an extended height PCIe adapter, 22110 SSDs won’t fit, so do what I did and get one that orients the drives horizontally. Once assembled the card could be slotted into the R730XD. Since I needed all sixteen PCIe lanes I only had one slot to choose from for CPU1 that provided this.
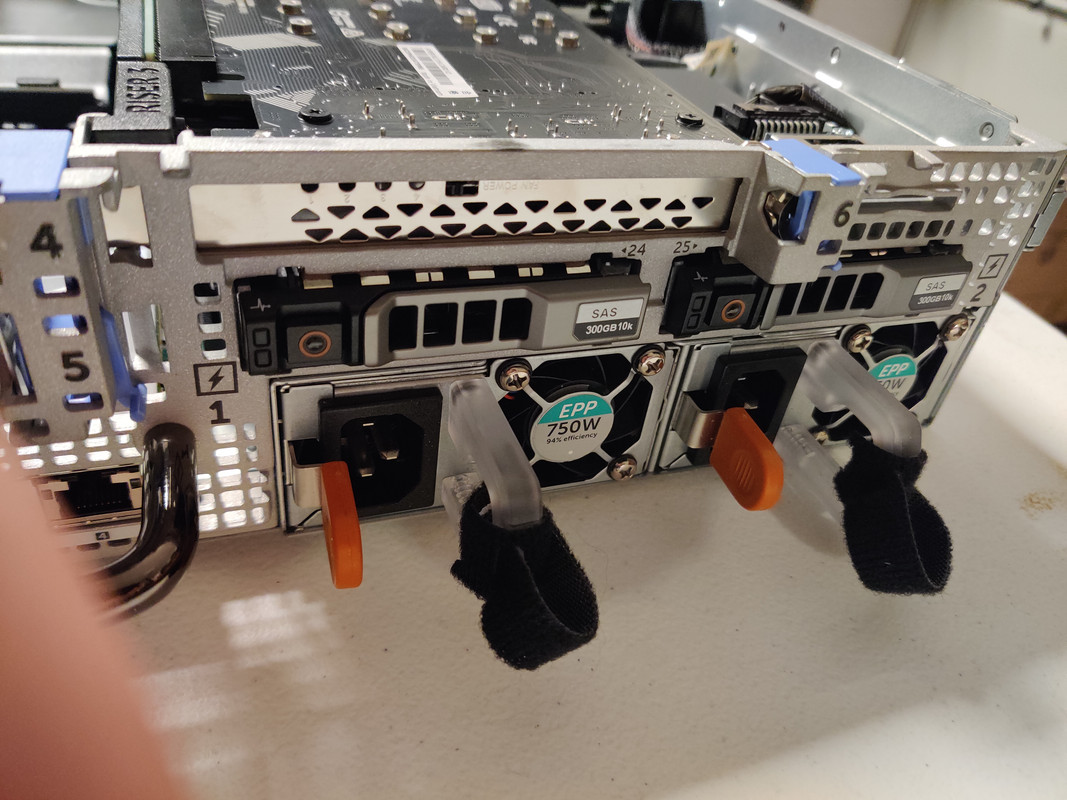
Next were the 400GB SAS SSDs for the rear slots.
With the drives taken care of I just needed to install a CPU and RAM to get the server operating. I’d been holding onto a pair of Intel Xeon E5-2690 v4’s for quite some time, intending to upgrade my R630 server as needed. This never ended up happening though purely due to laziness, so thanks to this project I was out of excuses. For the RAM I just used a 16GB ECC DDR4 module I kept as a spare (I have three of them) for this kind of purpose. Once this machine is truly completed and ready to replace my existing server (the concern is just the readiness of my work testing environments) I’ll swap in the 128GB of DDR4 from the R630.
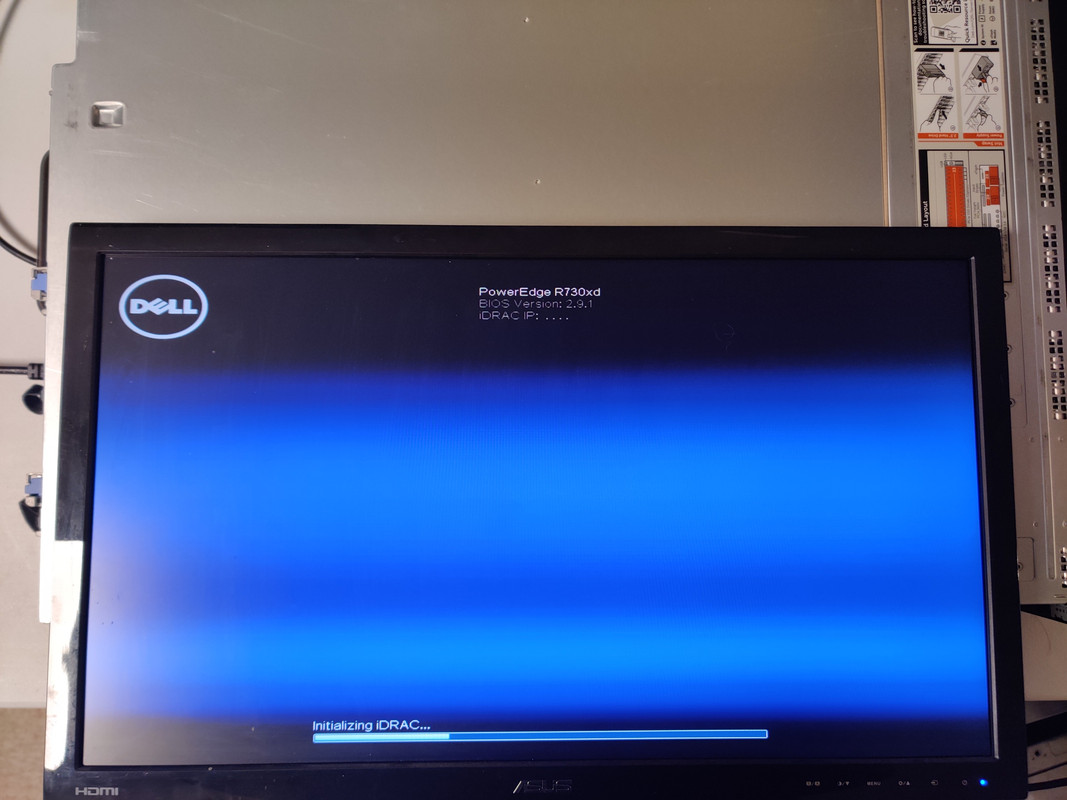
I buttoned up the machine, loaded up Proxmox on a USB flash drive, pressed the power button, and waited to see if the six Delta fans at max RPM would send anything flying around the room during POST. After the Dell Lifecycle Controller finished its lengthy tests it then proceeded to boo– waaaaaaaaaiiiiit…
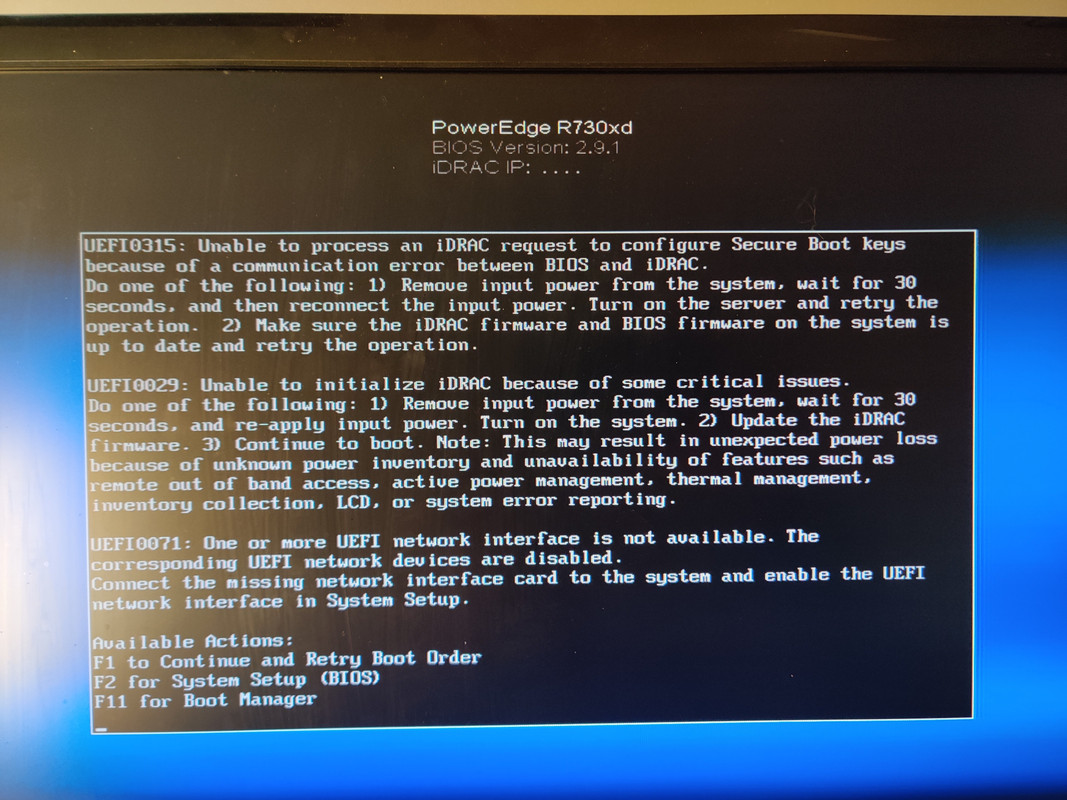
Remember when I said not testing the R730XD after buying it would come back to bite me? Yeah, this turned out to be a real headache. As the UEFI stated in the picture, iDRAC (Dell’s integrated Remote Access Controller) couldn’t be initialized and for all of my efforts I couldn’t figure out why. It wasn’t manually disabled in the UEFI setup and resetting the CMOS and every other related setting proved futile. What was worse is iDRAC is part of the motherboard, not a separate module like the older Dell systems. So if iDRAC fails, which it had in my case, the entire motherboard needed to be replaced. Fantabulous! Color me impatient and cranky, but I didn’t want to wait a week for a replacement to arrive off eBay, mainly because I was really hoping to have this machine done by the time I returned to work after Christmas break. sigh …When life gives you lemons, I guess.
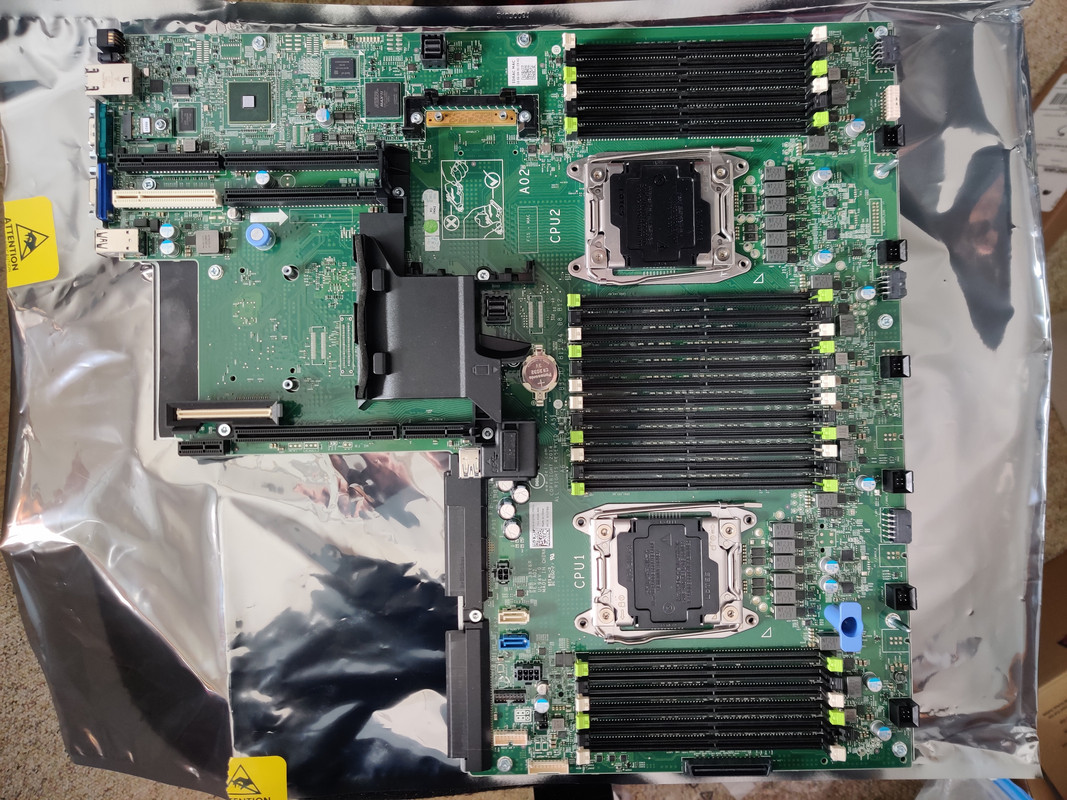
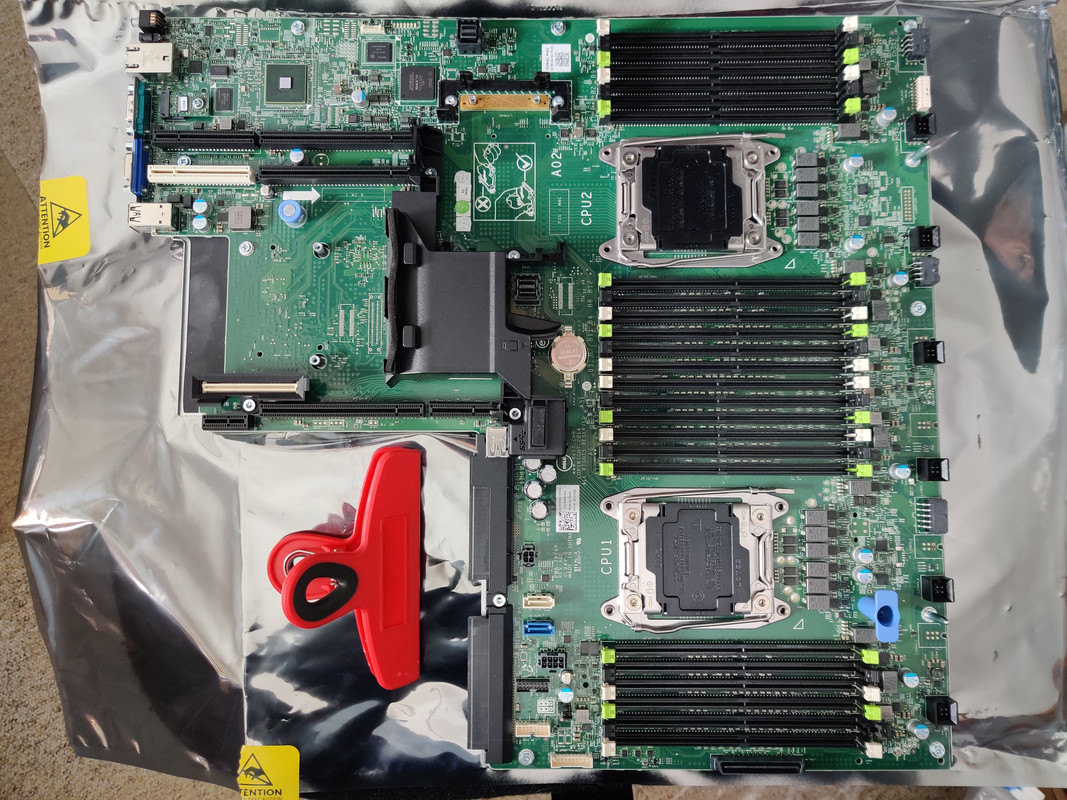
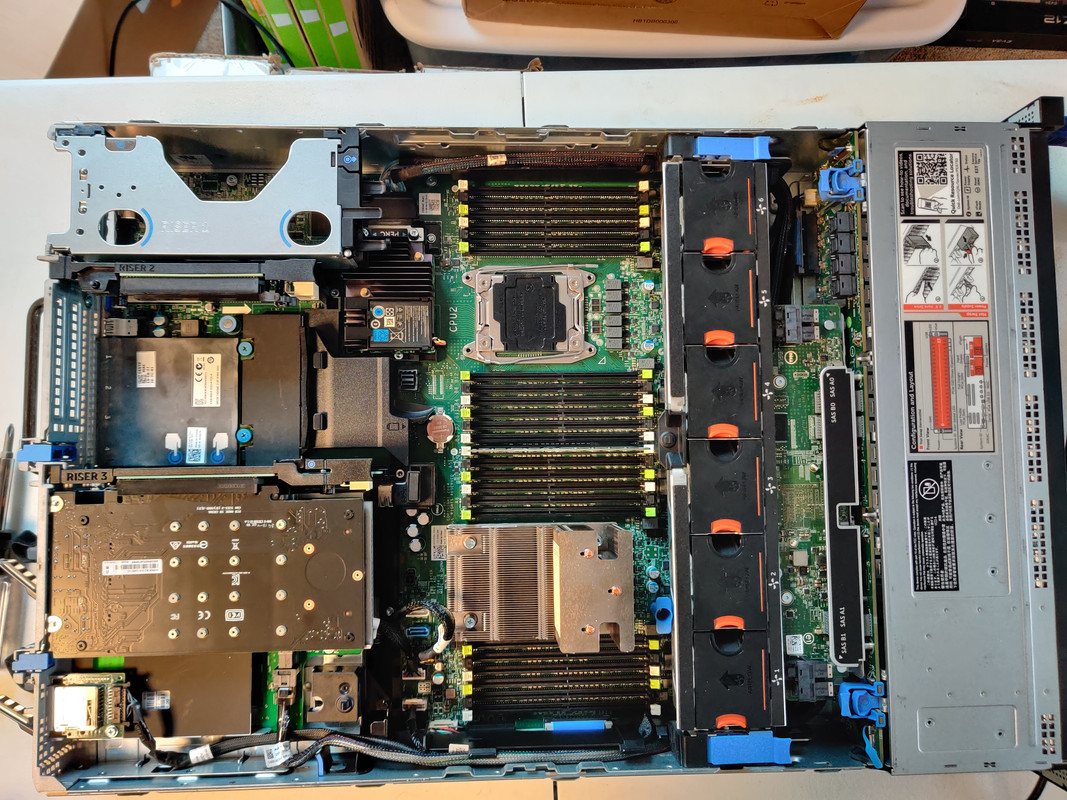
$52 and a week later I was in possession of an identical motherboard, except that the iDRAC module worked. I’d never swapped a server motherboard before, but the experience wasn’t that daunting, especially after watching a tutorial on the process. Really the hardest part was just removing some of the plastic cable management pieces and once that was done it was just unplugging cables and then sliding the motherboard to the front of the case to release it. What I found kind of interesting is it didn’t really sink in how large these boards really were until I pulled the old one out of the case. I didn’t have a banana on hand for scale so a red chip clip will have to suffice. The whole process only took about twenty minutes.
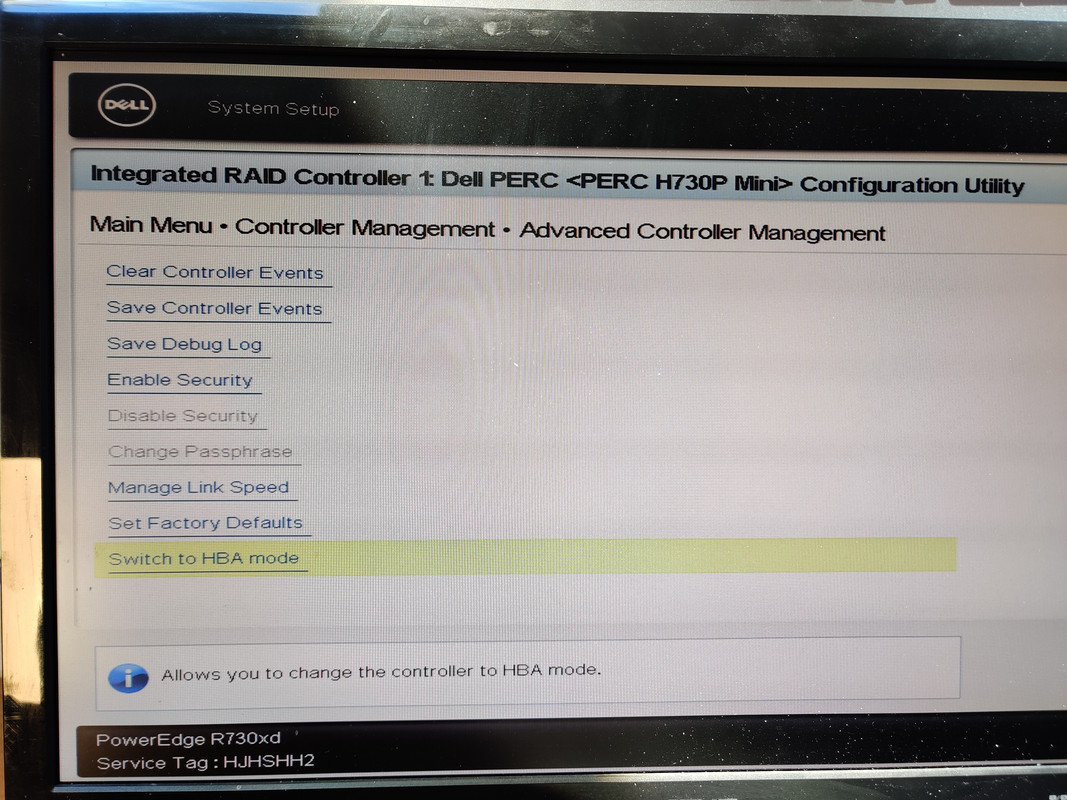
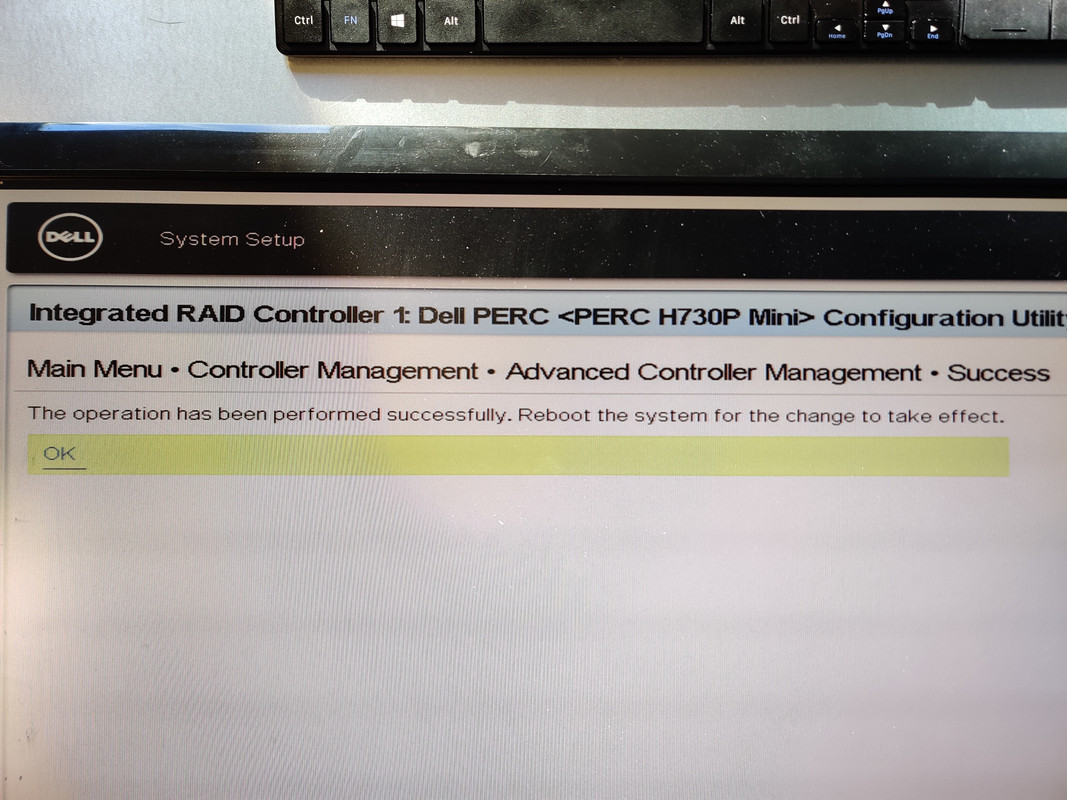
When the machine powered up I could tell from the fan noise alone that things were working this time because previously they ramped up to 100% and stayed there, but this time they slowed down after the initial ramp. Prior to installing Proxmox I made sure that the Dell PERC controller was set to HBA mode instead of RAID so that the drives would be passed through to the operating system.
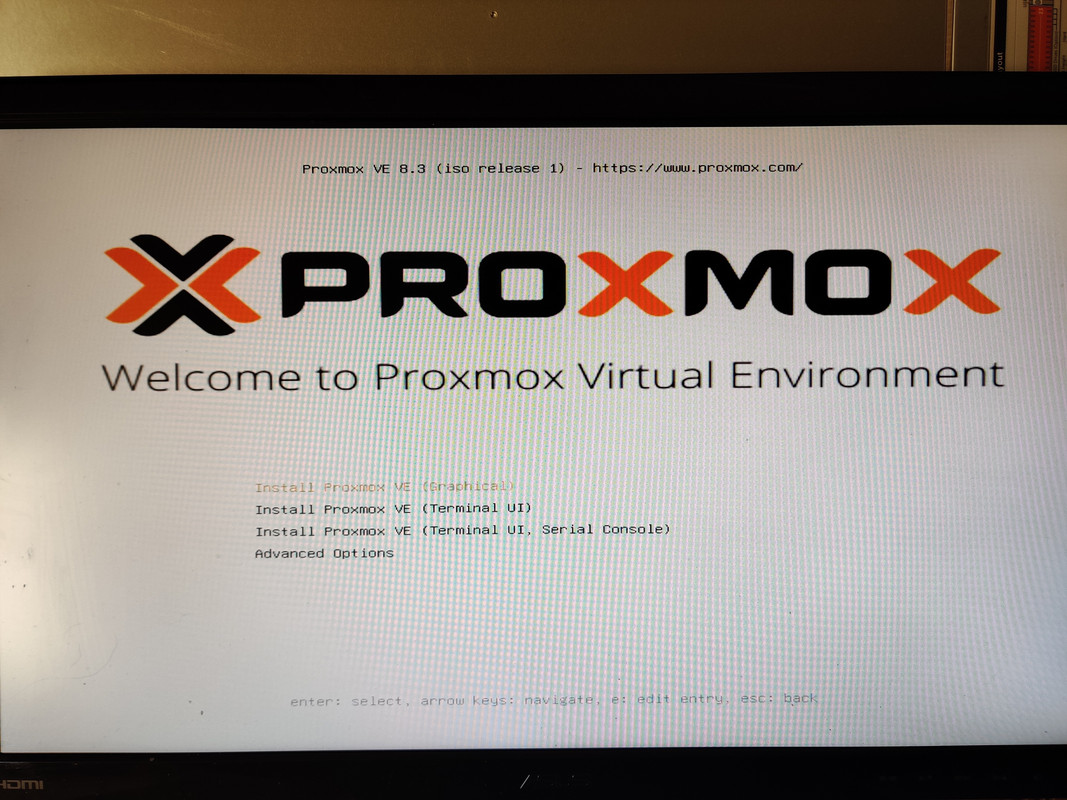
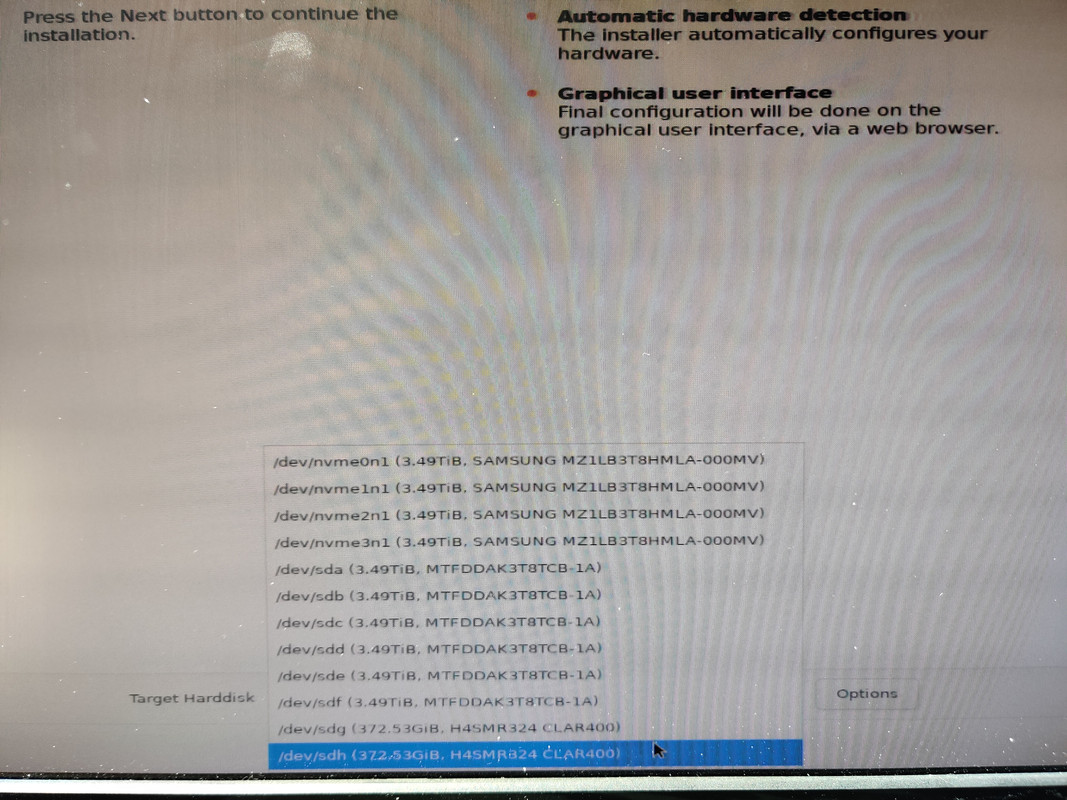
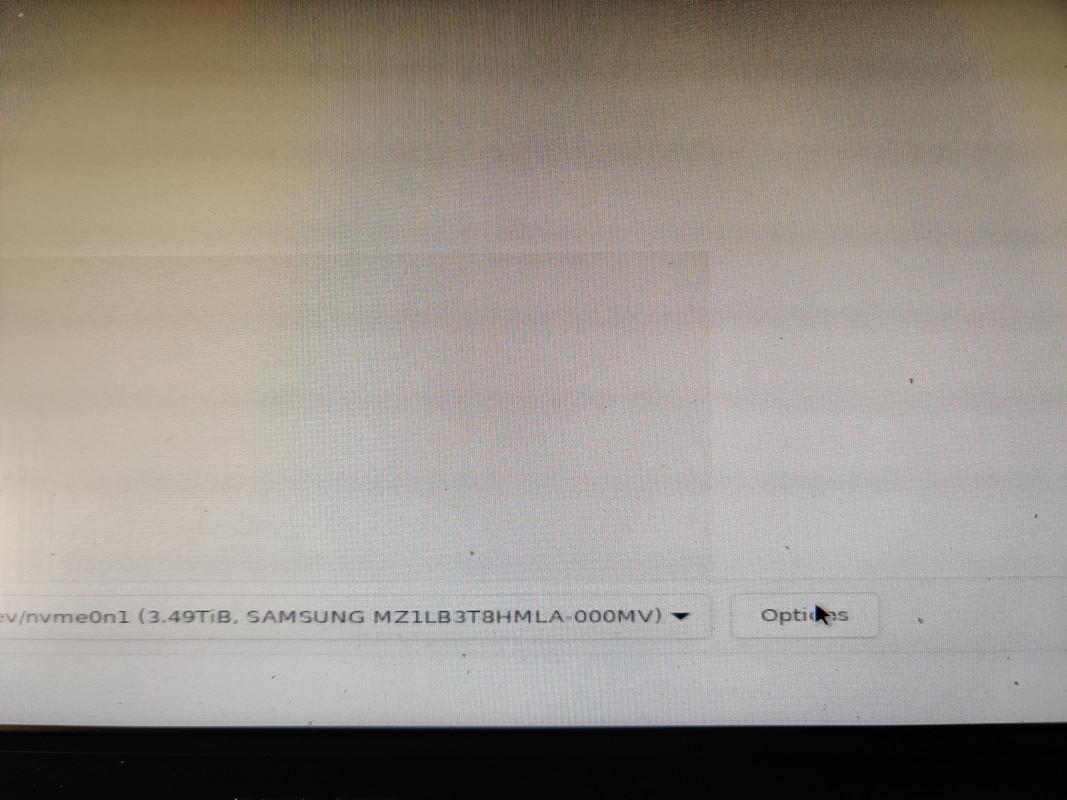
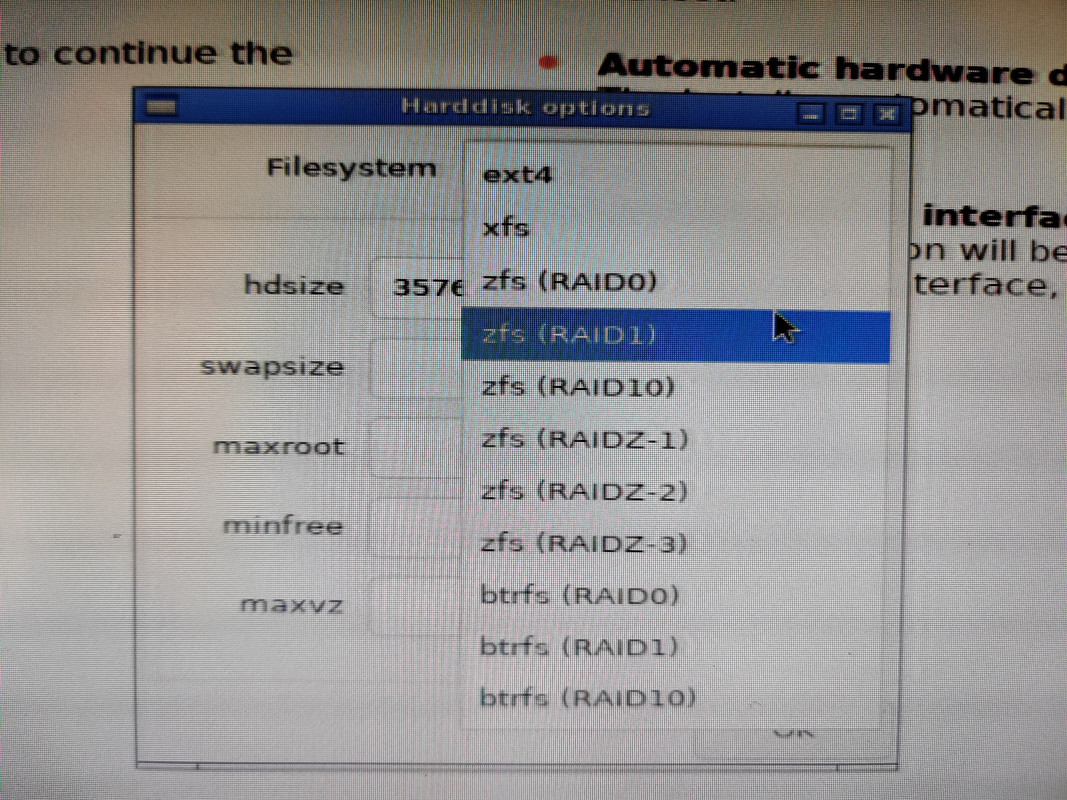
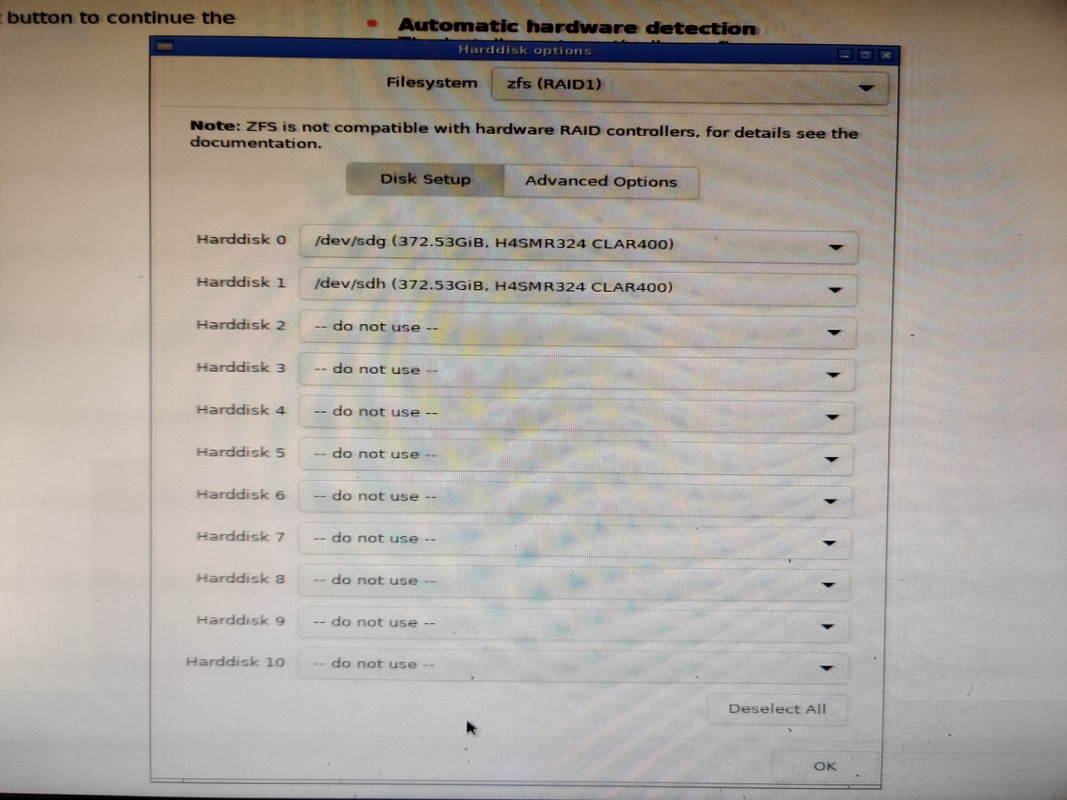
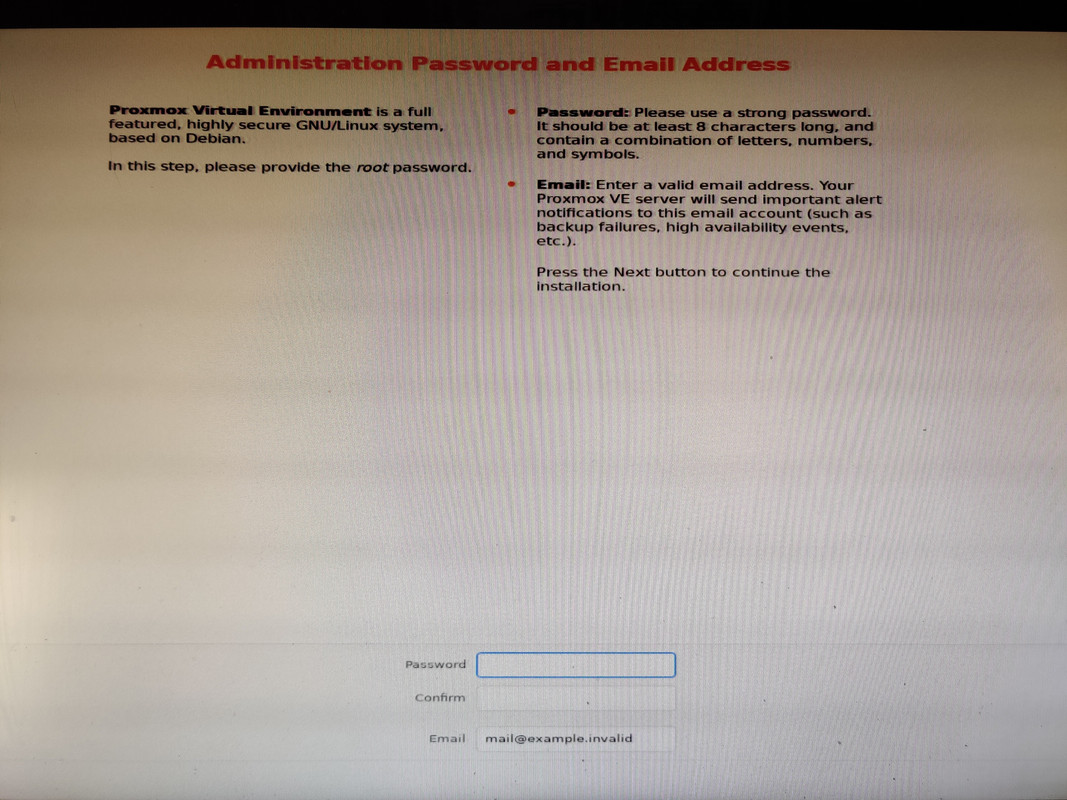
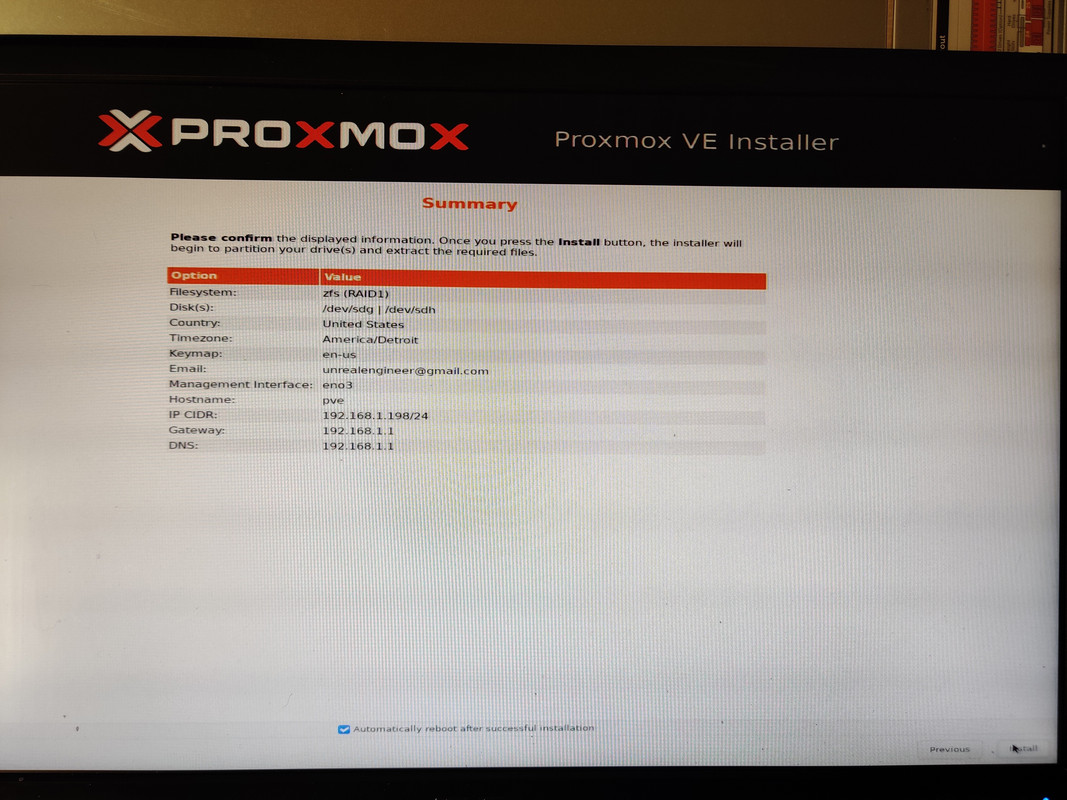
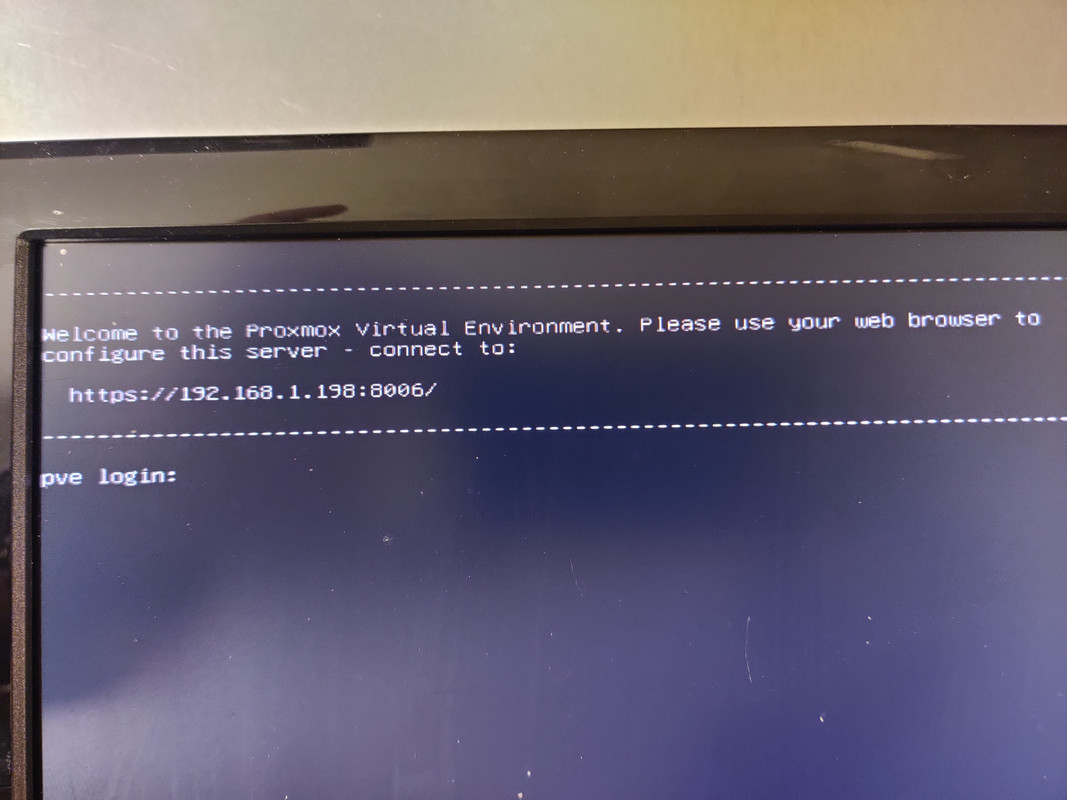
I also opted to set the boot mode to UEFI instead of BIOS. With that out of the way I could finally install Proxmox. The installation process was very quick, maybe six or seven minutes start to finish. After accepting the license agrement I was asked which drive to use for installation. If I were doing a single drive I’d just pick it from the list, but since I wanted to create a ZFS mirror I chose the Options button, selected ZFS RAID 1, and then selected the two 400GB SSDs for the mirror. After that it was just root password and email address setup and waiting for the installation to finish. Once completed and the machine rebooted I was presented with the terminal login screen and an IP address indicating everything was successful and that the web UI was up and running.
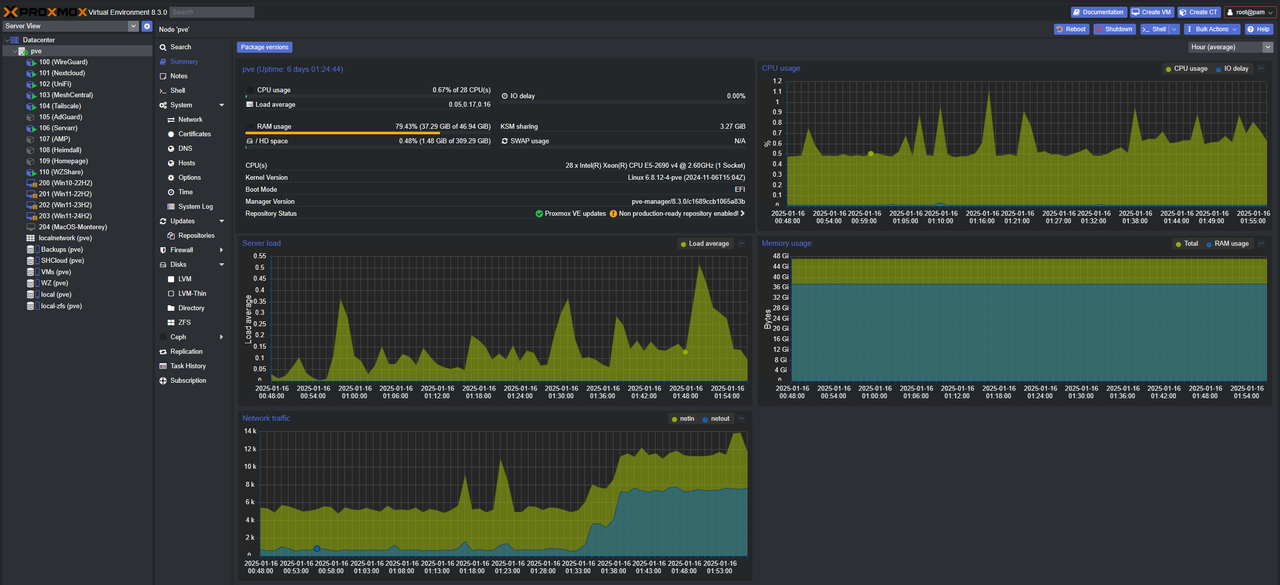
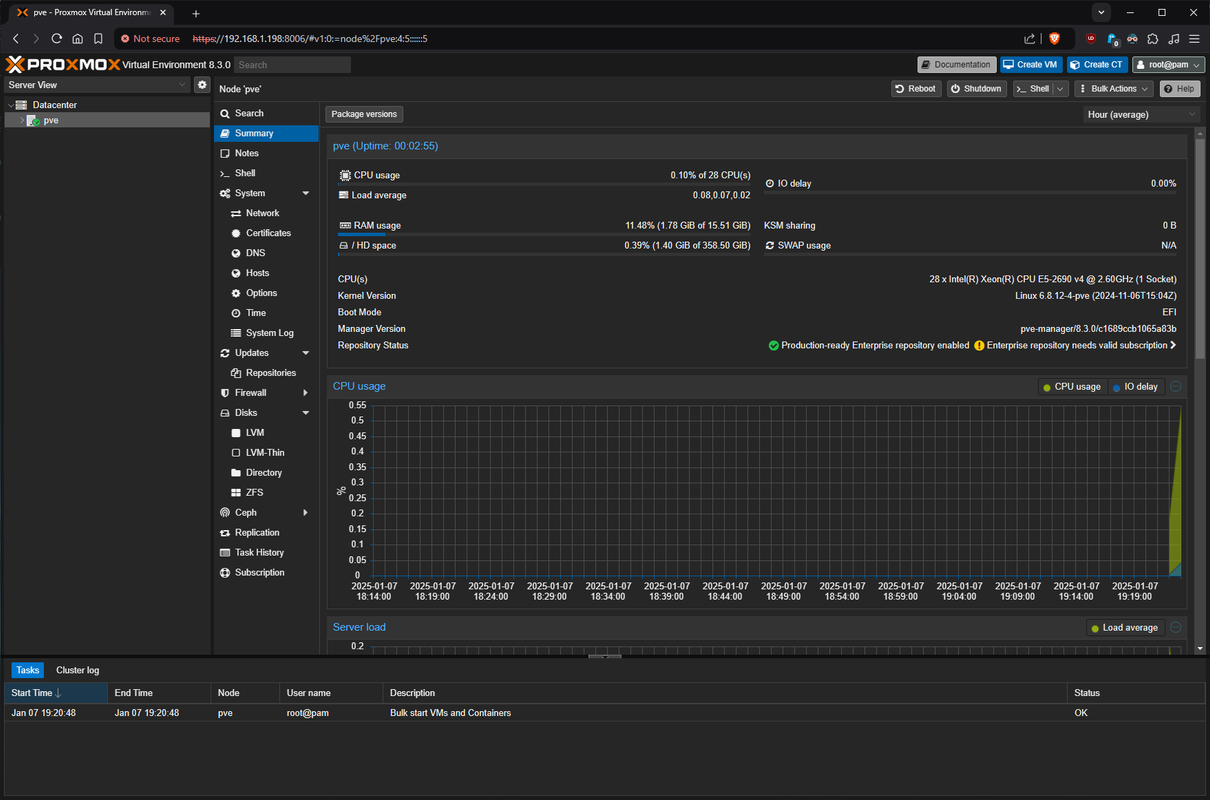
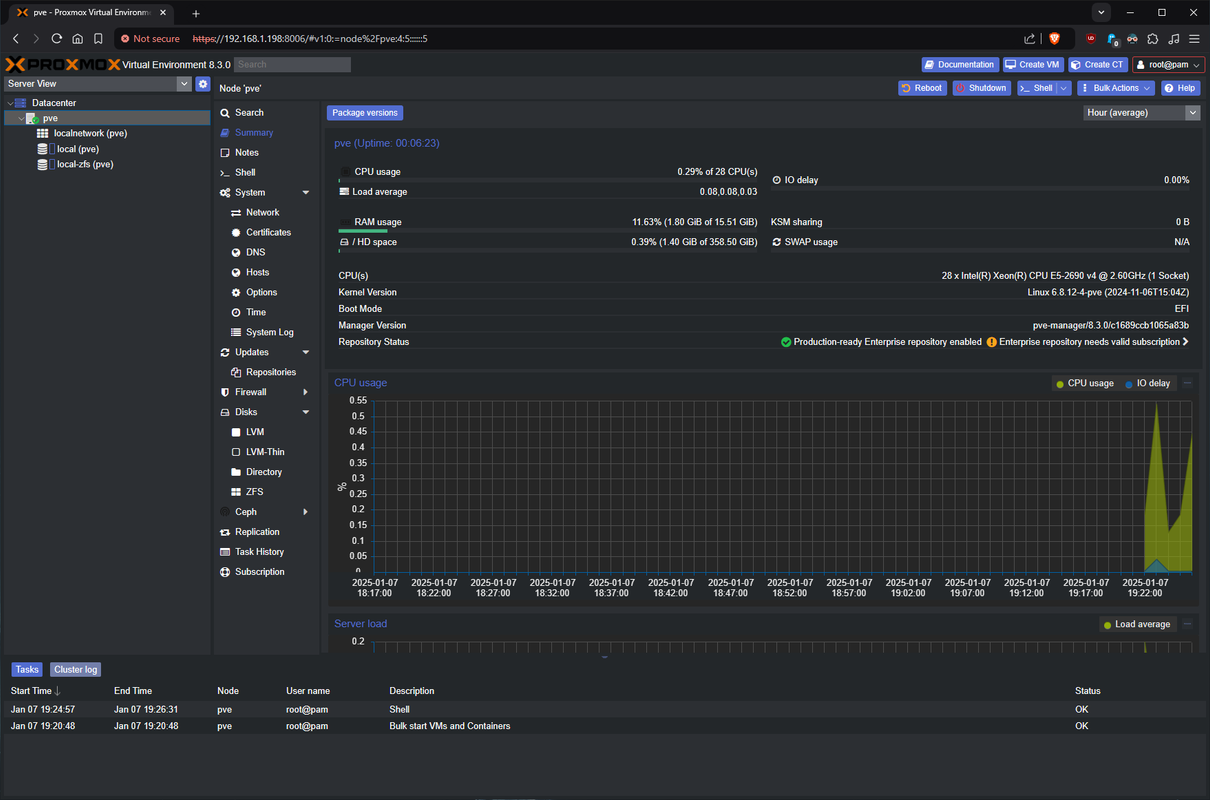
When I logged into the web UI using the IP from the terminal I was presented with what I’d be longing to see for a whole week:
I love Dark Mode with anything, but I didn’t specifically realize how appealing Discord’s dark theme was until someone nearly two years ago told me about the Discord Dark theme for Proxmox. This involved running the following command taken from the PVEDiscordDark Github repo:
1
bash <(curl -s https://raw.githubusercontent.com/Weilbyte/PVEDiscordDark/master/PVEDiscordDark.sh ) install
I also used the command below from the pve-nag-buster Github repo to disable the warning about not having an enterprise subscription that appears on every login. Then for good measure I disabled the enterprise update repository so that system updates wouldn’t encounter any snags when running apt-update.
1
2
wget https://raw.githubusercontent.com/foundObjects/pve-nag-buster/master/install.sh
bash install.sh
Refreshing the browser window with a cleared cache showed the Discord dark theme working and I wasn’t warned about the lack of subscription. Excellent! Now to configure my storage.
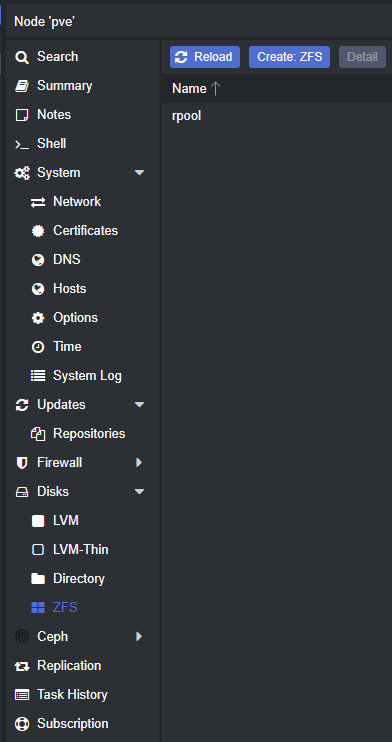
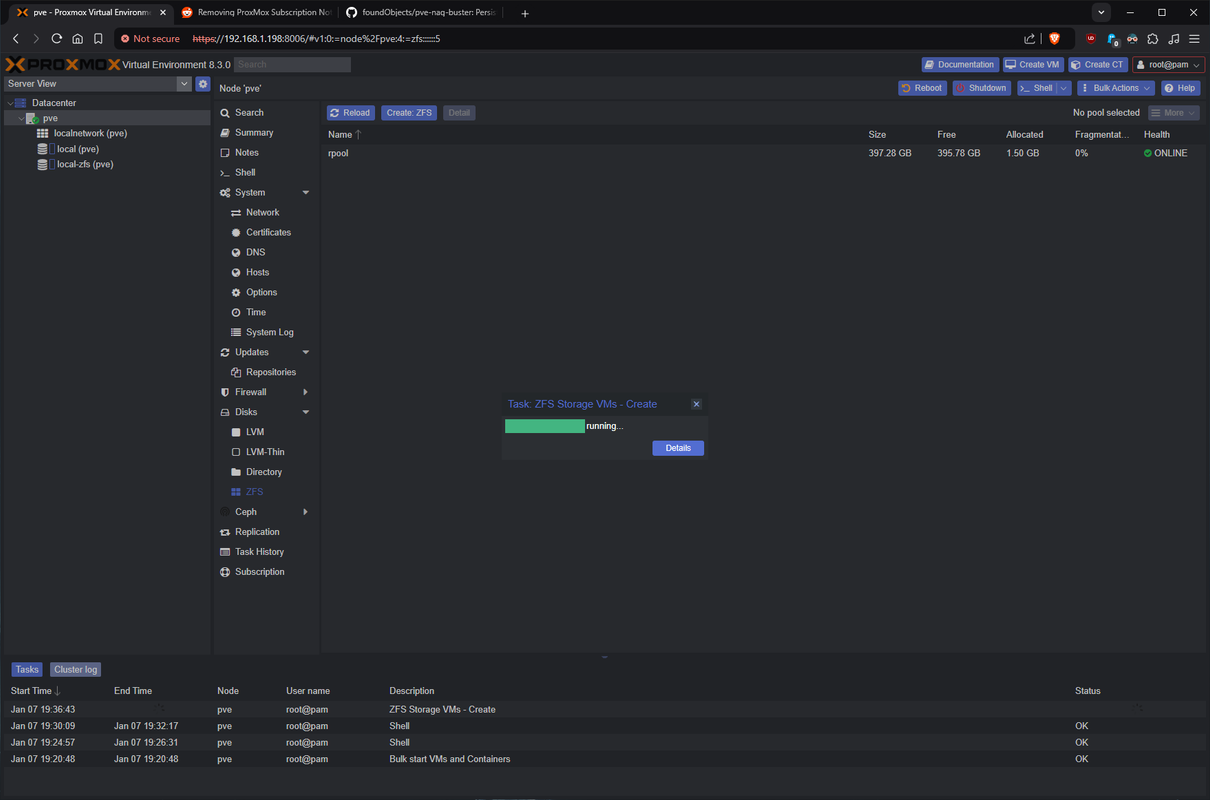
Creating the ZFS pools was very easy: select the node (pve in my case), choose ZFS under Disks, click Create ZFS, choose your configuration and disks, and then it’s done. As mentioned earlier, the plan was to create a striped mirror (RAID 10) of the four NVMe drives and then mirrors (RAID 1) of the remaining SATA SSDs.
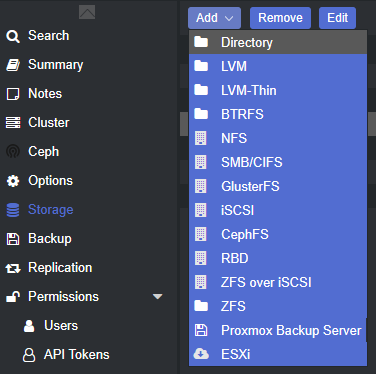
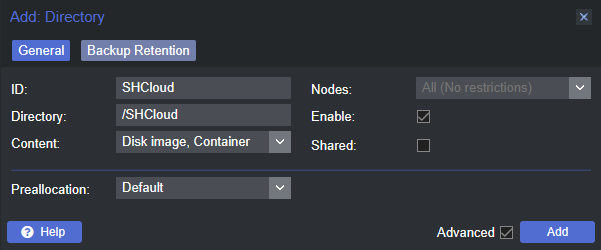
One thing to note is that (at least in Proxmox) ZFS directories only support VMs and LXC containers. If you want to put anything else in them you need to create a directory inside the pool which can then be configured for additional content. To do this select Datacenter in the left-hand pane, then select Storage from the middle pane, and finally the Add dropdown menu followed by Directory.
For my needs this needed to be done with my Backups pool so that I could select it from the storage list in Proxmox when doing VM and container backups. While I probably didn’t need to do this with my self-hosted cloud storage and work test files drives, I did it anyway just in case I ran into trouble with rsync or something unforeseen in the future.
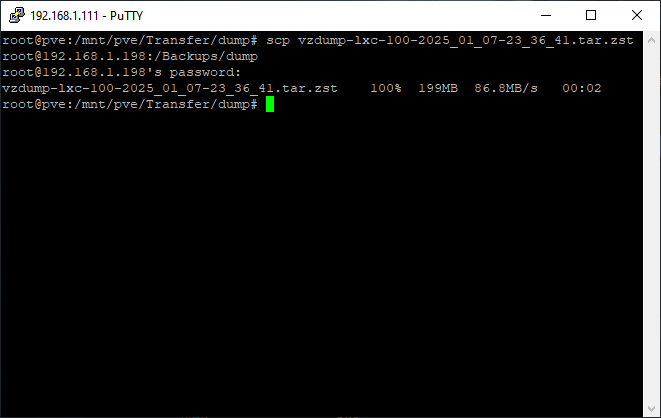
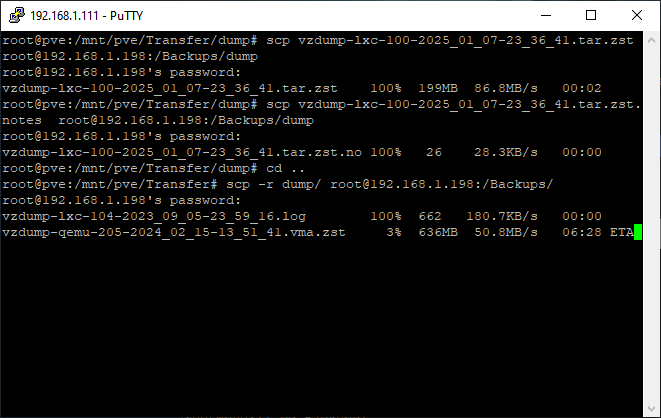
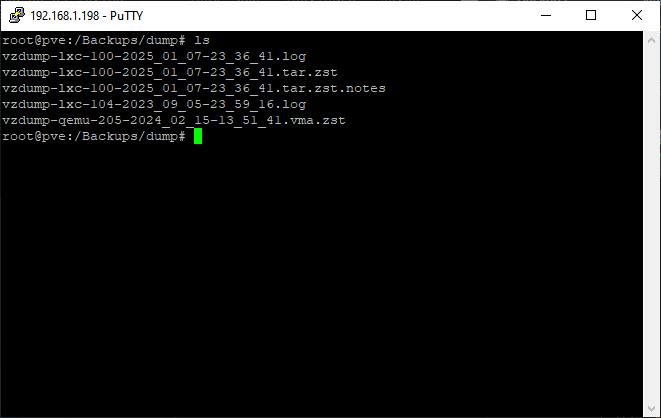
Speaking of rsync the next step was transferring my VM and container backups, cloud and work files, ISO images, and CT templates, from the old server to the new one. Once I verified the correct paths on both servers I ran the following command from the old server:
1
rsync -aP [file/foldername] root@[IP of new server]:/[path]/
When doing batches of files I found using partial filenames with a wildcard (*) was very efficient. Since I was scrapping the backups for my Win11 test environments (they had problems unrelated to Proxmox and needed to be rebuilt from scratch) it was easier for me keep track of things by just copying things in batches rather than the entire folder and picking through things later.
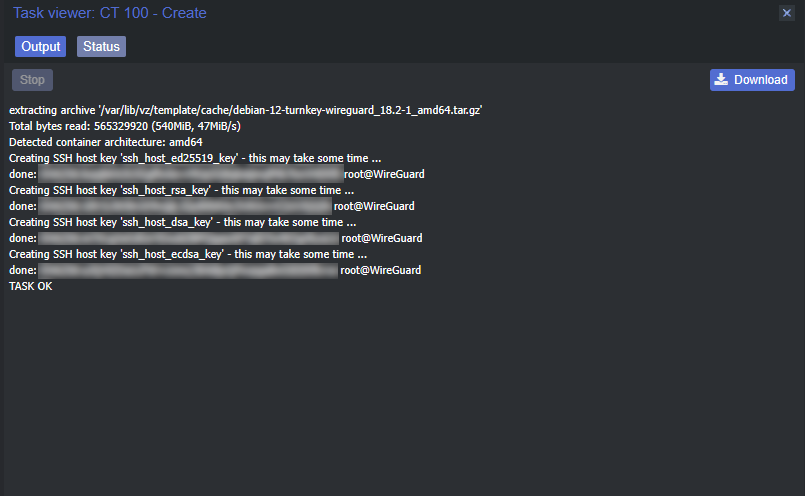
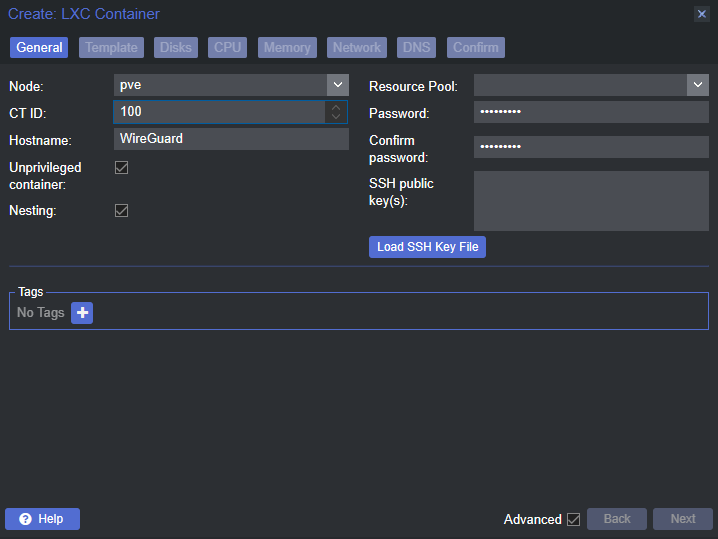
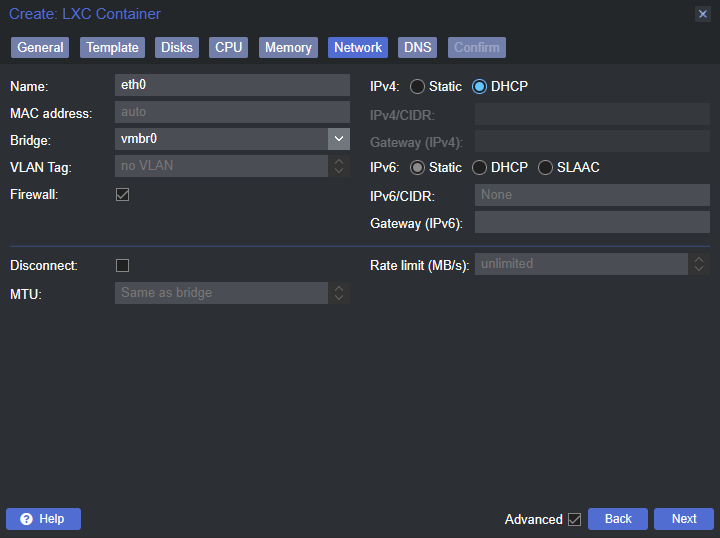
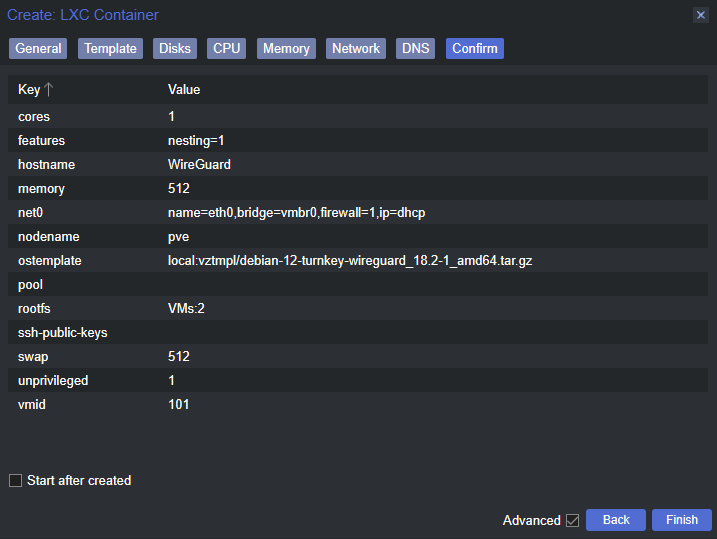
For the containers I created fresh backups in addition to my original ones so I could just create a container, restore the backup, and then all settings plus the state of the container would be restored without interruption. The same was also true for two of the VMs that I opted to migrate. With the backup files in place I could then start creating LXC containers and VMs.
Once a container or VM was created I could then change the name of the migrated backup files to match the ID number of the new one, and then everything would appear in the Backups section.
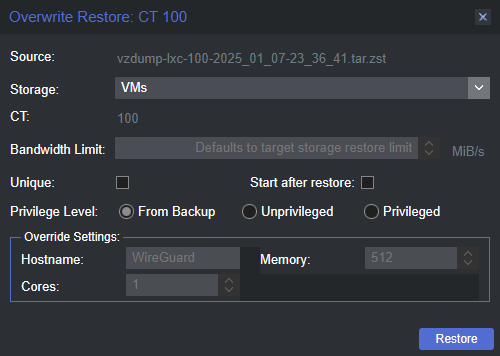
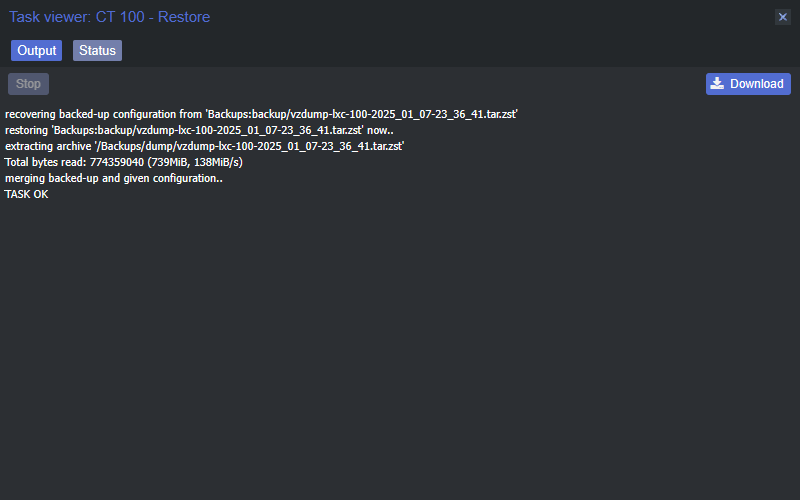
The restoration process was the same for both VMs and containers. A tiny footnote is that when restoring from a backup while you can override the configured resources from the backup, you can’t change anything regarding the storage. So you can change the CPU socket/core counts and RAM amount, but if you need more storage space you’ll need to restore and then change the virtual disk size afterward. This was one of the reasons I ditched the backups for my Windows 11 VMs, I was nearly out of drive space inside the VM. If it weren’t for other issues I was having due to unrelated causes, I would have restored and then expanded the virtual disk. Also unrelated, I wanted to experiment with some self-hosted remote control software because screw TeamViewer and AnyDesk. More on that in a future post.
And on that bombshell (in the voice of Jeremy Clarkson) this post has reached the end. I’m very pleased with the results and it was a fun build. I have a decent amount of experience with Proxmox, though I’m hardly an expert, but I learned more than I expected, and as a bonus (read: for the lulz) I can now add Dell PowerEdge motherboard swapping to my list of skills. Once I’m done with the new Windows test environments for work it’ll be time to shut down the old server for good and then rack the new one. But in the coming weeks I want to mess around with some new self-hosted stuff, namely the aforementioned remote control software, so that should prompt me to make at least a couple posts on my adventures. For now, time to finish those Windows VMs (to the Windows haters, I don’t blame you, just remember these are for my day job) and then call it truly done. See ya around the Internetz.
