Solar Pergola: New Roof
Fixing my solar installer's idiotic mistakes
Just over a year ago I talked about the failures of my solar installer and how the roof they constructed under my solar panels leaked in every possible place because they put pitched roof shingles on a dead flat roof. I also tried pursuing legal action against them which ultimately failed because by the time I contact a lawyer they had already started liquidating assets for bankruptcy. FML. Not only was the work not completed, I wasn’t refunded either. So I had no choice but to wait until I could afford to have someone rebuild the roof.
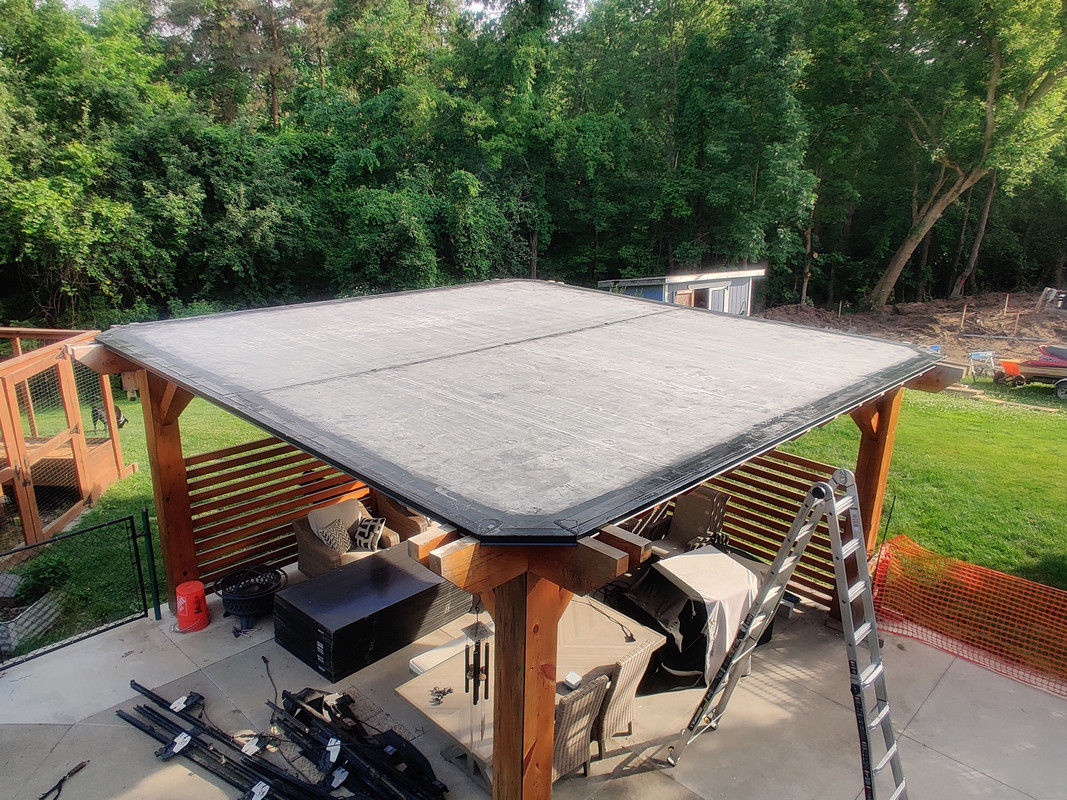
The new roof will be as it should have been when the pergola was first constructed: a flat membrane roof with proper sealants around any roof penetrations. Eventually the solar panels will be remounted but I’ve designed a system of adjustable aluminum struts combined with racking rails to make a unified tilted array. More details on this in a future post.
I was hoping to get this done back in April, but oddly enough I had a surprisingly hard time finding a contractor willing to take the job. So between finding someone and then waiting about two weeks until I was next on their schedule, it took me about a month and a half start to finish. The actual job only took two days and I am so relieved that their work was top notch and the roof no longer leaks at all!
Prior to the crew’s arrival I enlisted the help of a neighbor to help me remove the solar panels. This was fairly straightforward but it took two days because we had to source a spider drill bit for some of the rail anchors, not something the big box stores normally stock as we found out. But the actual process was pretty painless. First came the panels, then after undoing the lag screws for the rails we yanked those up with some persuasion (the solar installer tried to seal them using black silicone on the sides). Some whole sections of shingles came up while doing this as if they weren’t attached. Given the ludicrously poor quality of work the solar installers did, I have to imagine they didn’t even secure all of the shingles. Unbelievable.
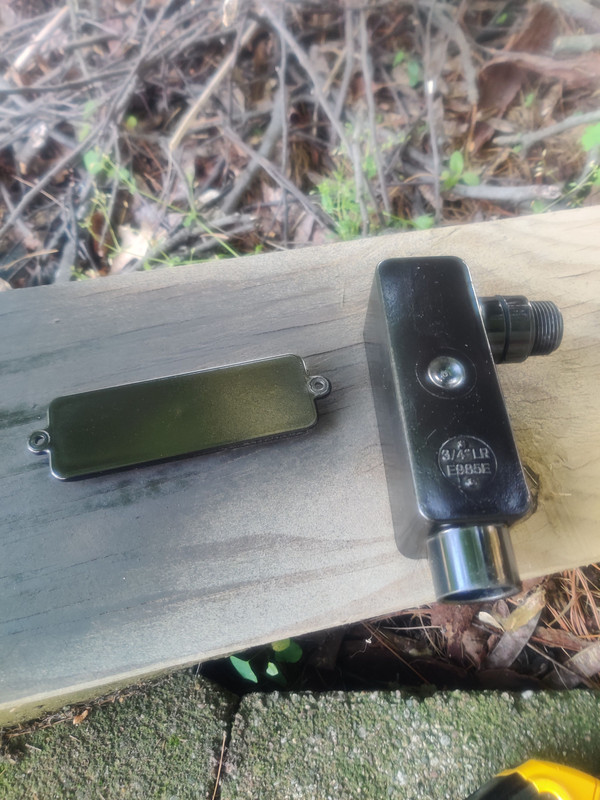
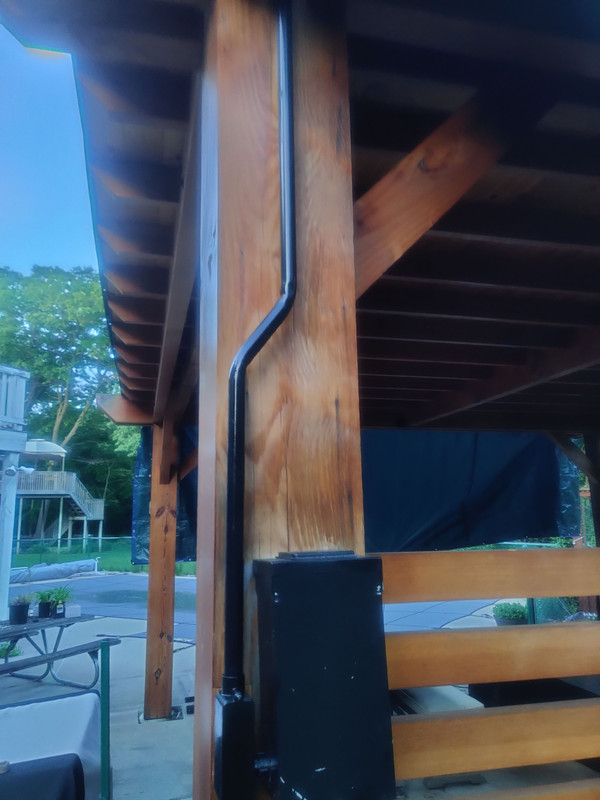
I also had to make a modification to the electrical conduit running from the disconnect panel through the roof. The original roof had a junction box mounted flat on the roof with the conduit coming into the bottom of it. This wouldn’t work with the new roof because EPDM roof needs some underlayment under the membrane, making the existing conduit about half an inch too short. So I fabricated a replacement and painted everything black.
The idea this time is that with the extra height this will make it easier to seal the hole in the roof around the conduit and allow me to use a coupler to run another piece of conduit to the main junction box beneath the panels once reinstalled on the new strut frame.
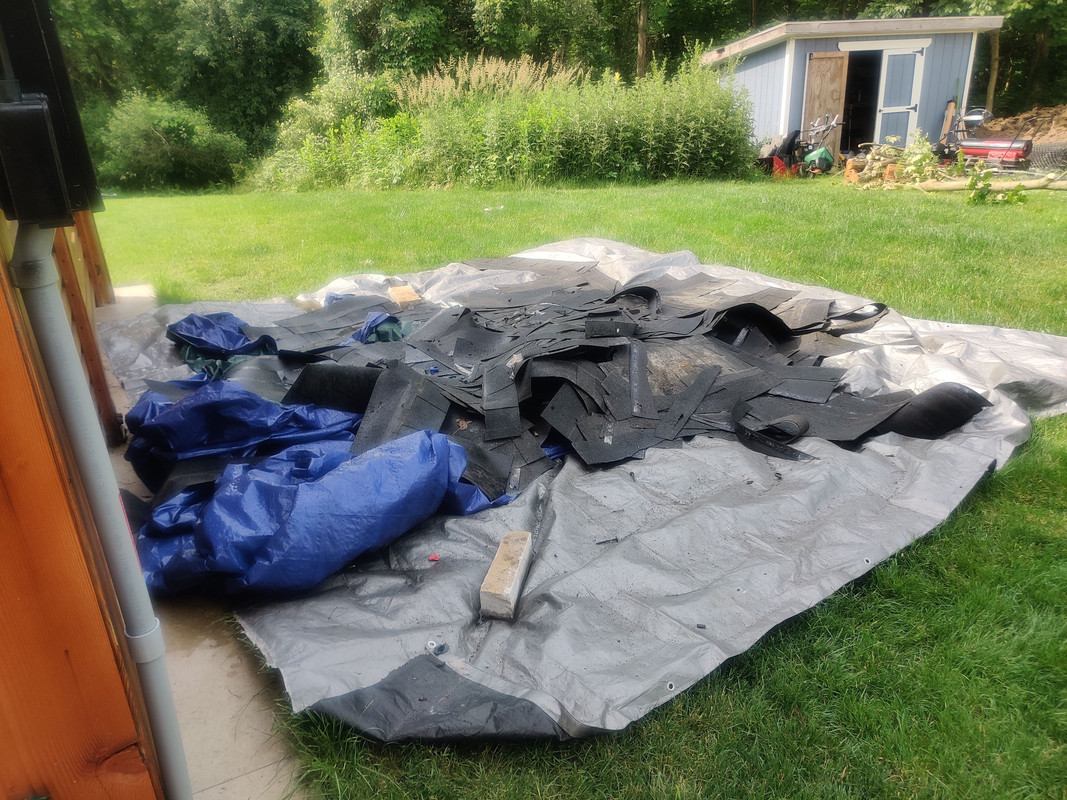
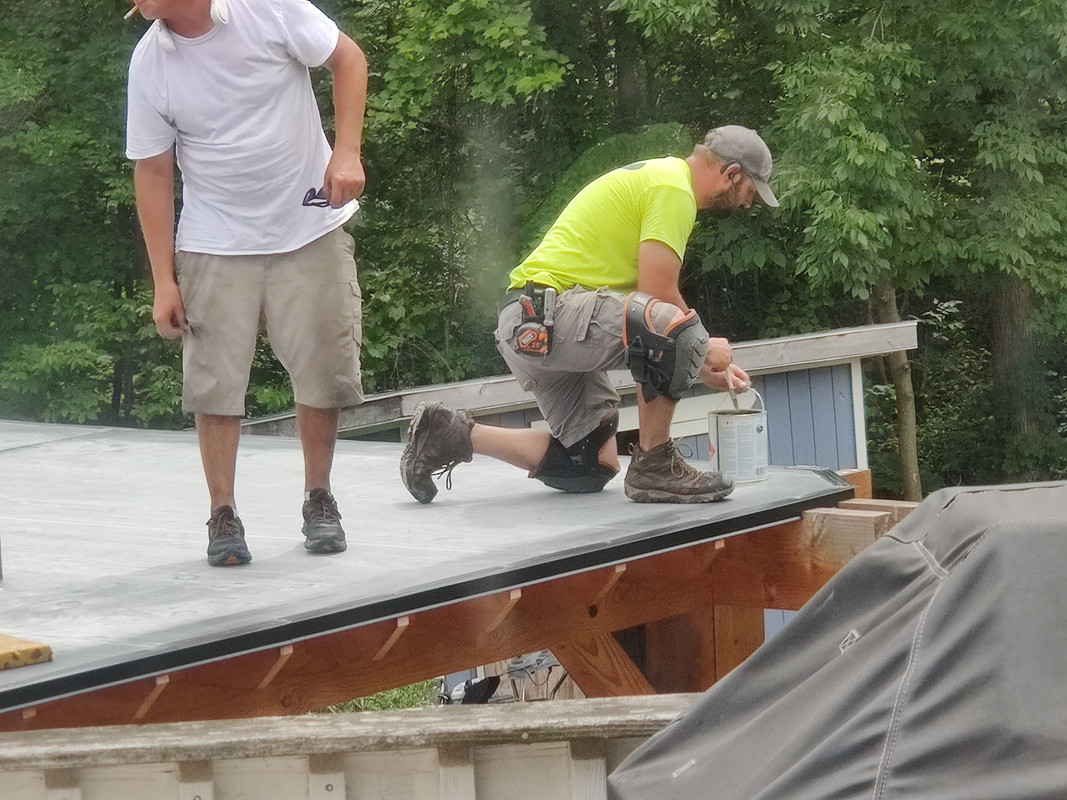
When the roofing crew showed up they got to work straight away and laid down a large tarp next to the pergola to collect debris. I think they pulled up all of the shingles inside of ten minutes.
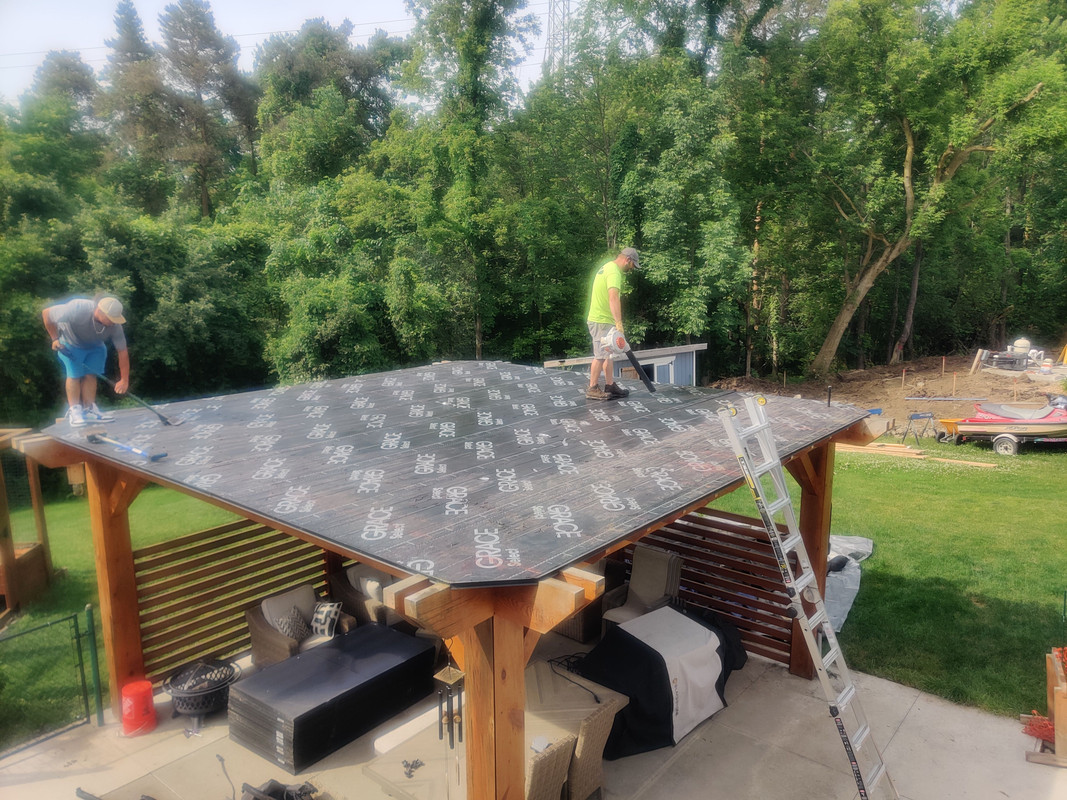
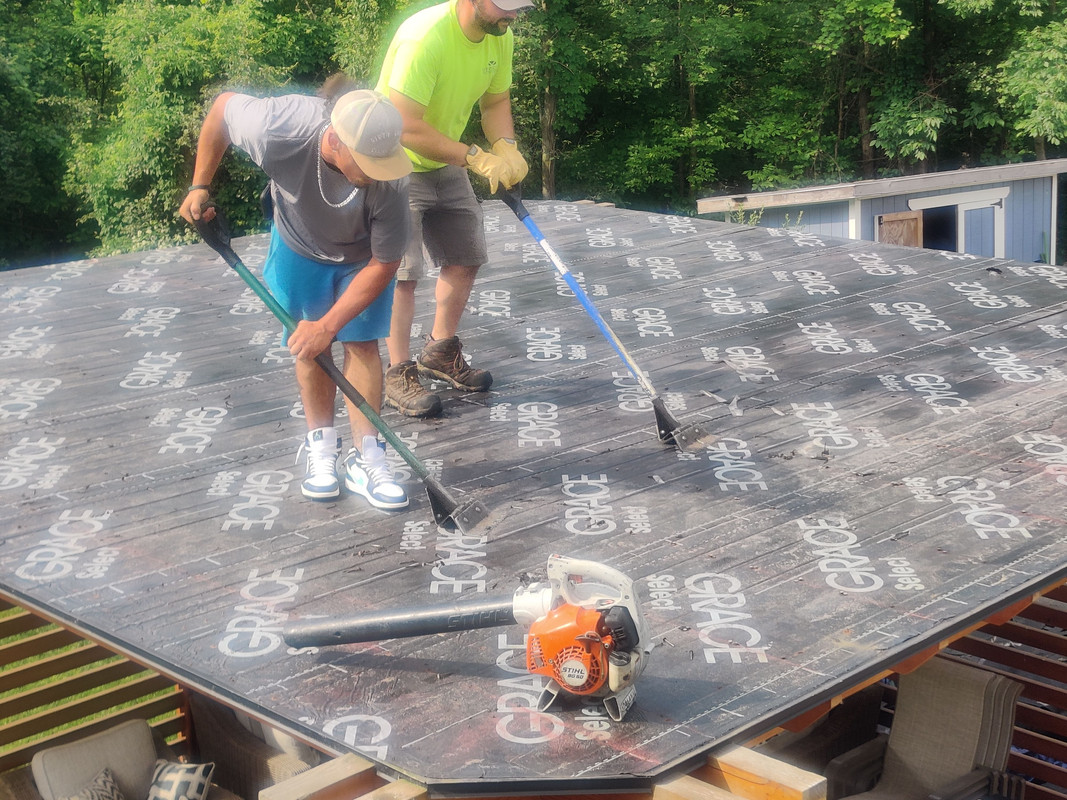
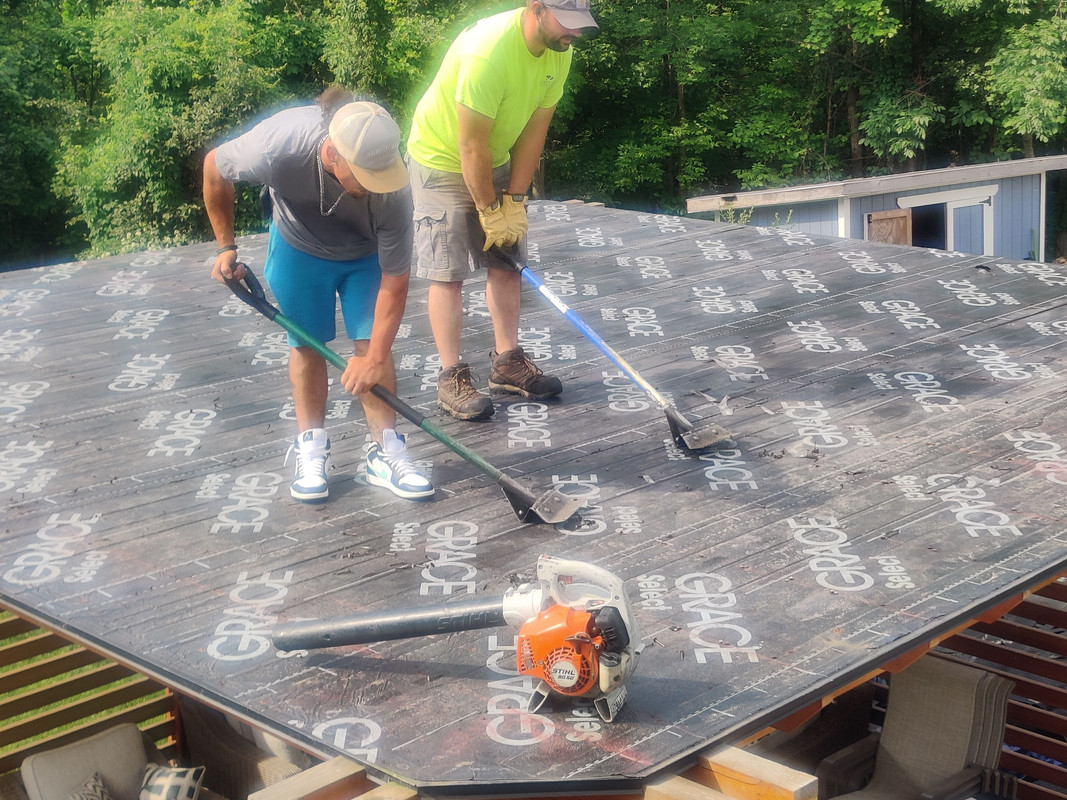
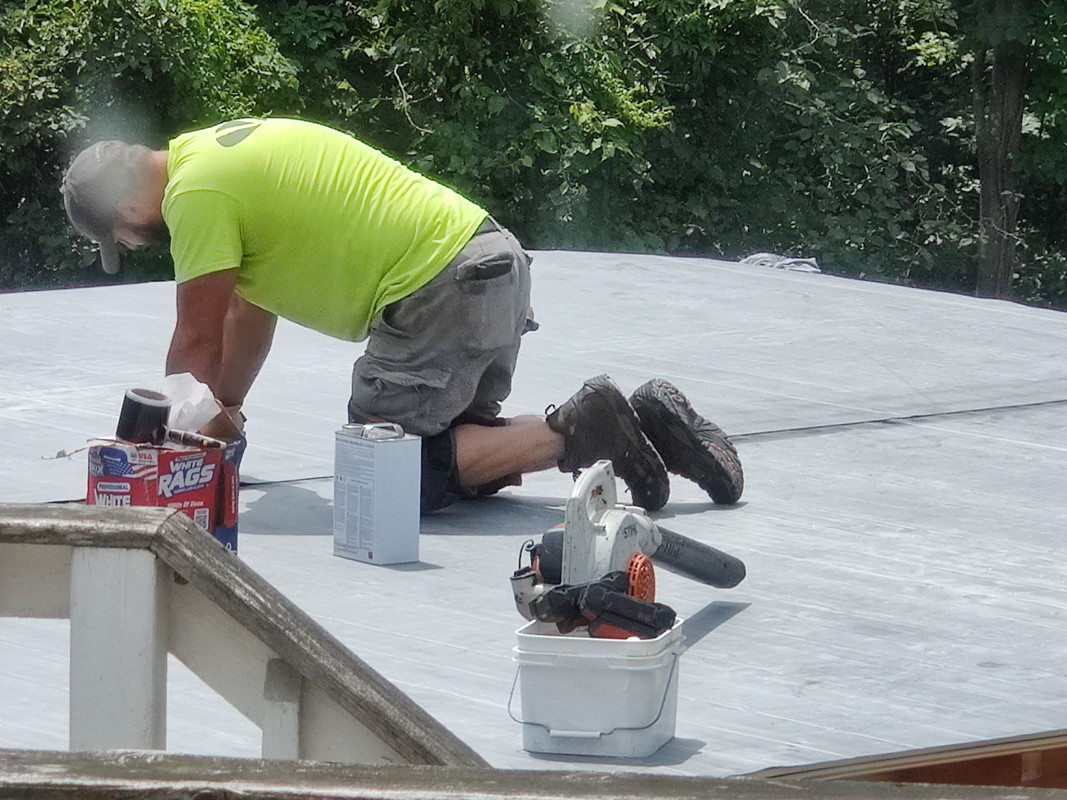
Next they used a leaf blower to clean up loose debris and the largest nail puller I’ve ever seen to pull up the shingle nails.
The nail puller was actually pretty neat: basically a shovel with an angled piece of metal attached to the head that has fingers in it. Shoving forward traps the nail heads in the fingers and then the head acts as a fulcrum to allow prying the nails up.
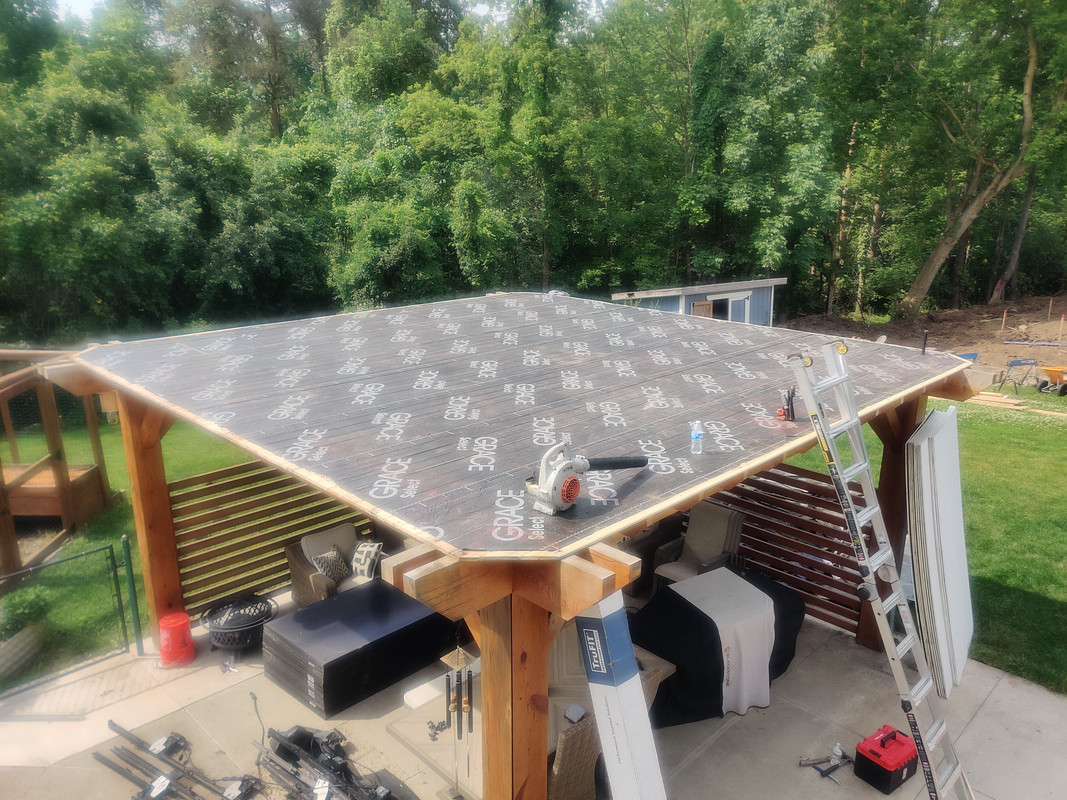
I missed getting a picture of the drip edge removal, but here’s the roof with that removed.
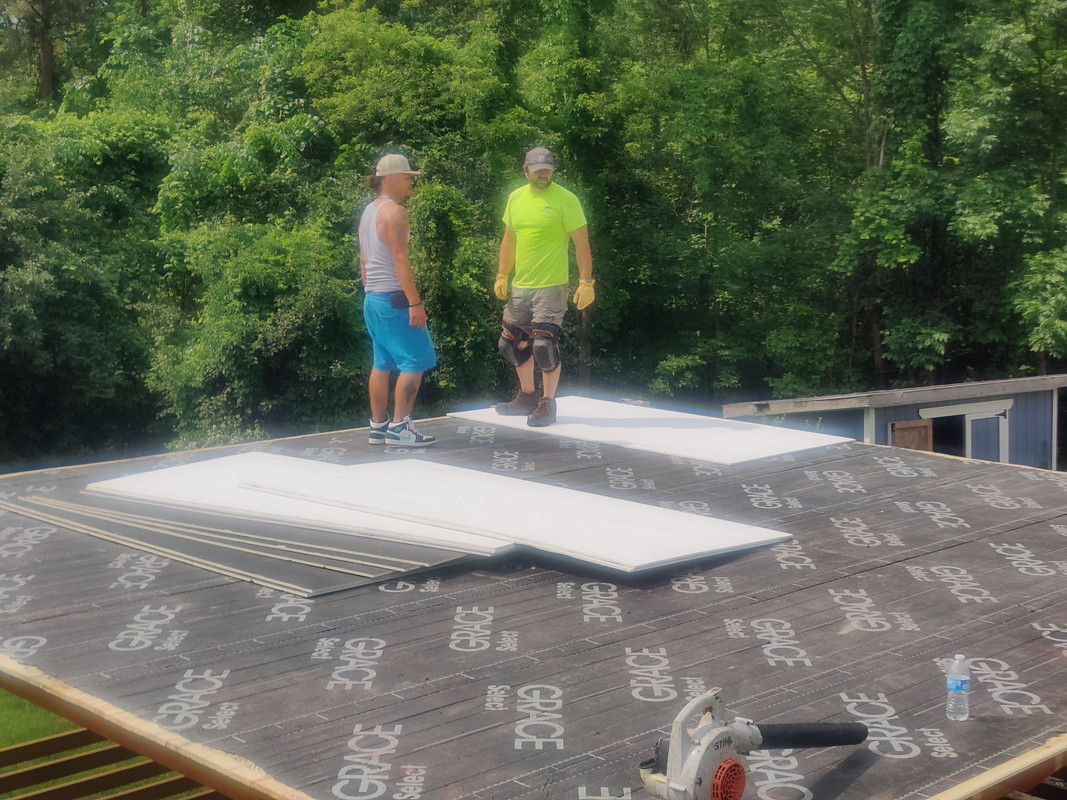
I asked the crew lead about whether they needed to pull up the ice and water shield and they said no leaving it was fine since they were going to lay down sheets of underlayment to build up the thickness of the roof and make it super flat for the EPDM adhesive. This stuff was a lot like OSB but it felt a bit softer, almost like styrofoam, so it had a tiny bit of give to it.
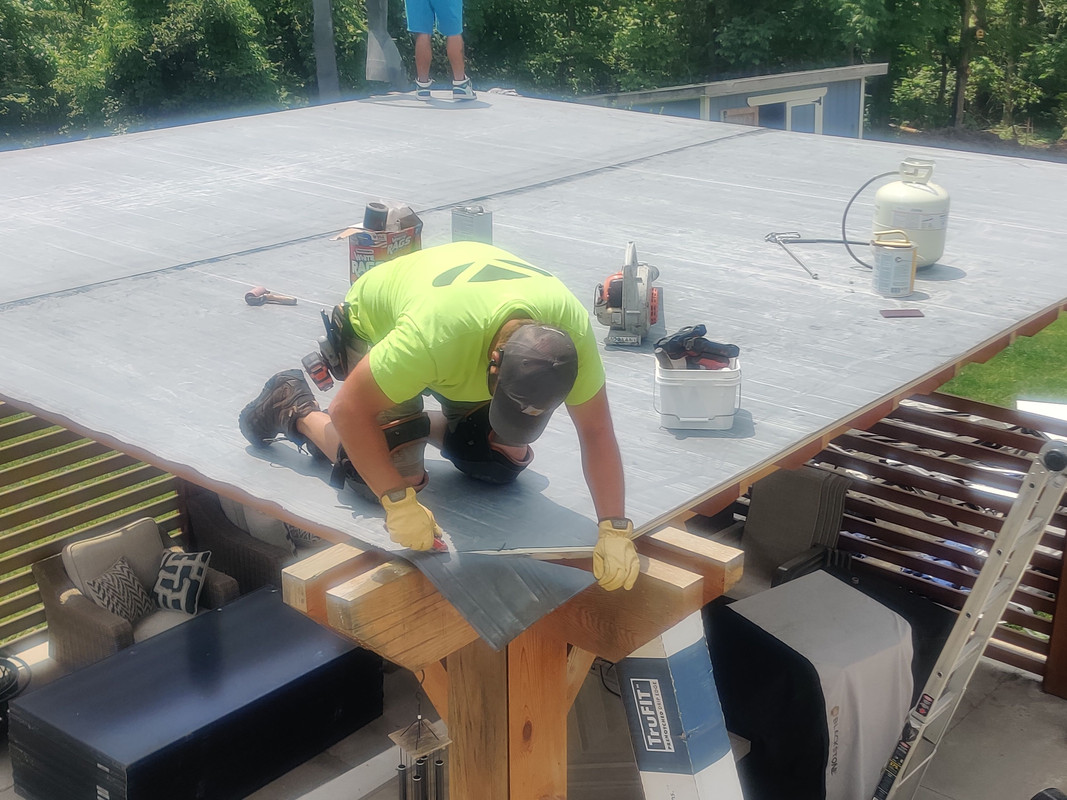
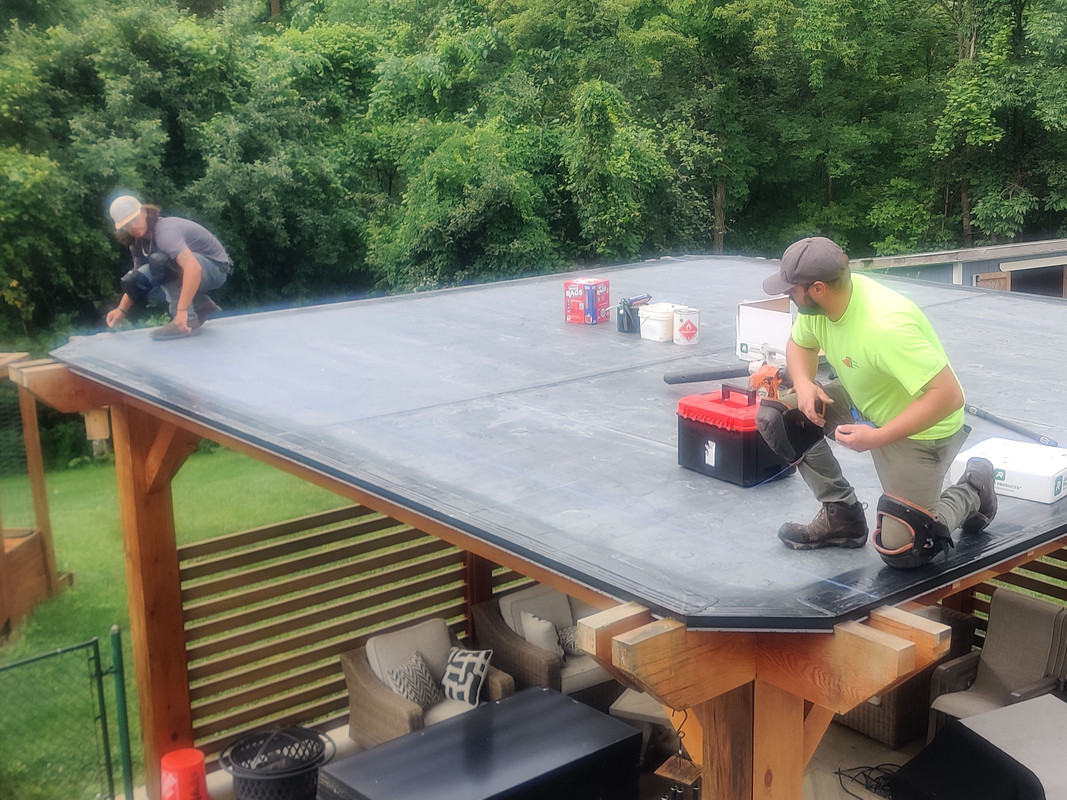
I had to run out and grab something from Home Depot so I missed the unboxing and adhering of the EDPM but I did get a pic of them joining the middle seam together.
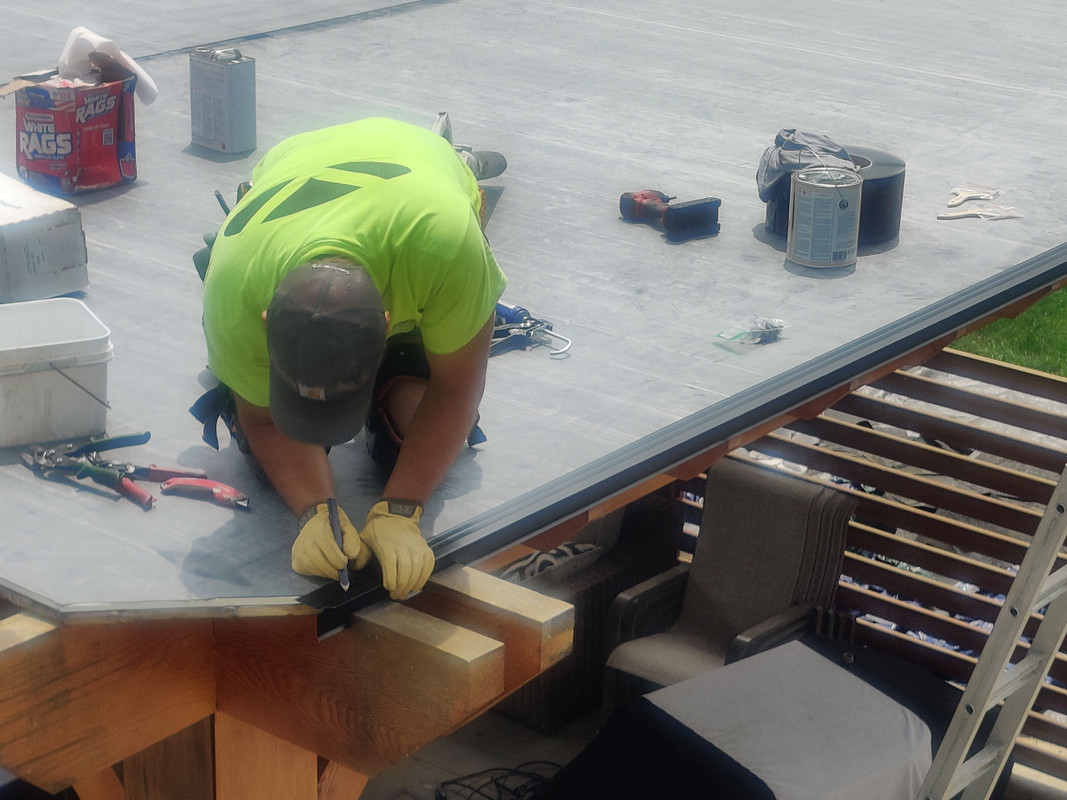
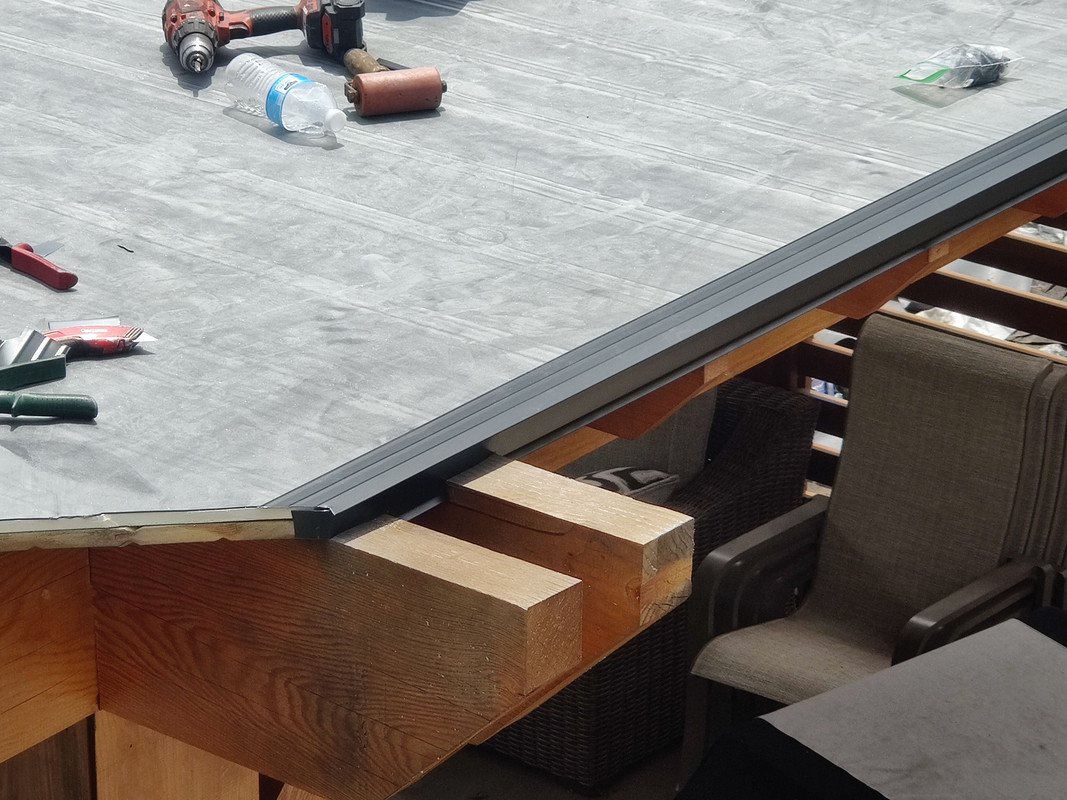
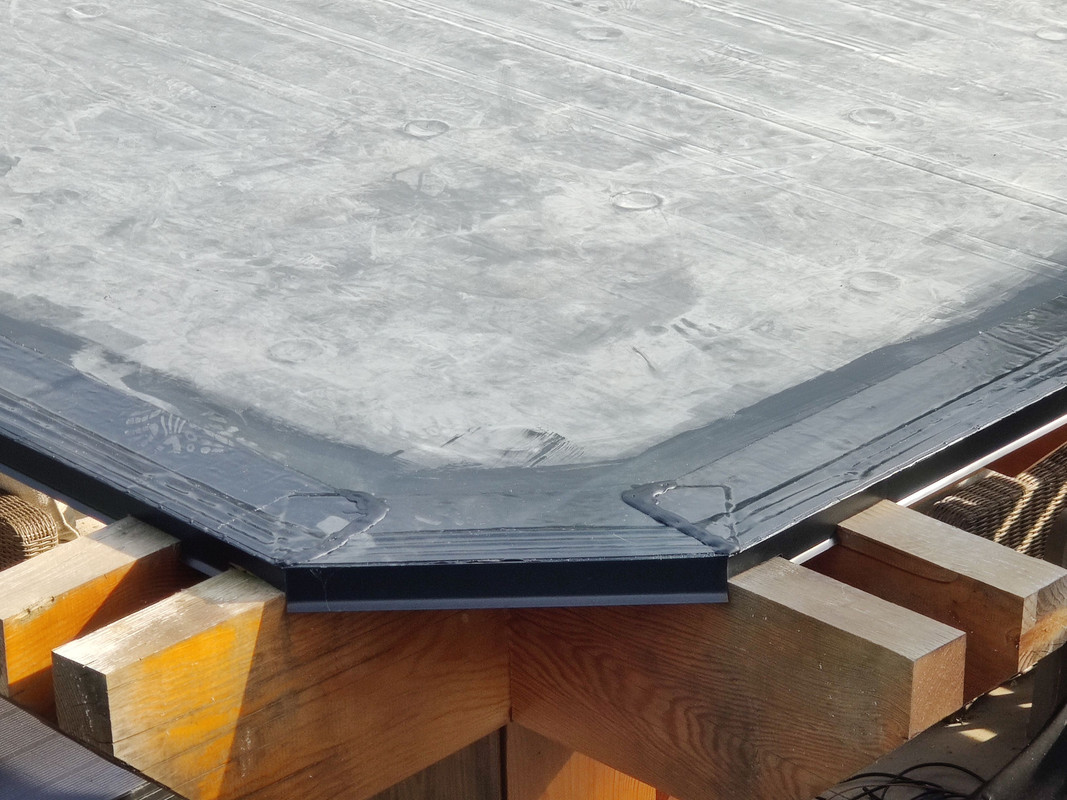
Next they trimmed the membrane flush with the edges and then installed new drip edge.
Once all of the drip edge pieces were cut and secured they flashed the top edge and sealed it to make sure no water could get under the drip edge. I think the tape was butyl but I forgot to ask just to satisfy my curiosity. It definitely wasn’t a piece of the same EPDM used for the roof.
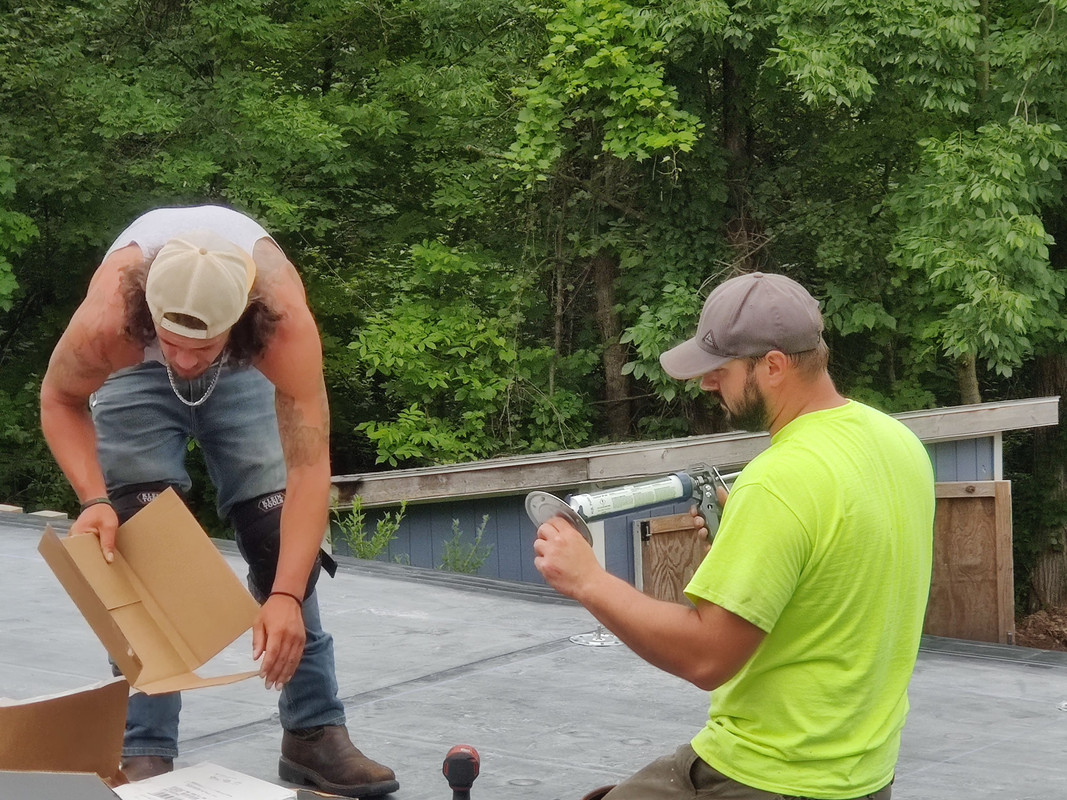
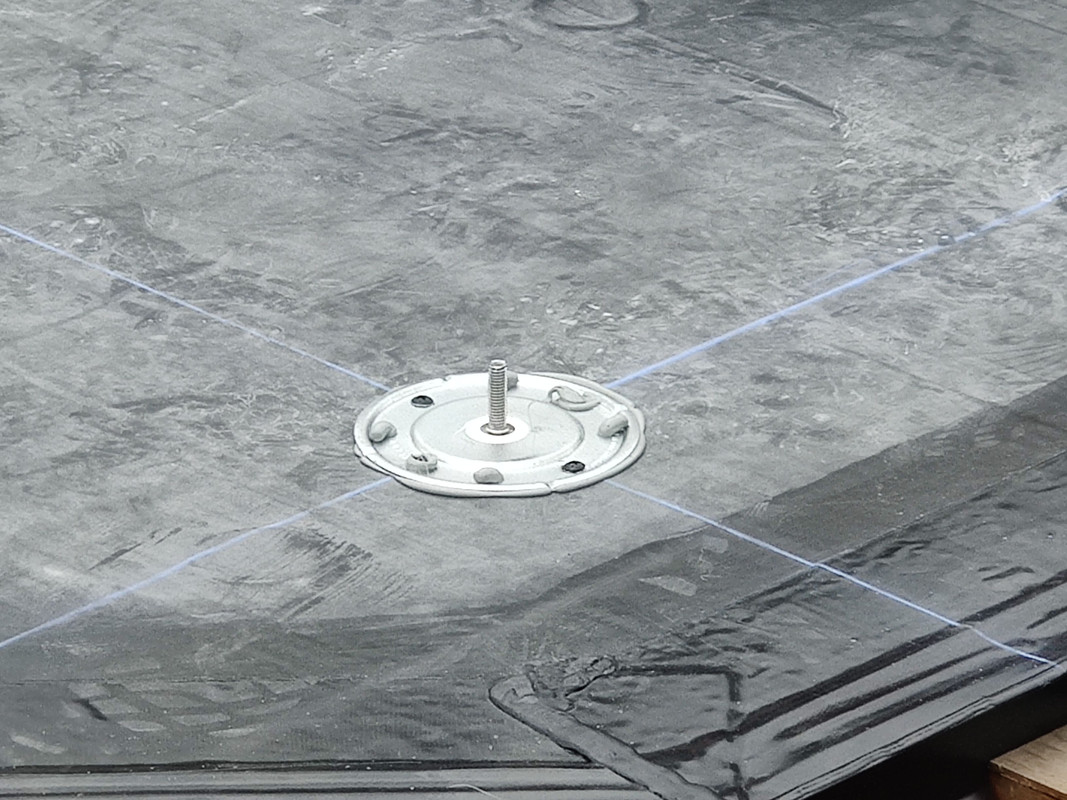
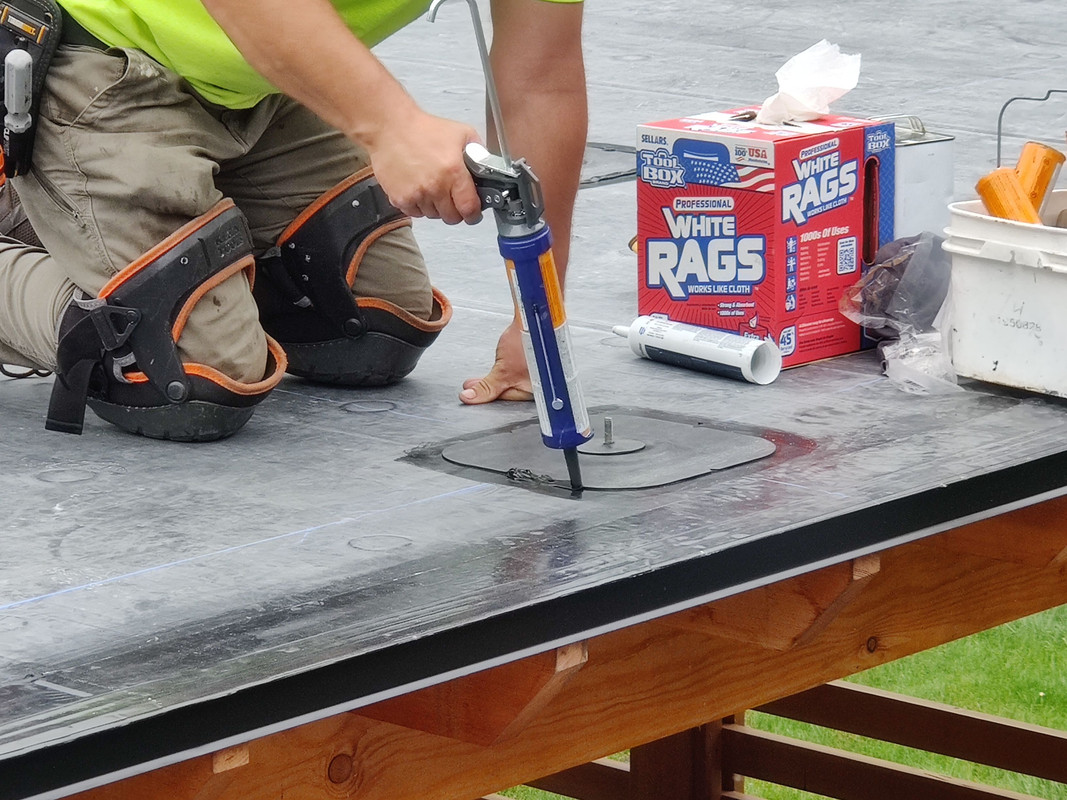
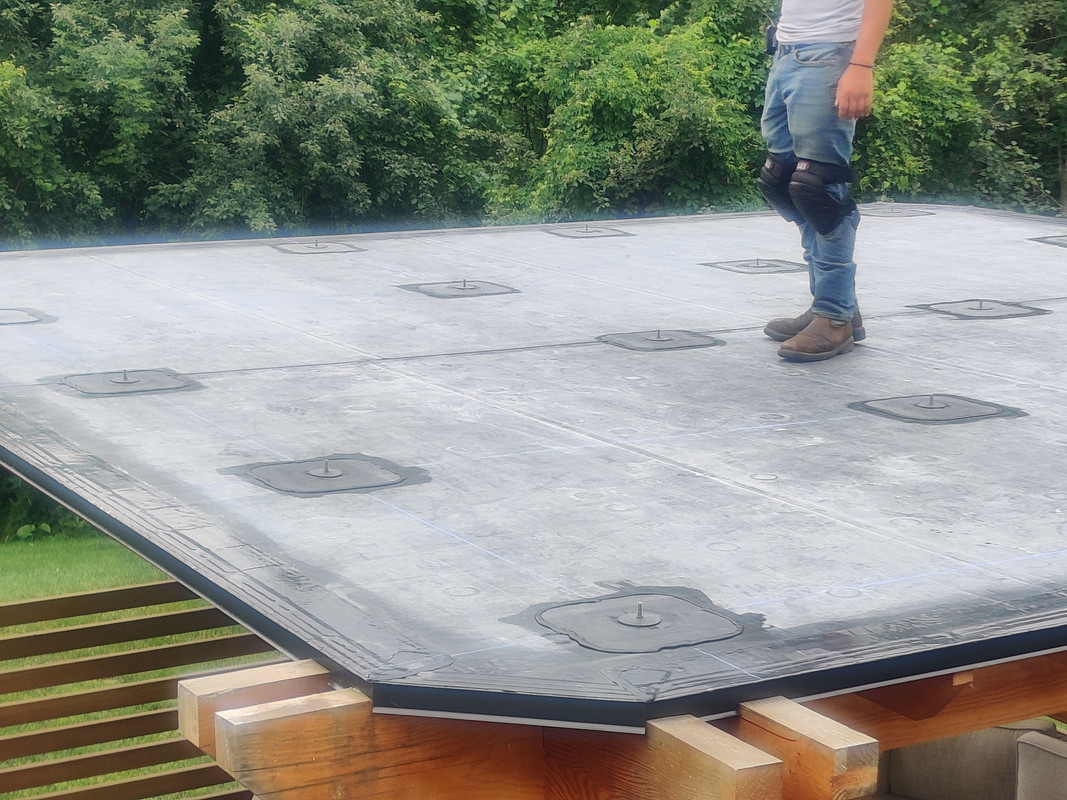
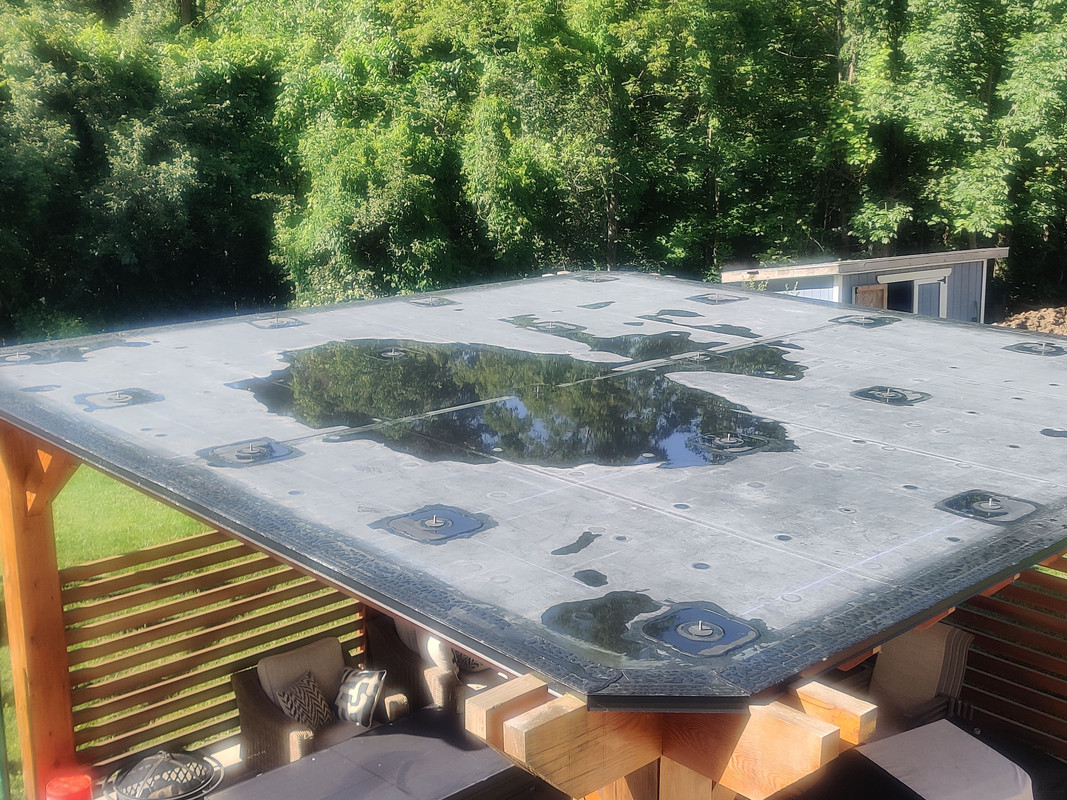
With that, the first day was complete and there was nothing to do but wait until the next morning after the EPDM adhesive had cured. The next day the crew started by snapping chalk lines at specific locations to mark where the roof anchors for the new solar panel strut network would go. Thanks to the beams and joists having exposed ends, this process was very easy and allowed for my kind of precision. Installing the anchors involved two thick rings of sealant under each anchor plate and then lag screws to secure them to the roof.
When I planned out the locations of the anchors I made sure to maximize how many lag screws each anchor would receive. No such thing as overkill for this. Most of the anchors got four 1/4”x3” lags with only a few getting only two. The anchors are then covered by a square piece of membrane that is compatible with the brand of EPDM used for the roof (the anchor manufacturer confirmed this with me prior to my ordering them) and sealed with two more rings of sealant underneath with a final ring around the edge. Again, no such thing as overkill, plus this was the manufacturer’s instructions, not mine. I’m not complaining though, these would have to take a lot of damage for water to get underneath and even then there’s still more sealant under the anchor plate and the lag screws.
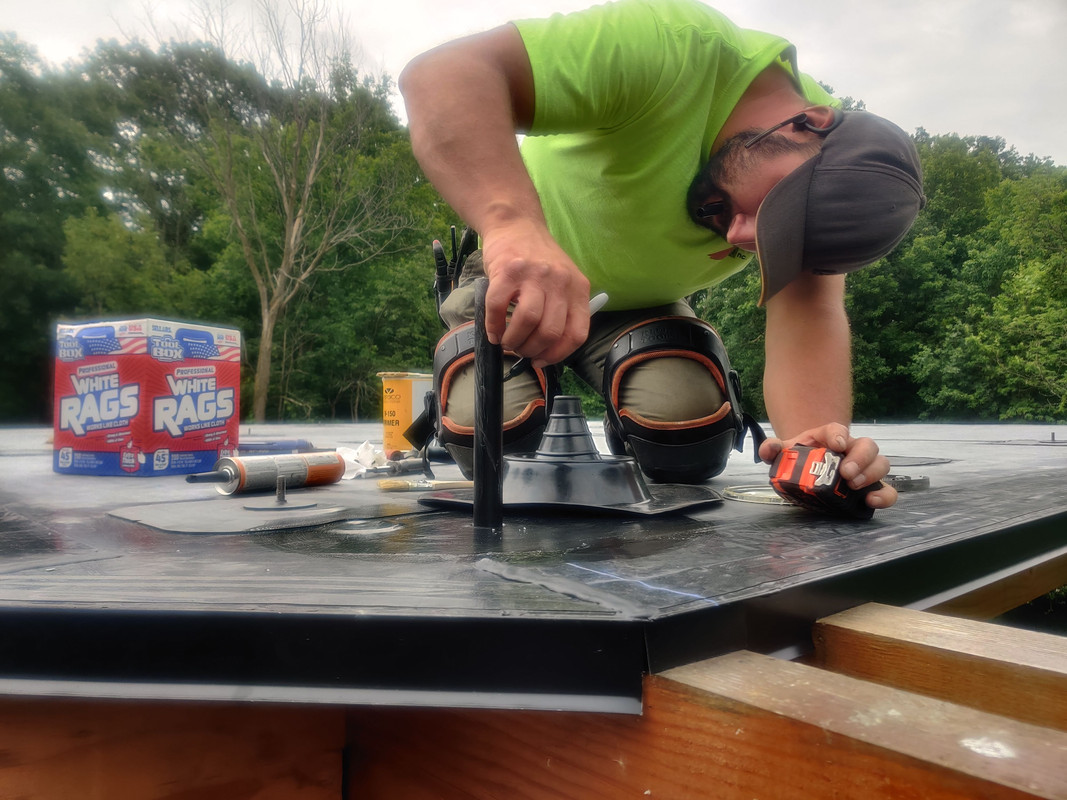
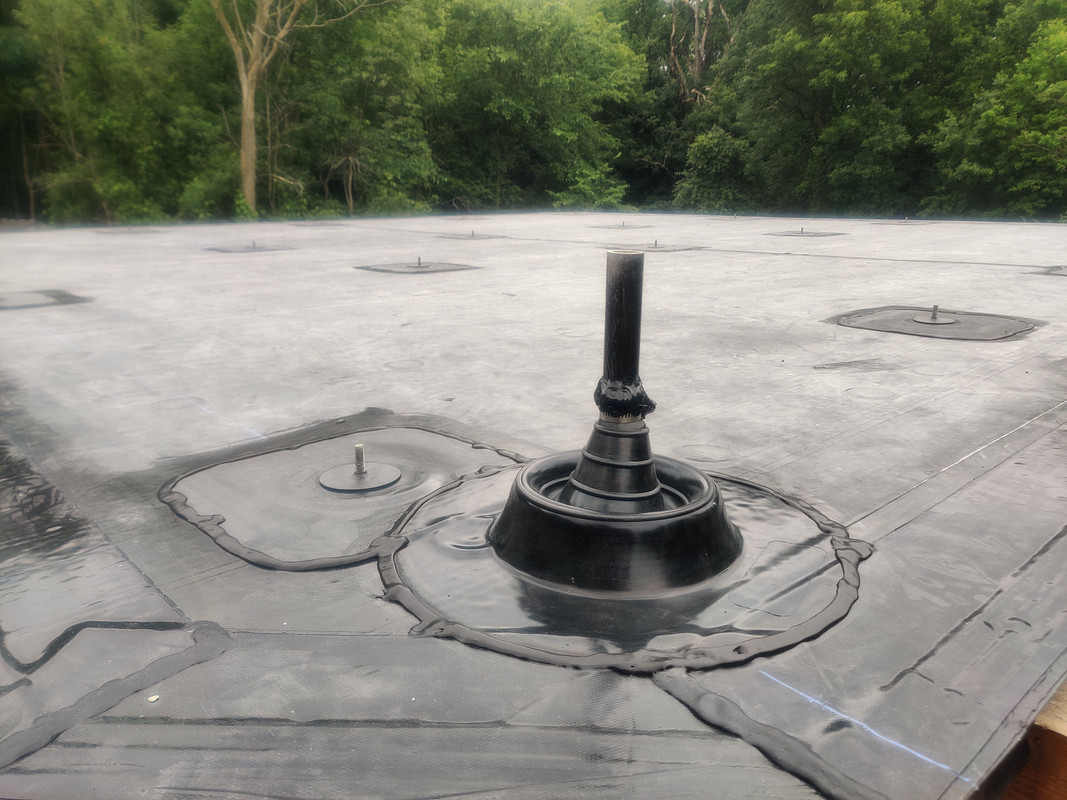
The final step was to flash around the new electrical conduit. Because of the small diameter of the pipe (compared to a drain vent, for example) they had to use a universal boot with a hose clamp to ensure a seal. It’s not the prettiest result, but the alternative would be either risk a bad seal or order a boot that fit and finish up another day. This was good enough for me and if I really feel like it I can probably trim some of the squeezed out sealant around the hose clamp. I put a cap on the end after taking the picture.
The completion of this job couldn’t have come at a more perfect time since last night we had a decent amount of rain and, as I mentioned before, I’m very pleased to report not a single drop of rain leaked through the roof.
My next post will detail the plans for the new solar tilt supports and the reinstallation of the panels. Since I have yet to order parts, and it looks like the Interwebs are fighting me on this, I have no idea when I’ll be able to make some progress. But as always, there will be pics when things happen, and with this out of the way I can look forward to QuakeCon 2024. Catch you later.

