Staining the Solar Pergola
What's the reverse of throwing out your back?
I’m writing this about two weeks after I stained the pergola, namely to include some pictures with the stain fully dry but also because after applying two coats of stain (per the manufacturer recommendation) I couldn’t move to save my life for what felt like days. But that’s not what’s important right now, what’s important is that another major milestone in the construction is complete and more importantly the pergola is now water sealed, so (hopefully) no more water damage and no graying. I can accept gray hairs on my head (which I do have), but not on this thing, especially after we just built it.
Like a lot of woodworking enthusiasts and those that appreciate wooden architecture, I’m a fan of Western Red Cedar. It’s got both great color as well as water/rot resistance. Unfortunately it’s very expensive, and would have added at least 50% in material costs to the pergola, hence why I built it out of Douglas Fir. Fir isn’t quite as resistant to rot as cedar, but it’s still pretty decent, and it’s got good color to boot. So late last year I asked the internet if there was a way to make Douglas Fir look like Cedar and to my surprise it not only said “yes” it showed me a product that I immediately fell in love with.
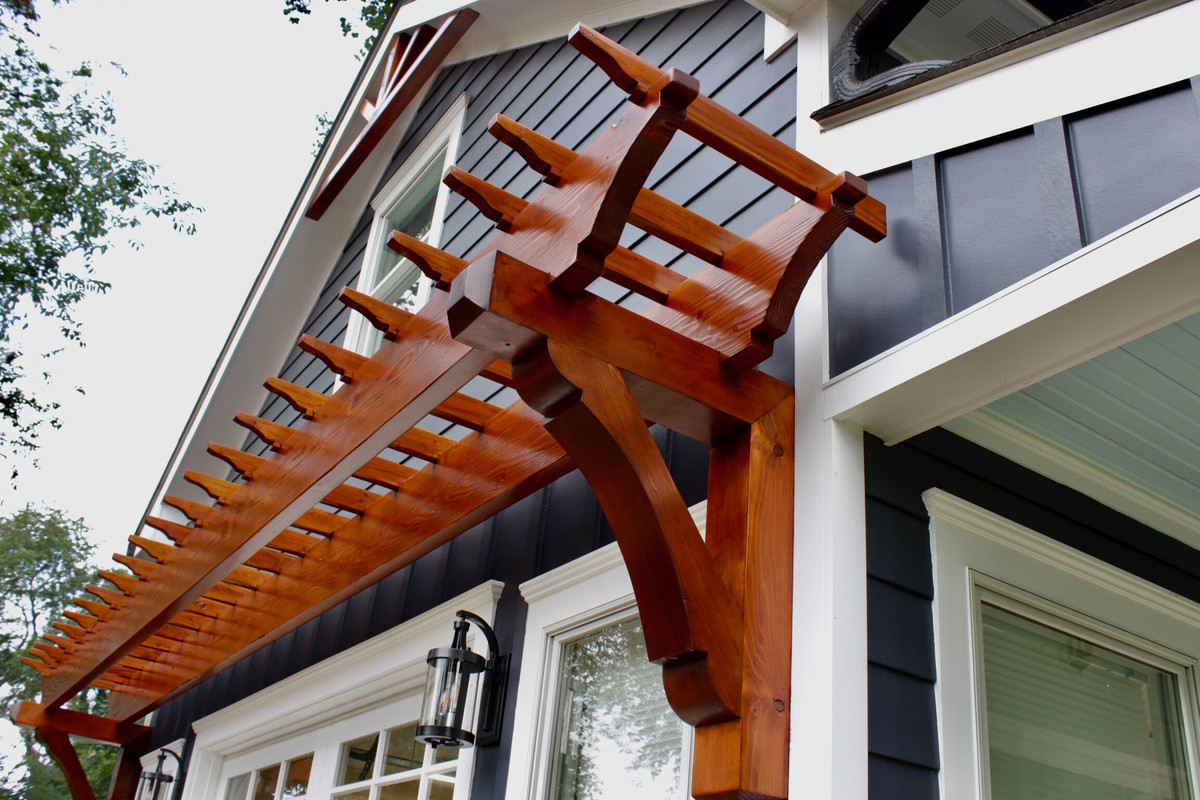
The first image I came across was this:
The tones are deep, rich, and warm, the color is gorgeous, and it’s just a two-coat product in can?! SHUT UP AND TAKE MY MONEY!!
The photo above comes from a post by David Parraguirre of the Mexican Carpenter website and the related post can be found here where there’s a gallery of photos of his project. Thank you so much, David, for posting this but I also must thank you again for mentioning the finish you used because not many other people do that, they’ll just post photos with maybe a quick caption and leave it at that.
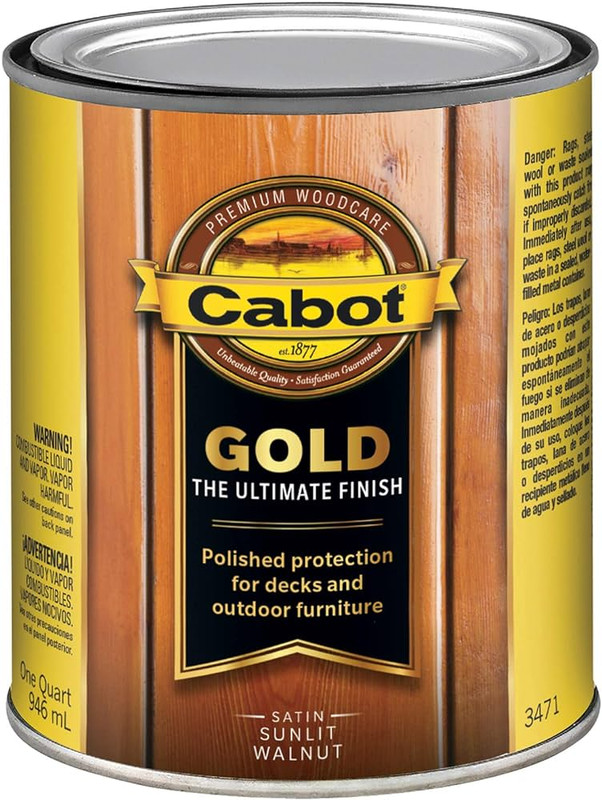
The finish product is Cabot Gold in Sunlit Walnut. With this being an exterior decking product I had a feeling the price would closer to $100 USD per gallon, but it was lower than I was expecting, and a further bonus was that a nearby Lowe’s had a sizeable stock.
This stuff is essentially an all-in-one product: it stains, it protects against UV, and it water seals. It’s oil-based so it penetrates the wood better than water-based finishes, and it adds a nice orange tint to the wood giving it that deep warm color tone I’m after. Reading off the can it works on all natural wood surfaces, but not composite, dries to the touch and can be walked on in 24 hours, and needs a minimum working temperature of 50F (max 90) in order to cure. Two coats are recommended so that’s what I did. Going off of the coverage amount, I needed about six gallons for the first coat, and four for the second. Side note: the nice thing about having all of the plans in 3D? I can actually calculate very precisely how much surface area I need to cover. With these numbers calculated, 12 gallons seemed a very safe bet, and since the store was local returning any unopened cans would be a sinch. So it was off to Lowe’s to load up a cart with $720 worth of stain.
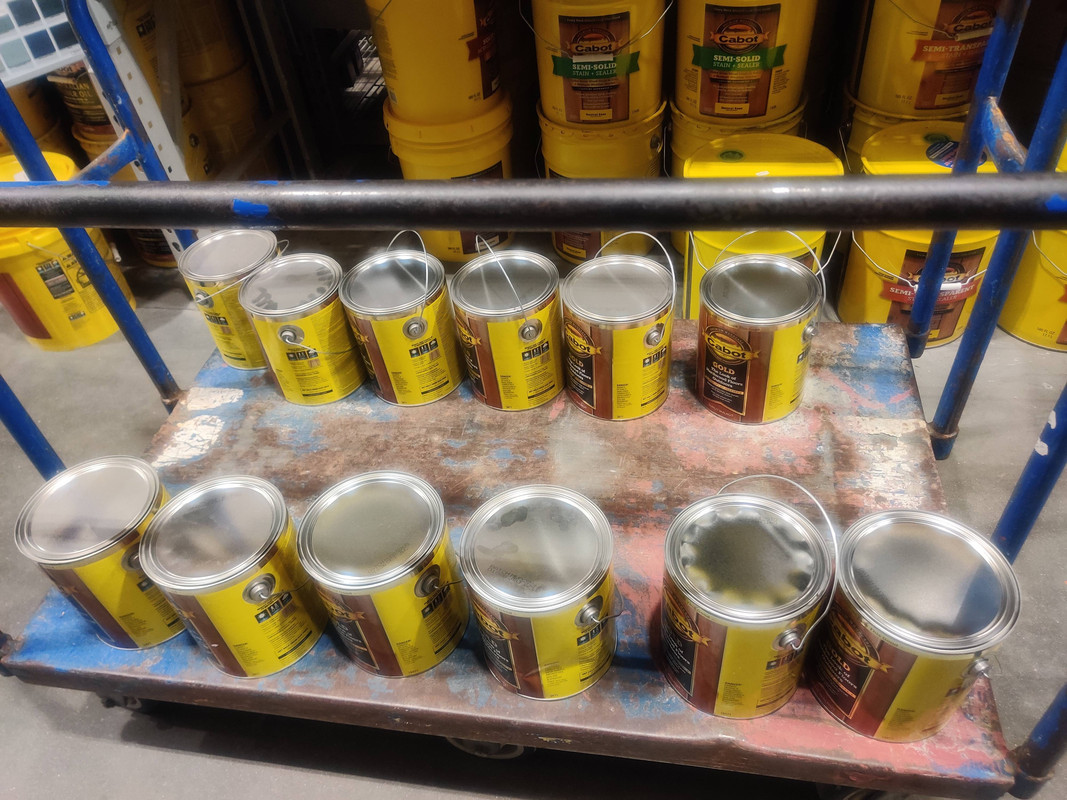 Cheaper by the dozen? If only. :P
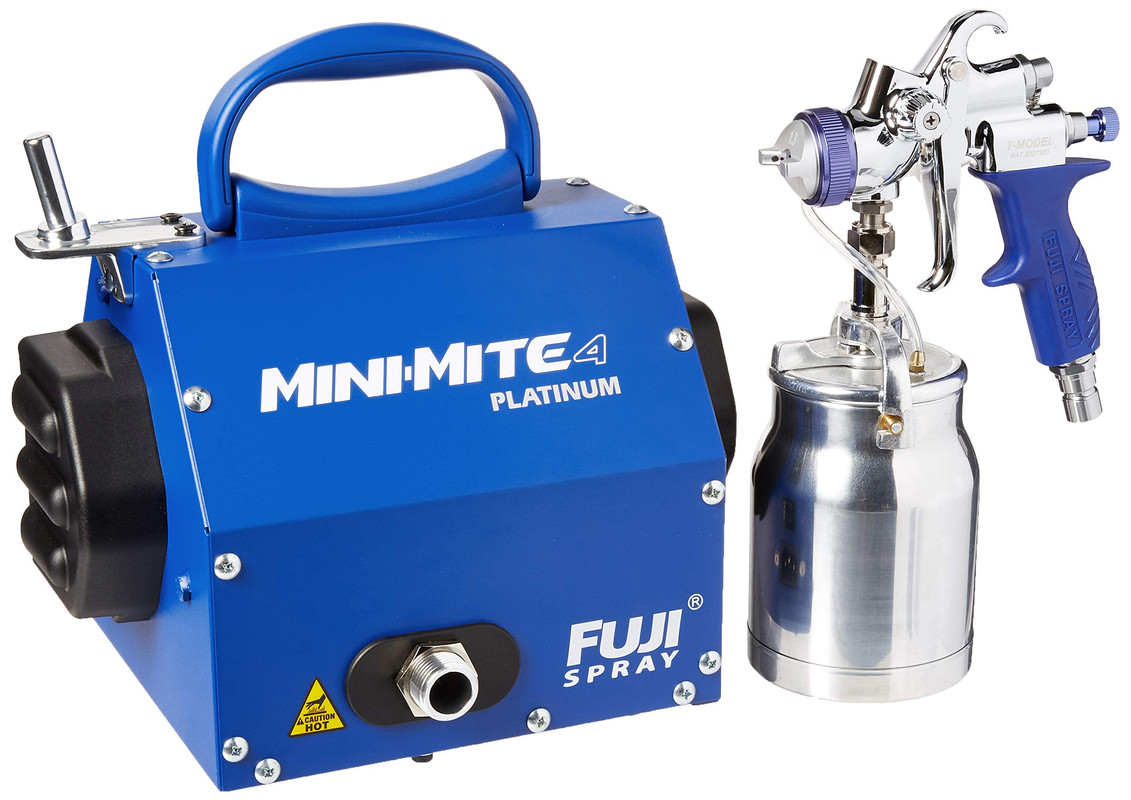
Just by looking at the pergola, anyone would tell you that brushing the stain on would take all day, definitely longer if doing it alone, so the logical route was to spray it. Last year during Black Friday I purchased a Fuji Minimite4 HVLP sprayer with their T70 spray gun off Amazon (yay for interest-free monthly payments!) for any future woodworking projects. I hadn’t used it prior to this, but if there was ever a perfect project for this kind of equipment, this was it.
This sprayer is powered by a 4-stage turbine (5 stages being the most powerful unit in the lineup) that forces air in high volume but low pressure to atomize finish in the cup attached to the spray gun, creating a fan spray pattern with very even dispersion. When doing research into this sprayer the general consensus was you can get away with fewer stages for clear coat finishes, but for paint 3 stages is the absolute minimum with 4-5 being the recommendation depending on the manufacturer specs. At the time of purchase, the price difference of a little over $200 between this unit and a 5-stage turbine made the decision for me. Going back to the present though, this stain falls in between clear coats and paint, so the 4-stage unit was more than adequate.
The T70 model spray gun is fed by a 20-foot air hose and comes with a 1.3mm cap attached to the front. Different size caps will affect the thickness of the finish layer being sprayed with smaller caps creating thinner layers, and larger caps creating thicker. The other model of Fuji spray gun that comes with the MiniMite series uses a gravity fed top-mounted cup, which is definitely cheaper, but I both prefer pressure over gravity and a bottom-mount cup so I can better see what I’m doing.
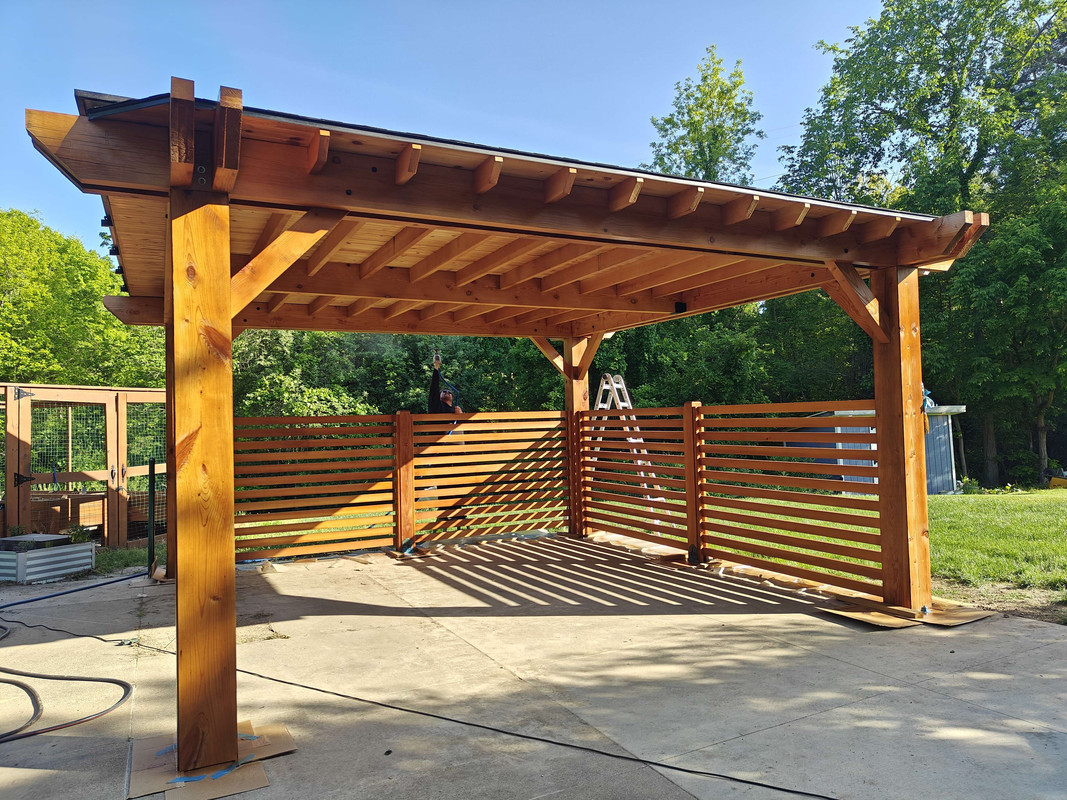
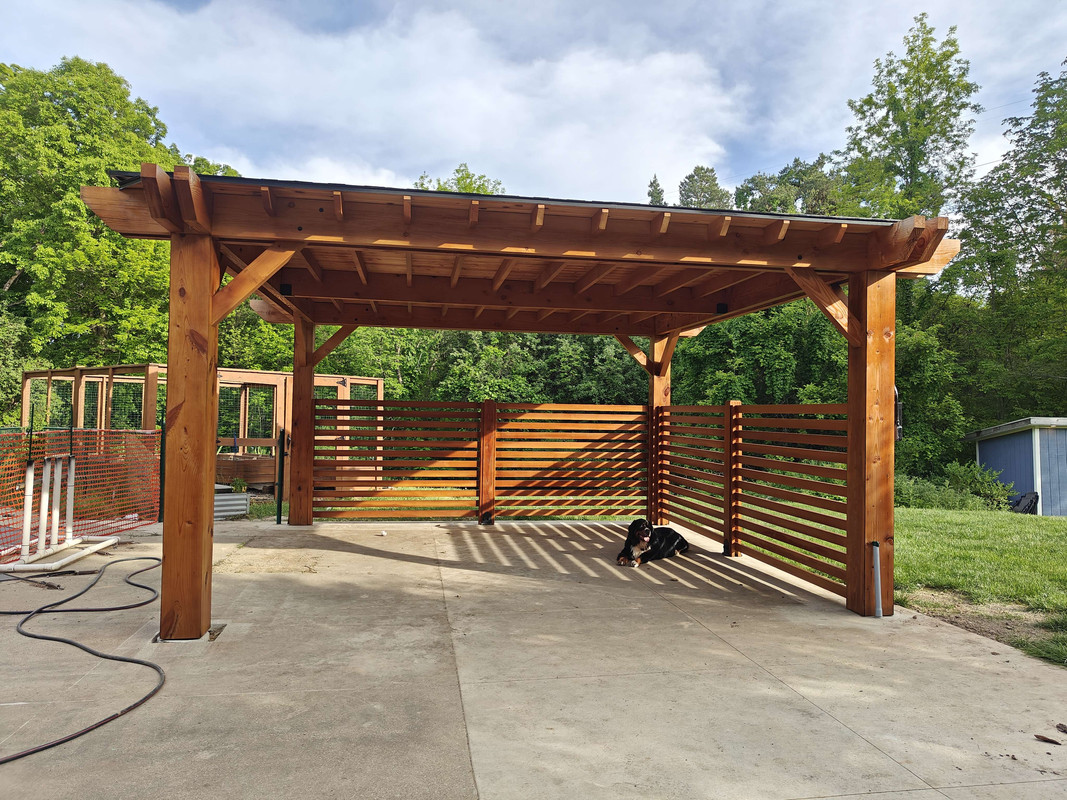
Every project needs a “before” photo, so here’s before we started staining: 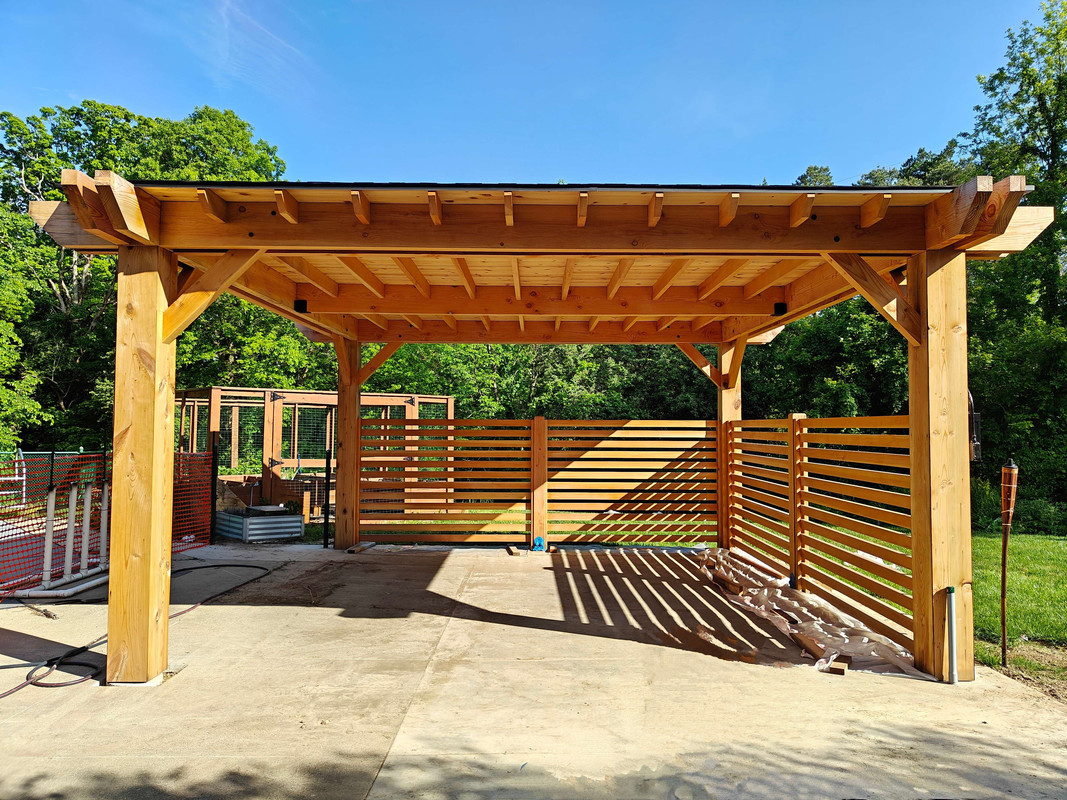
The T70 spray gun has a filter attached to the feeding tube that goes into the gun, however it’s always good practice to strain your finishes just in case something has solidified or other debris made its way into the can, so that’s exactly what we did. My wife was a huge help with this job, helping me relocate the turbine unit when needed and prepping finish refills for when the gun ran out. Couldn’t have done this without her help. ♥
I tested the gun on a leftover chunk of Douglas Fir to get a feel for the sprayer and dial in any settings. It barely needed any tweaking, I just needed to adjust my technique. But after a minute or so I was ready.
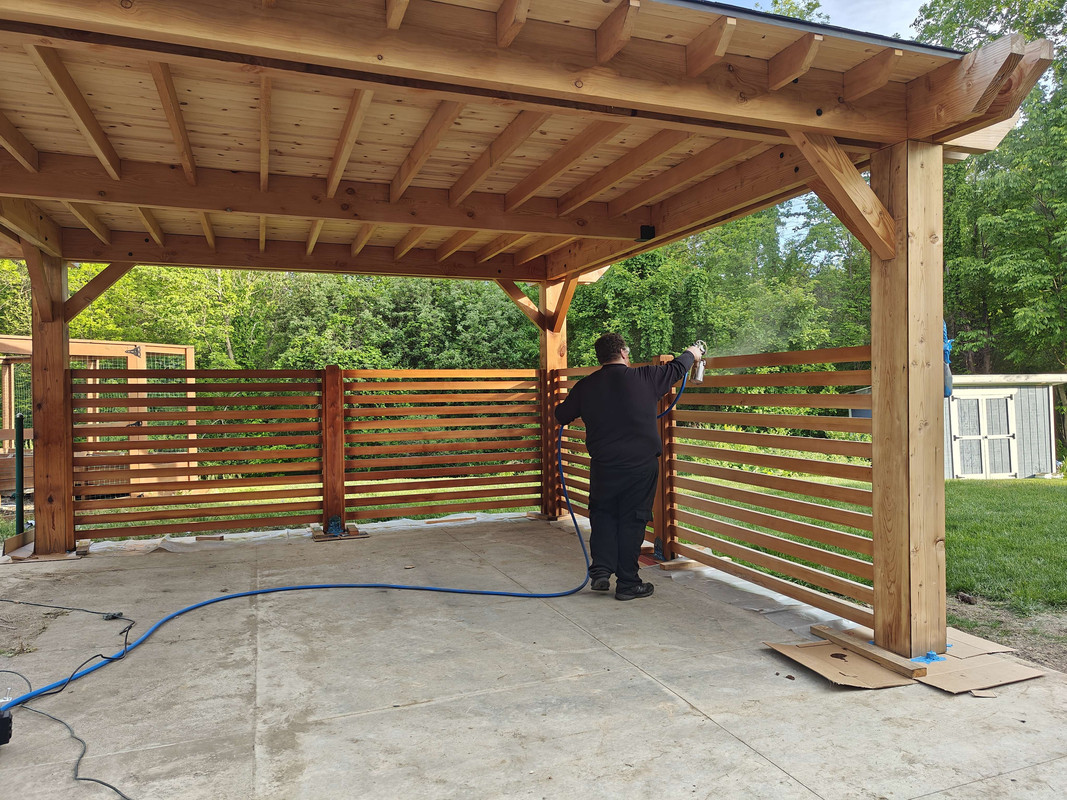
I started with the fence and corner posts first since that would be the majority of the ground level spraying. When it came time to do the upper areas of the corner posts and the ceiling I used a step stool and then a ladder for the tops of the 4x12 beams. This took most of the afternoon but we did get it done in a day and thank God for that. If this took longer than a day then that would be a grand total of four days spent on this and I already hurt everywhere after just one day, especially after spending so much time on the step stool bent backwards spraying the ceiling.
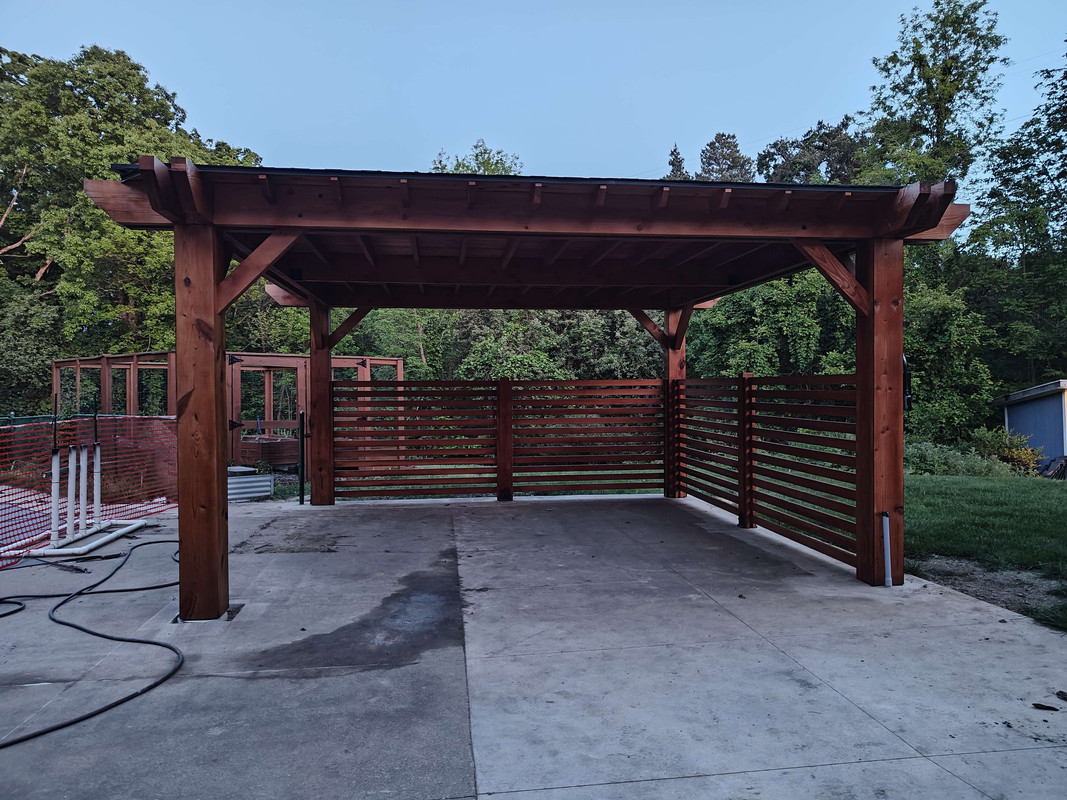
Since the instructions said to wait 24 hours between coats, that would mean I wouldn’t be able to start the second coat until evening the next day, so I opted to wait until the following day so I could get started earlier, to say nothing of giving my back another day to fix itself. In keeping with the manufacturer estimations the second coat took less finish than the first and even though the sun had long since set by the time we finished this time around, the color is very close to the garden in the background, which is made from cedar tone pressured treated pine.
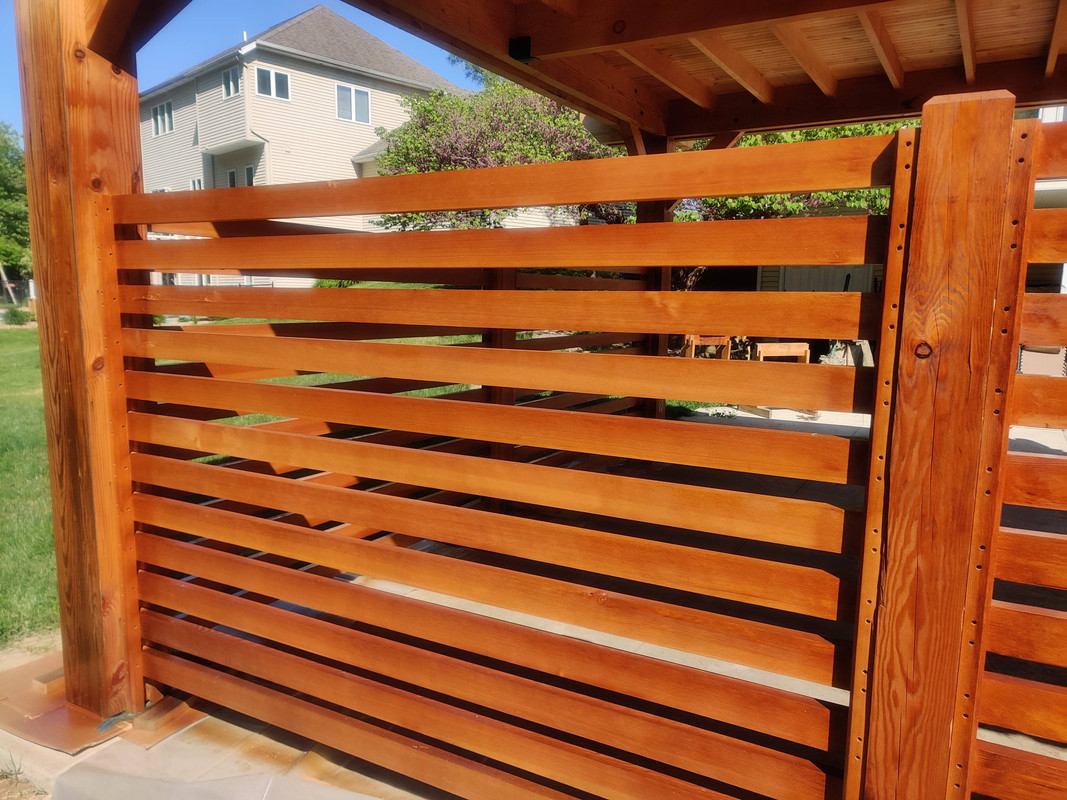 South facing fence wall immediately after second coat applied
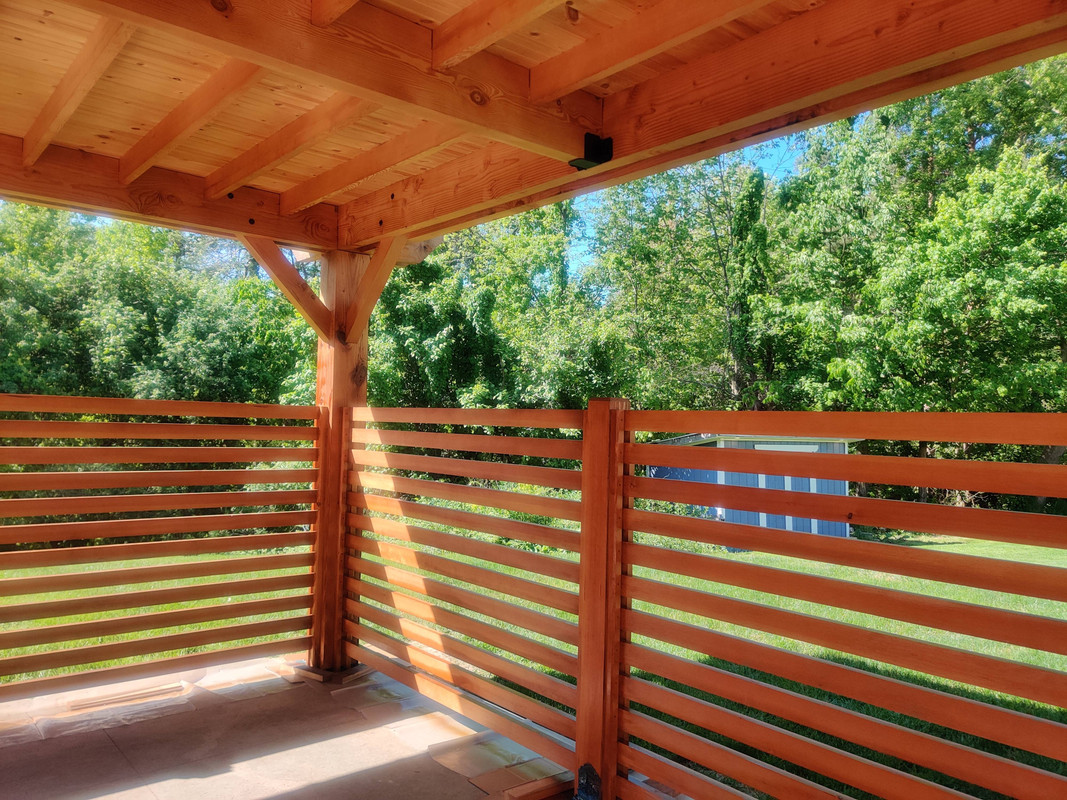
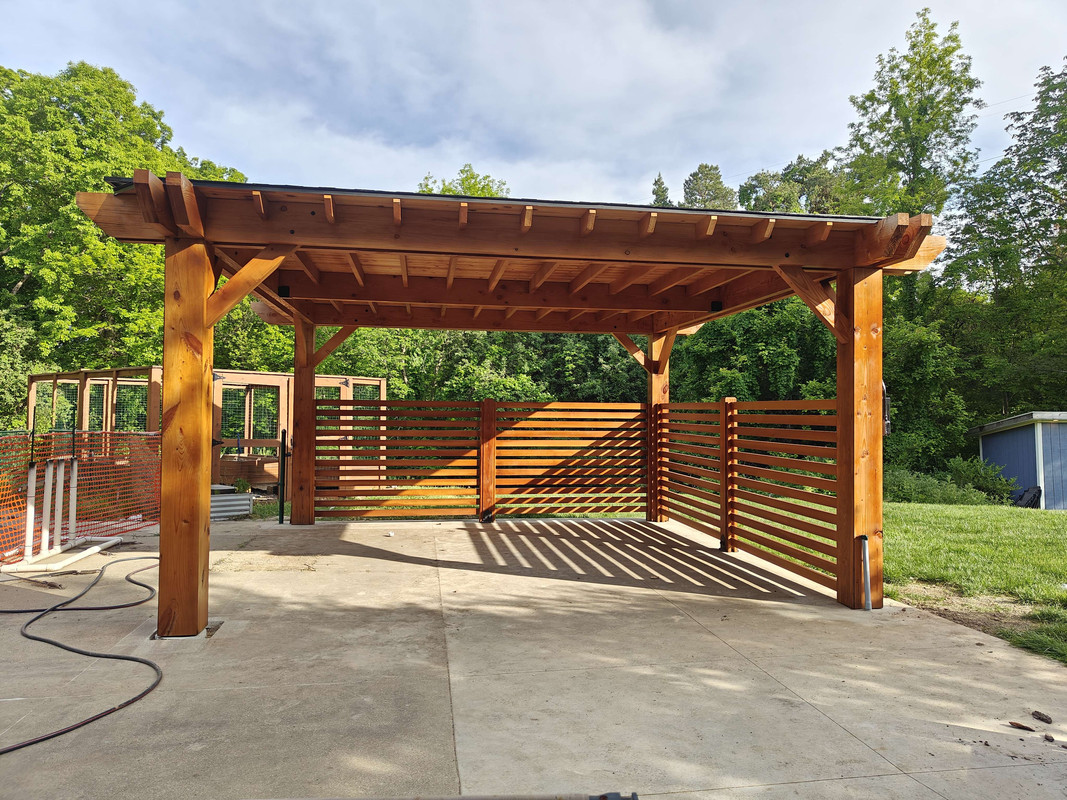
By the next day the second coat was just about cured but the color had evened out and now with some evening sun on it, the look is just perfect.
Something that made us all facepalm is that, if you look at the prep and in-progress photos, you’ll see our attempts to cover the concrete under the fence and around the posts, but we left the rest of the concrete uncovered thinking we were spraying over nine feet above it and everything would be fine. Well looking at the darker of the finished photos above we definitely should have covered the entire area. So much for that assumption, but I’m not concerned since the furniture (when we get it) will cover up the bright areas that got covered and nobody will ever be able to spot the difference.
There is one very unexpected and pleasant surprise that came out of the staining: going by the manufacturer estimated coverage, it should have taken about 10-10.5 gallons of stain all in. When we got done, I had used an even TWO. Now I know spraying finishes always results in a thinner coat compared to brushing, but these layers were anything but thin if the color difference was anything to go by. So here I am with a finished project, and ten gallons of leftover stain. I’ll definitely be returning a bunch of them, like 6-7, leaving me with 2-3 for any future projects and if I need to spray another coat in the future it’ll only take me upwards of a gallon to do it. I’ve got a pool shed on my projects list to store all of the cleaning equipment and maintenance gear, I could definitely use some of the leftover stain on that. But whatever I build in the future I guarantee I’m going to be using this stuff again. If I remember to, I’ll check on things in a year and see how it holds up after a Michigan winter.
But for now you’ll have to excuse me, I’ve got a two-hour soak in a highly salted bath waiting for me.
