Solar Power: Day 10
There are now more beads in my backyard than Mardi Gras in New Orleans...
Well, it’s been a little while since my last post, the finances I previously mentioned took about a week to clear and then it was a few more days’ delay due to our first legit snowfall, which made for some pretty unsafe working conditions on the ground, let alone the roof. While the temperature outside did warm up and the sun was shining pretty bright, the snow remained on the roof and the solar panels that have been installed so far. I was also told there was quite the staffing change at the company. I definitely didn’t see that coming.
As something of a disclaimer there may be inconsistencies with my previous posts in regards to certain details of the overall plan. This is the result of being told one thing and then something else happening due to scheduling or other behind-the-scenes logistics, or changes being made on the fly, but I’ll try to update my previous posts to stay consistent.
Around 9AM this morning three covered trailers arrived along with a telescopic front loader to deliver some roofing materials from a flatbed trailer. Eight crewmembers showed up along with my solar engineer himself to install more rigging on my house roof and to construct the pergola roof.
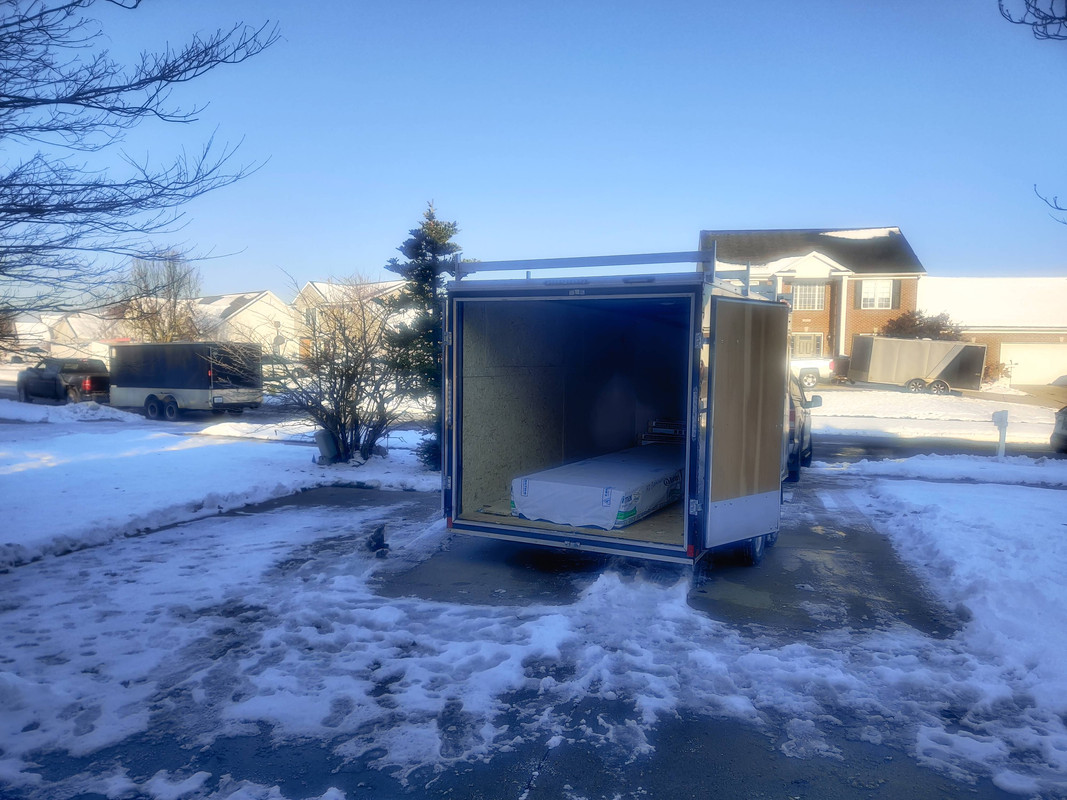 This covered trailer contained the boards for the pergola roof
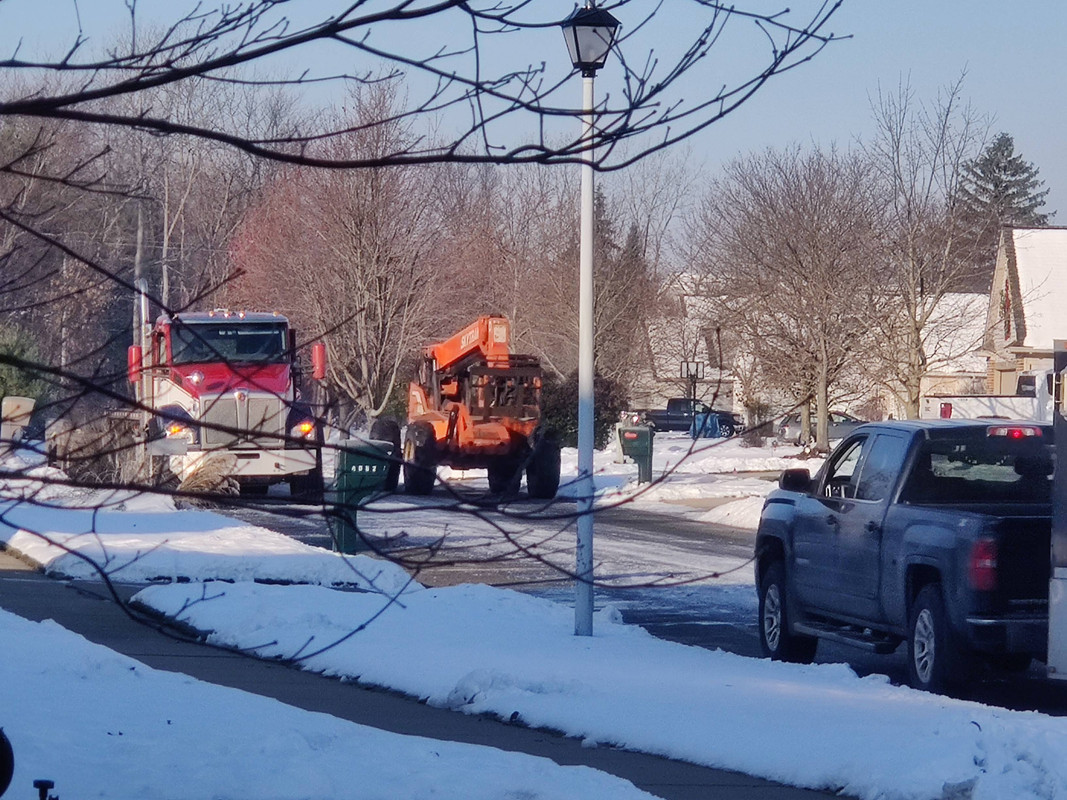 This front loader was a LOT bigger than I expected
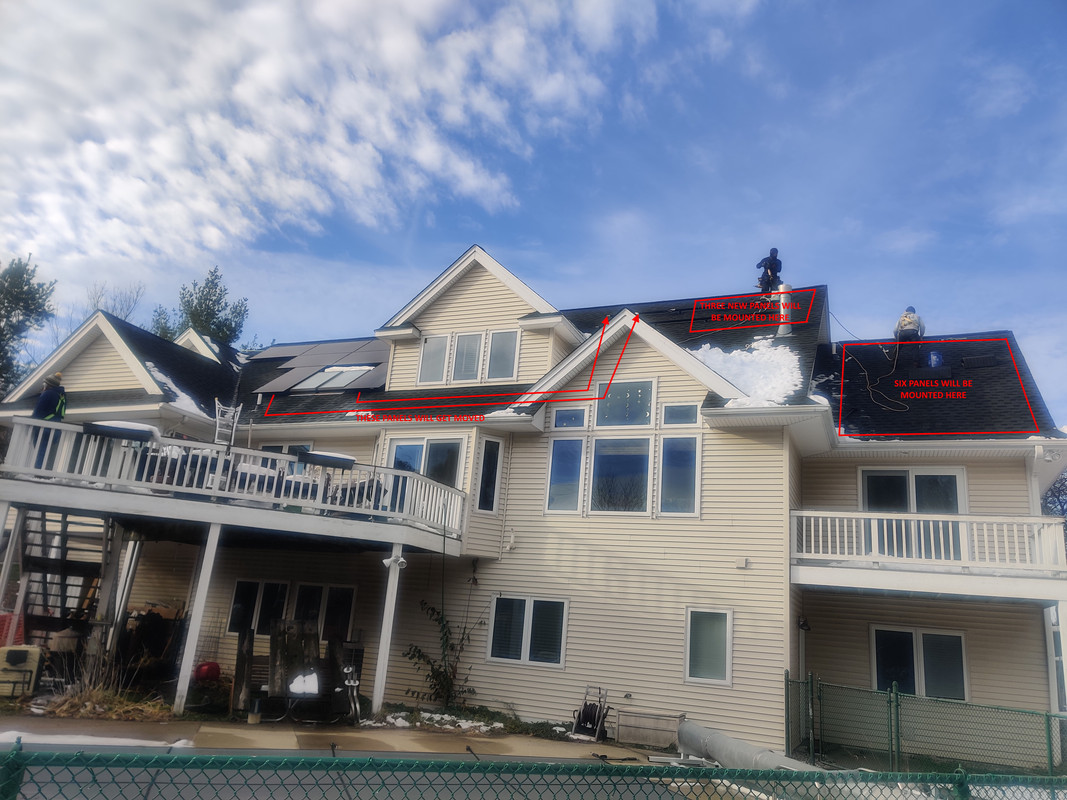
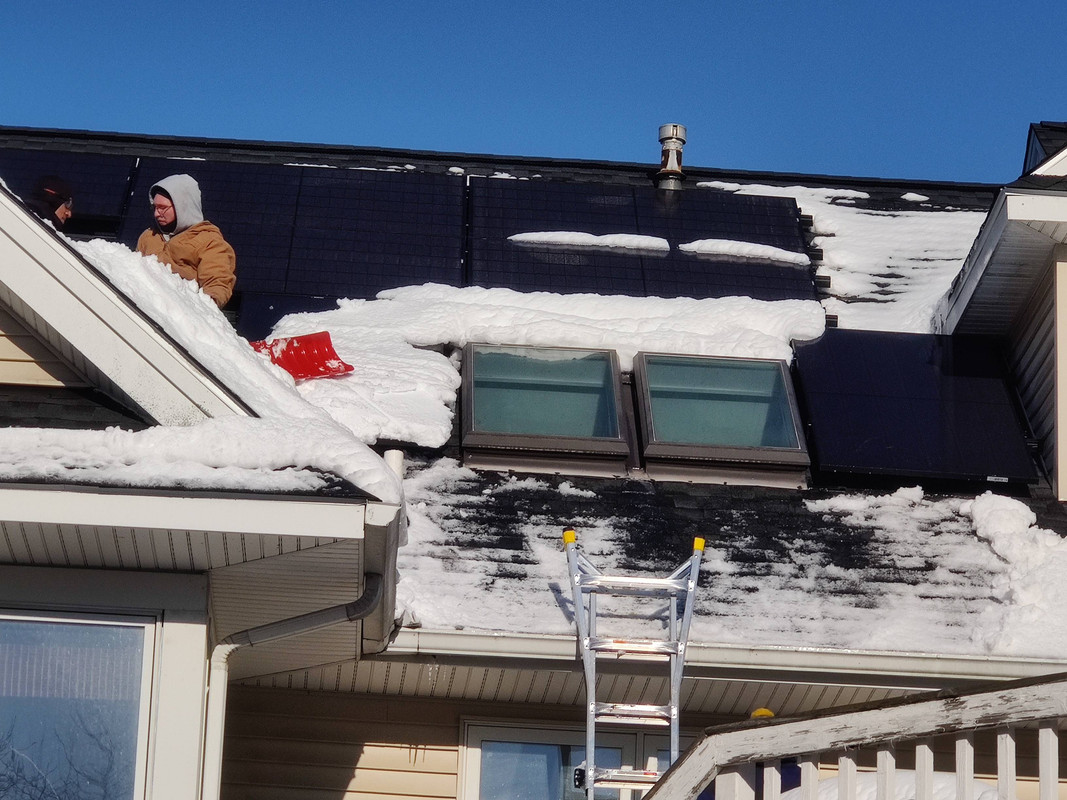
My solar engineer was displeased with the placement of two solar panels over my kitchen roof because they are in areas that will receive shade but also, as evidenced by the snowstorms last week, will accumulate snow, so the plan is to move these panels. At present there are nineteen panels installed on my house - twelve on the west garage roof, and seven over the kitchen roof. The plan is to mount six above the roof on the far east end (on the right in the photo below), three more above the eastern side of the central roof, and then relocate the two next to the kitchen skylights next to them. This will make for twenty eight panels on the house with the remaining twenty to be mounted on the pergola.
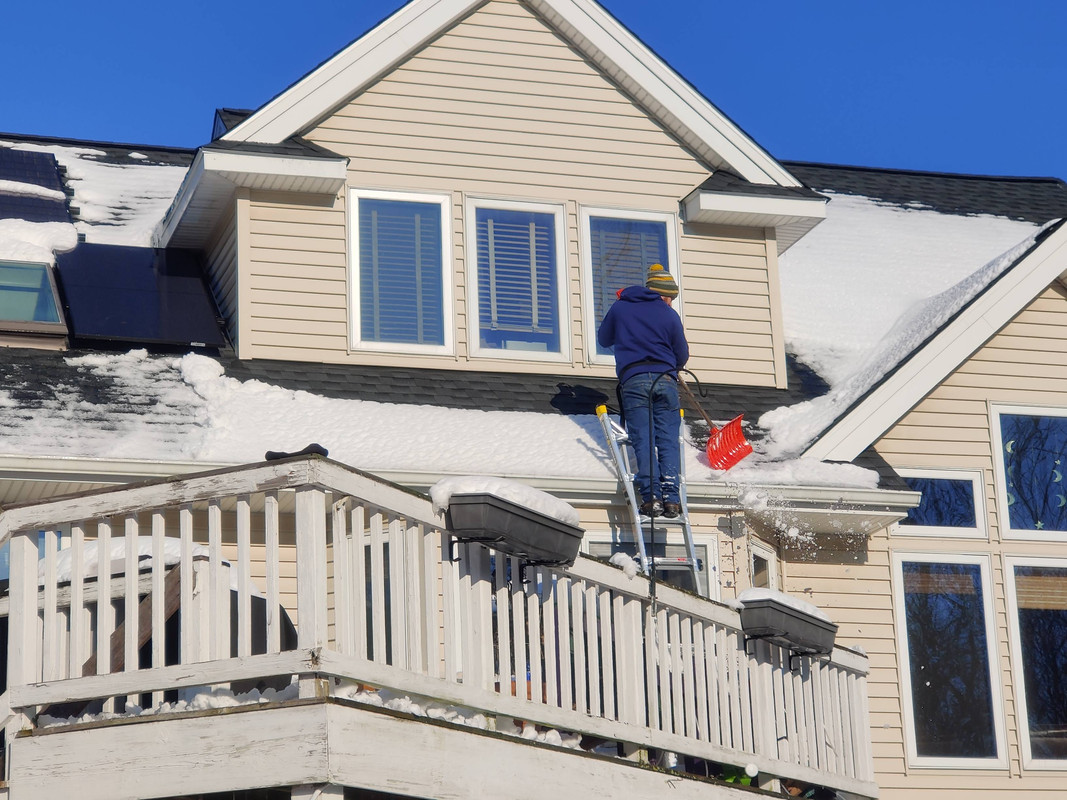
The first step was, naturally, to clear the snow off the roof so the crew could set to work.
While three of the crew worked on clearing the roof, the remaining crewmembers unloaded the roof boards and set up shop in front of the pergola.
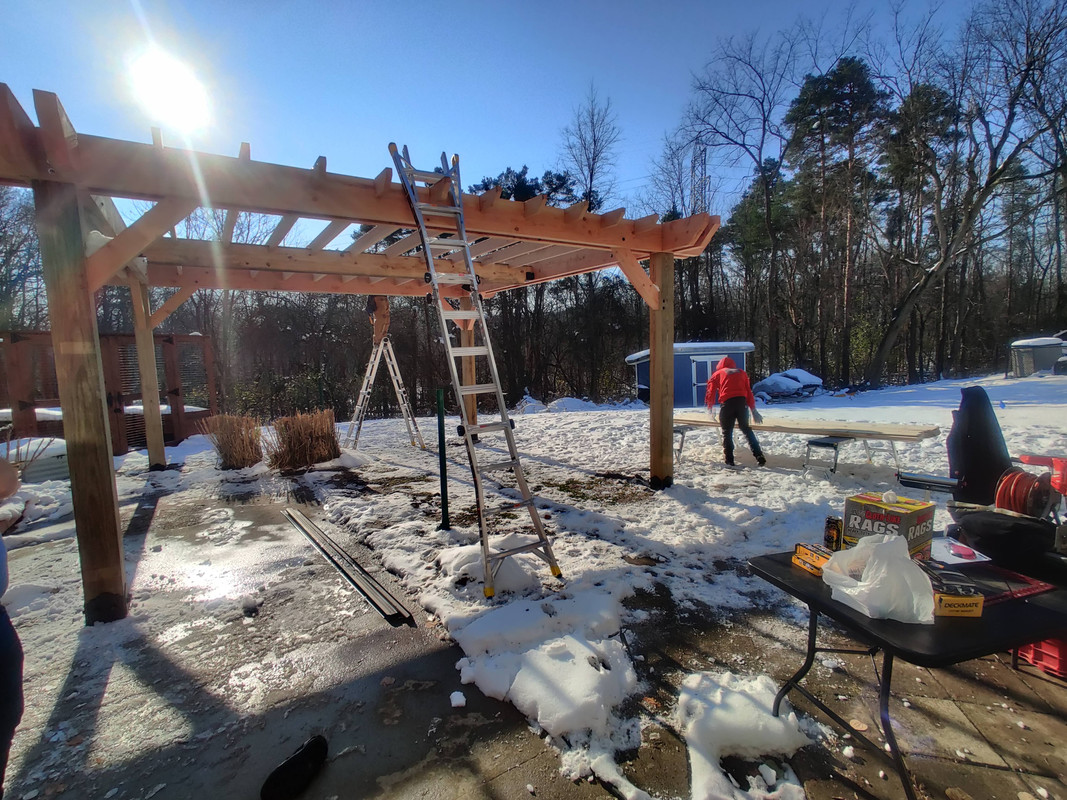 I felt bad for the guys that had to carry all of the roof boards by hand down the hill to my backyard. This task alone took over an hour because of all the snow.
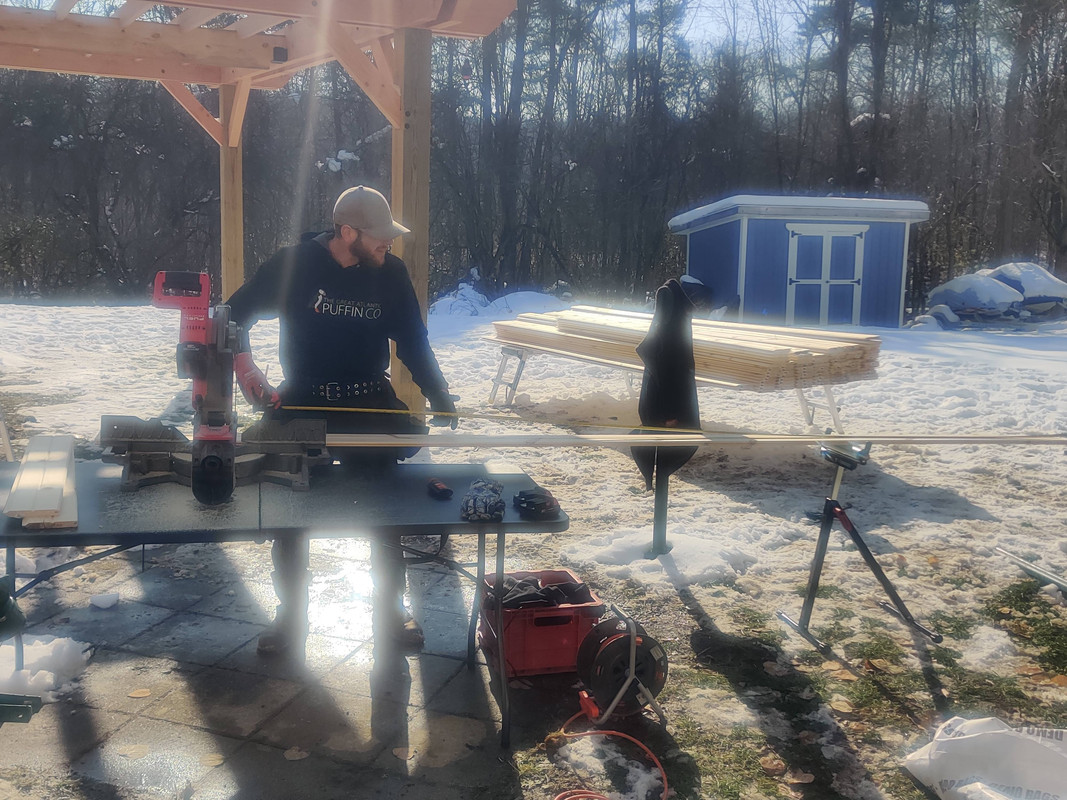 This man was tasked with cutting the roof boards down to size. His cordless chop saw is officially the quietest I have ever heard.
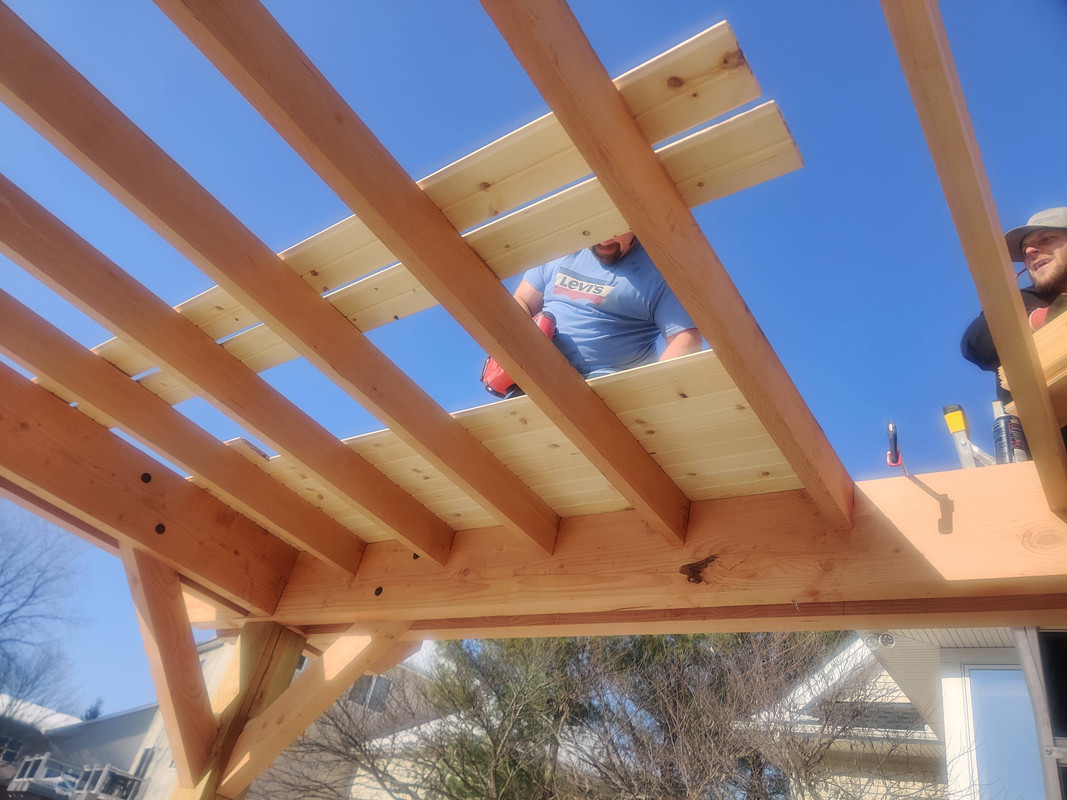 The man up top is my solar engineer and personally nailed in all of the roof boards.
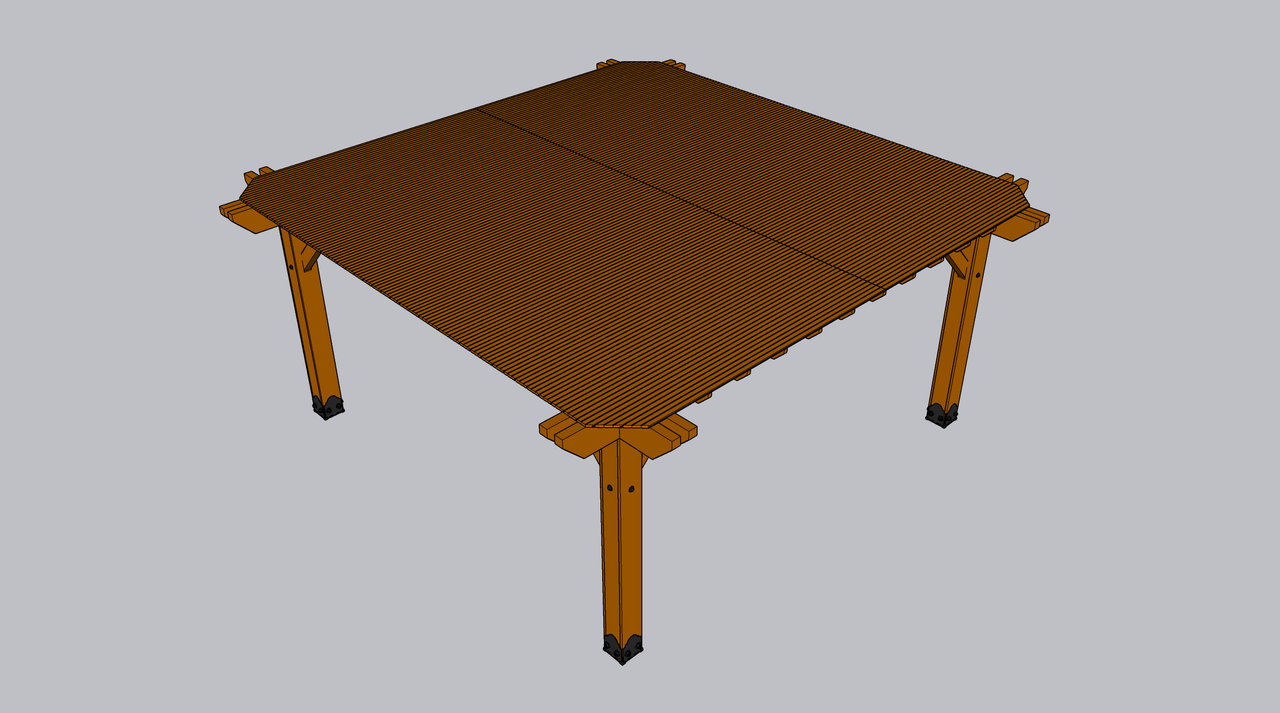
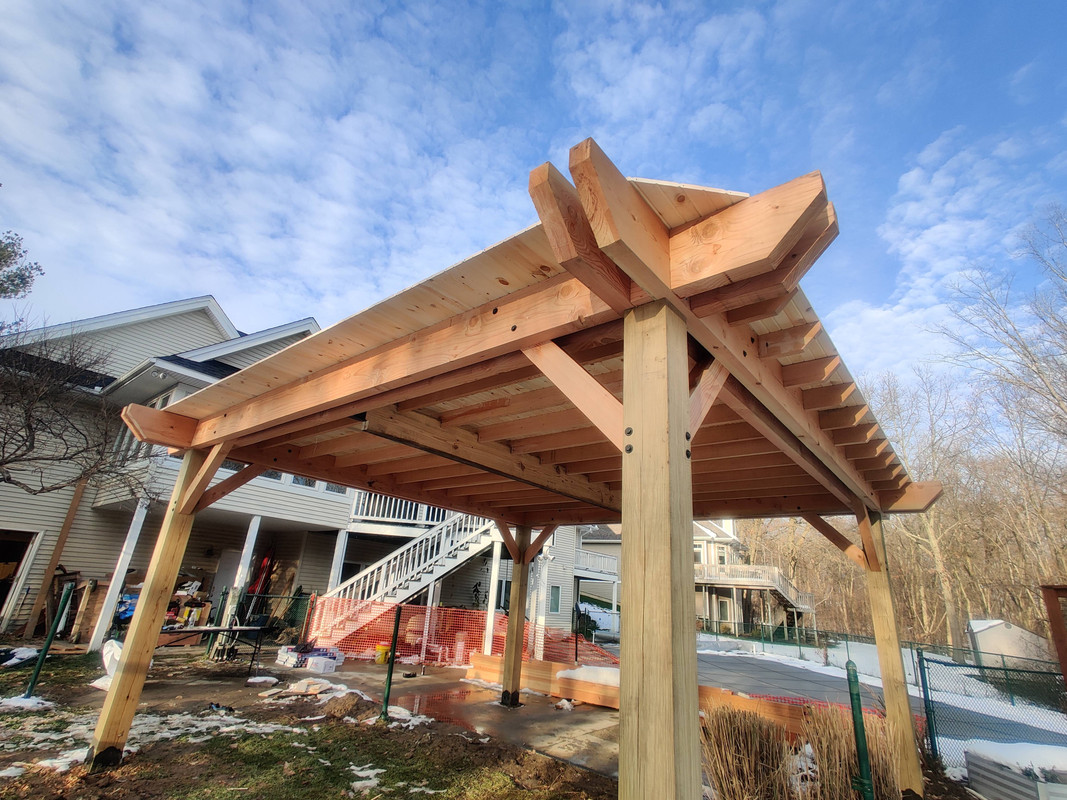
An update from my previous post about the roof - the boards are 1x6 southern yellow pine tongue-and-groove bead board instead of plain 1x12’s. While this added onto the installation time, the results were by no means less pleasing. Once measurements were taken of the pergola roof, each board was cut so that the seam landed on top of a center 2x6 rafter. From below you only see the slatted look of the bead board, no end seams and no fasteners.
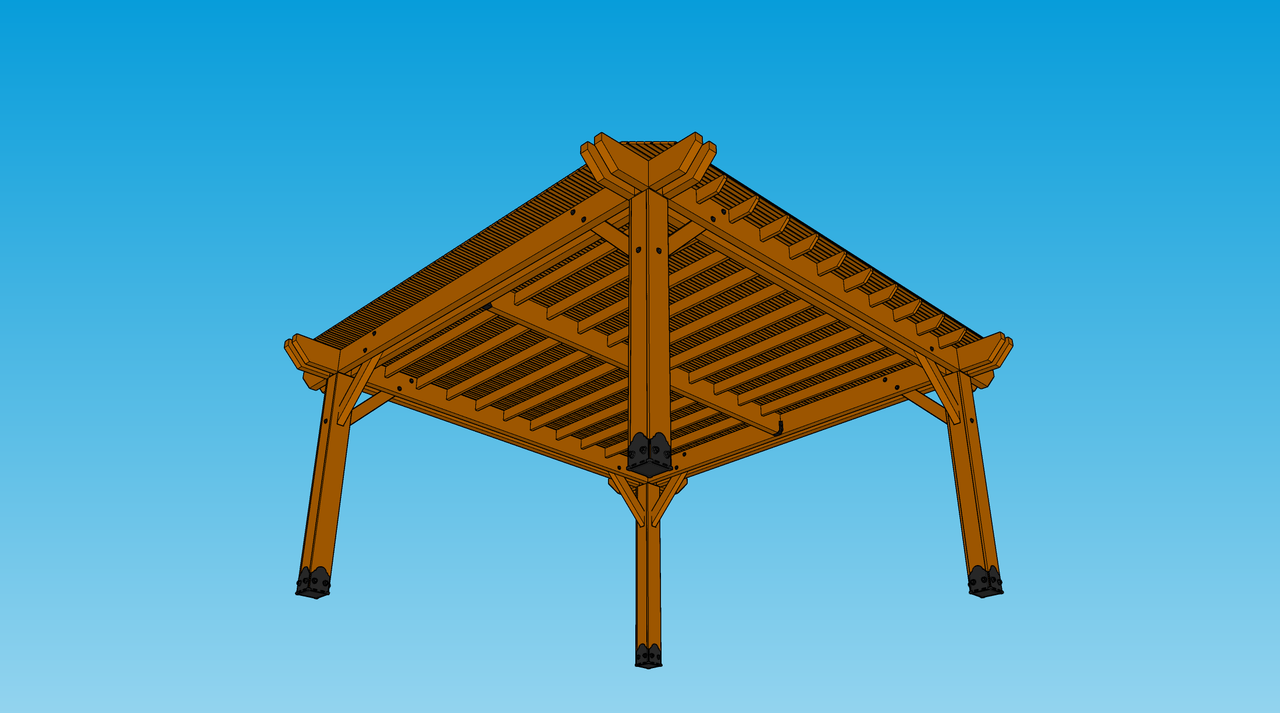
Any kind of wood roof layer at 21.5’ x 21.5’ would droop over time in any area where it wasn’t supported. In the case of my pergola, this would be the east and west sides since the 2x6 rafters run north to south. The boards at the very ends of the north and south sides would also droop since the only support would be at the corners where the 4x12’s intersect. Even laying down a layer of plywood or other roof sheathing wouldn’t stop this from happening. So we reduced the size to 20’ x20’ so that the north and south sides would be fully supported, and while the east and west sides still overhung slightly, they would receive support from the solar rigging.
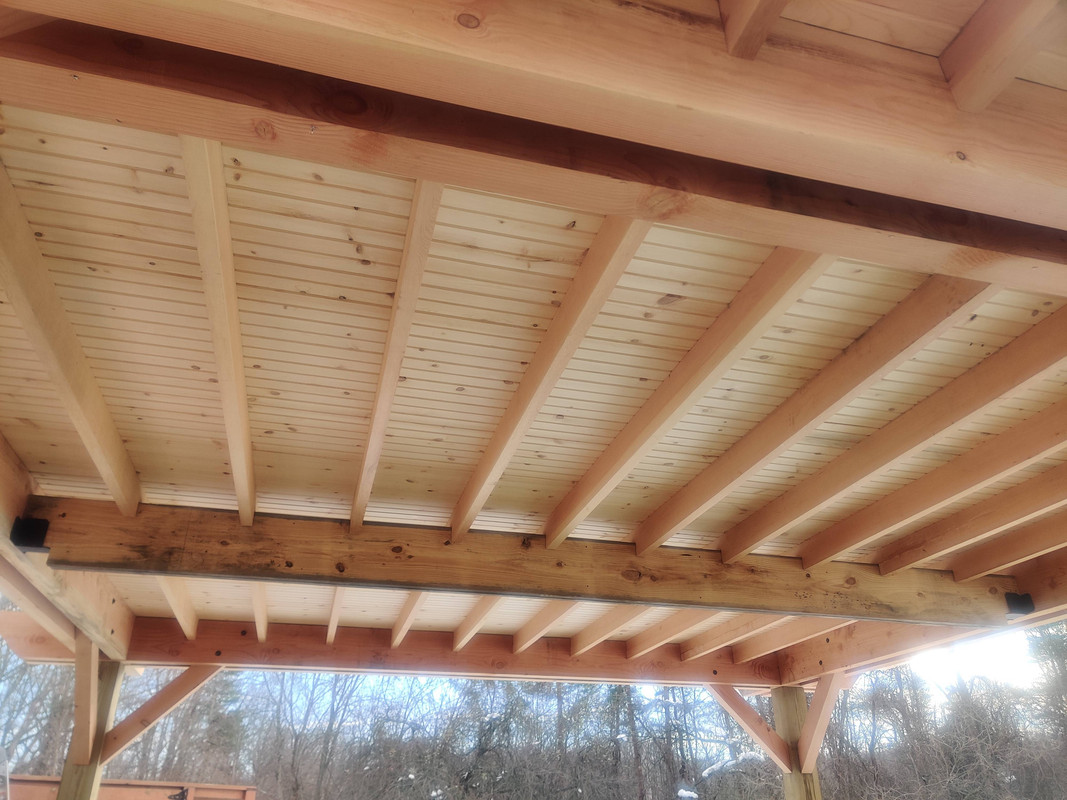 I was originally concerned that the beaded pattern in the boards would be too narrow to work with the rather large size of the pergola framework, but this actually exceeded my expectations
The other factor that played a major part in the decision to reduce the roof size is that solar panels can’t be mounted to rails that are unsupported from below. The end of the rail can overhang support by a small amount (I’m not sure exactly how much) but you definitely can’t have half of a panel not be supported from below, which is what would have happened had we kept the original roof size. Hopefully we’ll still be able to mount all twenty panels on the pergola.
When the roof boards were all done we decided to miter each corner to neaten up the overhang at the 4x12 intersections.
At the end of the day a lot got done even though it may not seem like it. Snow was cleared, materials were offloaded and situated (mostly by hand and on foot), more rigging was installed on my house roof (though not all of it), and my pergola roof is well underway.
I also got a call from my pergola contractor. I inquired with him last week (not sure if I mentioned this in a previous post) about whether the concrete contractor did “hot mixes” or had thermal blankets so they could pour the slab to expand my pool deck. The response was affirmative on both, so that answered the question of whether this would happen soon or in the spring when weather is warmer. The concrete crew should be showing up on Monday next week, so I’m very much looking forward to seeing Phase 3 of this project getting underway.
In terms of progress I’d say we’re nearly halfway there. Yeah, I went there, cue Bon Jovi who has been living rent-free in my head for nearly twenty years despite me never listening to his music. And on that literal music note, stay tuned for tomorrow’s updates.

