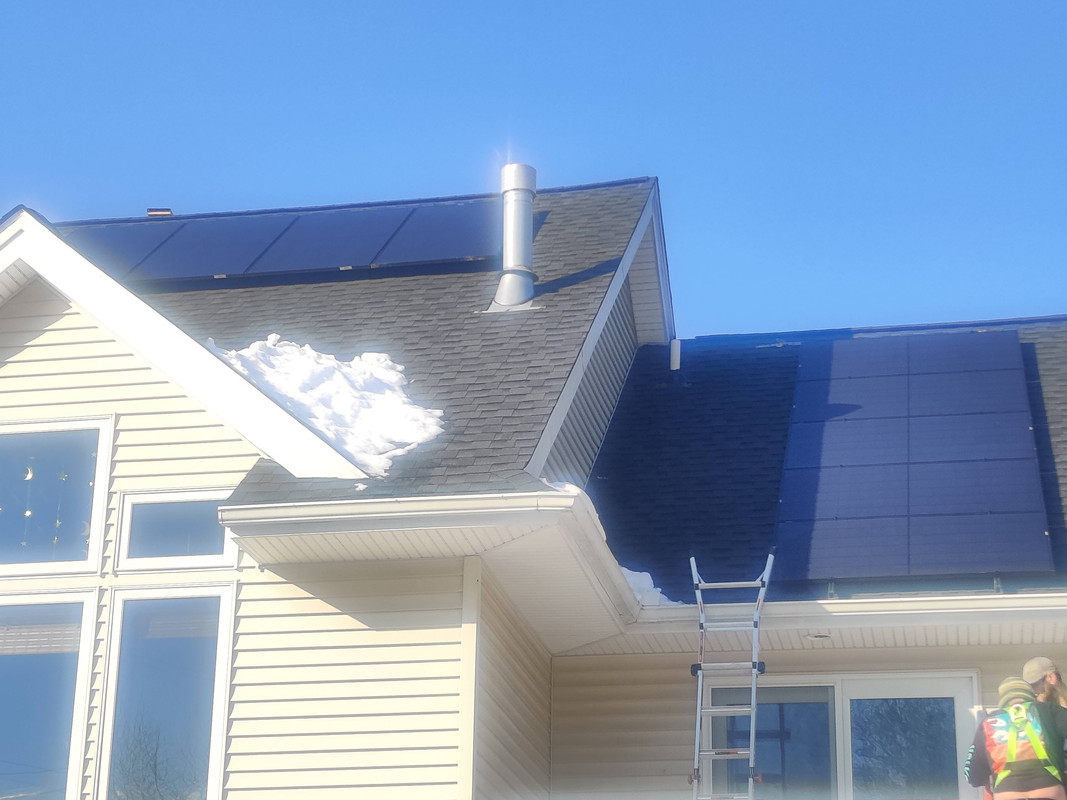
Solar Power: Day 11
Something got nailed today ... a lot...
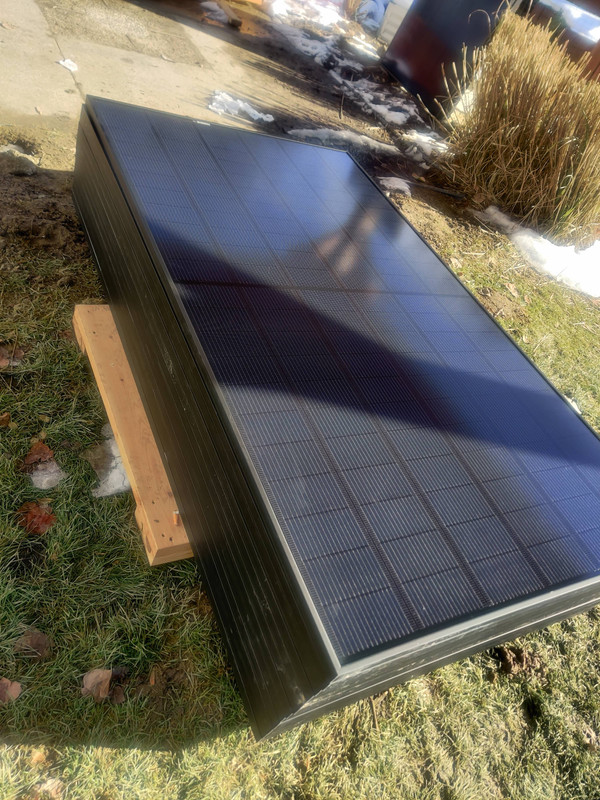
Today saw the return of only a few of the solar crew. I was informed that effectively an emergency occurred at another jobsite, so those that could be spared were sent my way. More materials for the pergola roof were unloaded, namely drip edge and water seal layering, and the second pallet of solar panels arrived. I also overheard that more microinverters were on the way, but I never did find out if they arrived in time for today. The panels weren’t due to be mounted on the pergola roof today anyway since the roof is just bare wood right now and still needs drip edge, ice and water seal, shingling, and the rigging for the panels. I imagine it will be a few days before I see the first panels being mounted.
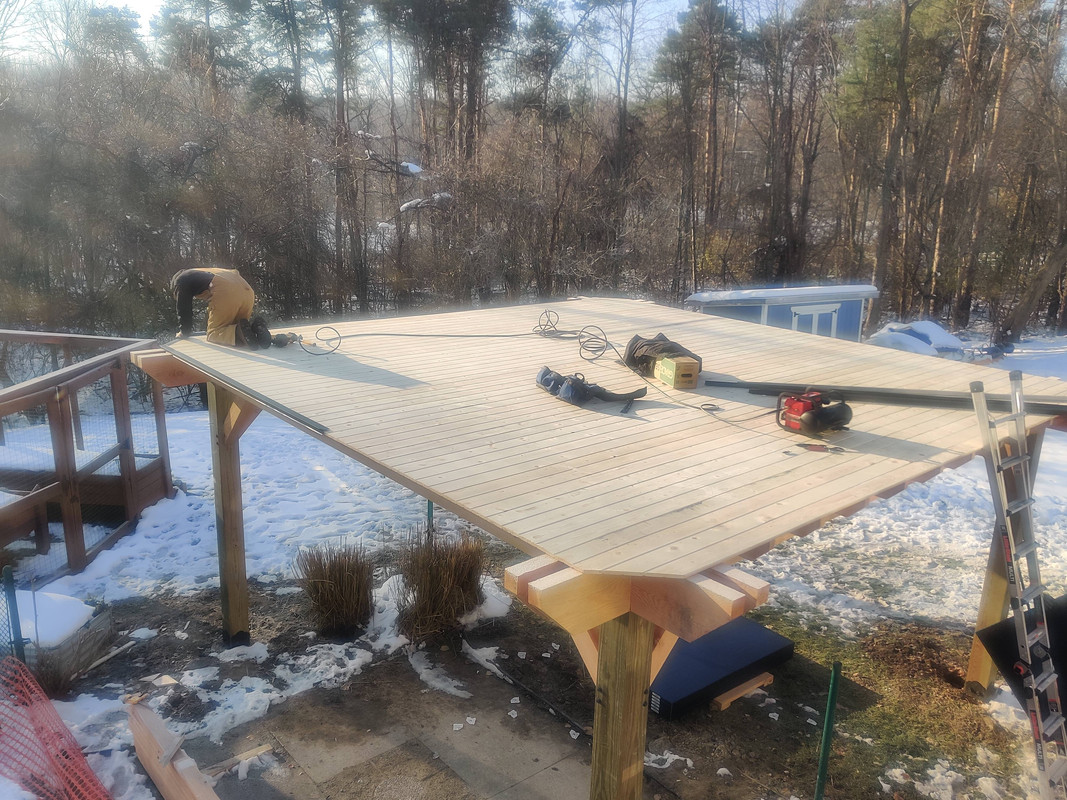
Today’s plan for the pergola: install drip edge and ice and water shield. This will aid in water drainage and shield the roof boards from any standing water that gets in underneath the panels, which I anticipate will happen since there are thin gaps between each panel once mounted.
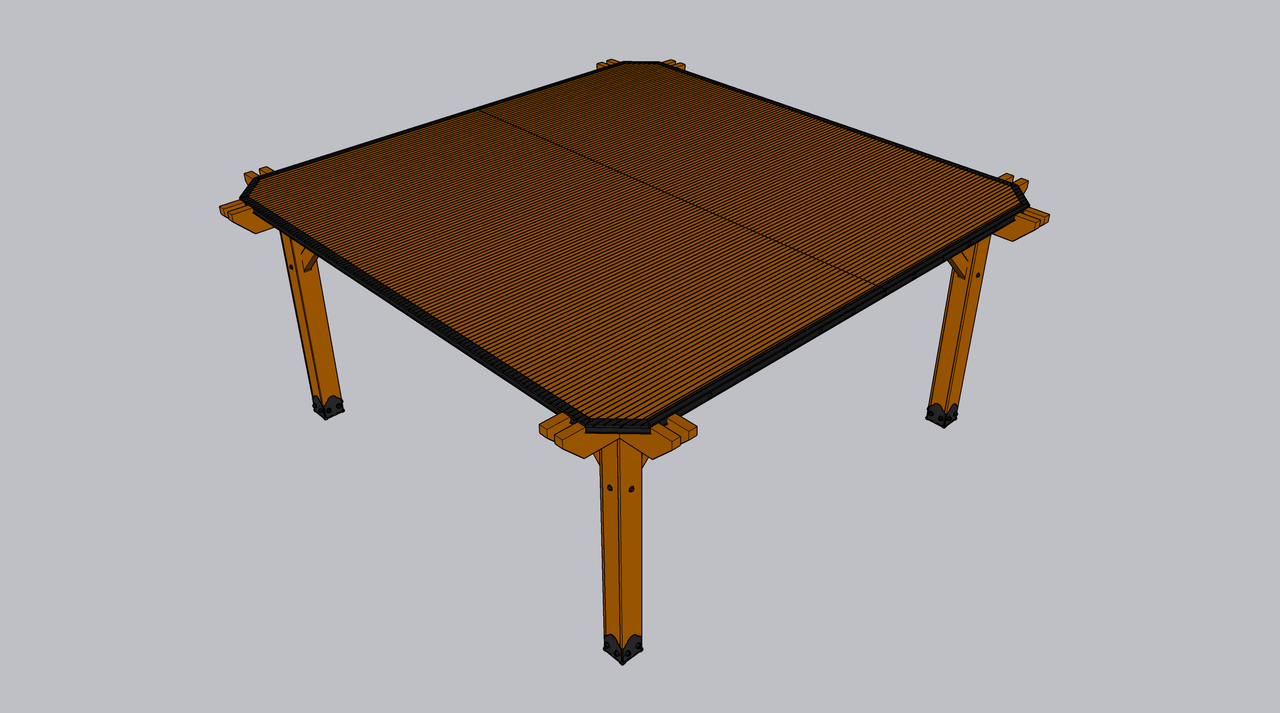 The drip edge around the perimeter ensures that water drops off the edge of the roof instead of sticking to the edge or wrapping around to the underside
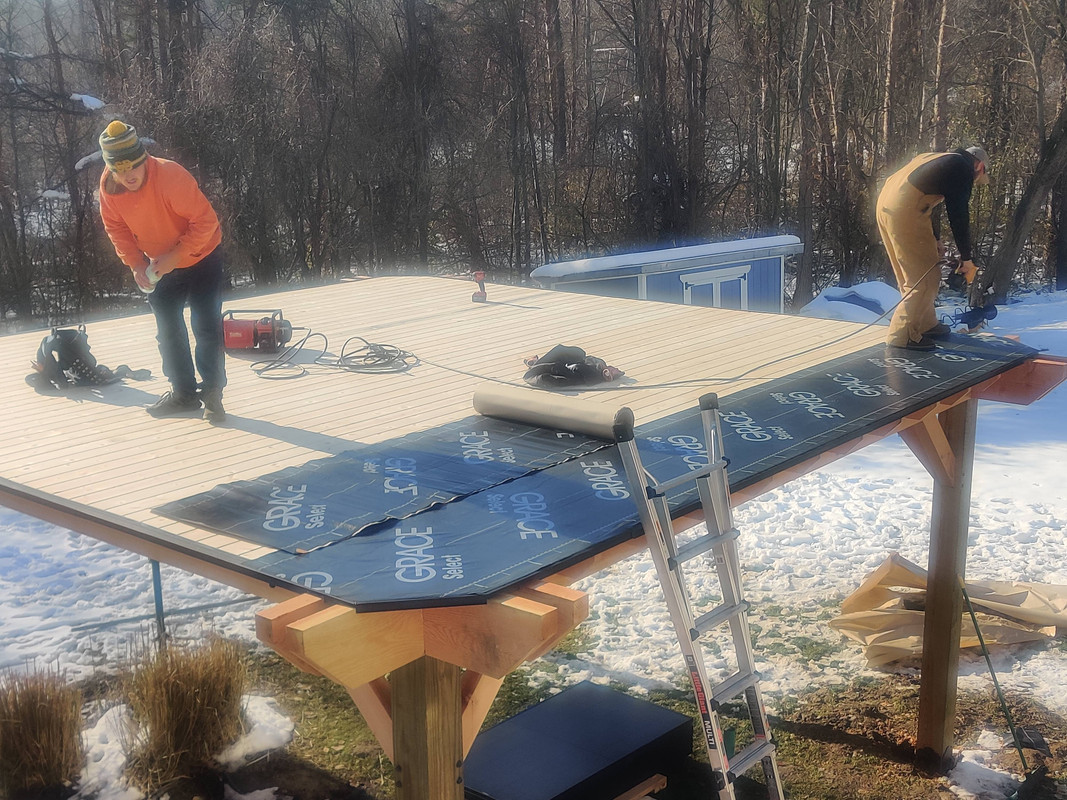
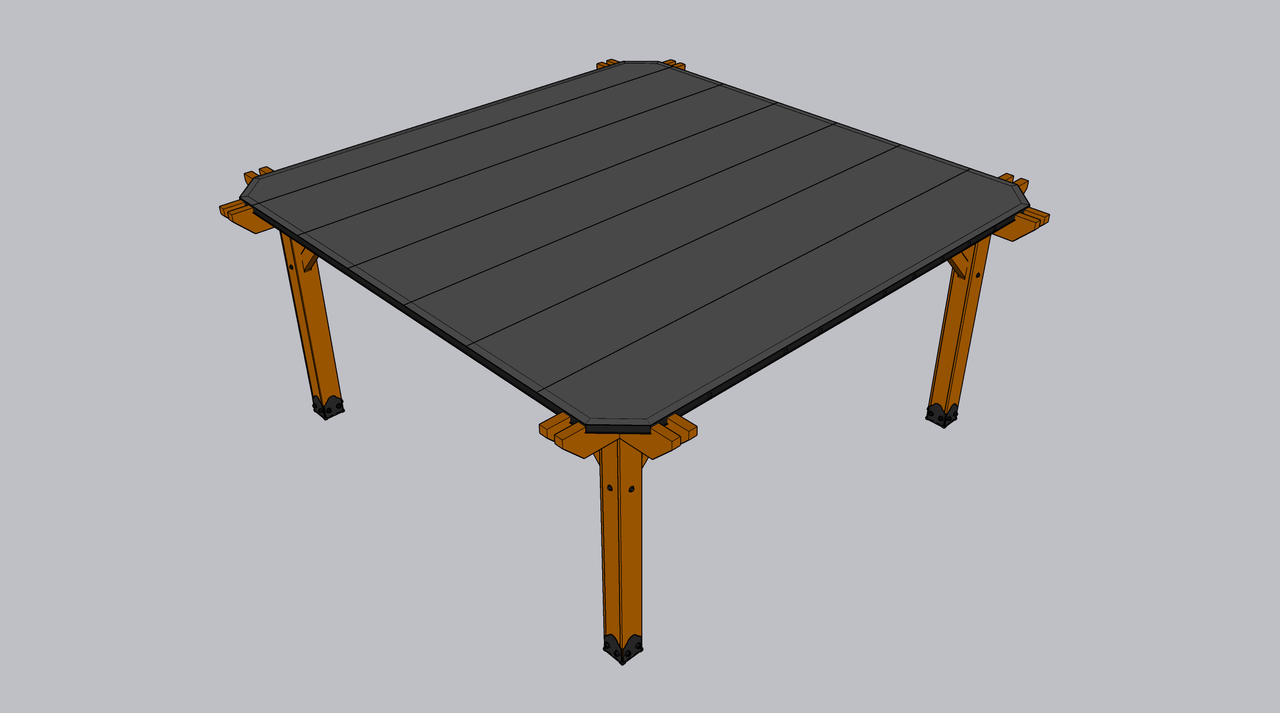 The ice and water shield creates a waterproof barrier on top of the wood roof boards and ensures that water only contacts the drip edge
After unloading the materials the crew divided into two teams and set to work. The first team installed drip edge on the pergola while the second climbed onto my house roof and installed more panel rigging on the eastern roof areas. The drip edge is your everyday aluminum drip edge, however prior to arriving on site the crew painted it black to accent the pergola roof. Once on the roof, the crew measured and cut everything to size and nailed it to the roof boards.
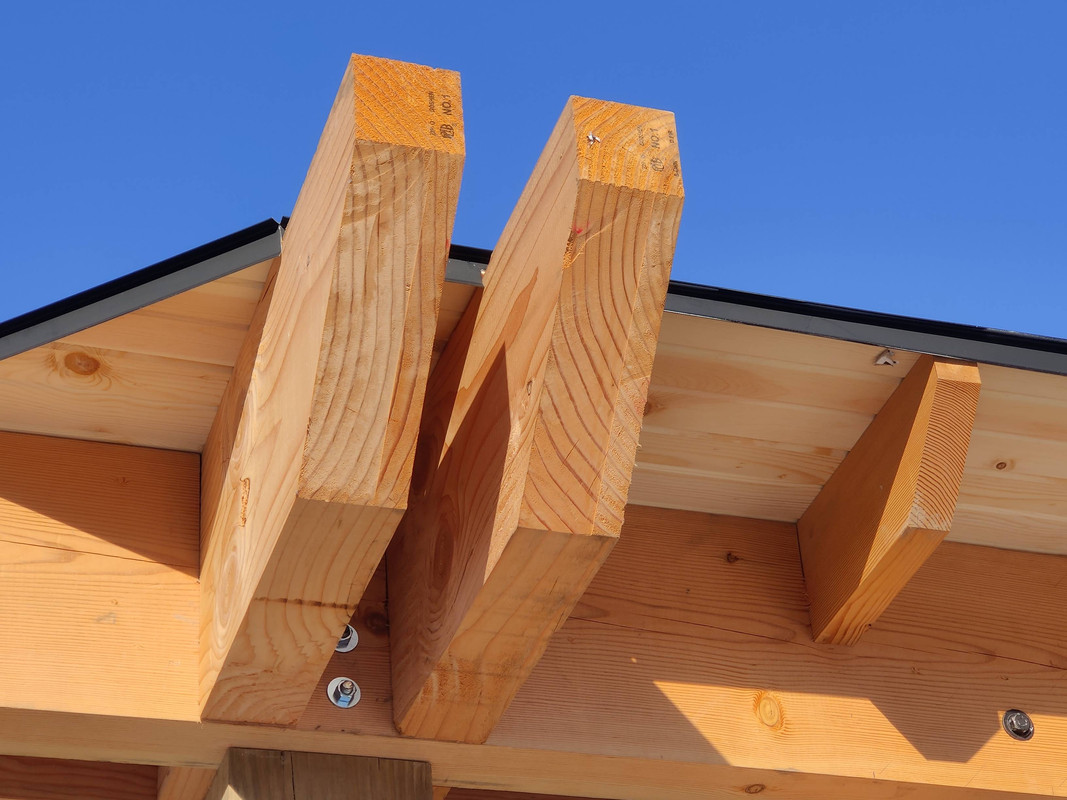 Notches were cut to allow the drip edge to sit between the 4x12 beams
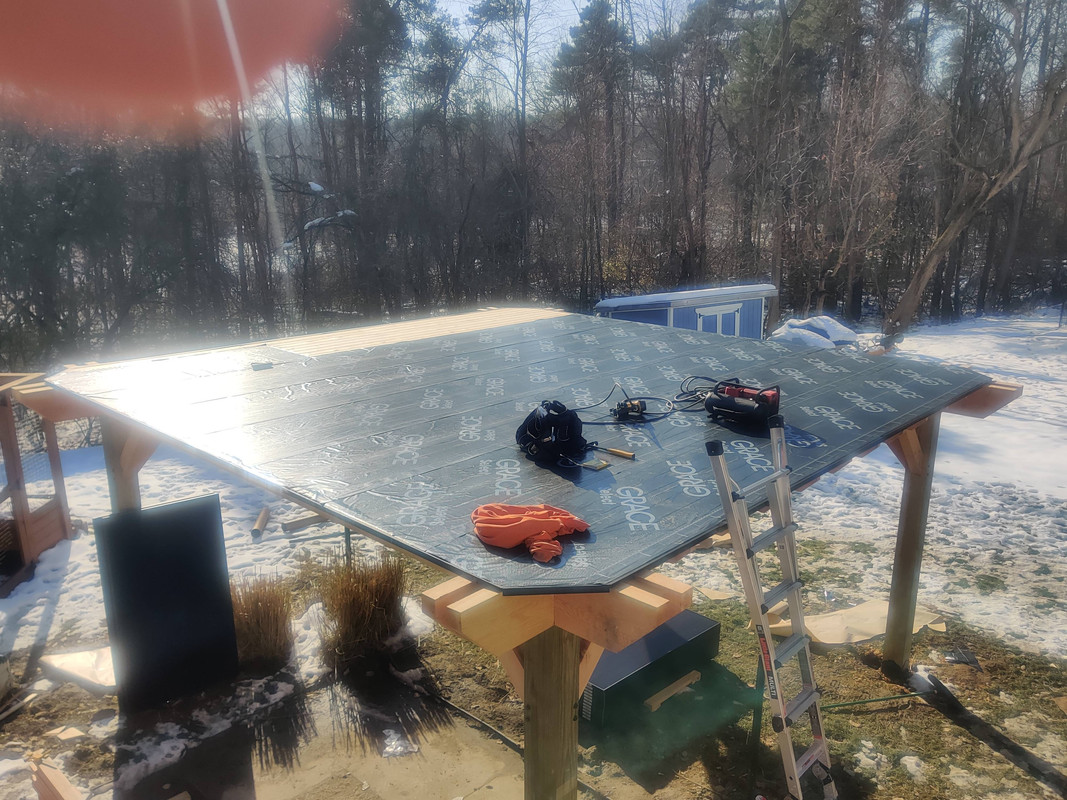
The drip edge was completed fairly quickly. Once that was done ice and water shield was laid down and stapled to the roof boards.
While the pergola team was working, the house roof team installed more panel rigging.
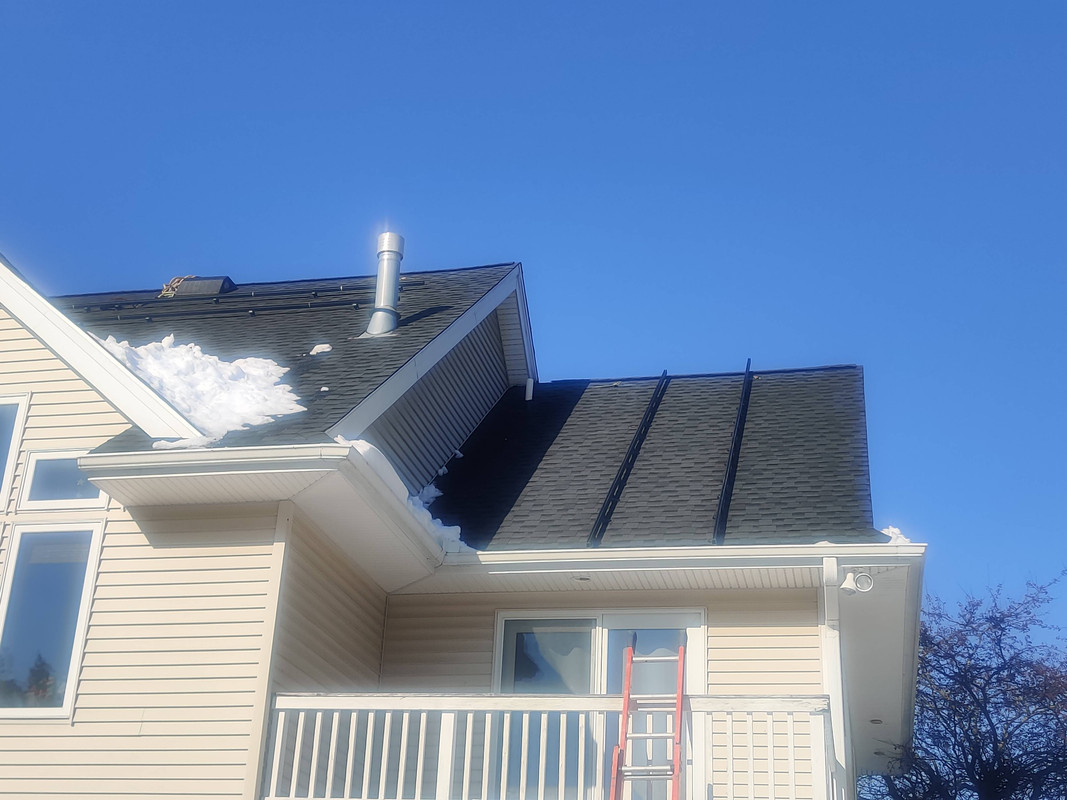 The rigging on the left was actually mostly installed yesterday, however some adjustments needed to be made to accommodate fire code
After lunch the house roof was ready to receive more solar panels. Five were mounted on the easternmost roof with four more just to the left.
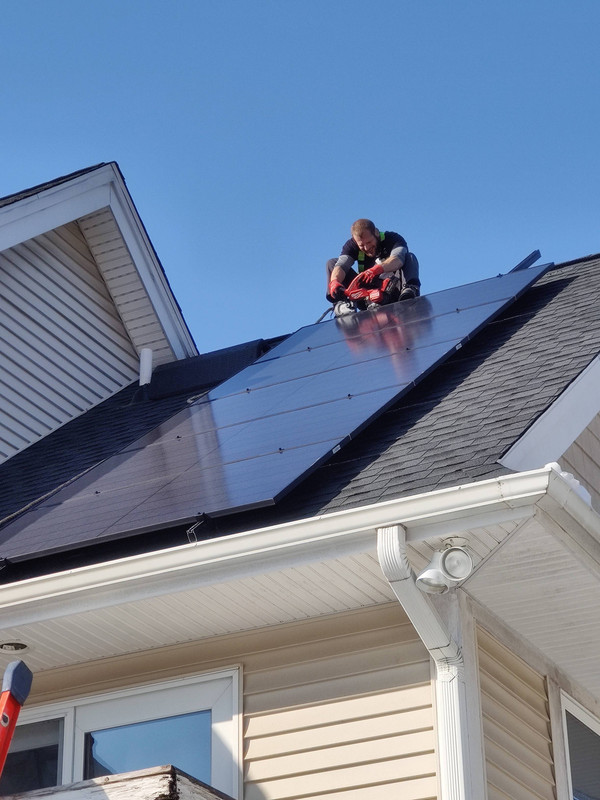 This guy was trimming the rigging with a portable band saw
At this point the house has twenty eight panels installed, with the plan being to mount the remaining twenty on the pergola. But here is where we encountered a problem: after measuring the near-completed pergola roof there isn’t enough room to mount all twenty panels in a five-by-four grid. Since the roof is square mounting the panels in portrait or landscape makes no difference. And as mentioned in my previous post panels can’t overhang anything unsupported. I suppose in retrospect I could have designed the pergola rafters in such a manner that everything would be supported evenly on all four sides and to a greater distance. But that’s the nature of construction: nothing will ever go one hundred percent according to plan. Mounting eighteen panels on the pergola in a six-by-three configuration was confirmed to fit almost perfectly, so that leaves two panels to mount on the house.
So the totals now are thirty panels on the house, eighteen on the pergola. Not quite the even split I was hoping for when I first planned this, but between my highly complex house roof, fire code limiting panel locations and array sizes on the house, and the difference in dimensions between the Solaria PowerXT 400 and the REC Alpha Pure 405AAs we ended up using, these concessions had to be made. We’re still brainstorming where to put the two remaining panels, as well as relocate the two that currently frame the kitchen skylight, but that will be a problem for Friday or Monday.
Around 3PM is when the pergola team began shingling. These are the same shingles that were used on my house when the roof was re-done prior to all of my posts about getting solar power. While this type of shingle is solely designed to be installed on a pitched roof, this isn’t a house roof so water can run to any edge of the pergola, plus the ice and water shield I’m told is sufficient to prevent any water exposure issues from happening.
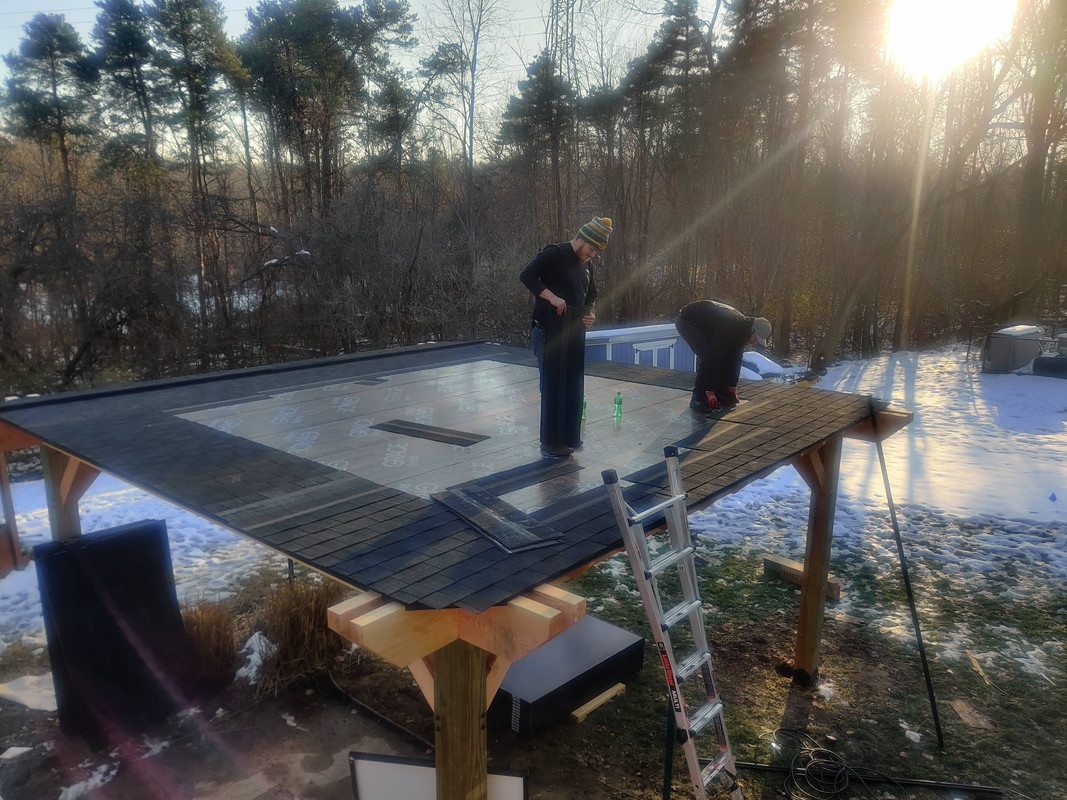 If this picture is confusing at all it’s because these two suspected they didn’t have enough shingles, and opted to stage the layers to find out for sure whether they did. Spoiler alert: they didn’t. D’oh!
And with that, another day has come to a close. I’m very much liking how the pergola roof is coming together. Hopefully I’ll see a full roof of shingles and some panel rigging by the end of the next work day. I also got confirmation that the concrete crew will be showing up Monday morning next week, so it looks like Phase 3 will be starting very soon. :)
To everyone in the US: Happy Thanksgiving! Until next time, here’s some doge tax:

