Solar Power: Day 12
Some ground-breaking changes happened today...
Today was a double whammy with two crews showing up. The concrete crew was the first to arrive, showing up at 8:35 this morning. My alarm went off less than five minutes before their arrival. So with clothes hastily thrown on and maybe a dozen brain cells functioning I popped my head outside to say “hello”. I guided them to the backyard and showed them the footprint of what I wanted done.
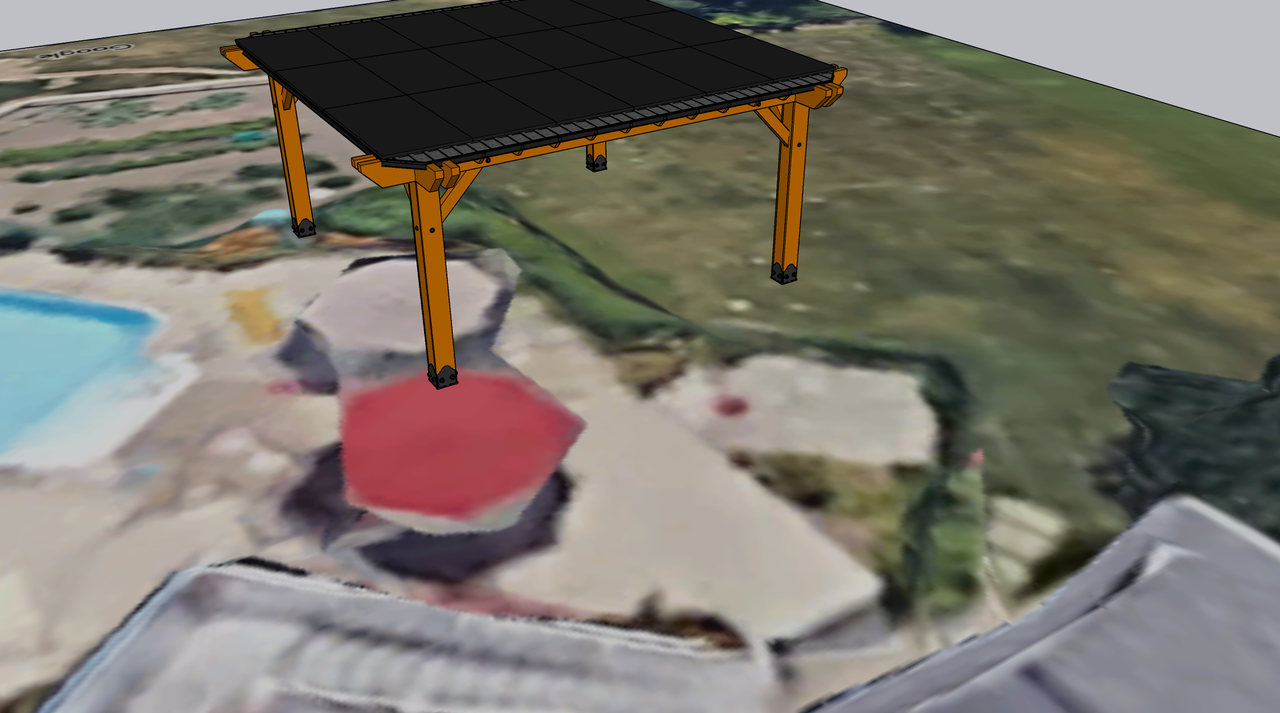 The existing concrete slab borders my in-ground pool and has a slightly expanded area on the west end to allow for foot traffic and accommodate a picnic table
Before the concept of the pergola even entered my mind, my wife and I had already expressed a desire for a bit more room around the pool. The picnic table only ever served as a place to store towels, phones, etc when we went swimming. There wasn’t even enough room for a chaise lounge. Next to the entry gate there was a square pad made up of pavers that served as a base for a jacuzzi tub once upon a time. From past conversations with the previous owner of my house (who also designed and built it) that once upon a time was a seriously long time ago. Further proof of that was the electrical hookup for the jacuzzi had long since been converted to a whole-house generator hookup. The entire area was bordered by a small planting bed a little over a foot deep. While this is aesthetically pleasing, it unfortunately encroaches on the practical value of the area. Everything had the appearance of it being a good idea when it was first built, but they didn’t withstand the test of time. There is technically enough room to place a patio dining set near the pool, and a grill nearby. However you would be dining either right next to the metal fence or next to my pool pump. Again, everything looks nice, but to really make use of the area it would become overcrowded. Building the pergola gives us the excuse to expand it.
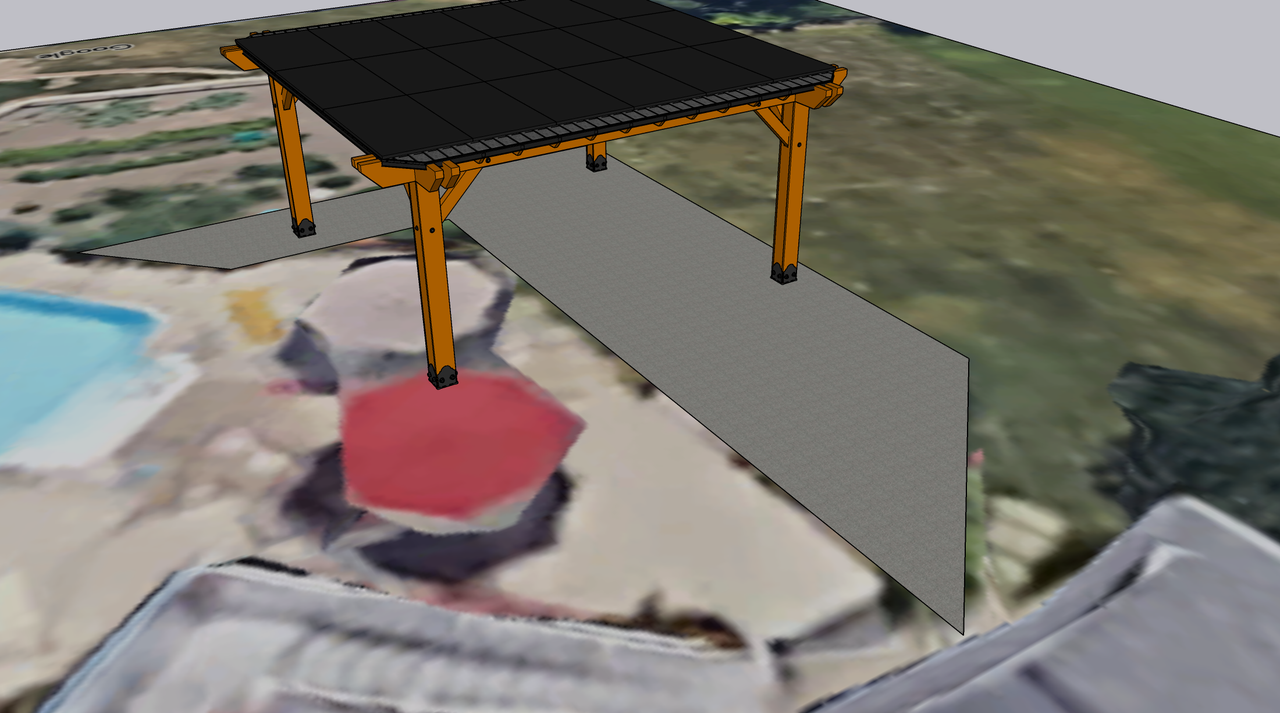 The new slab fills in the old jacuzzi pad and the plant bed border, but extends the old fence line outward to include the pergola. The new slab extends roughly a foot beyond the pergola’s outer faces.
The pergola measures 17.5’ in both directions at the ground level from the outside edge of each corner post, and the structure is situated so that the existing western concrete edge falls roughly in the middle of the pergola. When I first started designing the pergola I measured the distance between the outside corner of the old jacuzzi pad (the rightmost corner in the picture above) and the edge of the concrete slab and that was about 9.5’. I figured a pergola with double this distance for an overall footprint was a good place to start. After some real-world measuring I shrunk the pergola down slightly to what it is now so that the eastern posts (left ones in the picture) weren’t so close to the pool. This ensured that a post wouldn’t get in the way of foot traffic, and more importantly that the construction wouldn’t hit any of the underground pool plumbing.
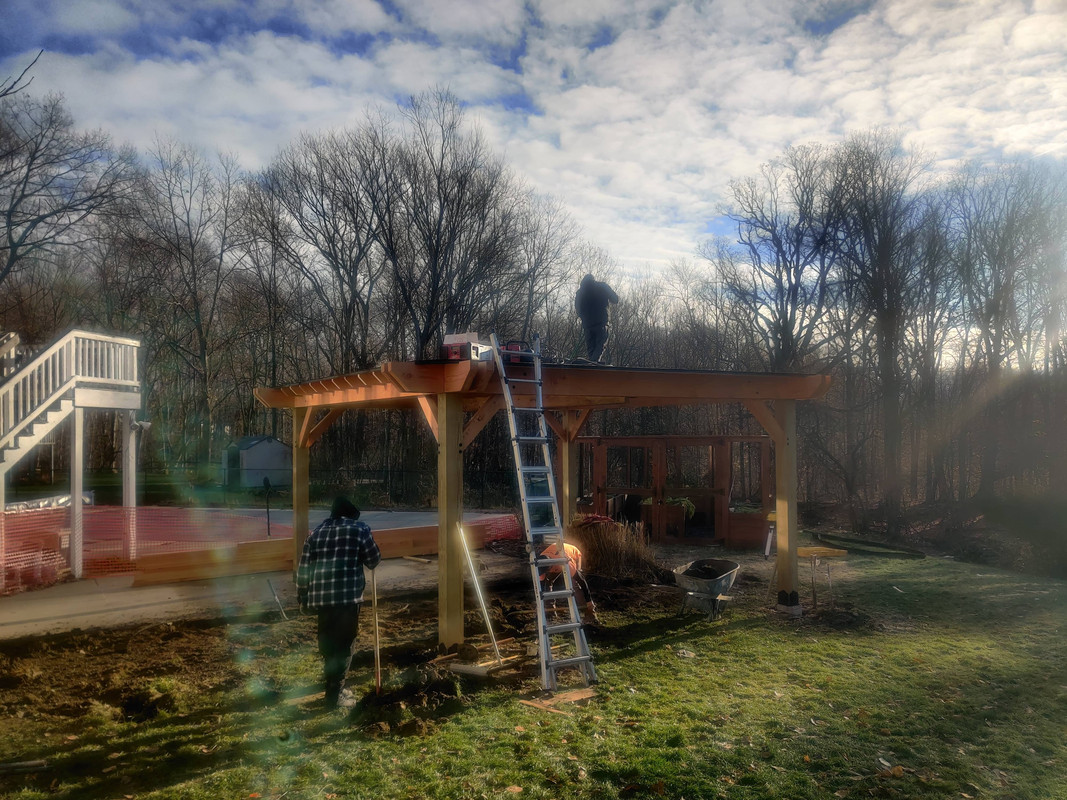
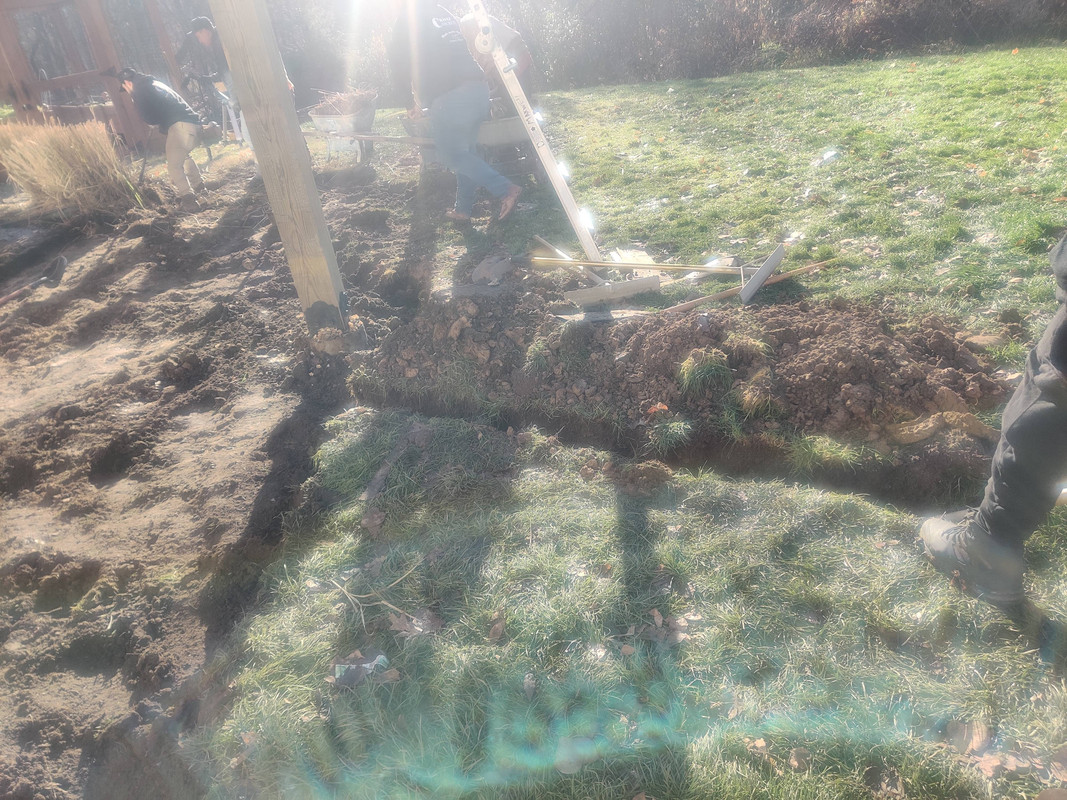
Once the plan was communicated the crew of about six (that I saw) started excavating. Once again, to my surprise, this was done completely by hand, but as the old saying goes many hands made light work.
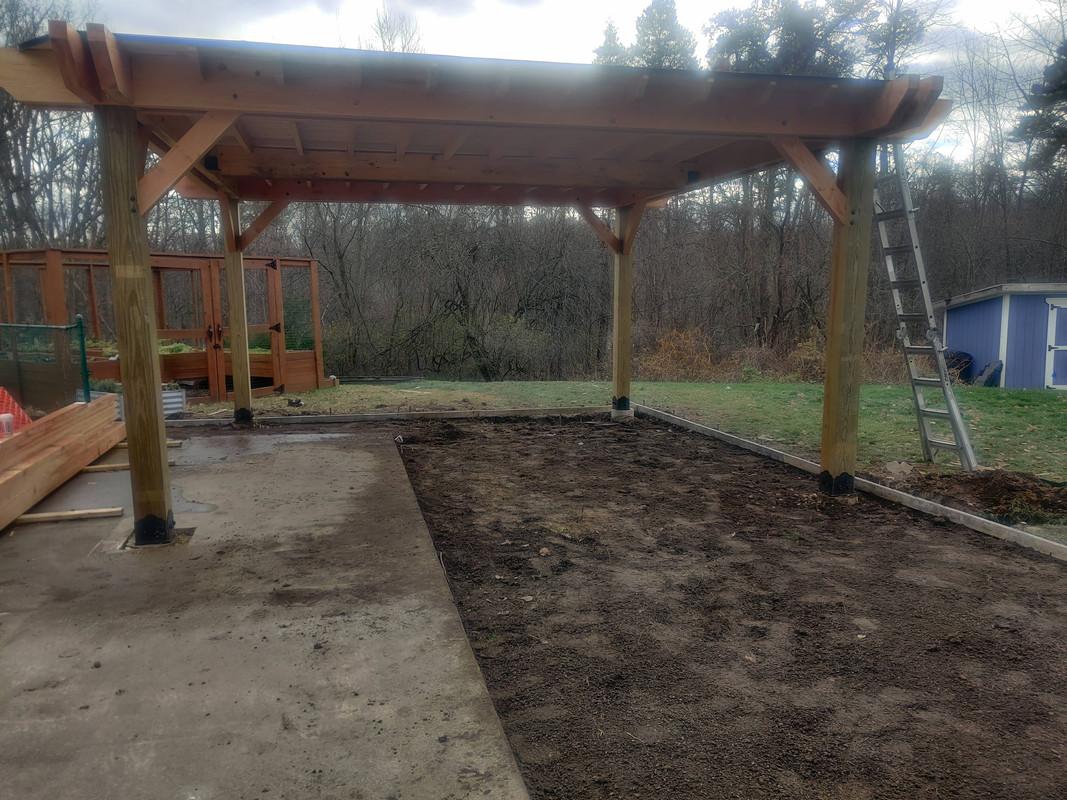
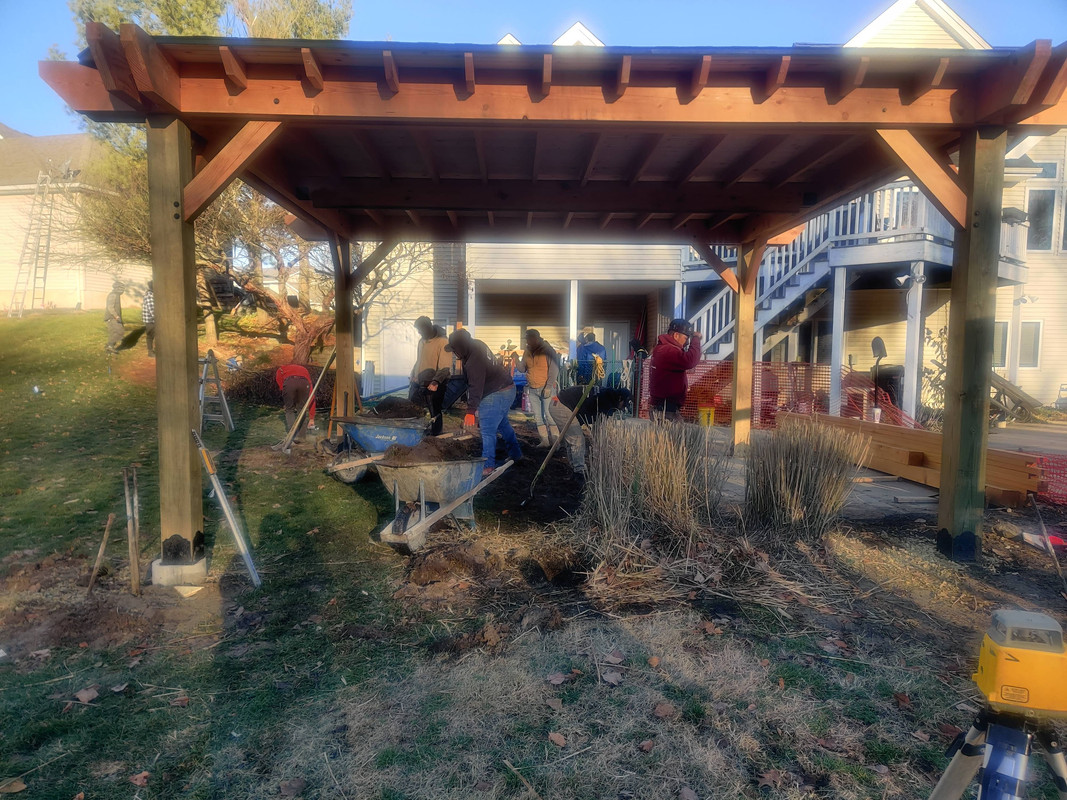 This photo and the one below were taken literally twenty one minutes apart
Once the excavation was complete the crew used 2x4s to construct the concrete form.
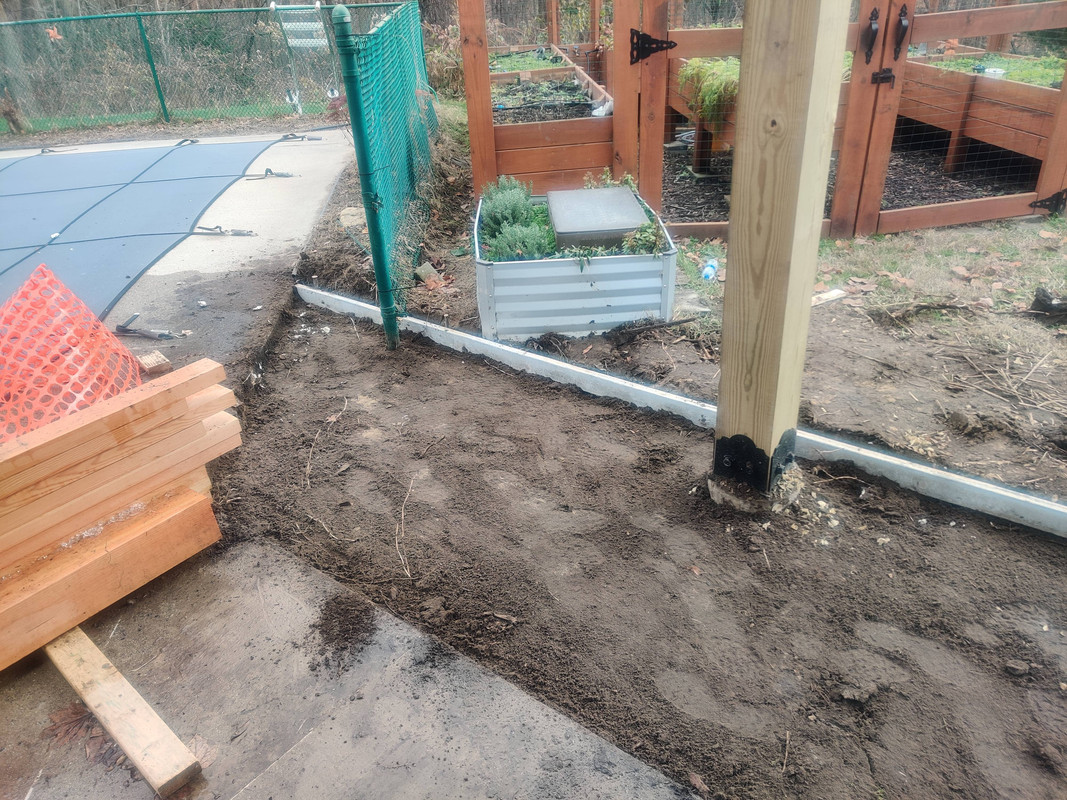 The position of my wife’s subpod for the garden was a concern of ours because we didn’t know beforehand if it would need to be moved to make room for excavation let alone be permanently relocated because of the new slab. We were very relieved to learn we didn’t need to move it as that would have been a lot of labor on our part.
The form was completed around noon and then the concrete crew departed for the day. I’m told they will be back tomorrow to finish leveling the bottom and adding sand in the southwest corner since the ground slopes to about three inches below the bottom edge of the mold in that corner. Once the sand is tamped they will pour the new slab with a hot mix to ensure proper curing since we are firmly in winter temperatures and cover the slab with thermal blankets if necessary.
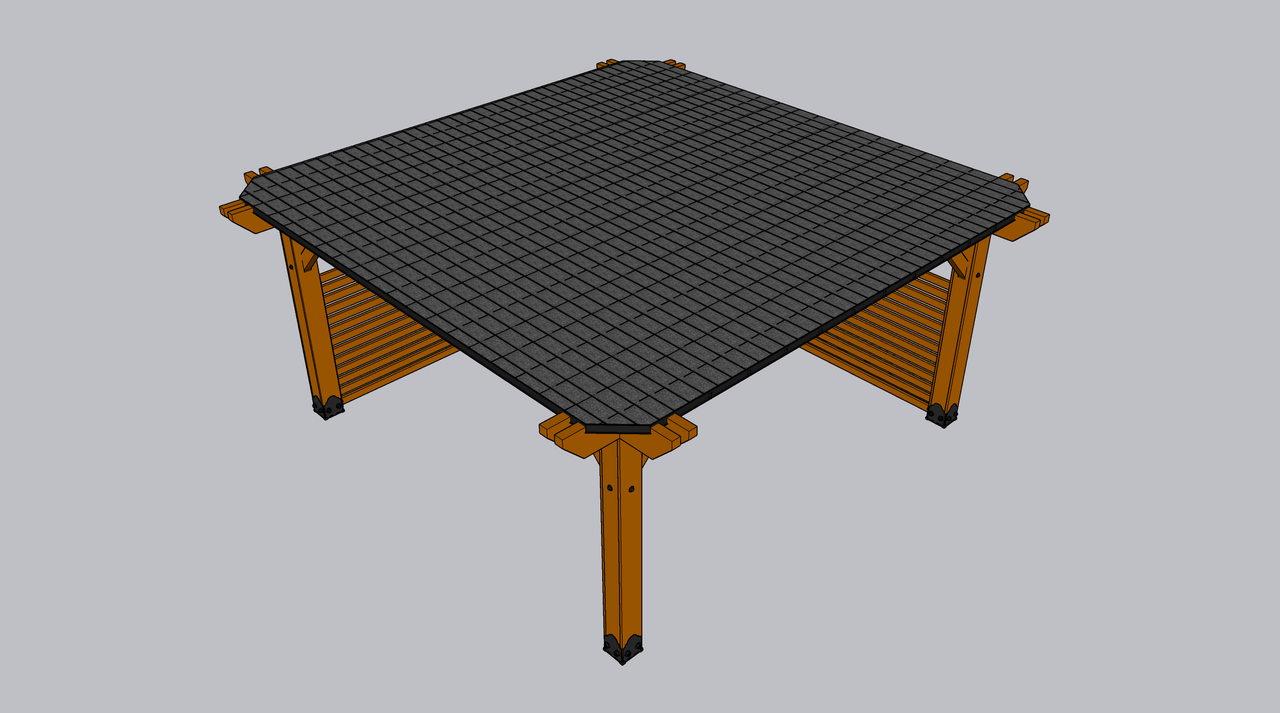
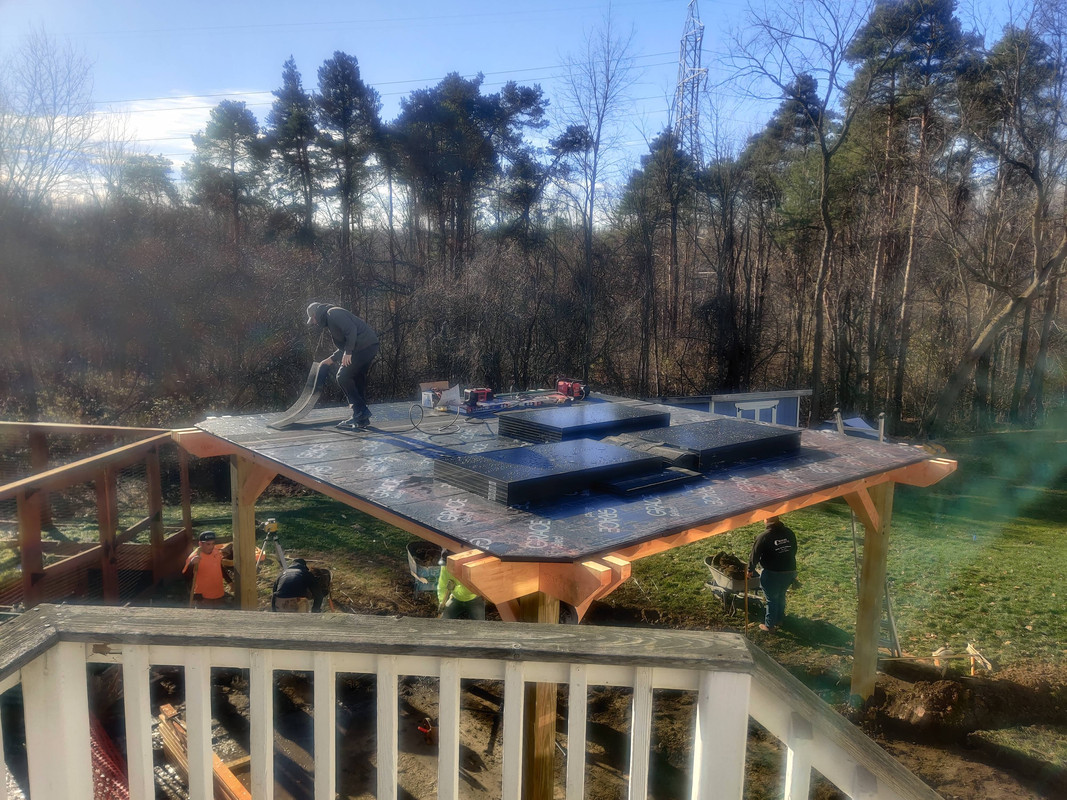
On the solar side of things there was no shortage of activity. The solar crew showed up about ten or fifteen minutes after the concrete crew and, just like yesterday, divided into teams. Now that the crew had sufficient shingles they finished shingling the pergola roof. Sadly I forgot to get a picture of this before it got too dark because I actually had to jump in and do a little labor before the concrete slab gets poured tomorrow (more on that later). Here is the design concept at least:
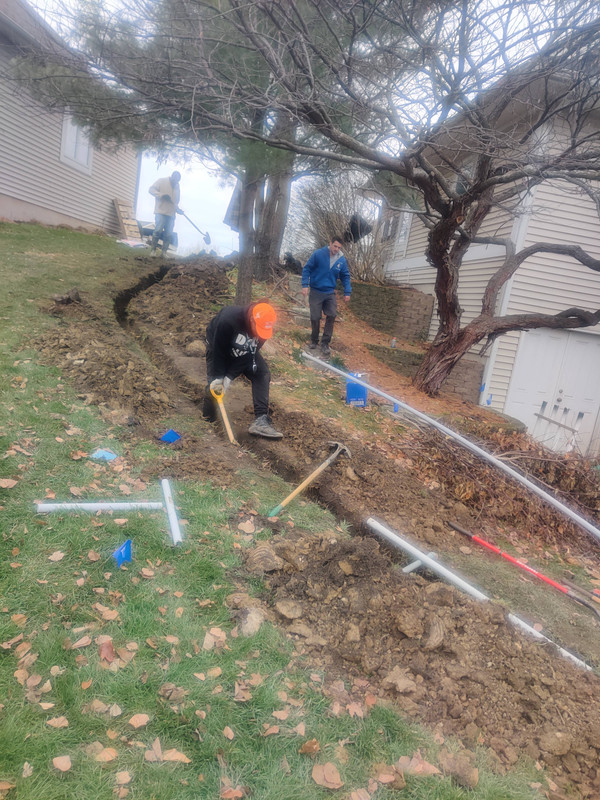
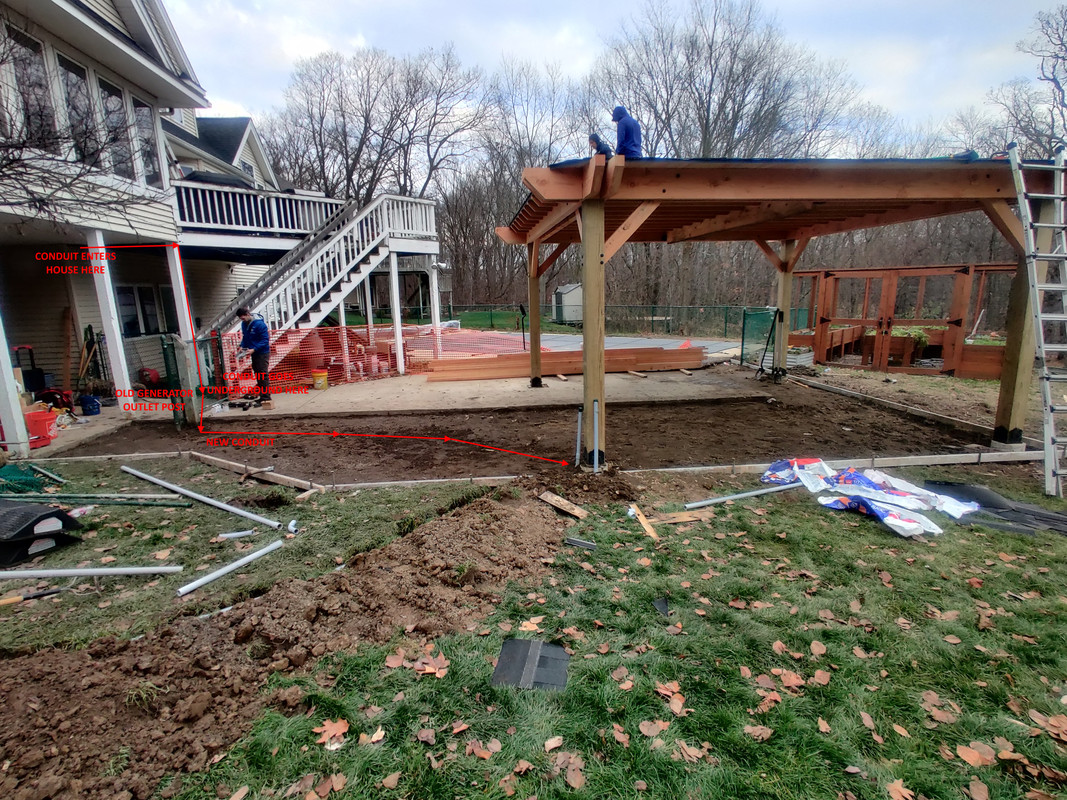
While the shingling was going on, the other solar team was busy digging two trenches, also by hand. The first trench was about eighteen inches deep and ran from the Enphase combiner at my power meter to the west face of the northwest pergola post into which went 1.25” conduit. A small outdoor-rated breaker panel will be installed on the corner post to serve as a disconnect switch for the solar panels as required by code. Normally I would wince in sympathy for the amount of manual labor involved doing this without power tools, however considering we found my neighbor’s underground sprinkler line, which wasn’t marked by the survey team, I think I can speak for everyone when I say it was a good thing they did things the old fashioned way. A slight modification to the path markings ensured no further surprises.
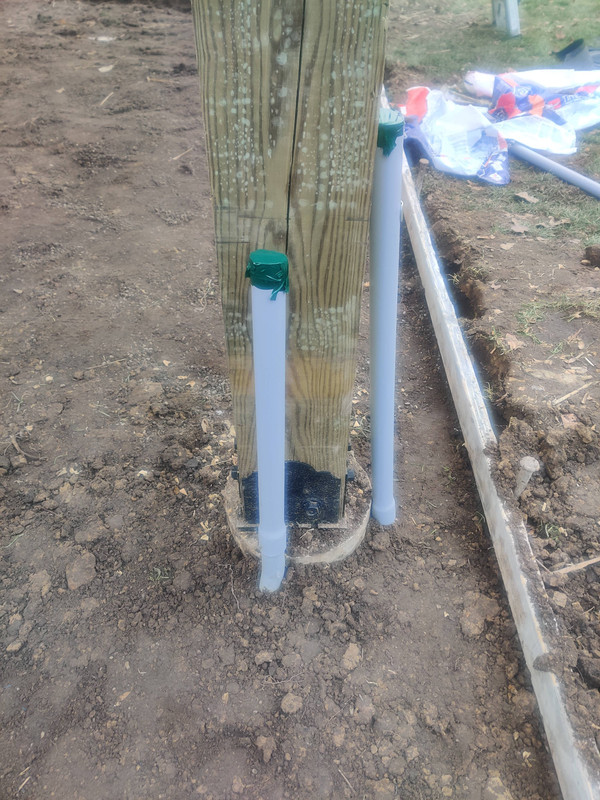
A second trench was dug from the old generator outlet to the north face of the northwestern pergola post. Once again 1.25” conduit was used since the existing metal conduit was that diameter, which was nice since that matched what the crew had on hand for fittings and piping. There was even a 90-degree long elbow coming up out of the ground that could be rotated to point underground, however it turns out the elbow was so rusty that it actually broke while the electrician tried to turn it. Ooops. But no matter, one new elbow and they were back in business. This conduit is to encase the wiring that will power the outdoor kitchen. The reason for the trench instead of mounting a breaker box to the generator outlet post is that the plan calls for the sink to be in that corner, and those two can’t be in such close proximity. Unfortunately I didn’t get a chance to get a picture while the second trench was being dug, but I do have an “after” photo.
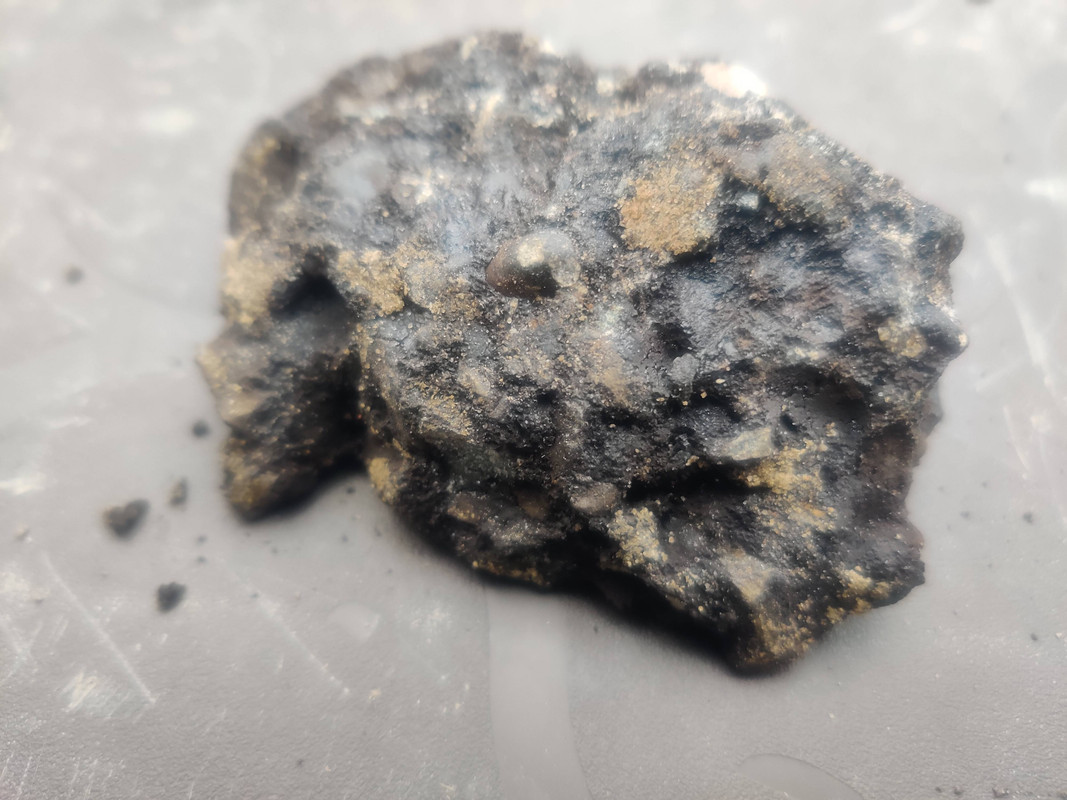
The reason I don’t have any “before” or “during” pictures of the second trench is that while that was going on I was reminded by my wife that we needed to have a fully fenced in pool area to meet code and the old fence left a gap about four feet between it and the southeast corner post of the pergola. We had three or four old green fence posts sitting off to the side from the excavation earlier, repurposing one of them seemed the easiest solution. So I grabbed my shiny post hole digger and dug a hole as close to the pergola post as I could while not actually touching the post footing … or at least I tried to at first. I got about a foot down before I hit something solid. It wasn’t concrete from the footing since those were poured in cardboard tubes, but in the end I still have no idea what I hit. All I can say is it’s completely black, through and through.
Getting through this took drilling with a rotary hammer drill to create weak points that allowed me to chip through it with a long crowbar and a hammer. The hole was too narrow for a sledge hammer, and I didn’t have a full size one anyway. But after about an hour of brainstorming and trial and error I did get through. Once I was done I put an old fence post that had the narrowest concrete “root ball” (I’m not actually sure what the technical term is for that) in the hole, backfilled a little bit, checked for plumb, and then backfilled until everything was even on top.
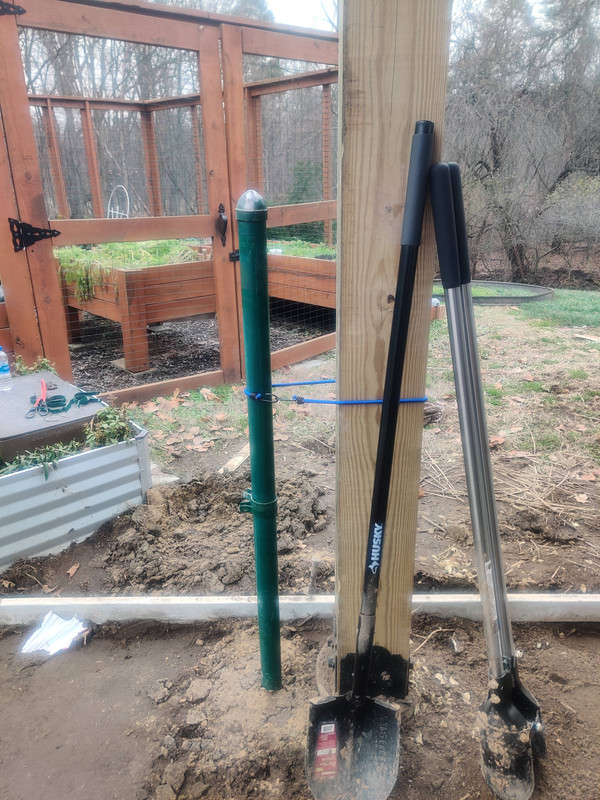 In the end there was about five inches between the posts, but this will go down to four once we cover the pergola posts in Douglas Fir boards.
In retrospect I wish I had a chisel for the rotary hammer. I actually almost went out and bought one but I was running out of daylight at this point so I had to make do with what I had on hand. I also couldn’t wait until tomorrow to do this because I’m assuming the concrete crew will be showing up in the early morning like they did today.
And now if you’ll excuse me, I need to take a long hot shower and then pass out for the evening because my back has been yelling at me the entire time I’ve been writing this.

