Solar Power: Day 13
"Who ordered the truckload of gray matter?..."
Another busy day today with both the solar crew and concrete crew at work. I woke up early since I didn’t know what time the concrete crew would be arriving. The very first thing that happened is I saw a text on my phone from my pergola project manager informing me that I needed to mark out the area where a void in the new concrete slab would need to go so that the gas line for the kitchen could come up out of the ground inside the cabinets. After grabbing a tape measure and a can of white spray paint I stumbled outside and drew a box:
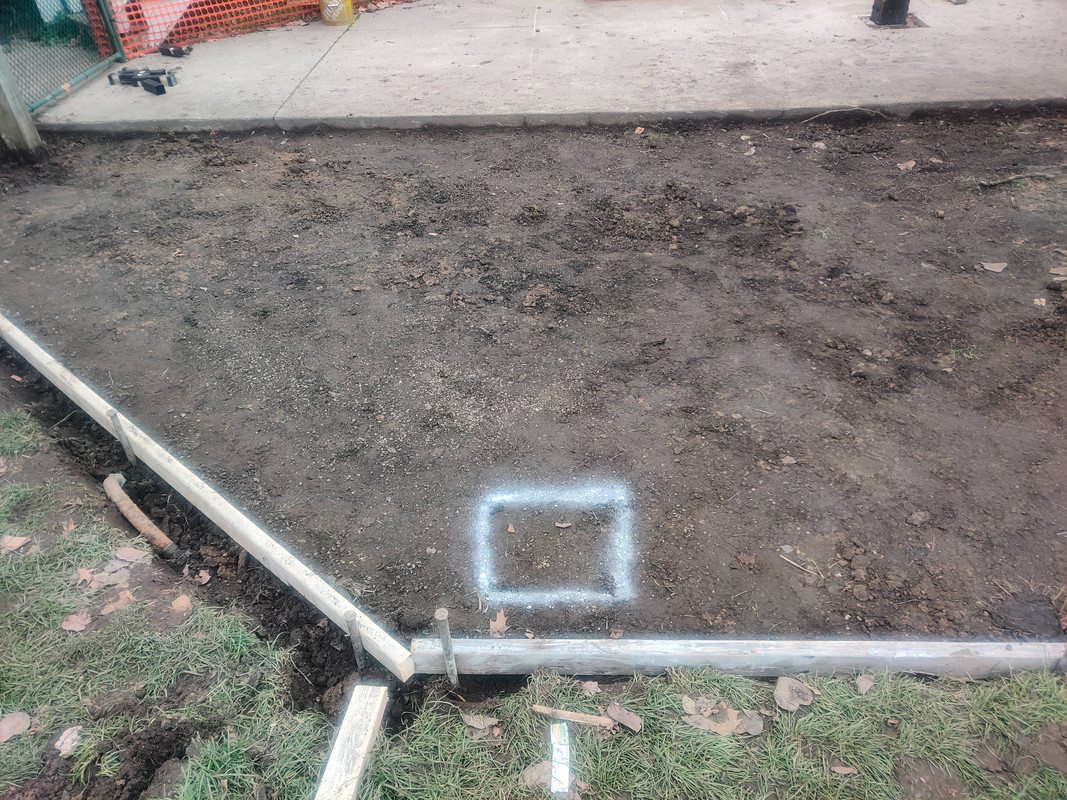 Somebody, somewhere, on some kind of “cocktail” is going to see this and call it art
The solar crew arrived first. Their tasks today: address relocation of the two kitchen skylight panels, swap out all microinverters that aren’t the IQ7+ model (some were IQ8+ which are known for not working as well when mixed with other models), complete the pergola disconnect, and continue mounting panels on the pergola.
The crew first unloaded their ladders and other tools, after which I promptly discovered a box of Enphase porn:
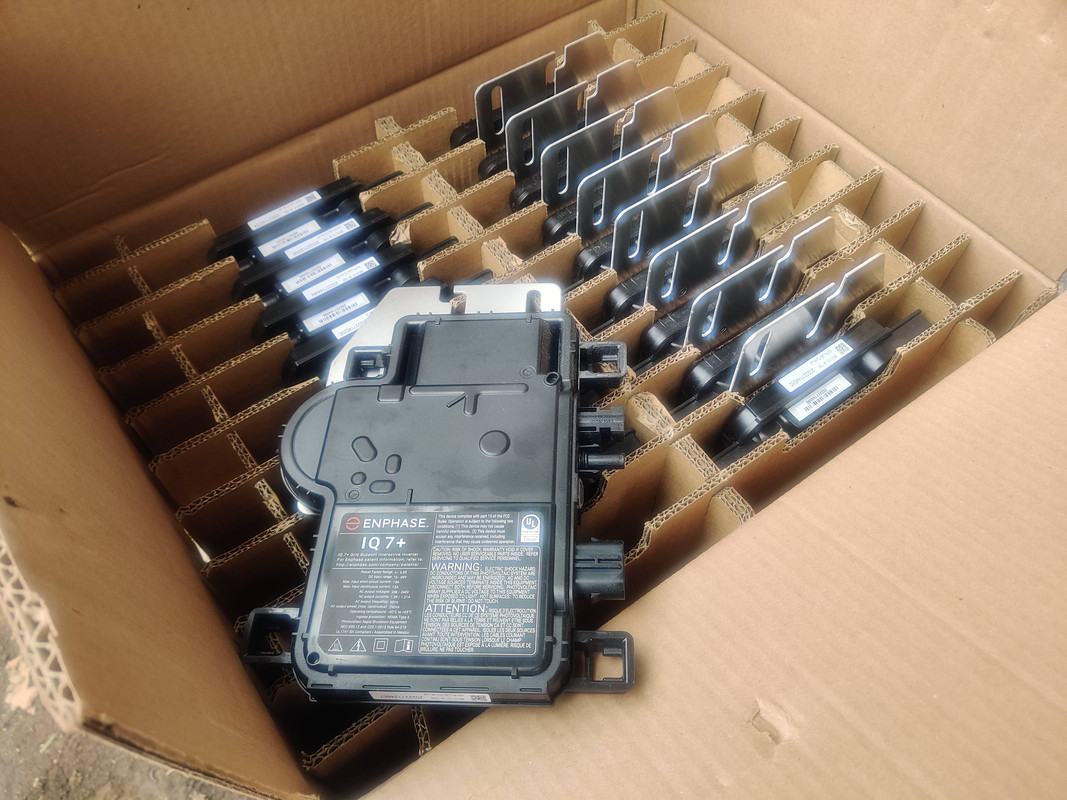 This was like opening a box of hard drives for me, I may have yelled “SQUEEE!!!!”
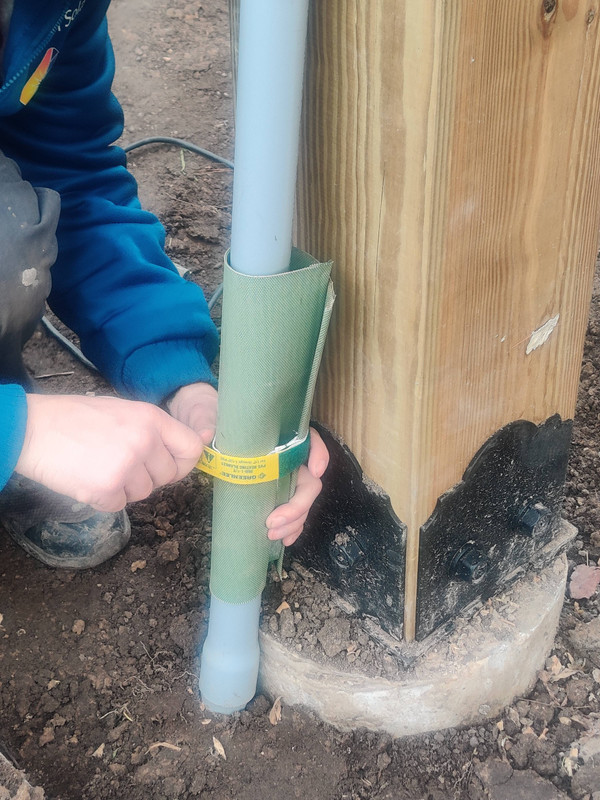
While the majority of the crew got started on both roofs, the electrician grabbed a heat pad (not the pain relief kind) and wrapped it around the electrical conduit stub out to soften it. This allowed him to bend the conduit up against the pergola and make a nice tidy transition instead of a pipe sticking up out of the ground at an odd angle.
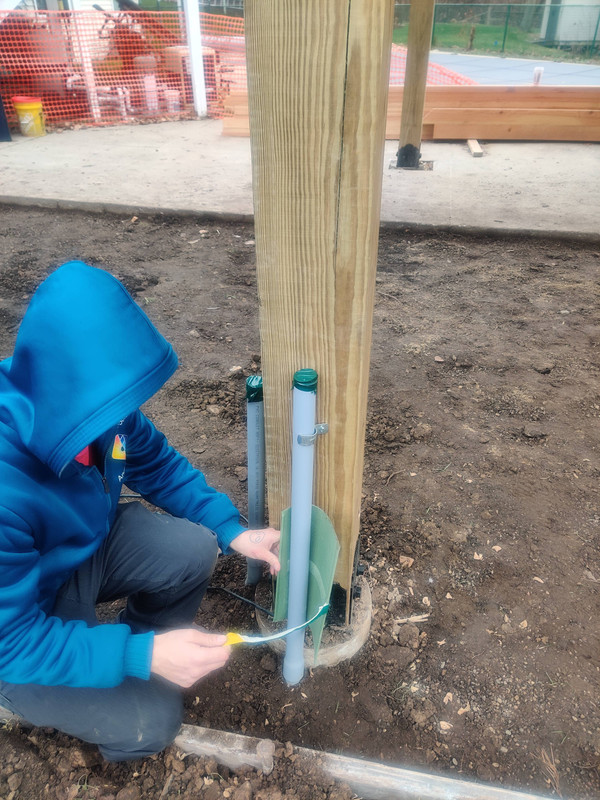 The pad used a velcro strap to wrap tightly around the conduit. The pad itself just plugged into 120v wall power.
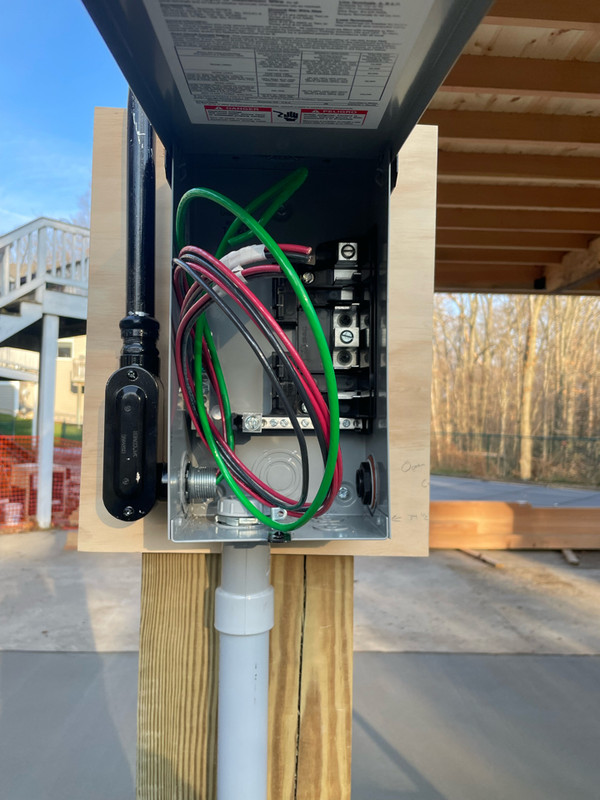 The outside of the box was painted black to accent the pergola post (it will get a second coat to cover the scratches from install). The plywood behind it is acting as a spacer for conduit alignment so that when the posts get covered in Douglas Fir at a future date all of the electrical connections will still be in the correct position.
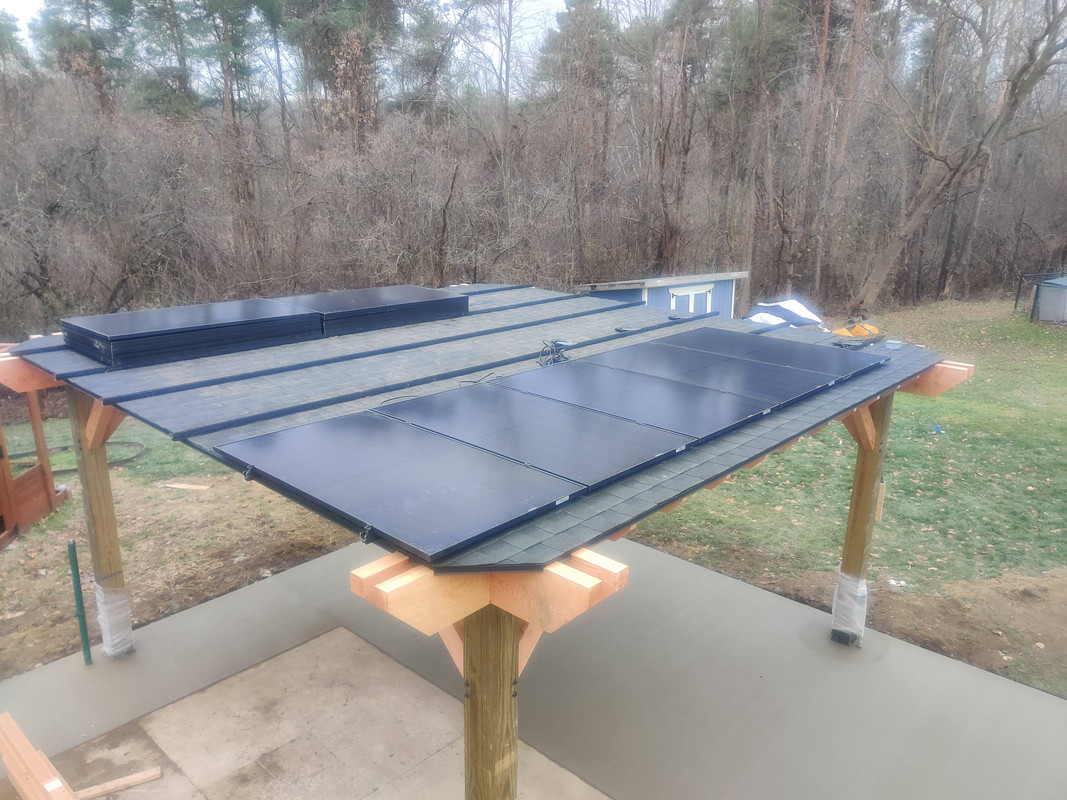
While the electrician was working on the disconnect box, the pergola roof team was busy screwing down as many rails as they could before the concrete trucks arrived. That way they could clear off of the pergola roof and there wouldn’t be any ladders or other equipment in the way of the concrete crew. By the end of the day they managed to get all of the rigging installed and lagged down, along with one row of panels and microinverters.
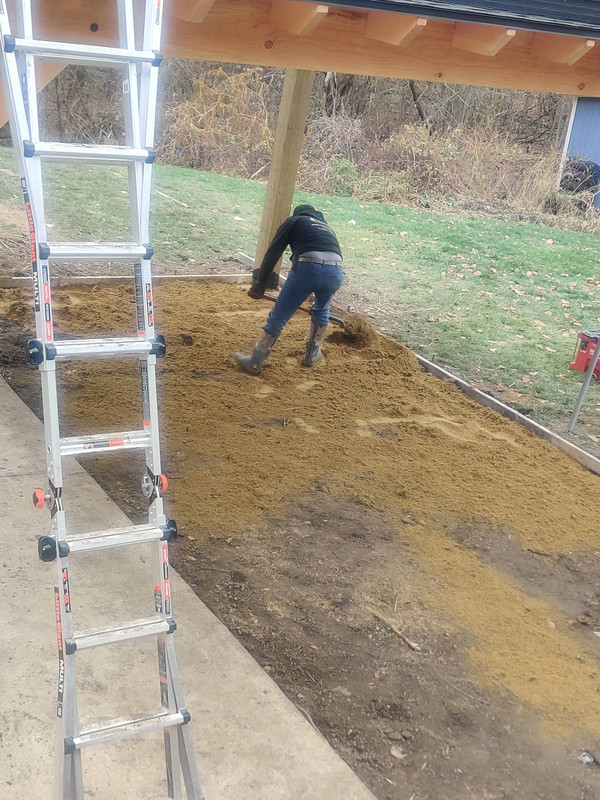
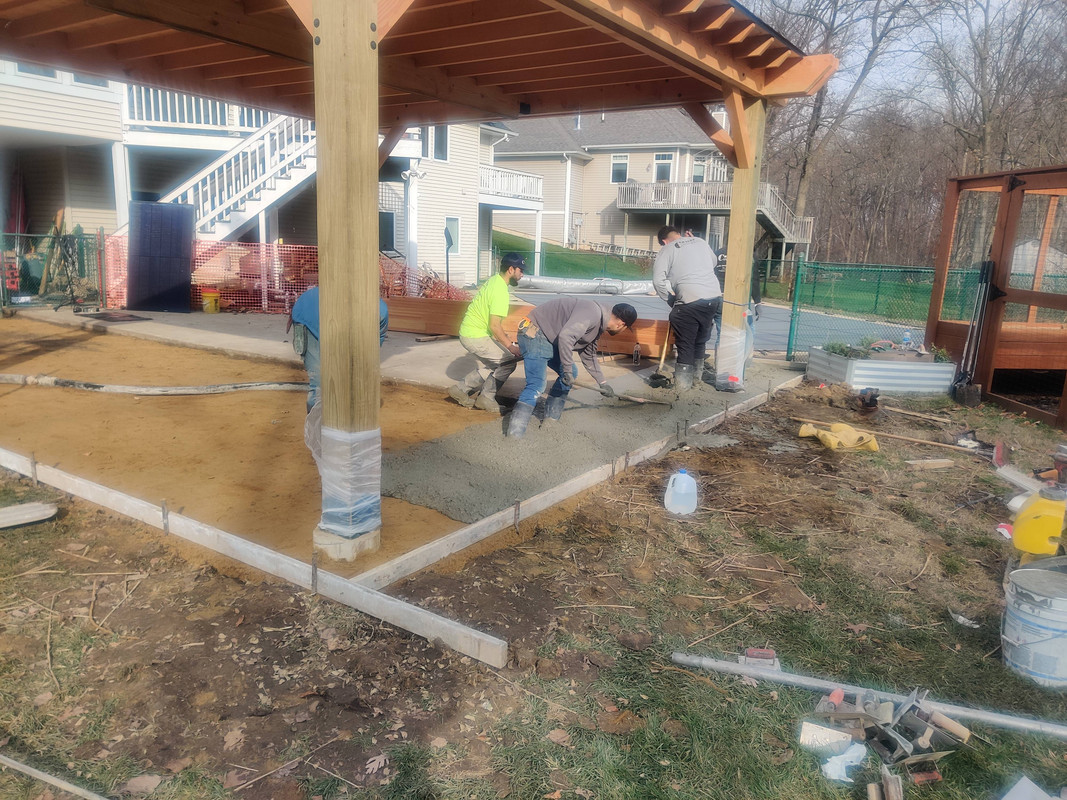
The concrete crew arrived just after noon and brought down sand in wheelbarrows to build up the southwest corner of the ground so that the concrete thickness was even throughout the slab. Building up so that the ground is level before the concrete gets poured serves two purposes: it reduces the amount of concrete that would otherwise be needed in lower areas, and it ensures the slab has an even weight distribution. If this weren’t done, in a low spot the concrete would crack much sooner than the other areas, if not outright break off, just from the extra weight in one spot.
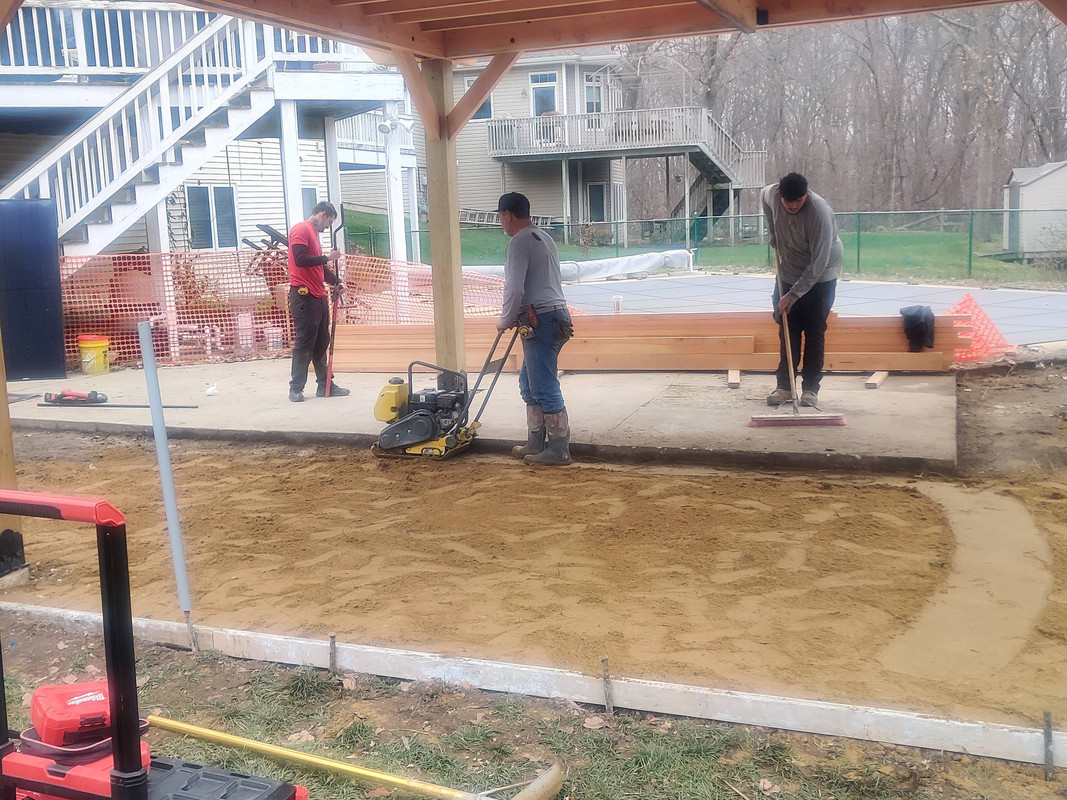
Once the sand was spread to the areas that needed it and relatively leveled, the crew flattened it with a gas-powered tamper.
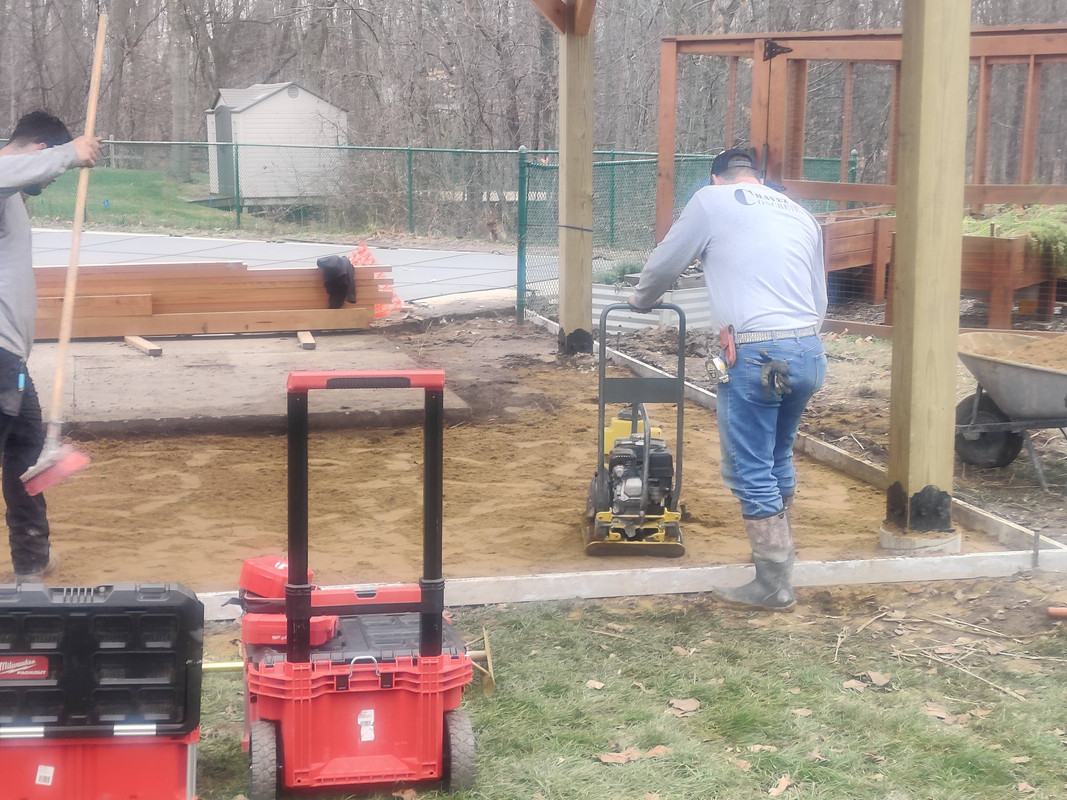 This thing definitely used a lawnmower engine, it sounded identical to one
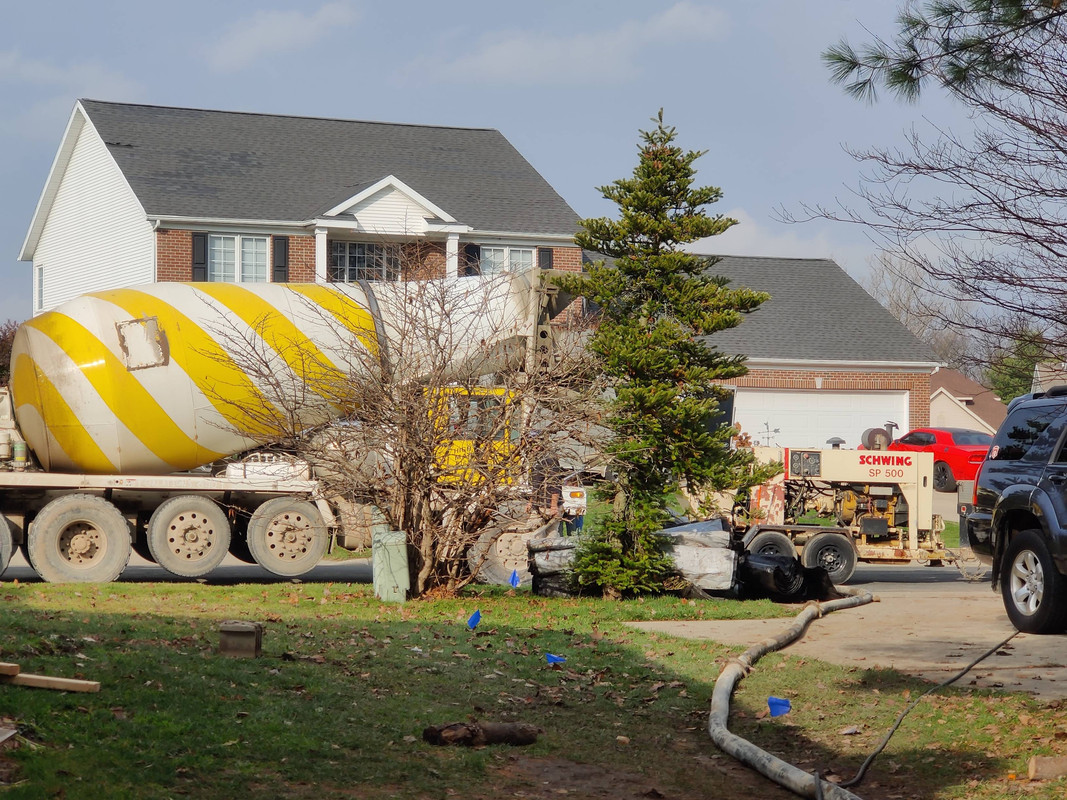
Out of curiosity I looked up the model of concrete pump since it was printed on the side. The towed concrete pump is hydraulic based and remote controlled.
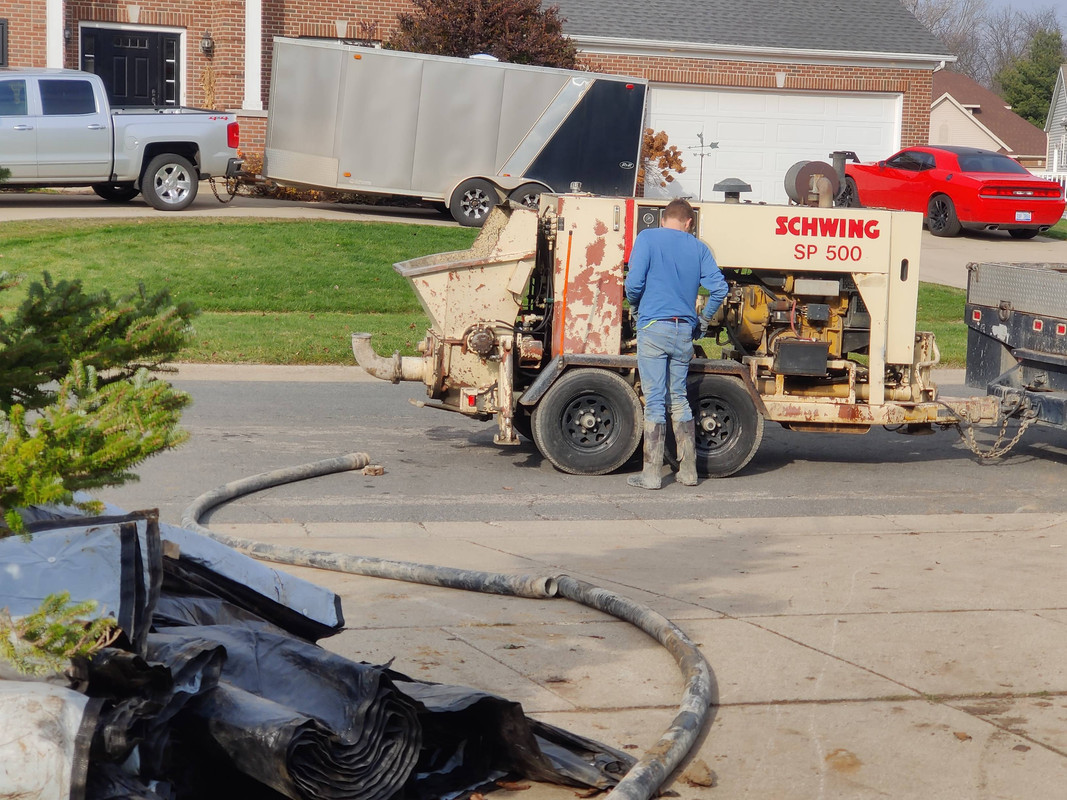 Any fan of Wayne’s World will chuckle at the name painted on this thing, and yes that’s actually the make and model, lol
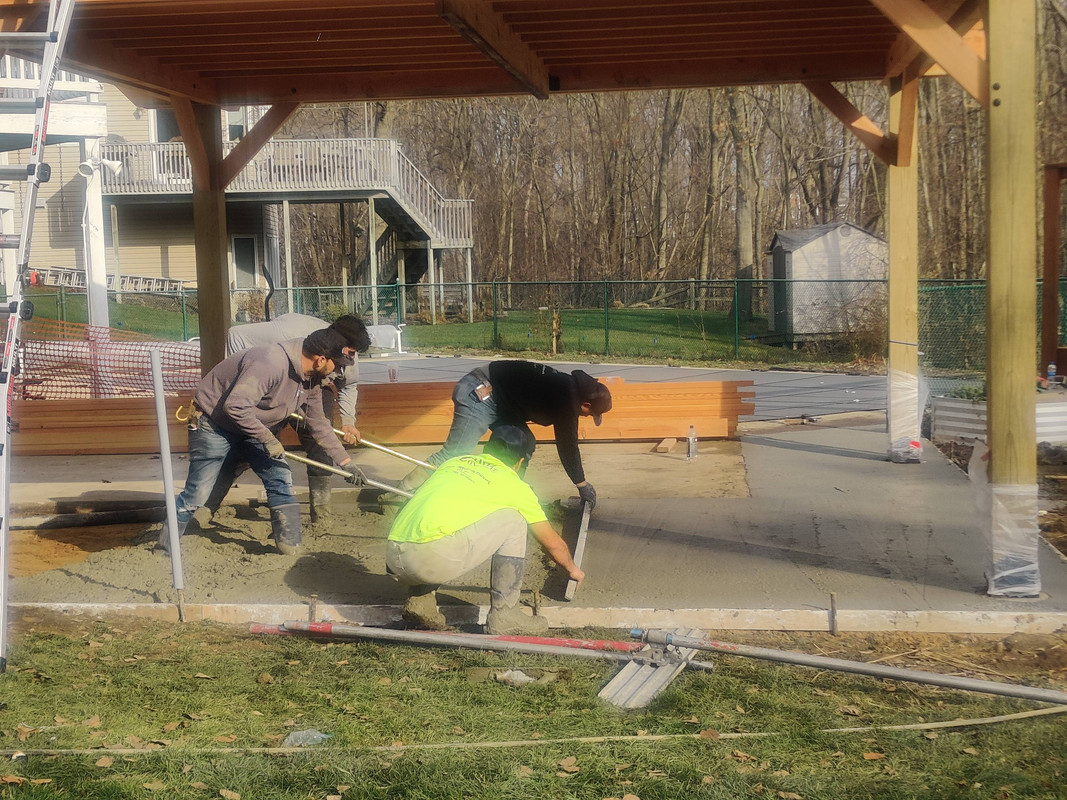
With the hoses connected up and final preparations complete it was time to start pouring the new slab. They started at the southern face and worked their way up to the north side.
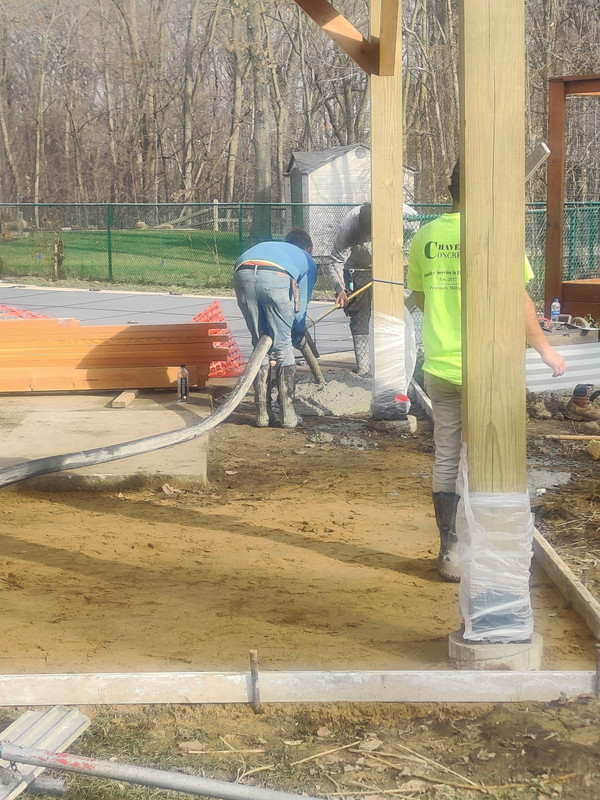 The man in blue handled the pouring hose as well as the remote control. I didn’t know until today that this method is a lot like operating a fire hose because the concrete was pumped in 5-second intervals, making the entire hose jerk upward, and the guy with it.
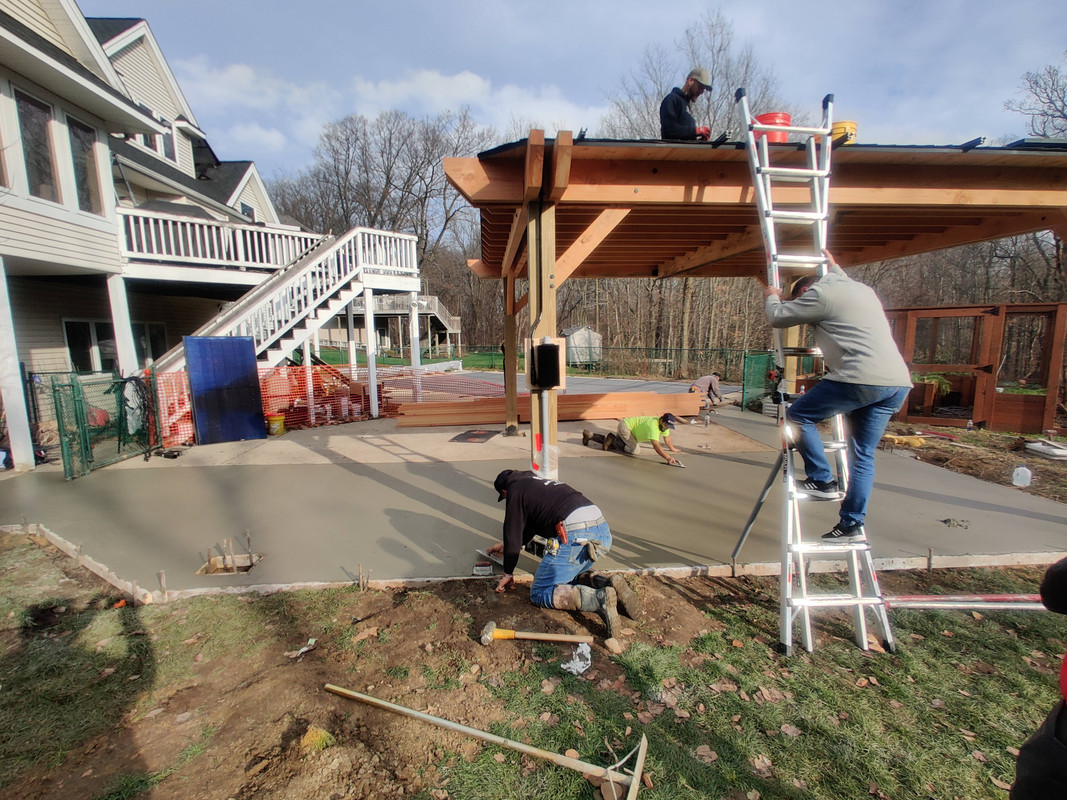
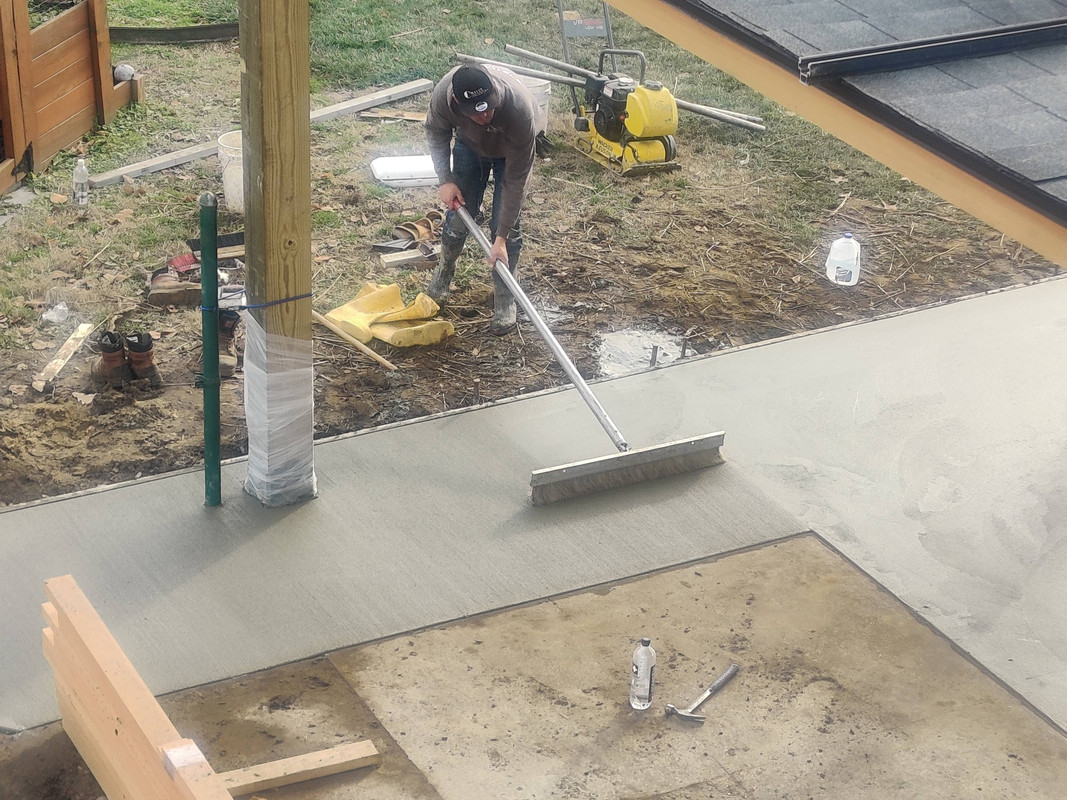
About every five or so minutes the pump operator would turn the pump off and the crew would level (skreet) the concrete even with the top of the 2x4 form. From there it was wash, rinse, and repeat until the entire slab was poured. The entire pour took just over half an hour. Then the crew used a combination of a wide push trowel and hand trowels to smooth the slab followed by a wide brush to create the brushed pattern common to a lot of concrete patio and pool decks.
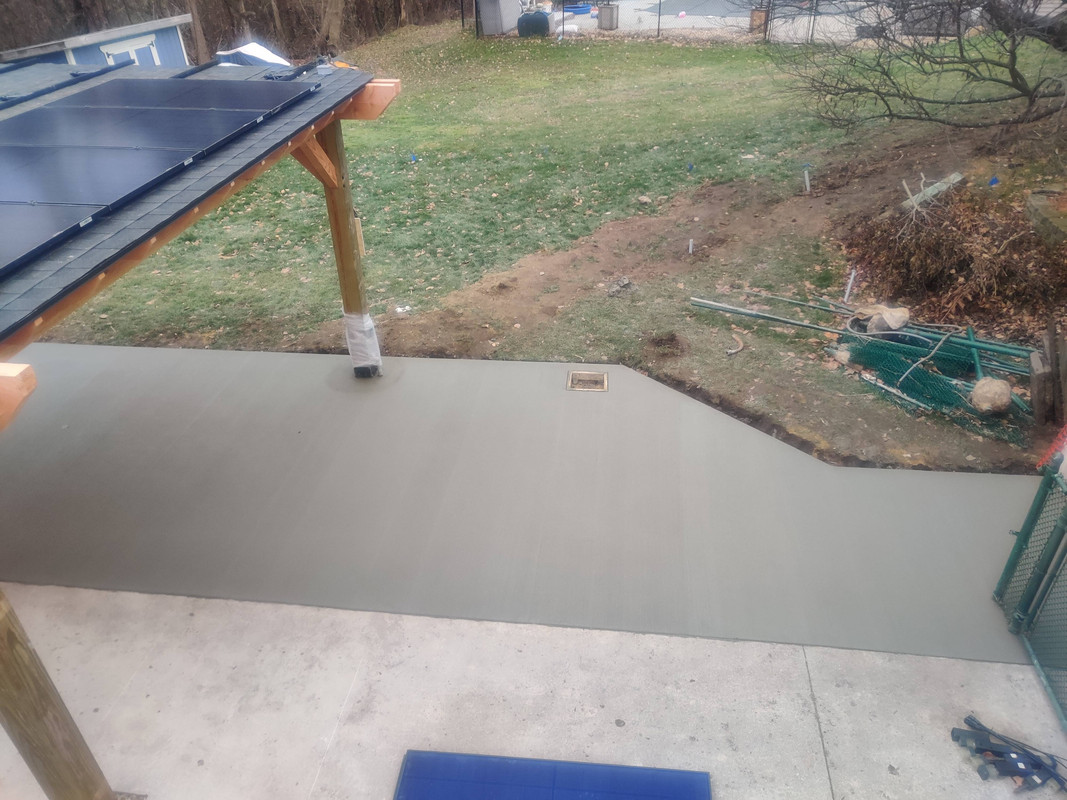
I only managed to get one picture of the finished slab since the solar crew was still busy at work once the concrete crew was done pouring. Still, they did a great job and it looks really nice. Only downside is now I have to wait a few days before I can walk on it to really explore how much more usable space I have now. I also won’t be able to let my dogs out back for a few days so I’m gonna have to deal with some hyper pups.
Going back to the solar crew, as I mentioned earlier they ultimately managed to get the rigging installed and a row of panels.
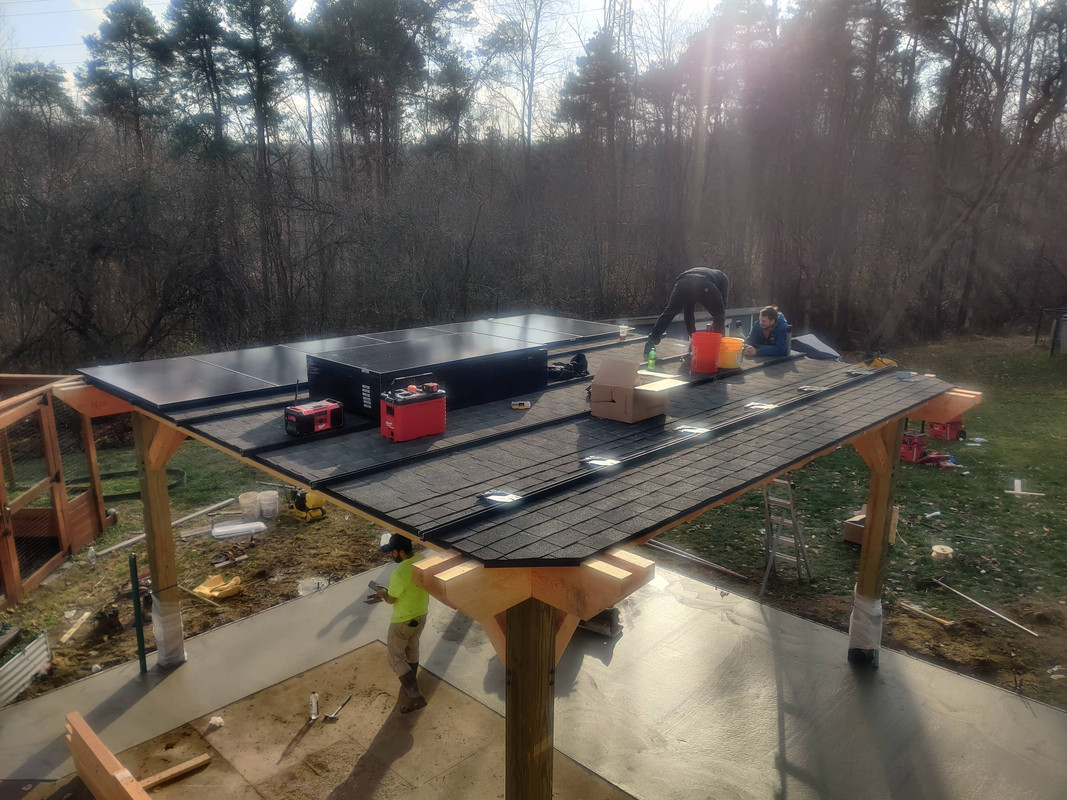 This was taken about two hours before the concrete photo above. All of the rigging is complete and the first row microinverters attached. The panels in back were just staged for measuring purposes and eventually were secured up front.
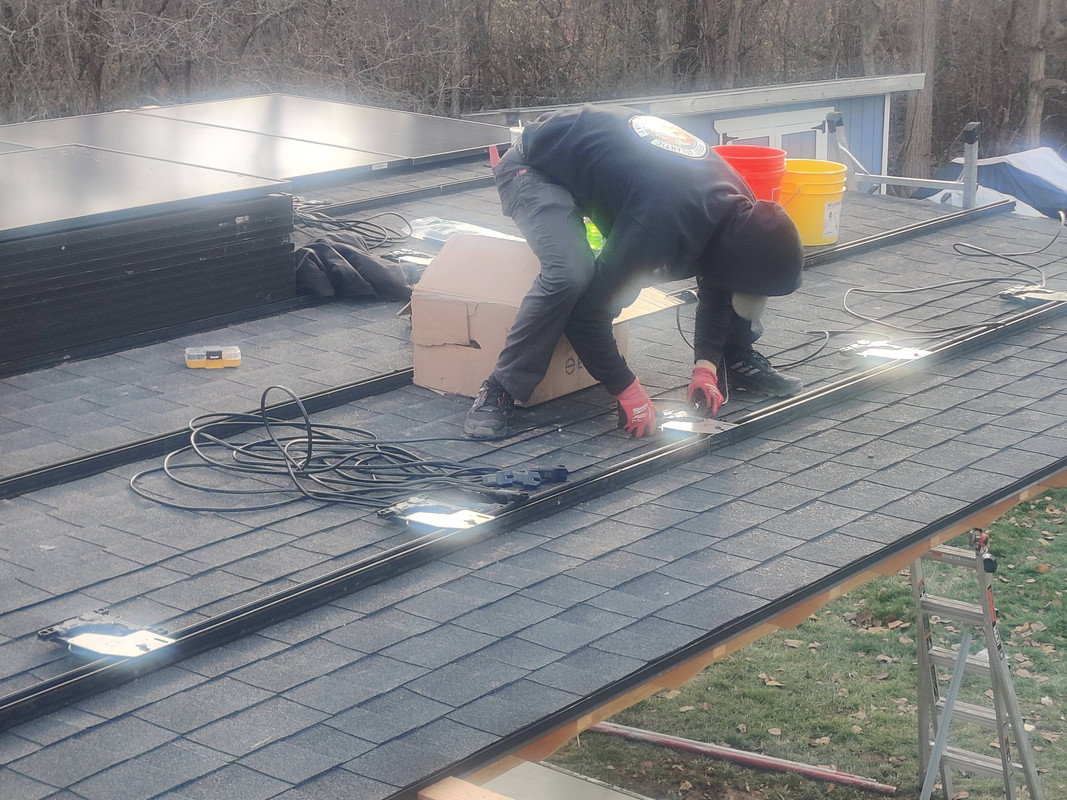 Enphase Q-cable being connected to the microinverters
I’ve referred to the concrete as Phase 3 of this project, and funnily enough it looks like that will be finished before Phase 2 (solar). The concrete crew said that the temperatures were sufficiently warm that the hot mix was enough to ensure proper curing, and that thermal blankets wouldn’t be needed, though they did have them on hand. They will be returning on Friday to inspect everything and cut seams in the new slab that will line up with the existing ones.
Not sure if anyone from the solar crew will be returning tomorrow, but if they do I’ll post another progress update.

