Solar Power Day 18
"Forget it! Forget it! No more beaming!" - Mel Brooks...
No sign of the solar crew yet, or anyone else to fix the issue with the sensors in the Enphase combiner. According to the office the entire team is out of state this week, including the owner. No idea what could warrant that, but I imagine I’ll find out when they return. I just hope nobody gets sick as we’ve just entered another COVID and flu surge.
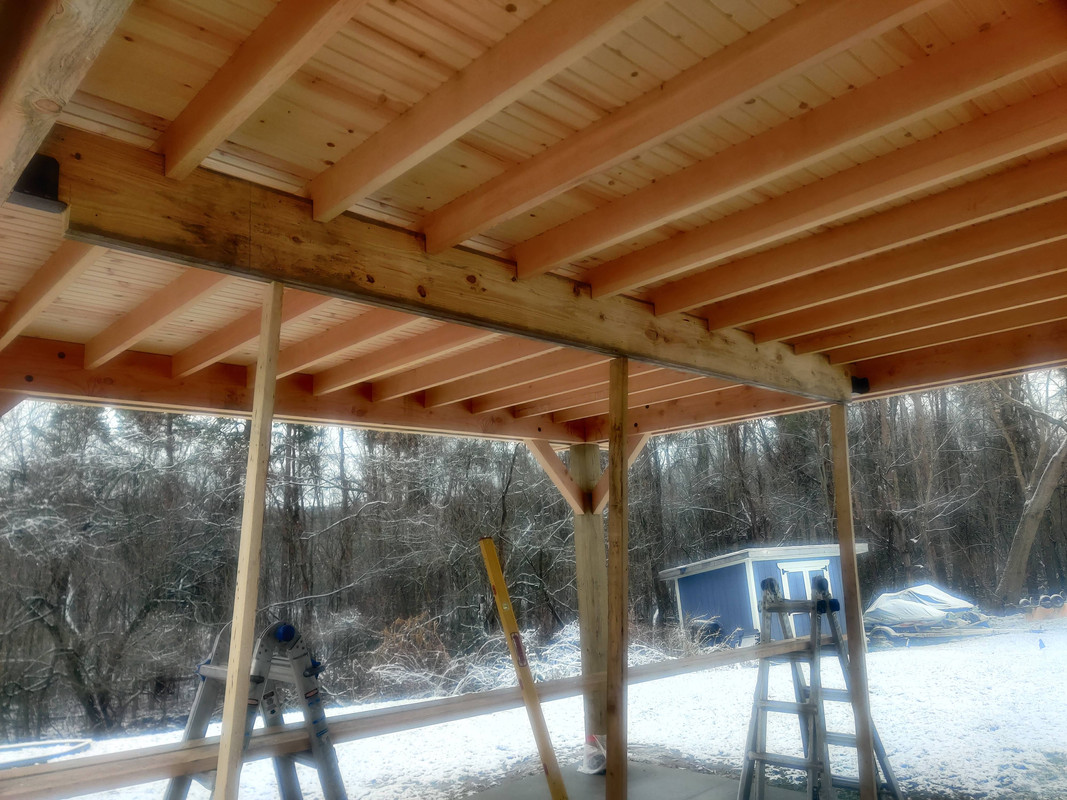
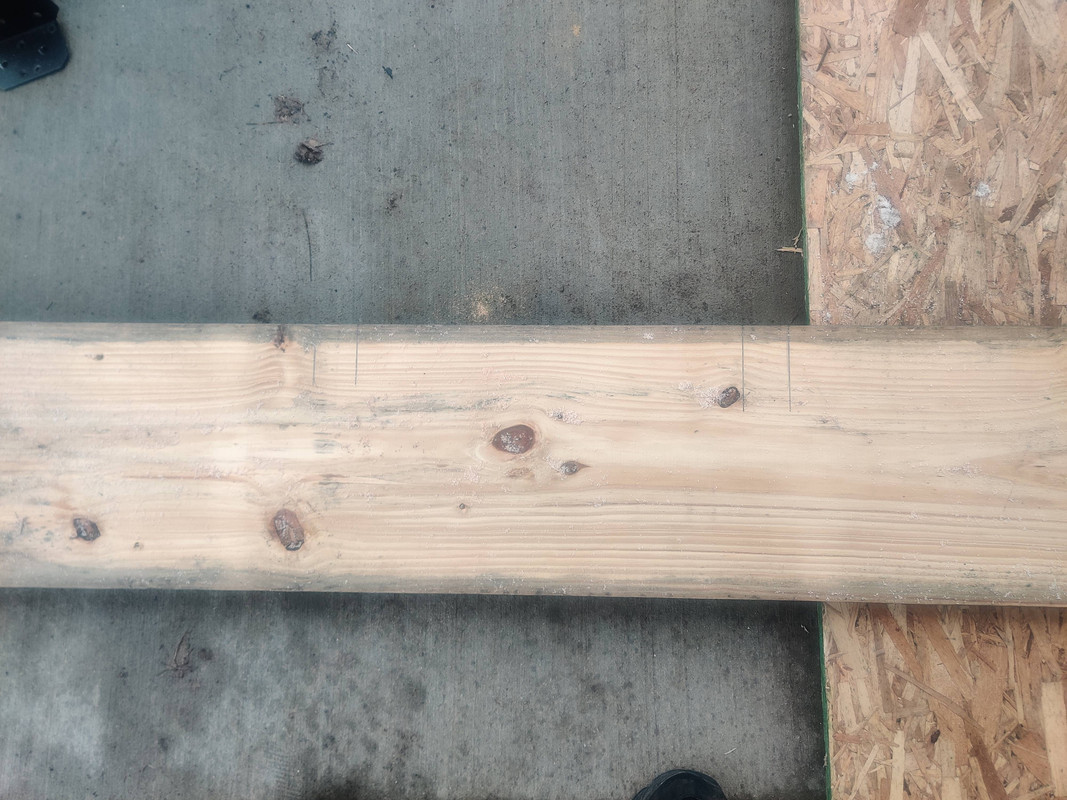
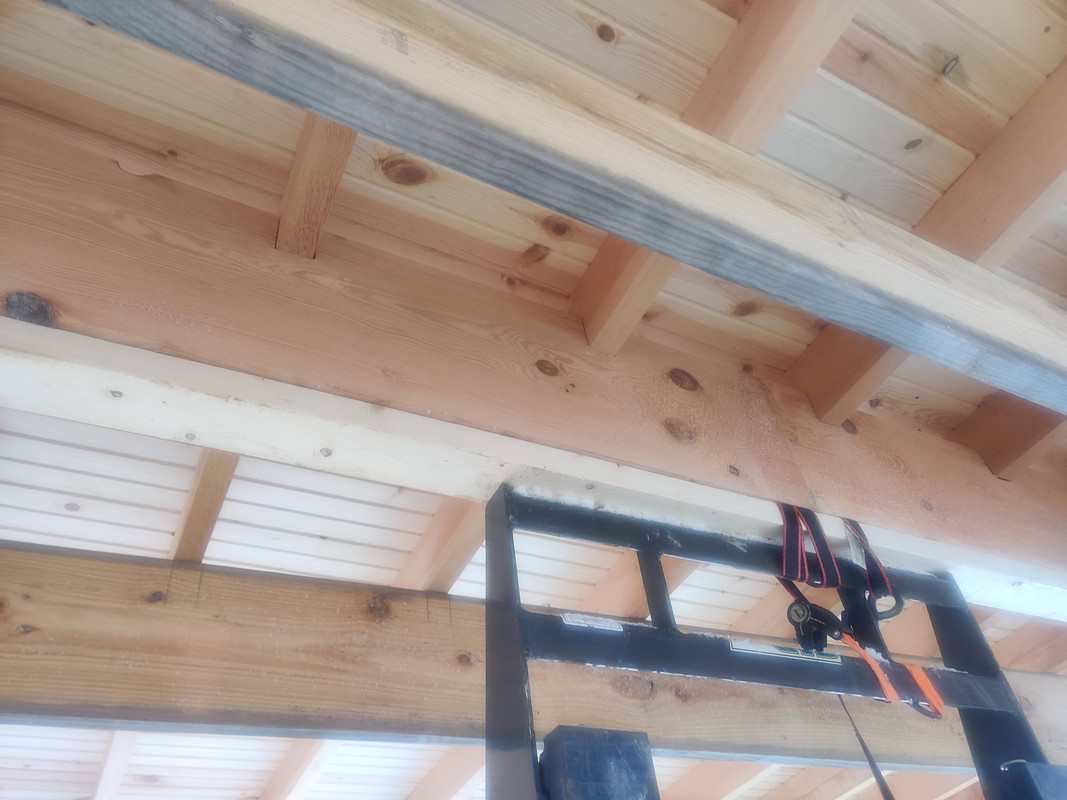
However the pergola crew did arrive to install the 4x12 center beam. After unloading their tools and bringing the beam down to the pergola they marked one of the temporary 2x12’s to use as a template for notching the 4x12 since these were already in position. After marking they used 2x4 bracing to shore up the other 2x12, that way the roof never went unsupported in the center. After undoing half of each beam bracket they were able to pull the 2x12 down to the ground.
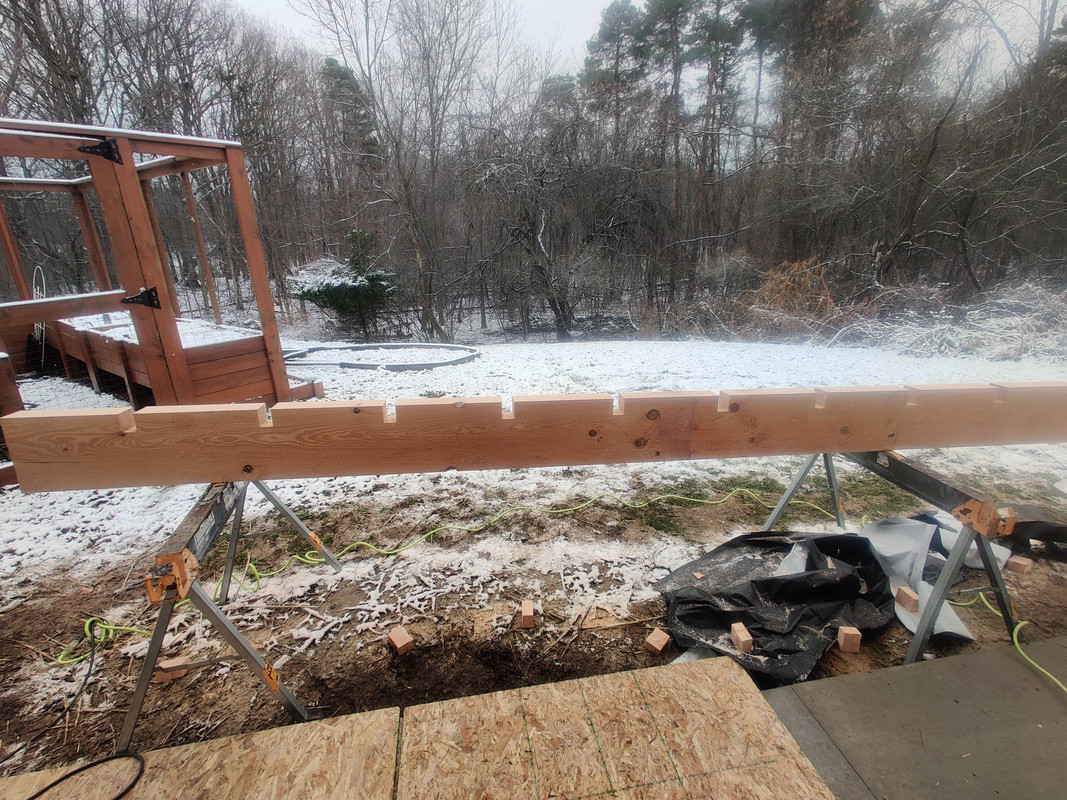
They then set about transferring the layout lines to the 4x12 and then proceeded to notch it in the same fashion as the other 4x12s.
While the crew was busy cutting notches, their lumber supplier showed up with a delivery of quarter sawn Douglas Fir 2x4s. These weren’t actually dimensional lumber though, they were milled. In a few previous posts you may have noticed a pile of these sitting on the ground next to the pergola. What actually happened is someone at the main office mistook linear feet for board feet, and ordered two hundred board feet instead of linear feet for the 2x4s. So the truck that arrived today had the rest of the 2x4s we needed.
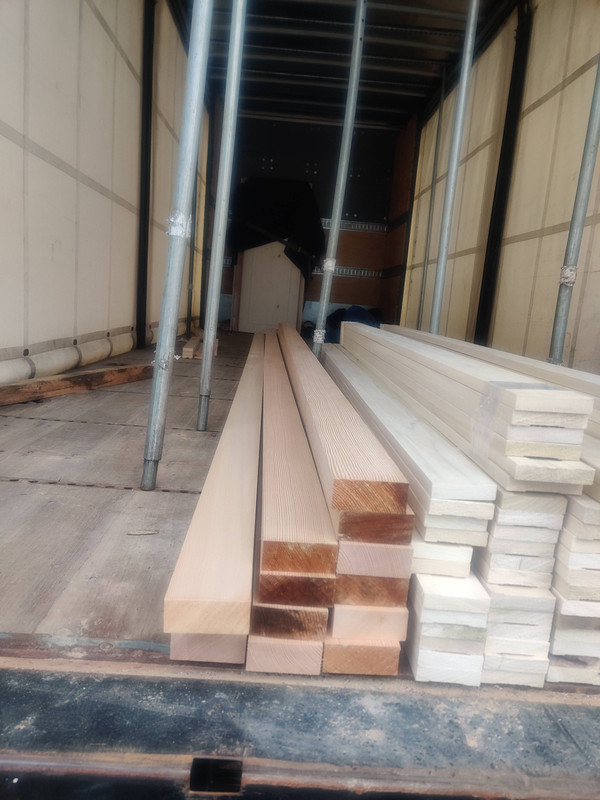 Mmmmm more beautiful Douglas Fir… (the boards on the right were for someone else)
When the notching of the 4x12 was complete the crew then used the 2x12 they marked up earlier along with some 2x4s as a brace for the 2x6 roof joists.
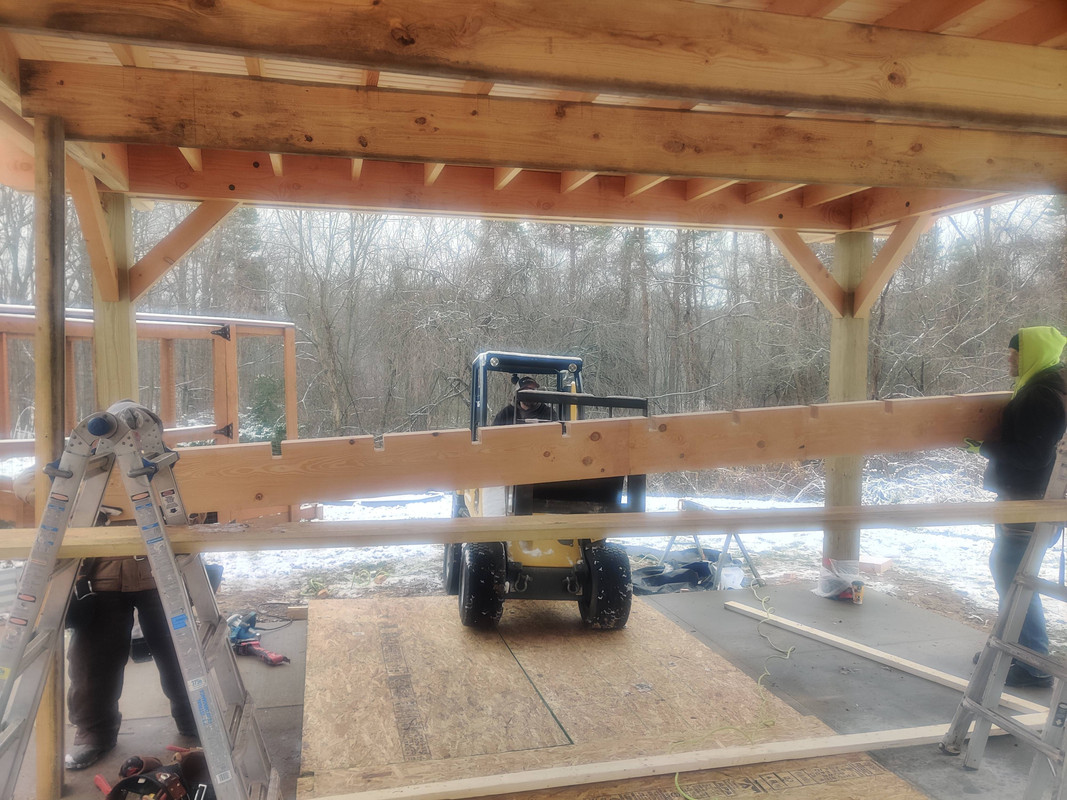 Each brace leg consisted of a 2x4 screwed to another one to form a tee so that the braces wouldn’t flex
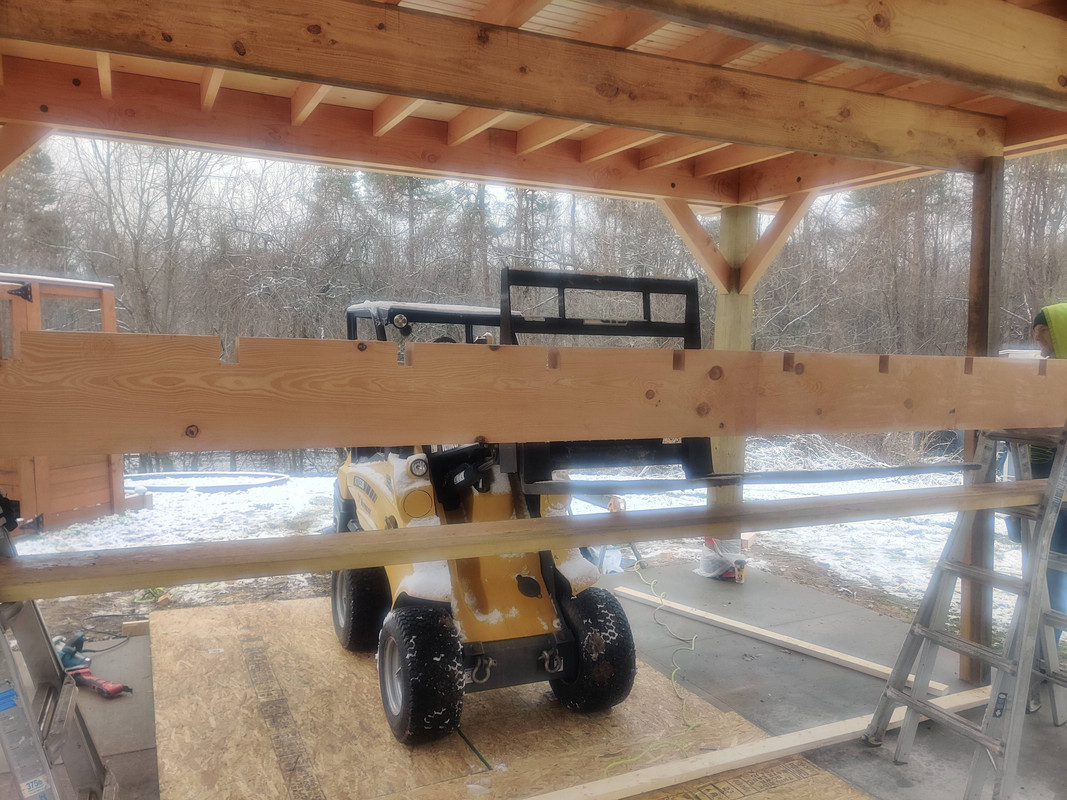 Each 2x12 was spaced about a foot on either side of where the notches were cut in the 2x6s
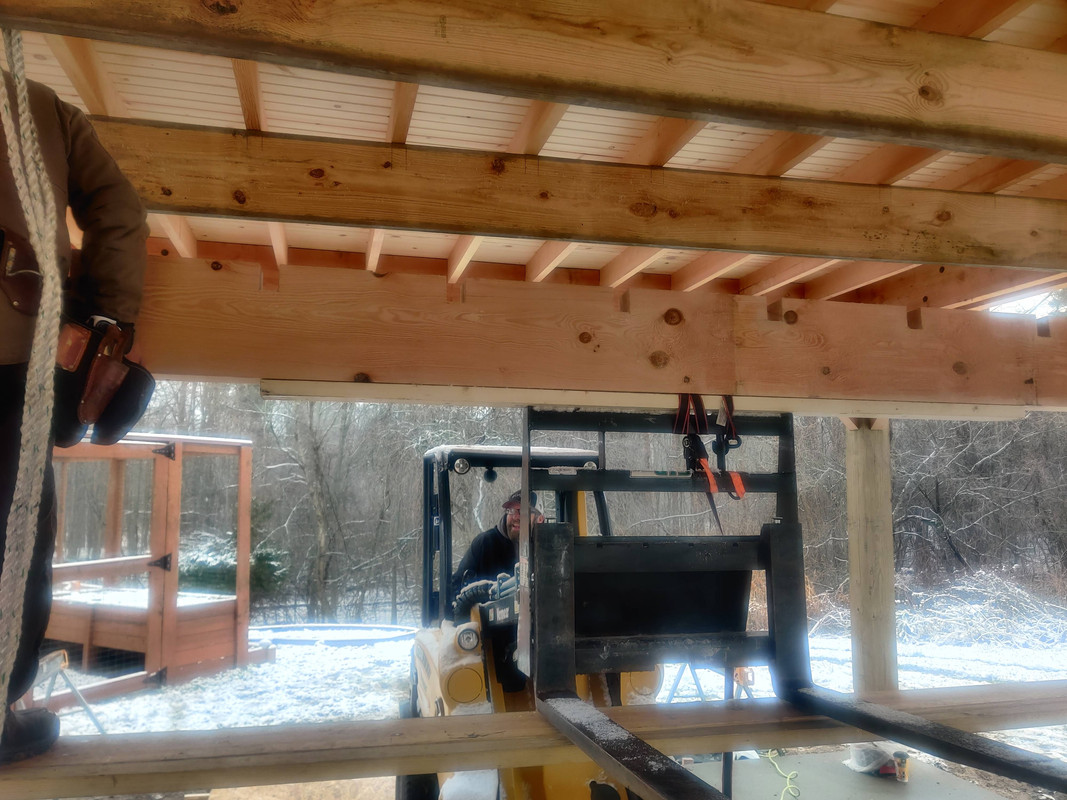
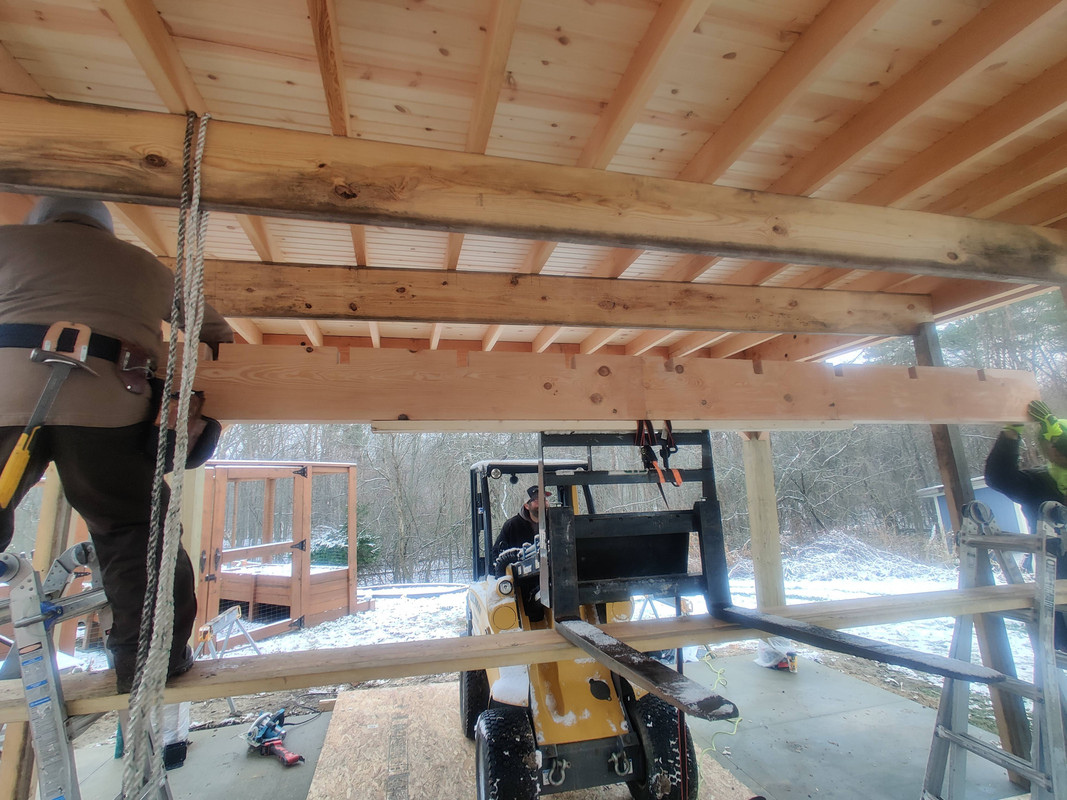
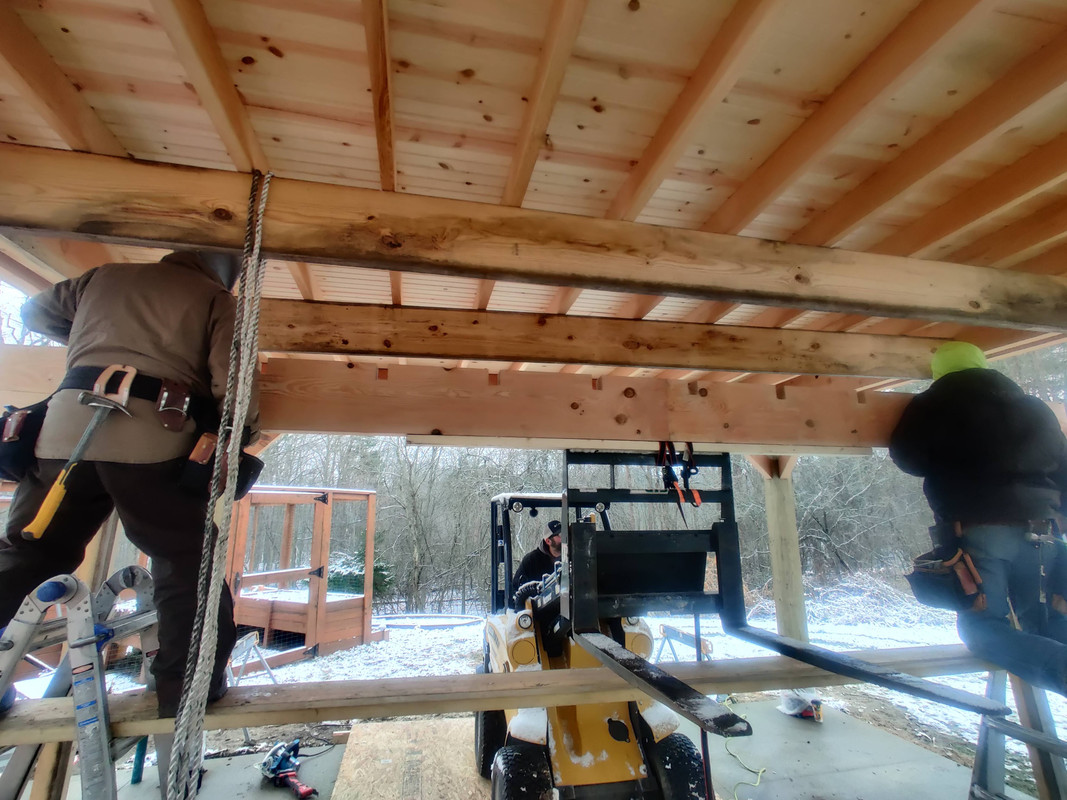
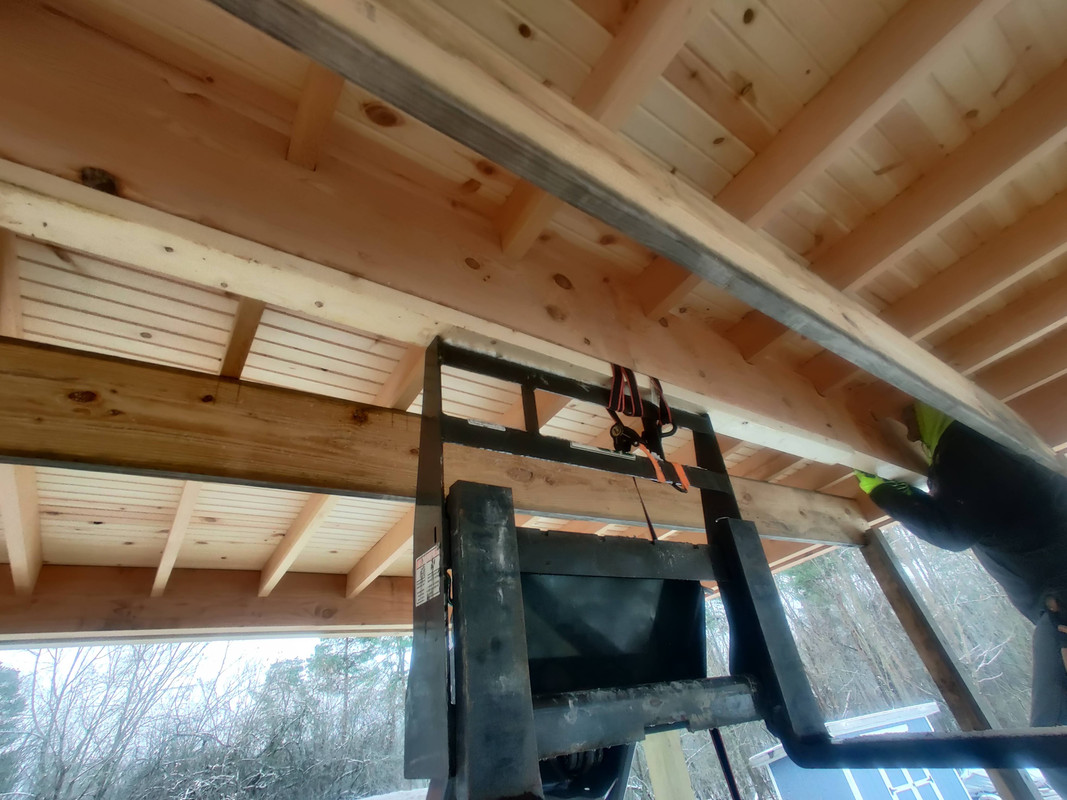
The pics above also detail the next steps, which involved the crew bringing in their articulating forklift, and lifting the 4x12 beam onto two ladders to make it easier to get the forklift into position.
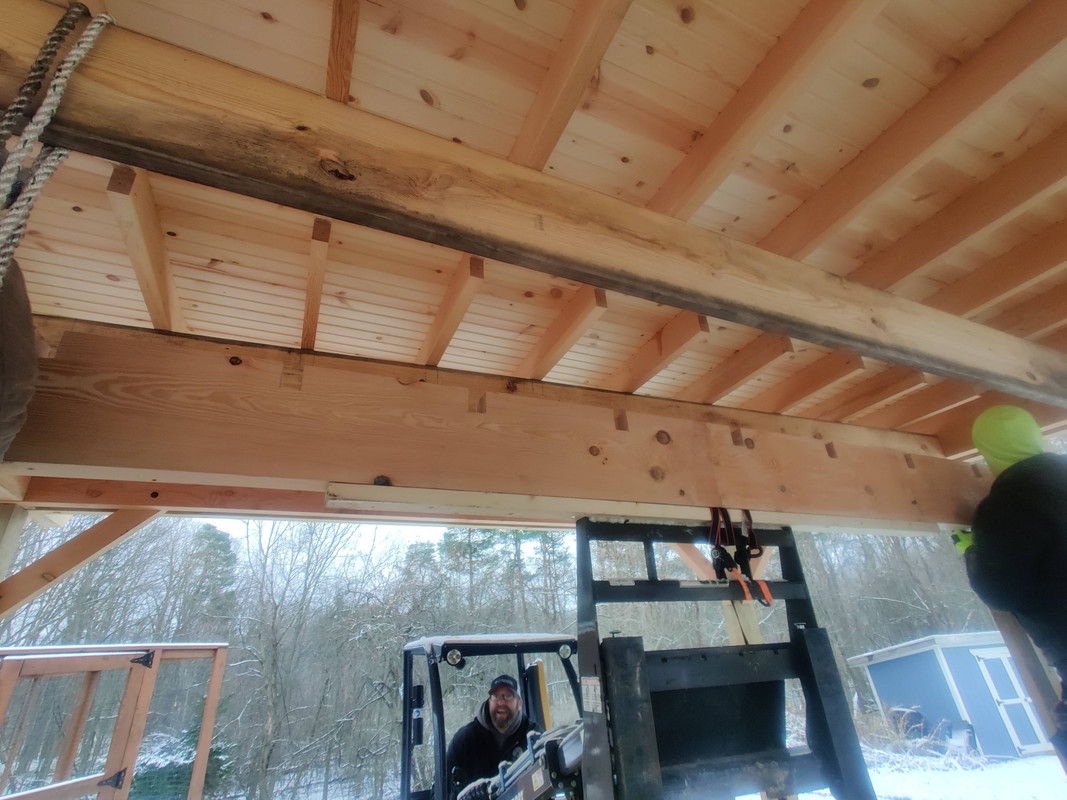
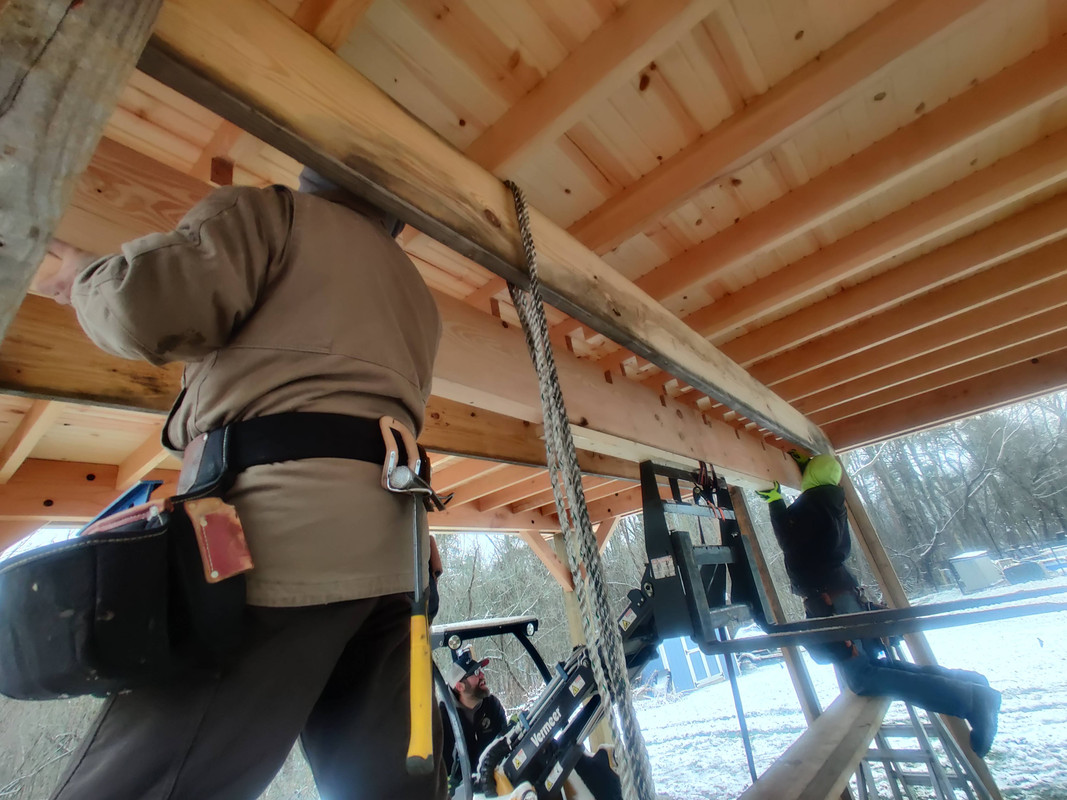
This is where things got a little sketchy IMHO but I trusted the crew to avoid any problems. The problem inherent to the forklift is the metal frame to which the forks attach is way too tall to clear the roof while having the 4x12 resting on the forks directly. So they strapped a 2x4 to the top of the attachment frame to give the 4x12 something flat to rest on, and then with a crewmember at each end, the crew lead very slowly lifted the beam up. The crewmembers at each end made sure the notched lined up and eventually the beam was fully raised.
The sketchy part was that they really didn’t have a way to secure the beam to the top of the forklift, so it was up to the two crew at each end to keep the beam steady as it was being lifted as well as maneuver it into position to fit into the 2x6 notches. We all expected this to actually be a major headache, but to our pleasant surprise everything went quite smoothly. The only thing that didn’t quite go one hundred percent is that on the west end the beam didn’t quite seat fully, and the forklift was too risky to use at this point, plus it would be sitting on the edge of the concrete slab, causing a risk of tipping over. So we grabbed a floor jack from my shop, fashioned another 2x4 tee brace, and used the jack to push the beam into position.
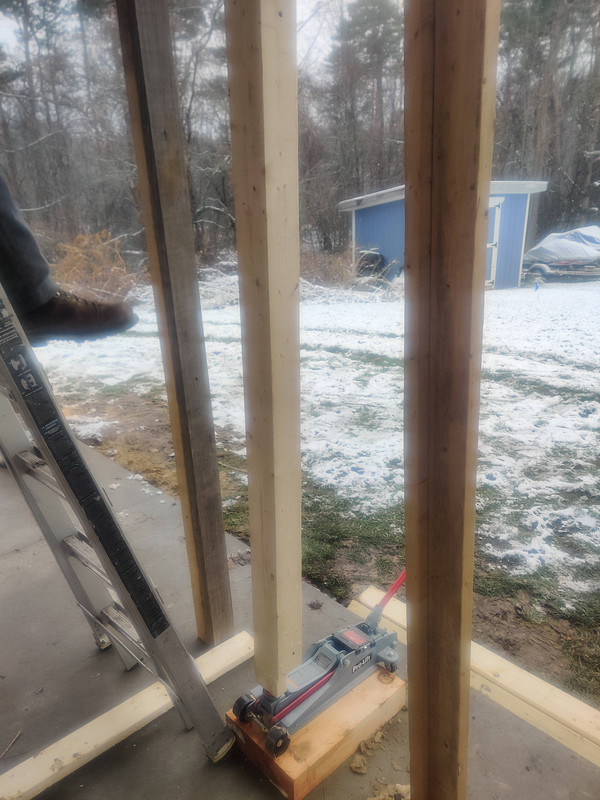 I could hear the bully kid from Problem Child 2 in my head saying “pump it up, pump it up!” as I worked the jack
This got us most of the way there. We discovered that the issue wasn’t so much that the beam wasn’t fully seated or was crooked as it was that the roof had flexed upward just slightly, maybe 3/8 of an inch. What ultimately ended up working was using an oscillating multi-tool (AKA Jim Carrey) to widen the notches in a couple of the 2x6s that were just tight enough to prevent the 4x12 from fully seating, and then some persuasion from a rubber mallet to drive it home.
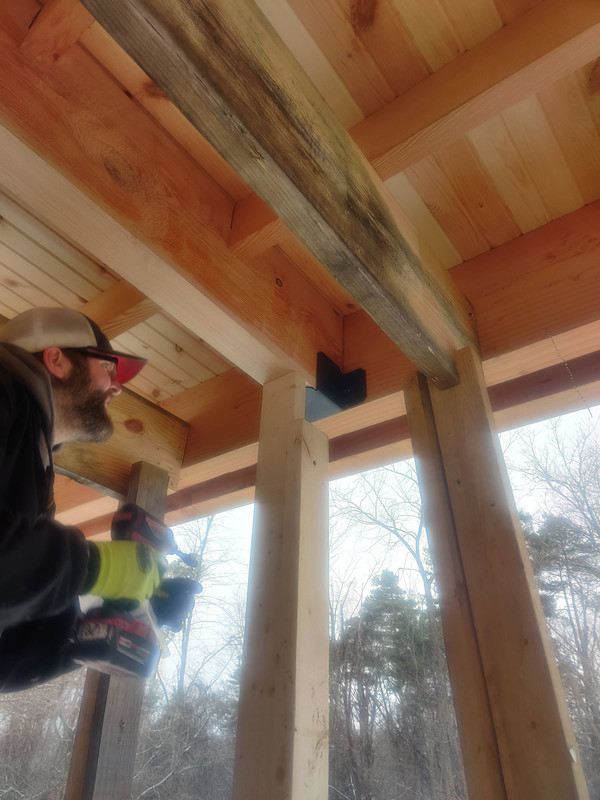
Once victory was achieved the black beam support brackets were reattached and secured with lag screws.
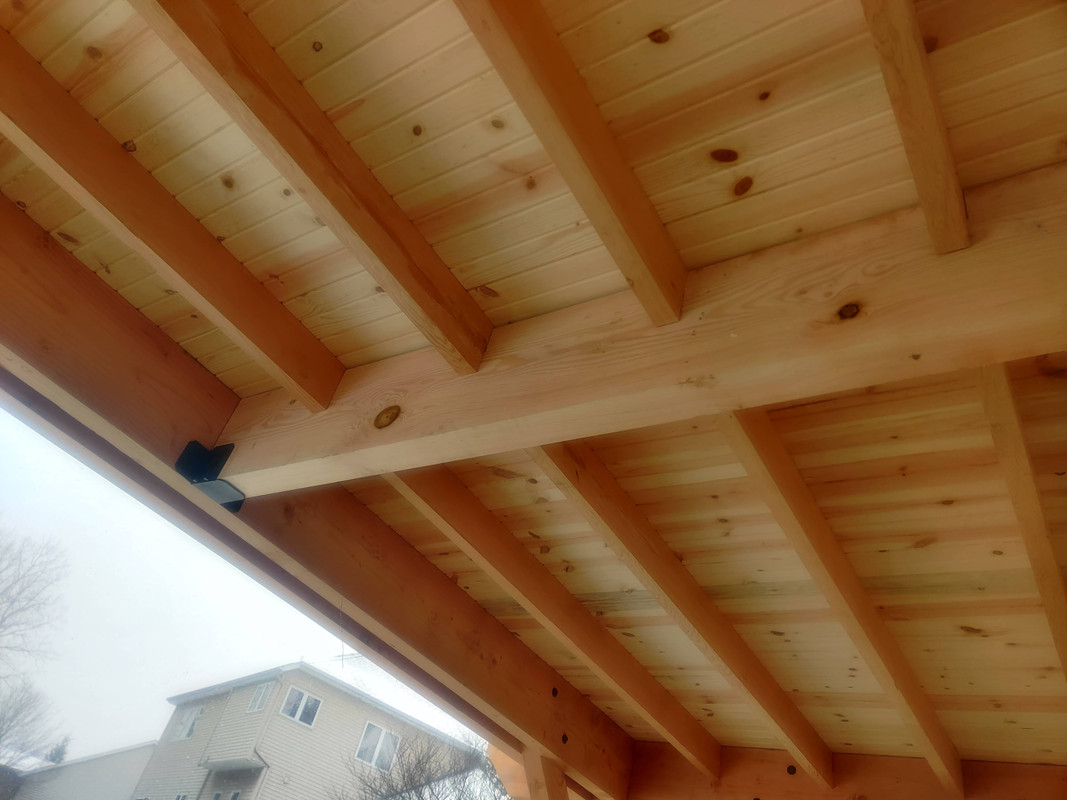 Coincidentally one of the beads from the roof boards landed almost perfectly on either side of the 4x12 creating a thin shadow that gave the illusion that the 4x12 still wasn’t fully seated
With the beam secured this brought another work day to a close. The next task is going to be very interesting. I’ve been looking for sources of Douglas Fir 1x12s (or similar) to wrap each of the 8x8 posts since those are pressure treated pine. All pressure treated wood is ugly as sin (I will fight anyone who says otherwise to the death) and has no business being in the same visual presence of wood as pretty as the Douglas Fir in the rest of the pergola. So with that plan in mind, I made several inquiries with lumberyards only to find they were either completely out or only had boards that were much longer than I needed, which would generate a lot of waste that I would still have to pay for out of pocket. The solution ended up being a listing on Craigslist. A small company that buys and sells printing presses is renovating their warehouse, which is a 115-year-old building and they have a large quantity of reclaimed Douglas Fir boards of the same age. Plenty of these boards meet the dimensional requirements I need to wrap the 8x8 posts, and after a quick phone call the seller up front told me to forget their quote of $2 per linear foot. If I could take the entire volume it was mine for just $250. So the project lead and I are going to take a little road trip to their warehouse next week to pick up everything they have.
Since I wasn’t exactly sure how or even if I was going to source the wood for wrapping the posts I intentionally left that out when I last mentioned Phase 4. But since this is happening Phase 4 now officially includes wrapping the posts and constructing the privacy fence.
My planer is going to get a real workout next week…

