Solar Power Day 20
Got wood?
It was a long day today but I have no one but myself to blame. Note to self: get more sleep! The pergola crew returned at 8AM with the trailer from yesterday. As promised, here is a pic of the haul:
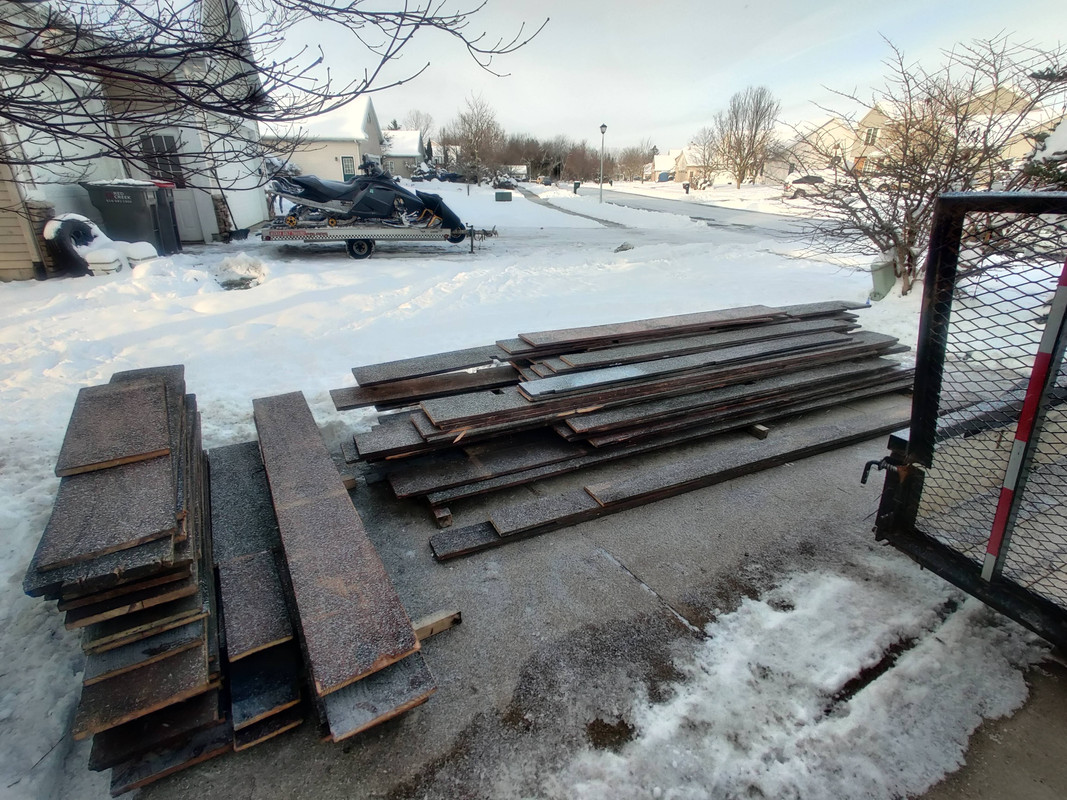 It was snowing a bit this morning but that stopped about the time we finished unloading, so this was as covered as the wood got
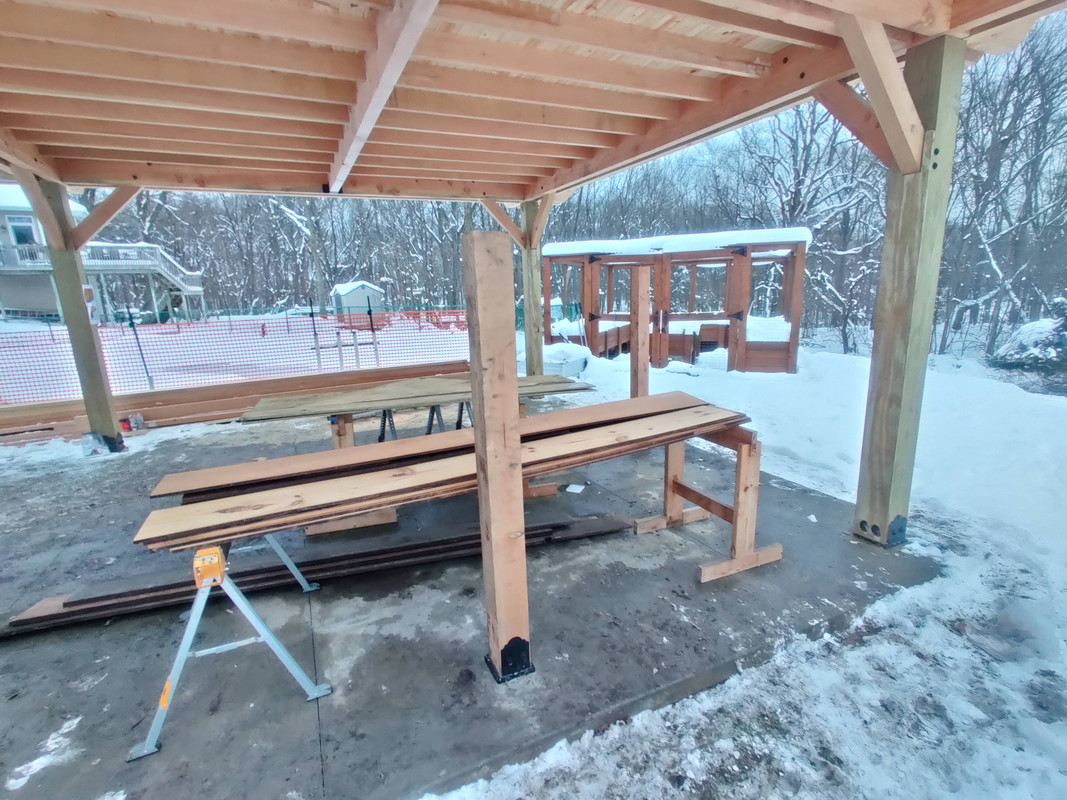
Once all of the boards were situated we picked out good candidates for milling. Our requirements were dimensions of 10 inches wide and 9 feet tall and that the boards be free of cracks and major defects. Most of the boards are 3/4 inch thick with a few being a full inch. This we didn’t care about too much, as long as the board isn’t too twisted or bowed, because we are going to build up some of the thickness of the posts with 1/2 inch pressure treated plywood (CDX). My reasons for doing this are to make recessing for bolt heads easier, CDX will be a lot drier than the 8x8 pressure treated post which will reduced the chances of warping from the inside, and the extra width will ensure breaker boxes with conduit fittings won’t exceed the width of the post.
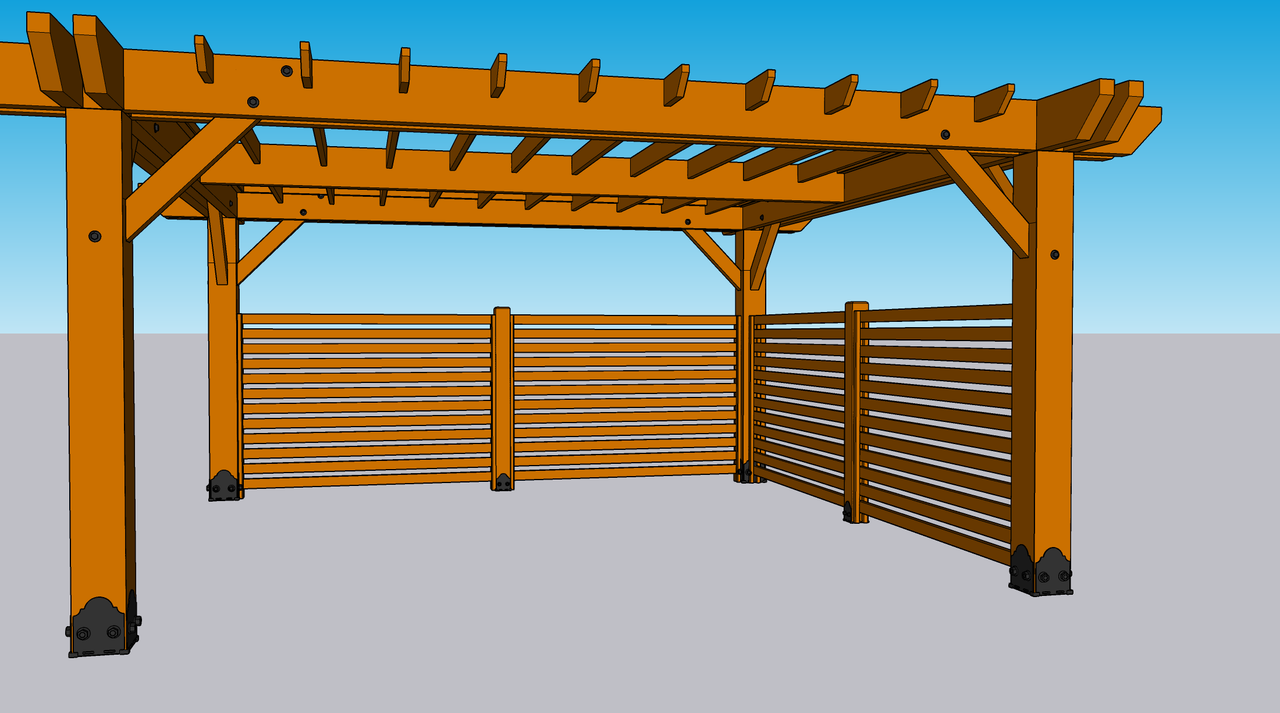
The other task being worked on today is the privacy fence that spans the west and south faces of the pergola. This is actually what the crew started with first today.
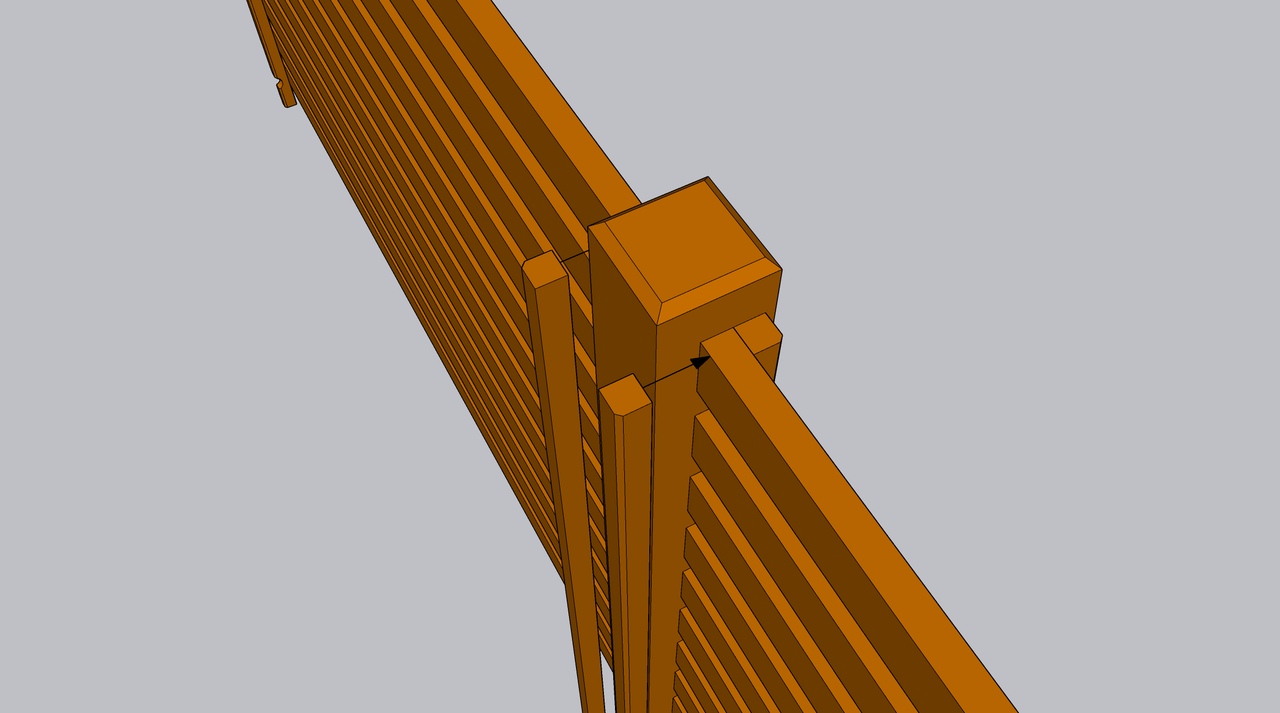
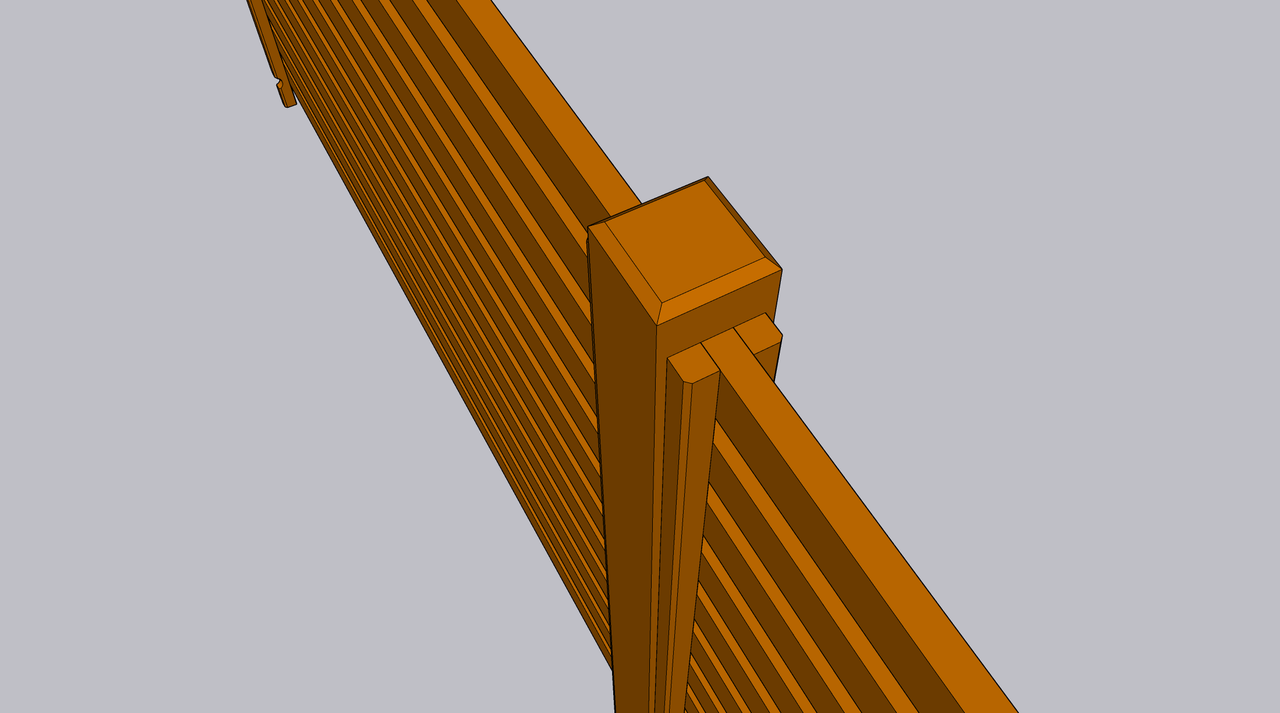
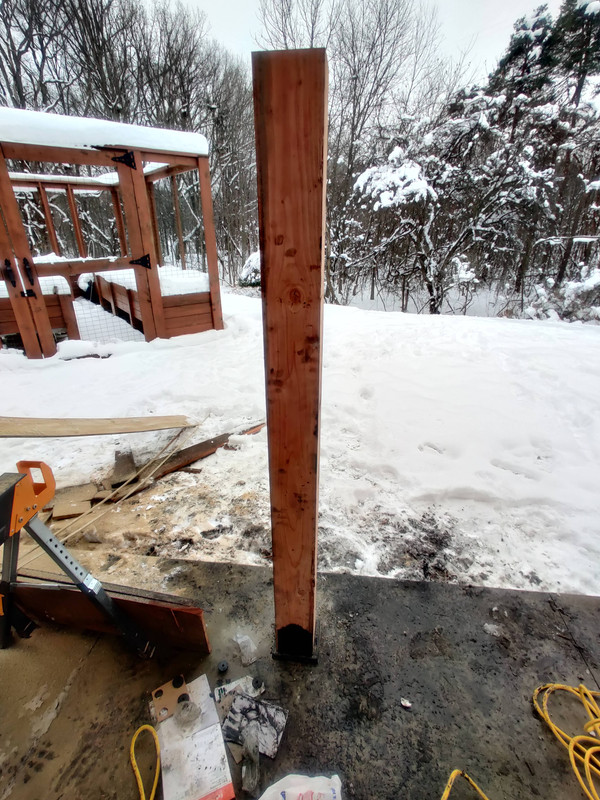
Each 6x6 post in the center sits on a bracket just like the 8x8 posts do with a bottom plate bolted to the concrete slab. The only difference is this time I’m using brackets with only two face plates instead of four. Each slat wall is made up of 2x4’s that are roughly 8 feet long, and then a 2x2 sandwiches them at the ends.
Each outside-facing 2x2 will likely have two screws that pass through each 2x4 slat and into the opposite facing 2x2. This detail hasn’t been finalized yet, but that is the working design. Each 2x2 is then secured to the center 6x6 posts and the outer 8x8 posts with screws parallel with the slats. The idea with this is to create a slat wall that can be removed and reinstalled. The two main reasons for this are the possibility of turning one section of a western slat wall into a gate, and to make it possible for me to cover the soon-to-be 10x10 corner posts with black faux mounting plates.
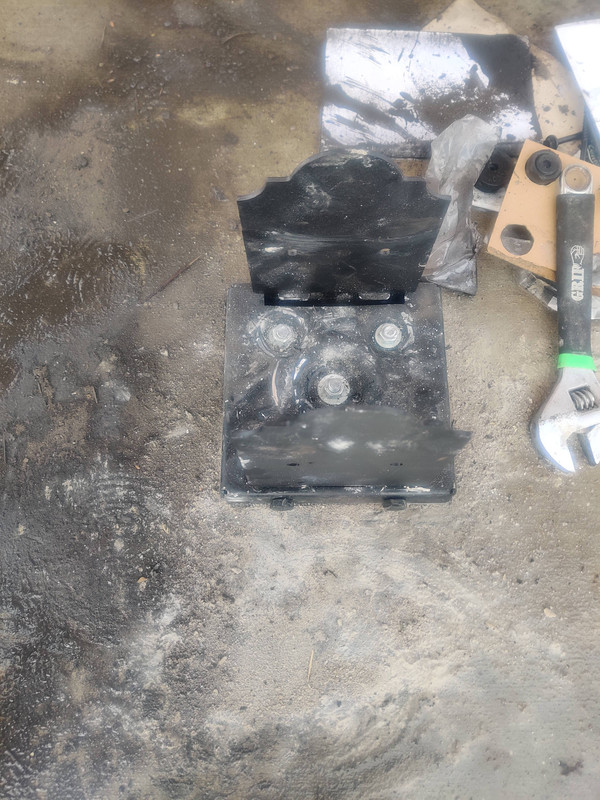
Side note: OZCO, the company that makes all of the post base plates I’ve been using in this project makes a 10x10 post bracket kit just like the 8x8 ones, however they only make faux plates up to 8x8. The faux plates are used purely for decorative purposes when there is no bottom plate. In my case, since we can’t remove the bottom plate under each 8x8 post, if I were to use the plates from the 10x10 kit then the slots where each plate interfaces with the bottom plate would be exposed and we can do better than that. In the future I’m planning to have a set of faux plates custom fabricated and painted to match the plate design of the 10x10 post kit, but I haven’t confirmed a source for this yet. But when the time comes I will be installing those on my own since that will be a very simple job.
The crew first located and secured the post brackets to the concrete slab.
Once the brackets were in place they cut a 12-foot long 6x6 in half, screwed the plates to the posts, checked for plumb, and then tightened the adjustment bolts in the base plate to lock the post in place.
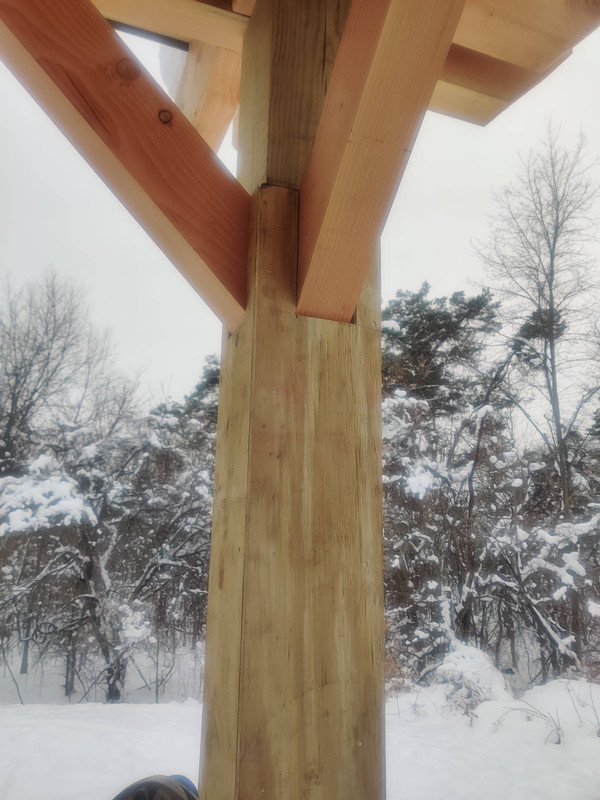
Once this was done they got to work cutting down the CDX. I had actually bought this from Home Depot this morning and had them rip each 4x8 sheet down into 16-inch strips to make further milling easier. Once ripped to width each piece of CDX was then notched to fit around the corner braces, holes were drilled to fit around the lag screws securing the 8x8s and in place, and then some of the thickness was removed near the bottom to account for the black post plate.
The area above the braces will be covered too, the crew just didn’t get to that today since they opted to utilize as much of the CDX as we had for wrapping the bulk of the posts.
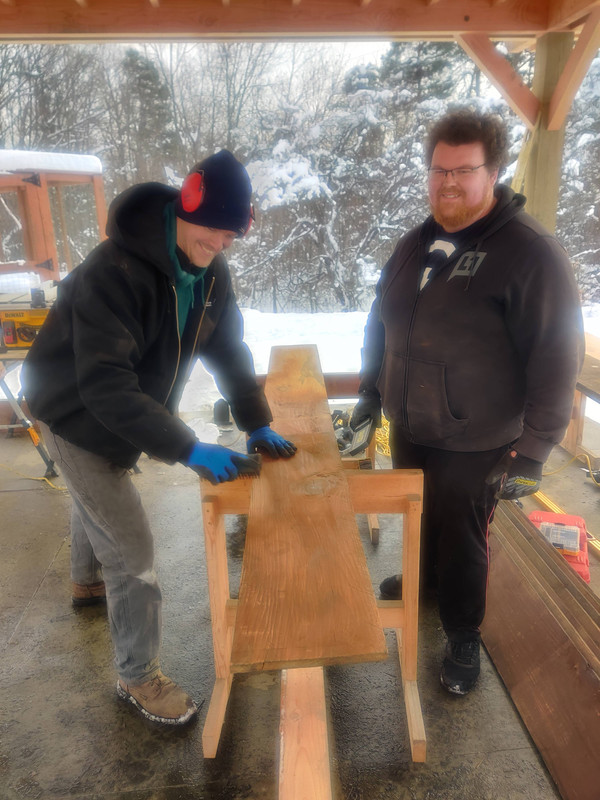
One of the crew members and I then started working on some of the Douglas Fir boards. We took turns scanning the boards with a handheld metal detector that I got from Harbor Freight, and then using a steel metal brush to get the dirt and other debris off of the surface.
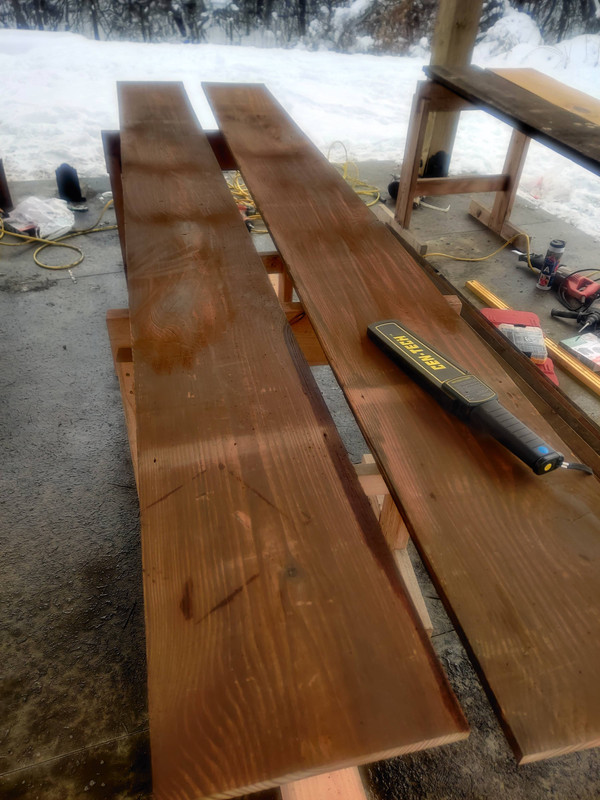
Once that was done we brought the first boards into my shop for planing. I gotta say, I’m floored with how well these turned out.
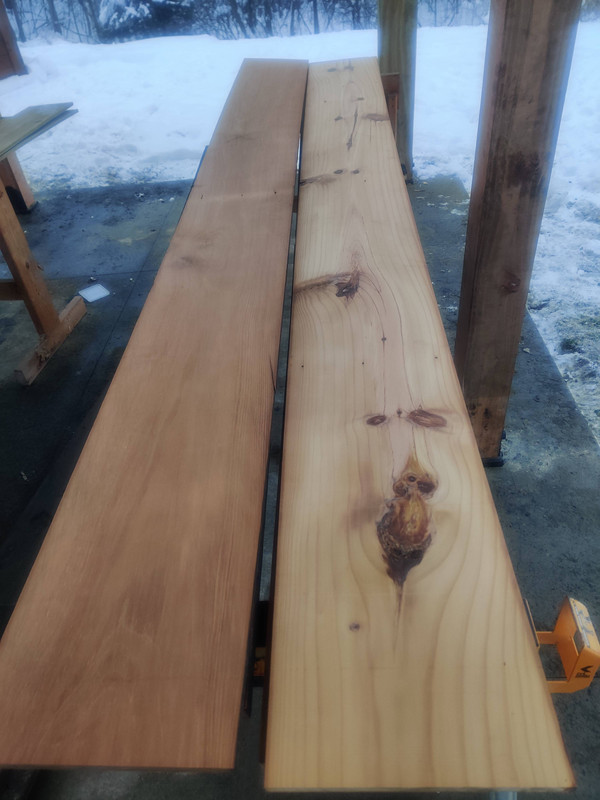 So beautiful … though that board on the right might actually be pine
To plane these I didn’t bother face jointing since I wasn’t dealing with rough sawn lumber. I first designated the inside face (side that would be facing the 8x8 post) and then did a pass, sometimes two, to take off minimal material, just enough to get a nice flat reference surface that wouldn’t cause imperfections on the opposite face. Then I flipped the board over and began planing down until I reached a final thickness of 9/16. I’m going a little over 1/2 inch deliberately since the 1/2 inch plywood is actually 15/32. Once we had planed a few boards to get started, I then jointed one edge. At this point though the dust collector bin was overfilled and had to be emptied. Had my shop not been arranged in such a manner that I couldn’t pull the dust bin out, more would have been accomplished today. Alas, I was relegated to using my shop vac and then emptying about five or so gallons of wood chips at a time into a garbage bag. This took quite a while, and brought us to the end of the day.
Tomorrow should see the return of the pergola crew and more post wrapping and board planing is on the agenda. We’ll probably get to ripping 45-degree miters on the edges, too. We’re also in for a big snow storm (Winter Storm Elliot) that’s supposed to start up sometime after lunch. The snow accumulation prediction is pretty crazy, so once the snow starts I’m sending them home. Hopefully we’ll at least complete the four boards we need to get the privacy fence started. See you tomorrow.

