Solar Power Day 21
There isn't enough wrapping paper to cover my pergola, so I'm using wood instead. :P
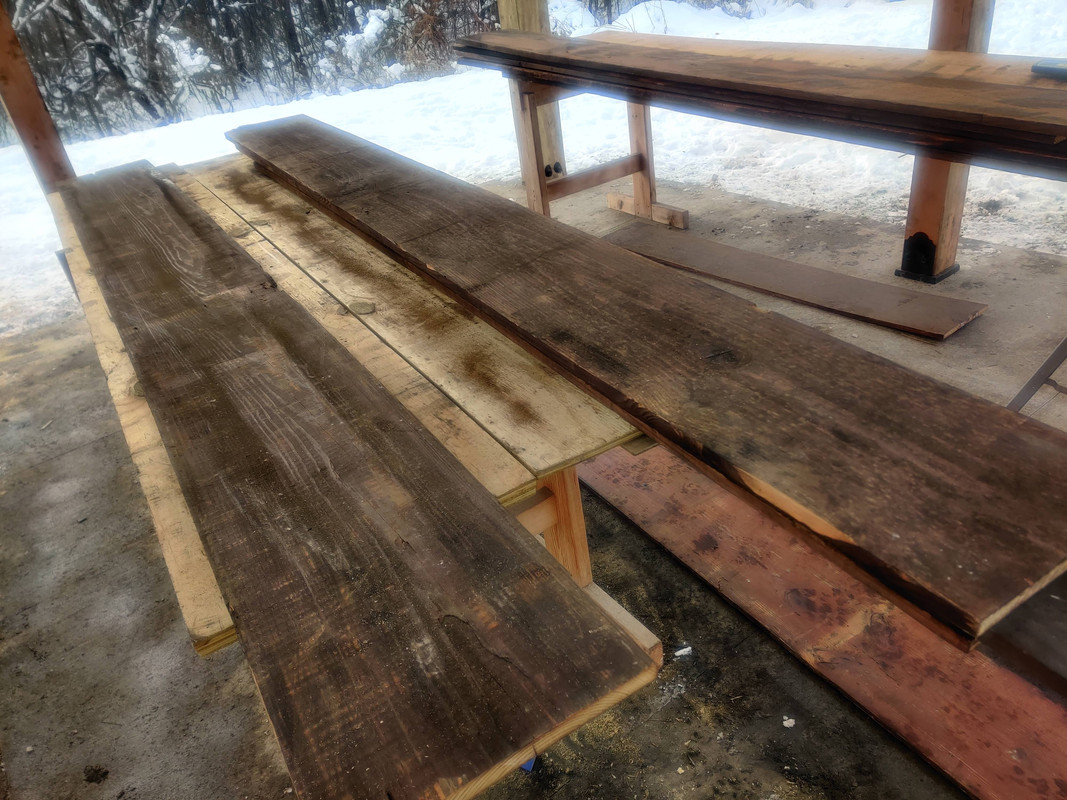
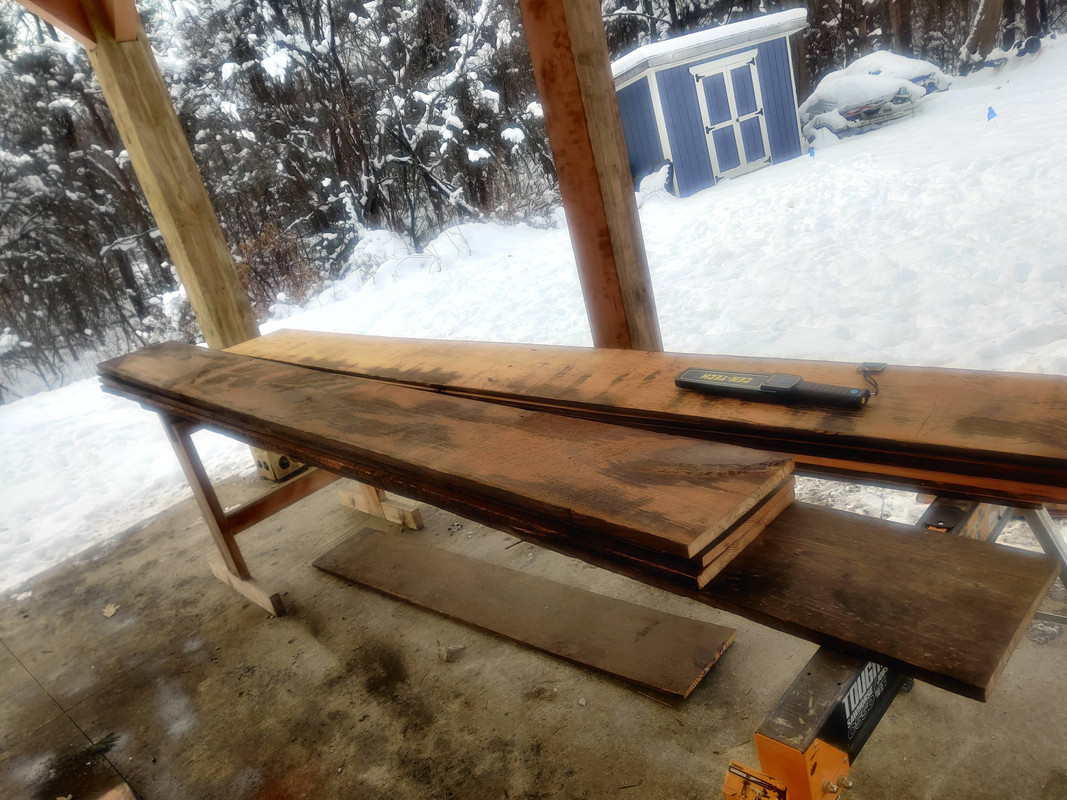
Today was the last work day for the pergola crew before Christmas break. Work started outside with more boards being brushed clean(er) and then brought into my shop for planing.
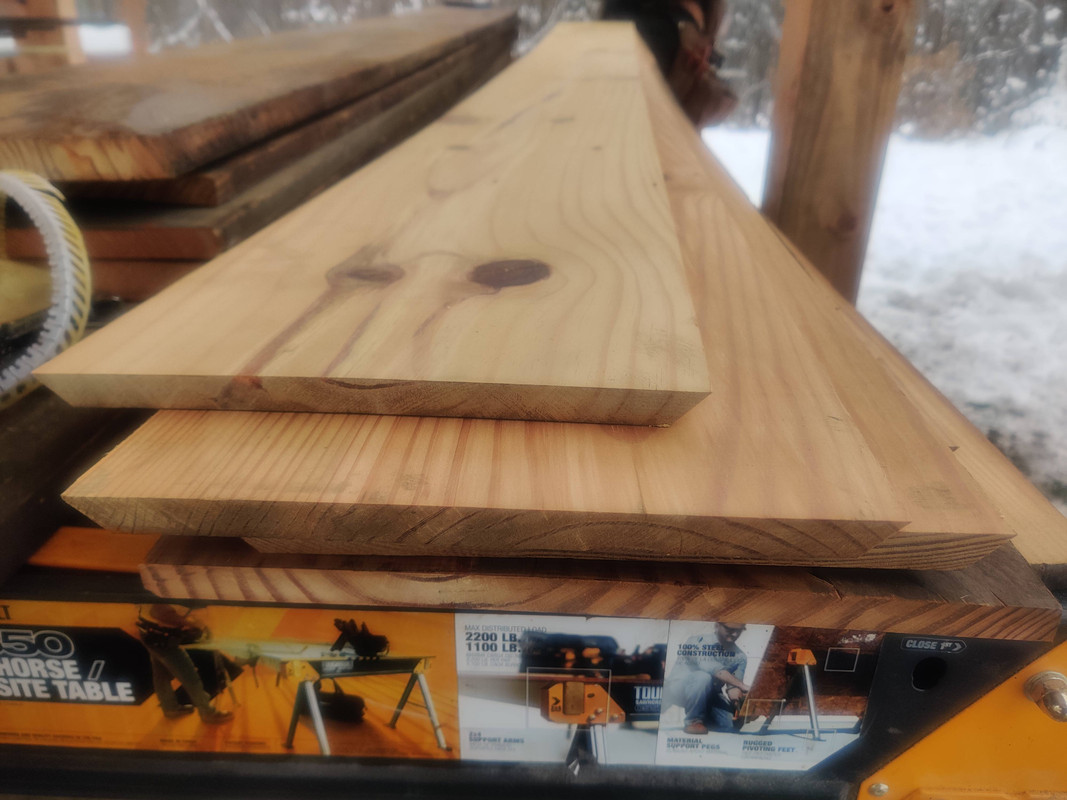
Once the planing was complete I got my table saw set up for ripping a 45-degree miter on each side. With a CDX-wrapped post, we measured the inside dimension at a hair over 8 1/2 inches, so that worked out to an outside dimension of 9 11/16 inches. The trickiest part of this was setting up my table saw’s rip fence to achieve this dimension since the fence, as it should, only references the fence to the blade, specifically at the table surface, not the top. Setting the fence to 9 1/8 got us the correct dimension we needed. After running a few boards through, this is what we got:
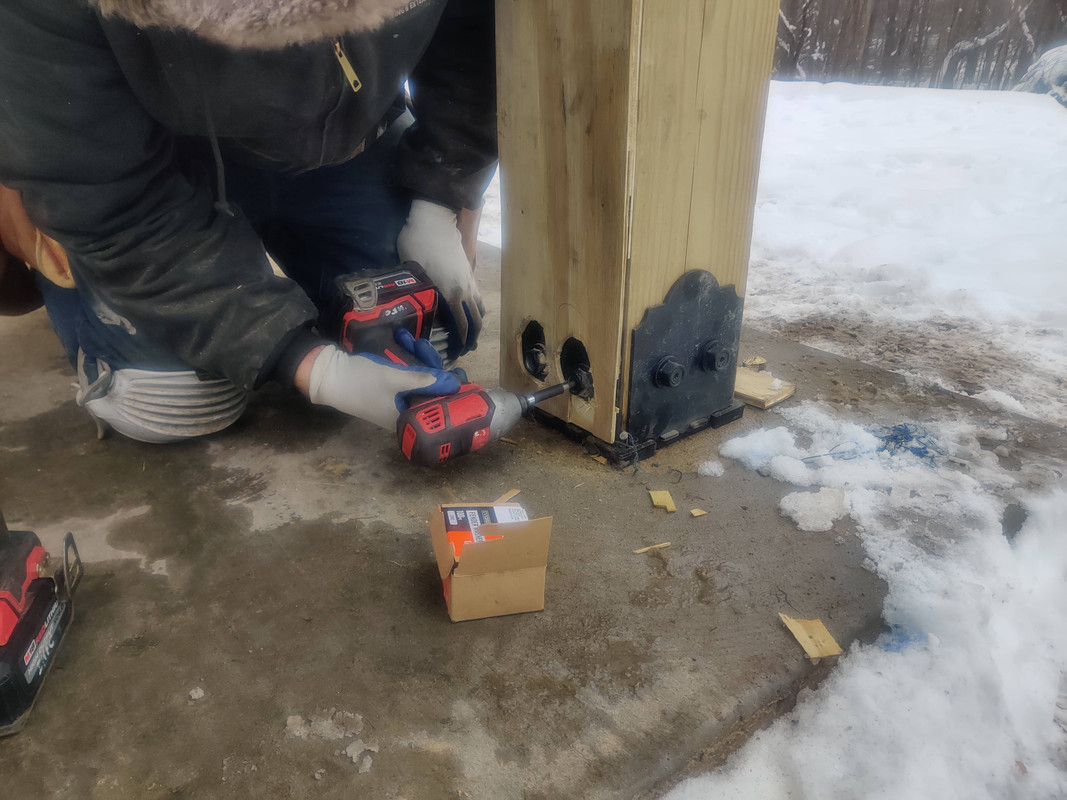
The last step of preparation before the boards could be fastened to the corner posts of the pergola was removing the decorative washers from the lag screws securing the pressure treated 8x8s to the base plates and replacing them with 1 1/4 inch fender washers. This allowed us to only need to drill a hole around the lag screws and washers in the CDX and not in the Douglas Fir boards.
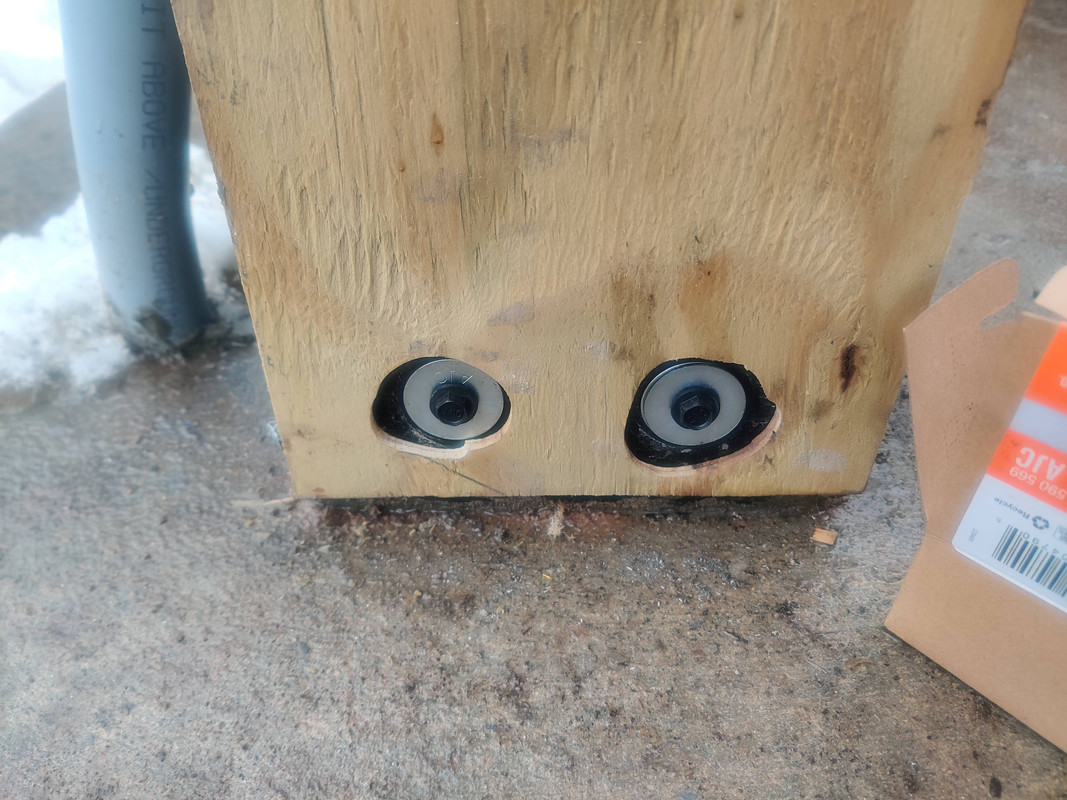 Even with roughly the same thickness in washers between the lag screw head and the post bracket plate, the screw head still sits behind the thickness of the CDX
Not all of the post faces were wrapped in CDX at this point since the privacy fence was the priority. However the two sheets of CDX I bought at Home Depot were enough to cover about ten out of the sixteen total faces, more than enough to get started on the Douglas Fir coverings.
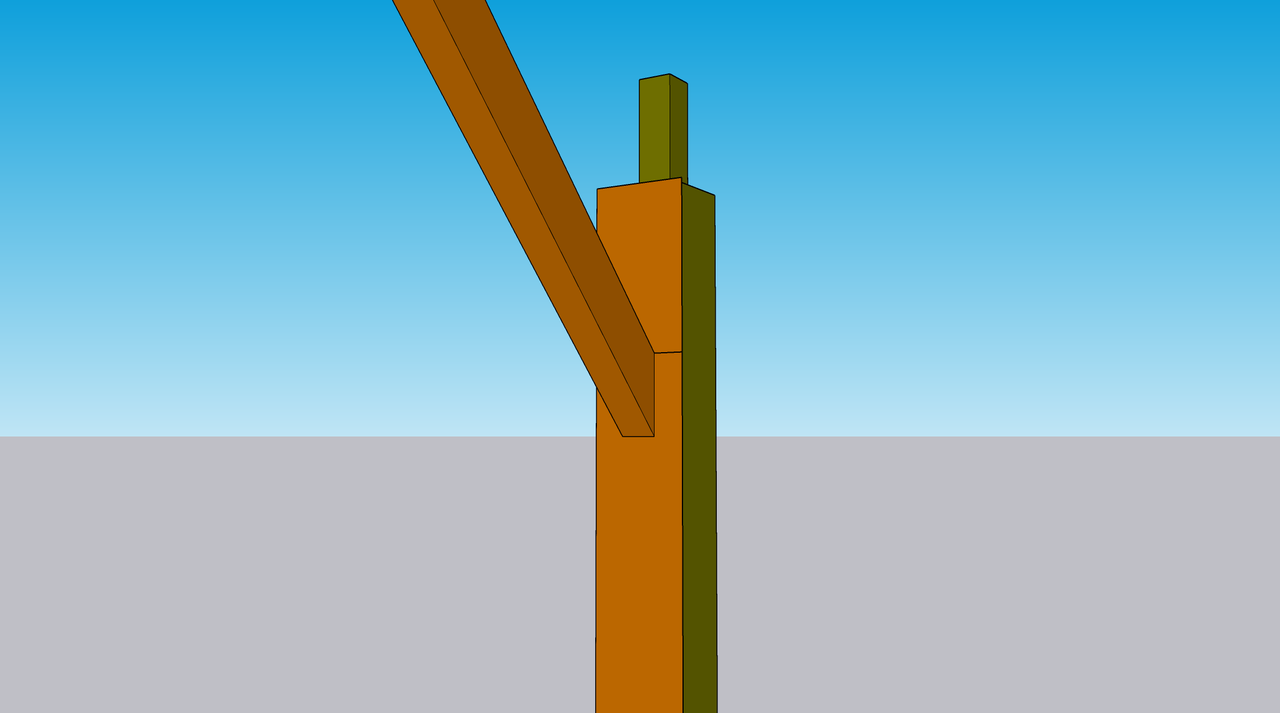
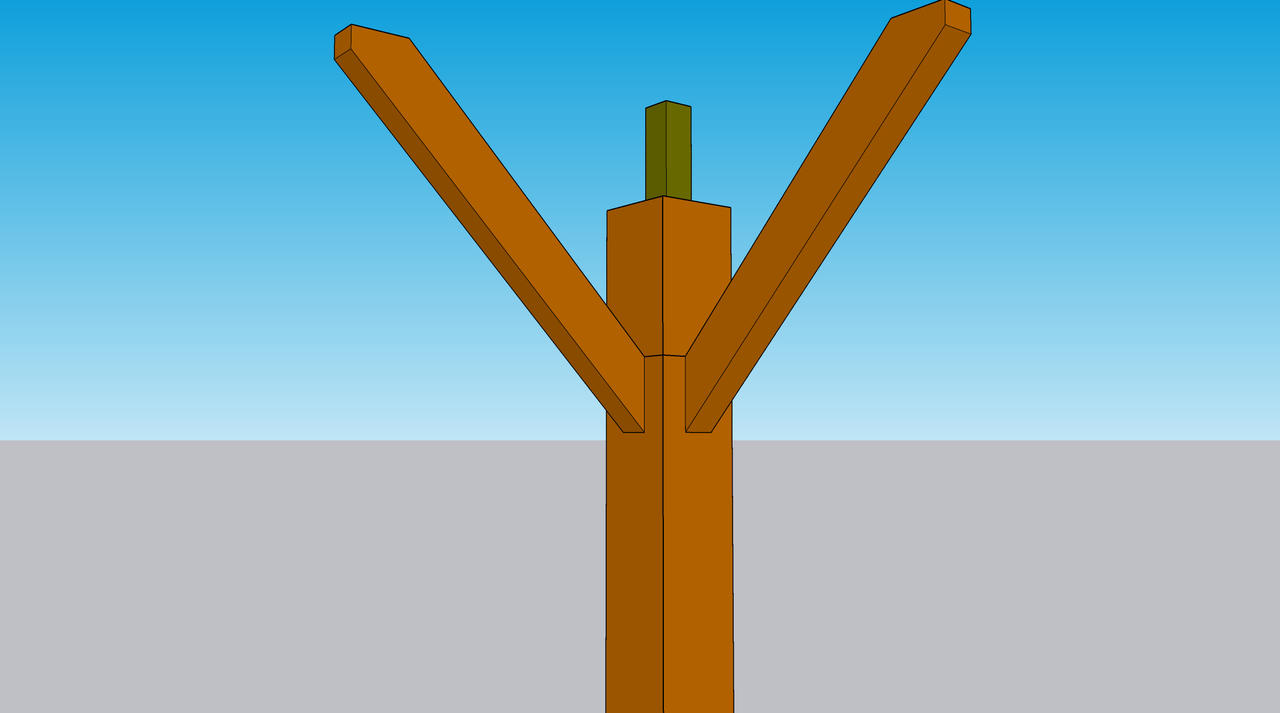
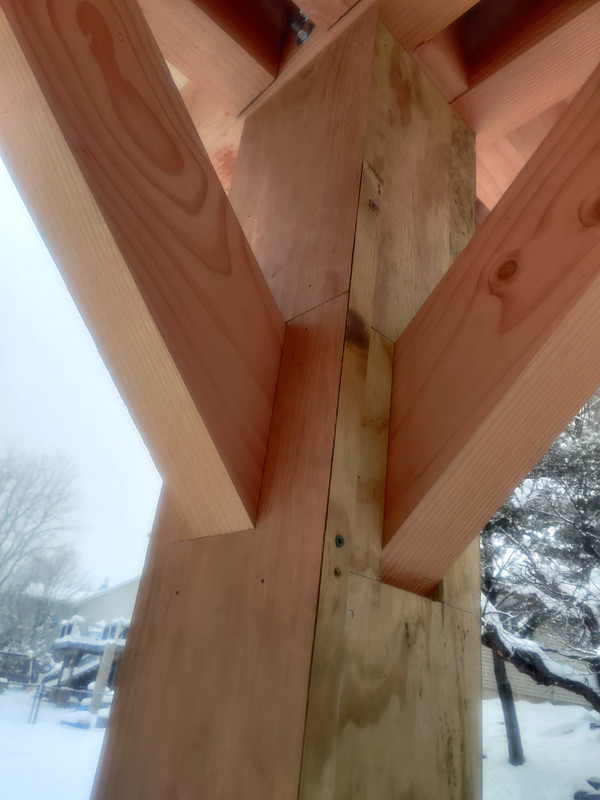
Each Douglas Fir board that was to be fastened to a post face that had a corner brace in it required some creative thinking. Once said creative thinking was completed the plan was to measure the height of the upper edge of each corner brace and then crosscut a 45-degree miter at that location. This would yield a short piece a little over a foot long, and a much longer lower piece that would need to be notched to fit around the corner brace. The notch is the tricky part because it needs a 45-degree bevel on the inside to match the corner brace, otherwise there would be a gap below the brace. After some more creative thinking, cutting down a scrap 2x4 and putting a 45-degree bevel on it to use as a guide for the multi-tool worked beautifully.
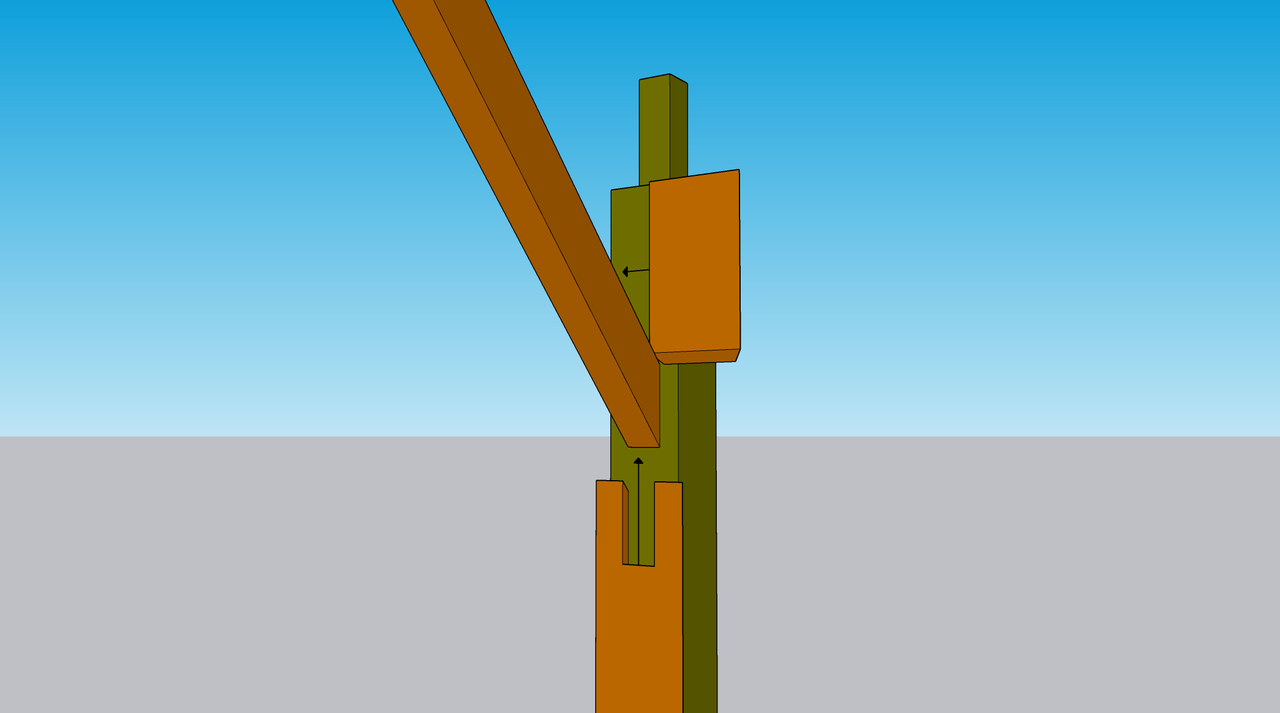 Cutting the top piece so that it slides in from the side made installation much easier than having to notch the top piece, and I think it hides the seam better
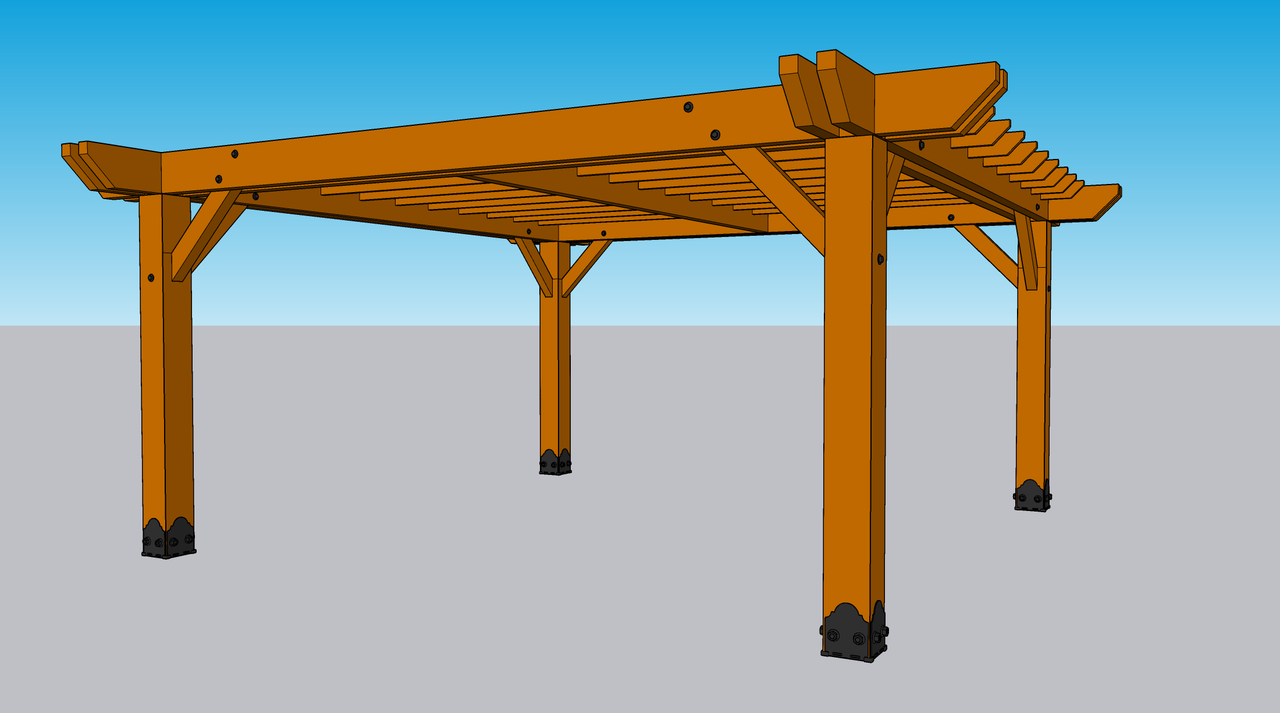
Wrapping the posts like this also gives me the ability to use a decorative lag screw in the center of each post where the corner braces intersect. In a previous post I showed how each brace was lagged into the corner posts using two 3/8 inch lag screws but set in around 1 1/2 inches from the edge since the tenon for each brace could only be made so deep without requiring unfeasibly large lumber. Now we have the best of both worlds - the braces are actually secured with lag screws, and I can give the illusion that they’re secured in the center of each post rather than at the edges.
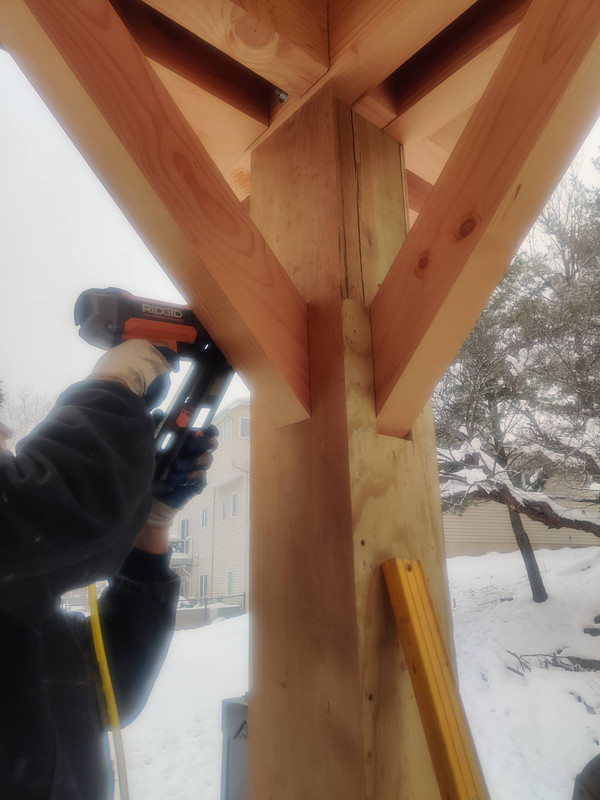 On the left is one of the finished Douglas Fir boards secured in place with a large number of 16-gauge brad nails
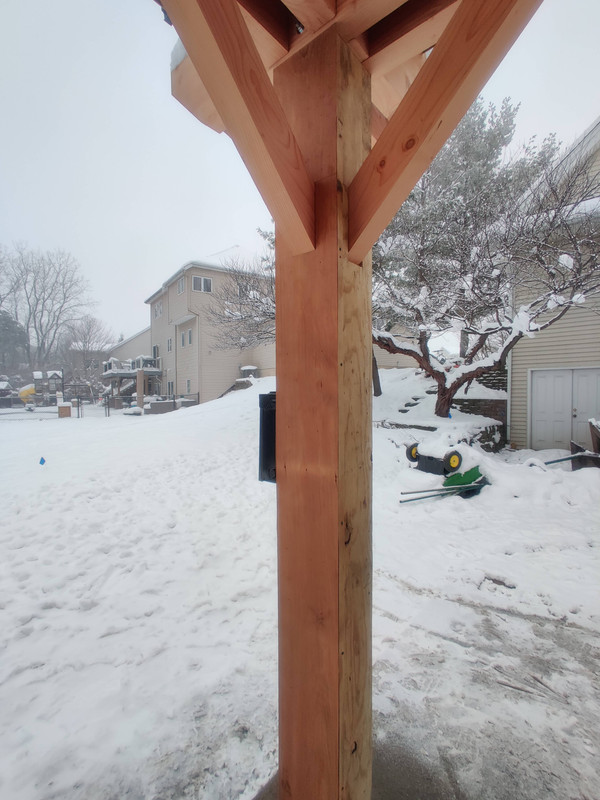 The crew lead opted to rip down a narrow scrap of CDX and put a 45-miter on it to protect the miters on the Fir board until they next returned
Since the outside faces of the pergola don’t have corner braces, no modifications or notches will be required for those Fir boards.
As mentioned before, once this is complete, the pergola should have the illusion of being constructed by 10x10 Douglas Fir posts instead of green 8x8 pressure treated pine. While this is a lot of extra labor compared to just ordering Douglas Fir 8x8s, which aren’t too difficult to acquire in my region, now, to use the phrase once again, we get the best of both worlds - the weather and moisture resilience of pressure treated wood, and the aesthetic beauty of Douglas Fir grain.
In the end we only got one Fir board installed, but at this point Winter Storm Elliot had made his presence known. To finish up the day the crew opted to do as much CDX wrapping as possible since that required much less precision work and could be done quick and dirty without repercussions. I’m actually surprised we all worked as late in the day as we did, given that the weather report said snow would be starting around 1PM with over an inch per hour, but it really didn’t start until around 3:30. At 4:30, when the snow had started ramping up, the crew packed it up and called it a day. Thankfully their shop is only a few miles from my house, so they didn’t have far to drive in what definitely became sketchy driving conditions.
Phase 4 is definitely taking off and I’m loving how well the Fir boards are turning out after planing them. If my wife and I find time before the crew’s return on Monday next week we might spend some time in the shop planing more boards to get them ready in advance. But Christmas Eve is also her birthday, and then there’s Christmas Day, so who knows. The multiple food comas alone have a very real chance of canceling that idea. :D
To those that celebrate it, Merry Christmas to you, your families, loved ones, and friends, and may you all have a happy, fun, safe, and joyous holiday. And may 2023, the year of my namesake, treat us all (except for dataDyne) with kindness, good health, and prosperity. See you next week!

