Solar Power Day 26
As chairman of the board, things are looking a bit firry...
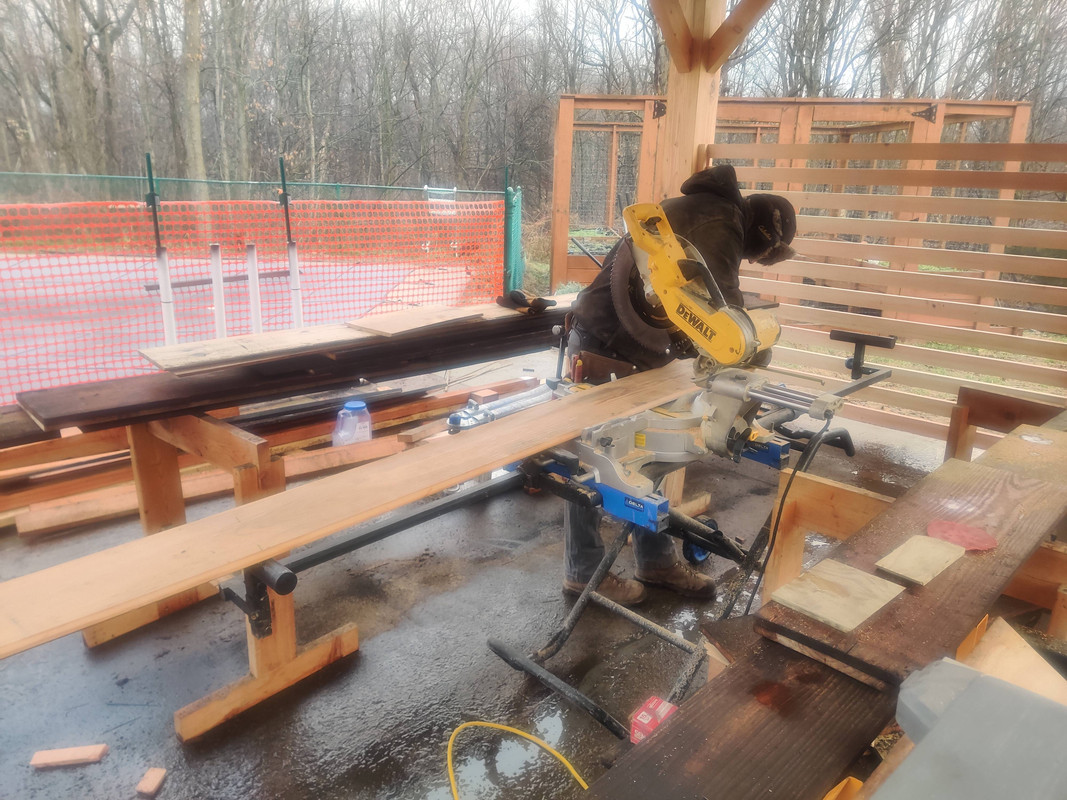
Could have sworn there was a ton of snow on the ground when we were last working outside. What happened?! Annoyance, thy name is Global Warming and for the record, I hate you. It wasn’t even so much the warmer weather that got rid of the snow, it was tons of rain. But I can’t complain too much, I did get a white Christmas, so winter peaked when I wanted. But speaking of peaks, we’re almost through climbing to the top of Mt. Pergola. I was admittedly surprised to see only the project lead from the pergola crew return today, but he explained that what’s left is just detail work, and too many people working on the same kind of detail leads to variations. I hadn’t thought of this before, but I could see his point: consistency. And since we already had a bunch of boards ready from last time and my efforts the other day, we could get straight to work.
Since I’ve already posted pictures and described the milling process, I’ll skip to the end results.
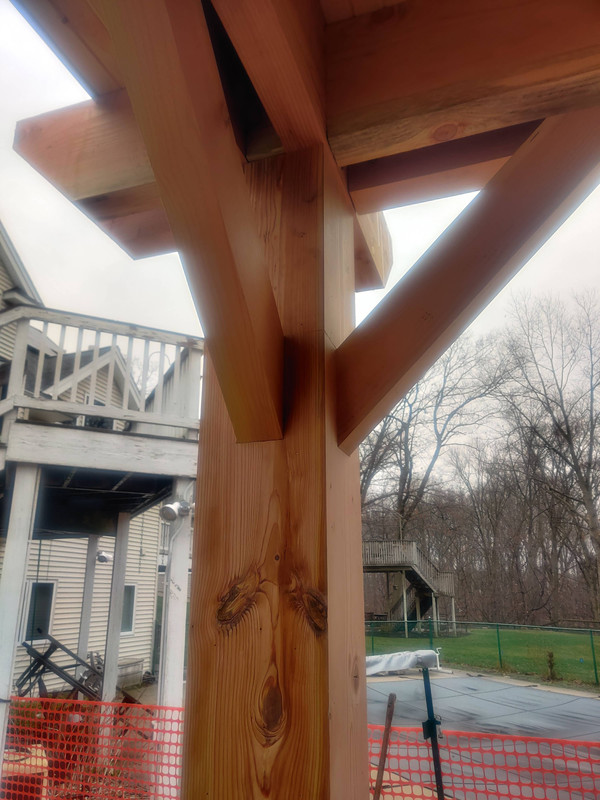 Northeast post from the inside
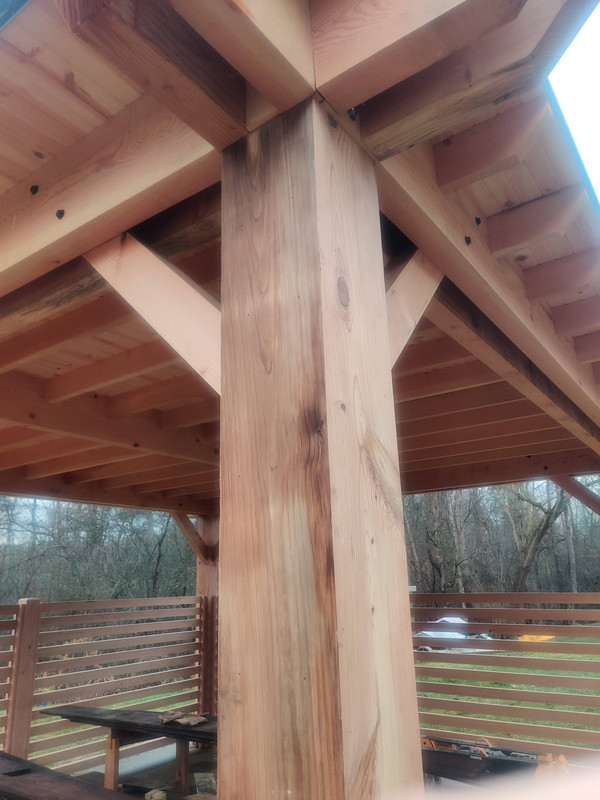 Northeast post from the outside
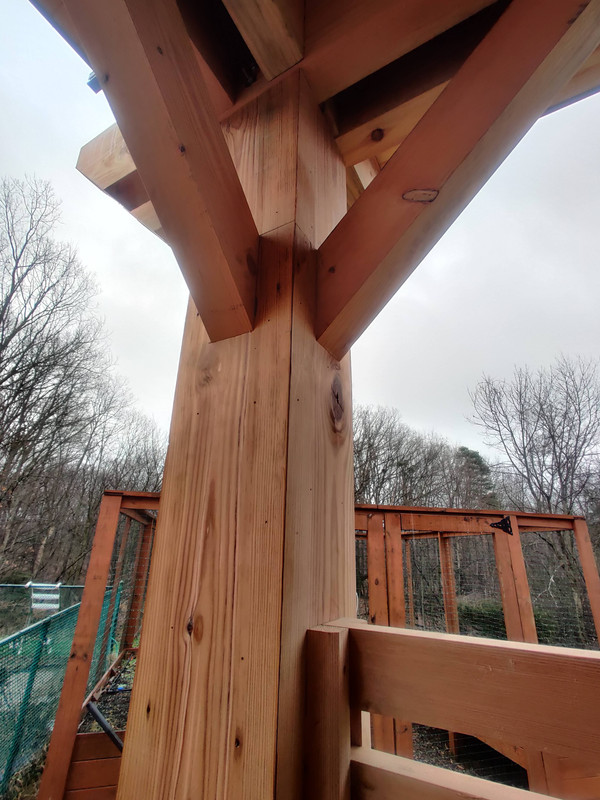 Southeast post from the inside
Prior to today I knew already that I wasn’t going to have enough boards that met both the length and width requirements despite the abundance of lumber in my driveway. Well, that’s mostly true. I have some boards that meet the dimensional requirements, but they have some defects that would either require patching or placement so that they wouldn’t be seen.
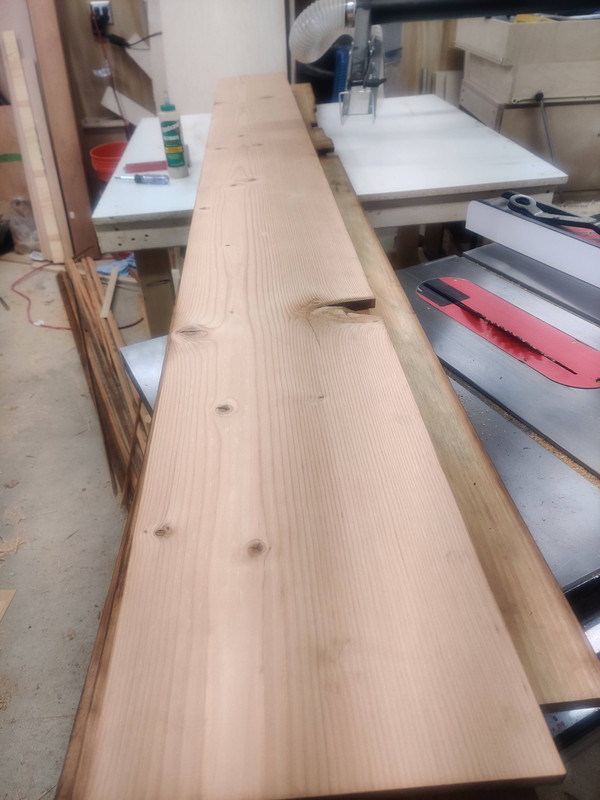
I have three defective boards. The one in the photo above has a chunk missing because of a knot. Another has a notch from an existing cutout which would need a square patch, and the last one has a small slightly diagonal piece missing at one end. The first two boards could work if something were covering them up, so I consulted my plans, which indicated an electrical box on the north and west sides of the northwest post, and the cabinetry going along part of the north face of the pergola. The first two boards would work nicely for the northwest post, leaving the third to be placed elsewhere. After some consideration I opted to use this to cover the east side of the southeast post since the defect is at the bottom of the board and a fence post will sit very close to this. This also leaves three post faces in need of fir boards.
The way I see it I’ve got two options: source more quarter sawn Douglas Fir, or glue up some boards with similar grain patterns. The first option would certainly be the simplest in terms of labor, but it would also be the most expensive since I’d be looking at nearly $300 and that’s not accounting for waste. The second option is by far more economical since it makes use of wood I already have and the only cost out of my pocket would be some biscuits for the joinery. For about three seconds I did consider a third option - find a couple of 2x12’s in a big box store, resaw them in half, and then cut them to size. I threw this option out very quickly because structural lumber will look the worst compared to what I have on hand, and the color tones will be completely different. So Option #2 it is. If the boards are thick enough I might even try to use pocket screws along with the biscuits just to overengineer the glue-ups.
But until then, here are the remaining pics for today:
CutSlots Cutting slots to fit around the corner braces
Oscillator Using Jim Carey to remove the center piece that fits around the corner brace
The end is finally in sight! It’ll be a while before the pergola is completely finished since staining it will have to wait until we get both warmer temperatures and multiple consecutive dry days, but as I’ve been actively participating in the construction for the last few weeks, a break will be a most welcome reprieve. Knowing me I’ll spend at least some of that time planning the electrical for the pergola as well as the outdoor kitchen. Expect a post or two about those plans in-depth as things develop.
See you next time for the finale!
