Solar Power: Day 3
I promise this post isn't about morning wood ... I mean, that would be just silly...
This post is about posts, heh.
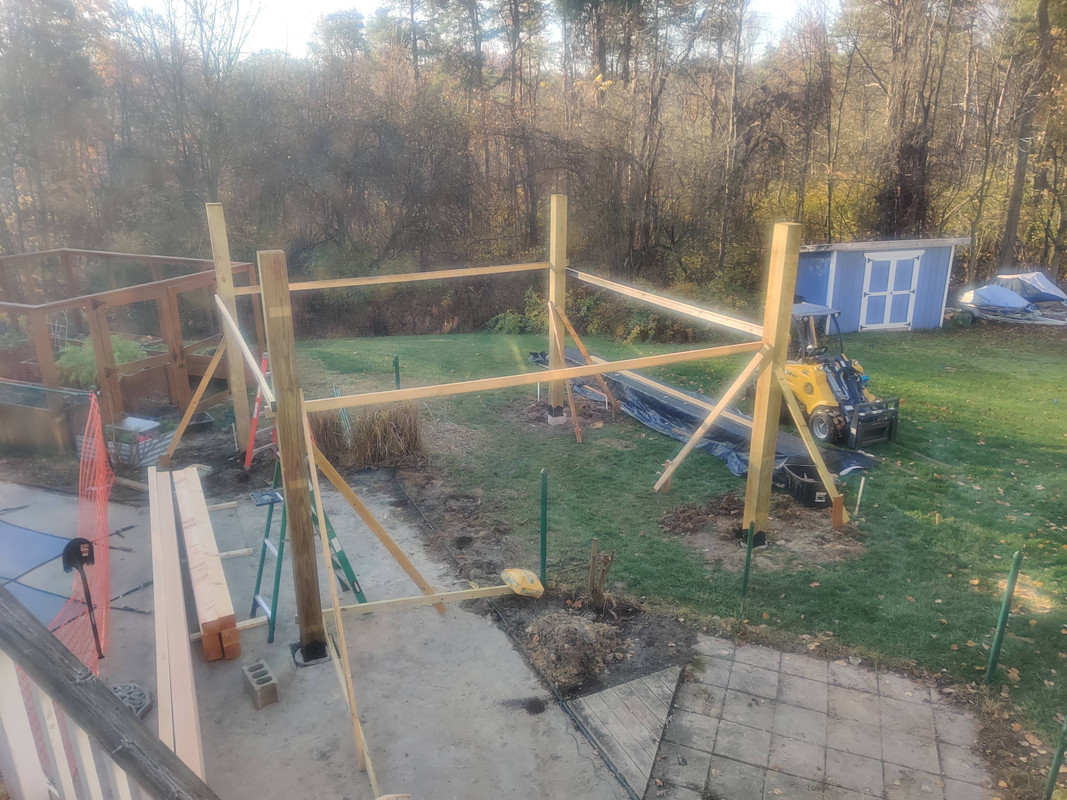
Well it’s a few days later than originally expected. The contractor didn’t return until today (Nov 1) because they opted to let the concrete footings cure for at least one more day than quoted (which would have had them return on a Saturday, but understandably they don’t work weekends) and then they had to fix another crew’s mistake on another job yesterday. But today’s focus was raising the 8x8 posts. Putting the posts up wasn’t what took up the majority of the time though, it was getting all of them and the mounting brackets positioned correctly. While I wasn’t expecting setting just four posts to take all day, I’m not upset because I’ll take a job done right over the alternatives any day of the week.
A lot of timber pergolas will use 6x6 posts and while there’s nothing wrong with that, like with all construction there’s a limit to how much distance you can span with a piece of wood before that wood would sag under its own weight, to say nothing of being able to support the expected weight load above it. The estimated weight of the solar panels plus rigging is somewhere in the mid 600-lb range. Since my pergola is only a four-post design instead of eight, I needed at least double stacked 2x12 beams to connect the posts and 8x8’s, according to both my structural and solar engineers, were basically a guarantee that there would be enough support all around. I’ll go into more depth about the 4x12 timber beams in my next post.
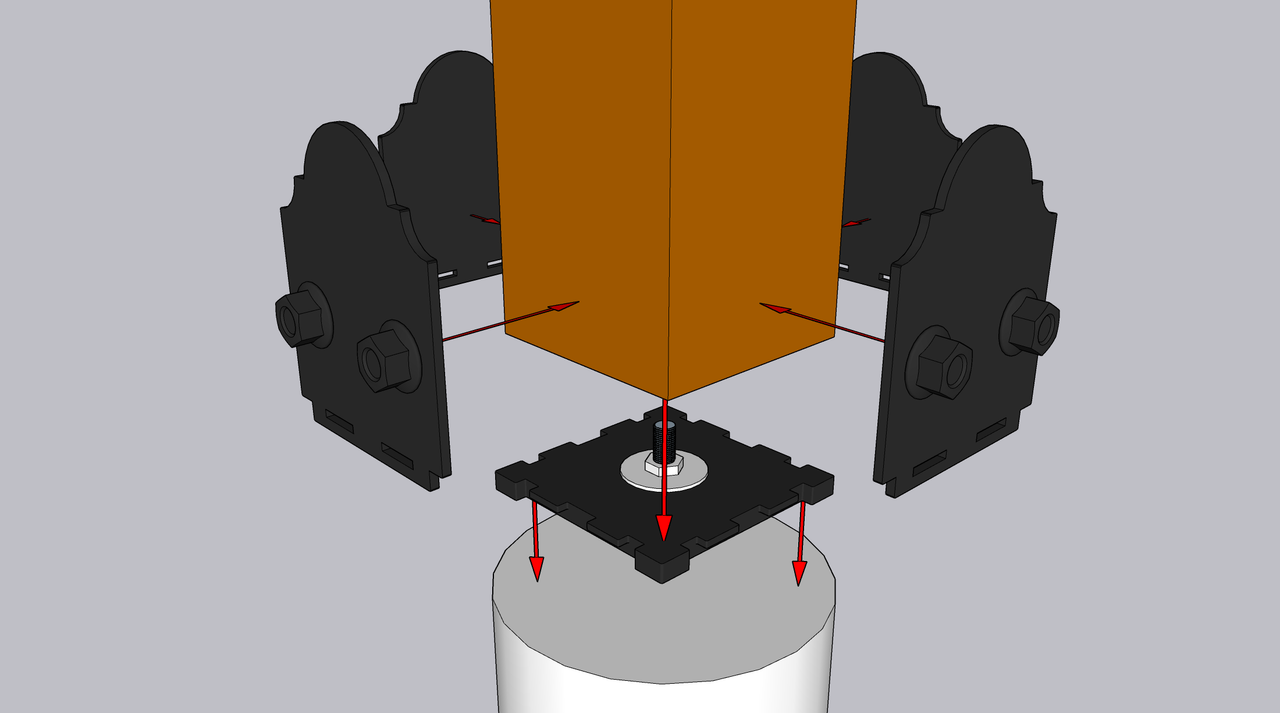
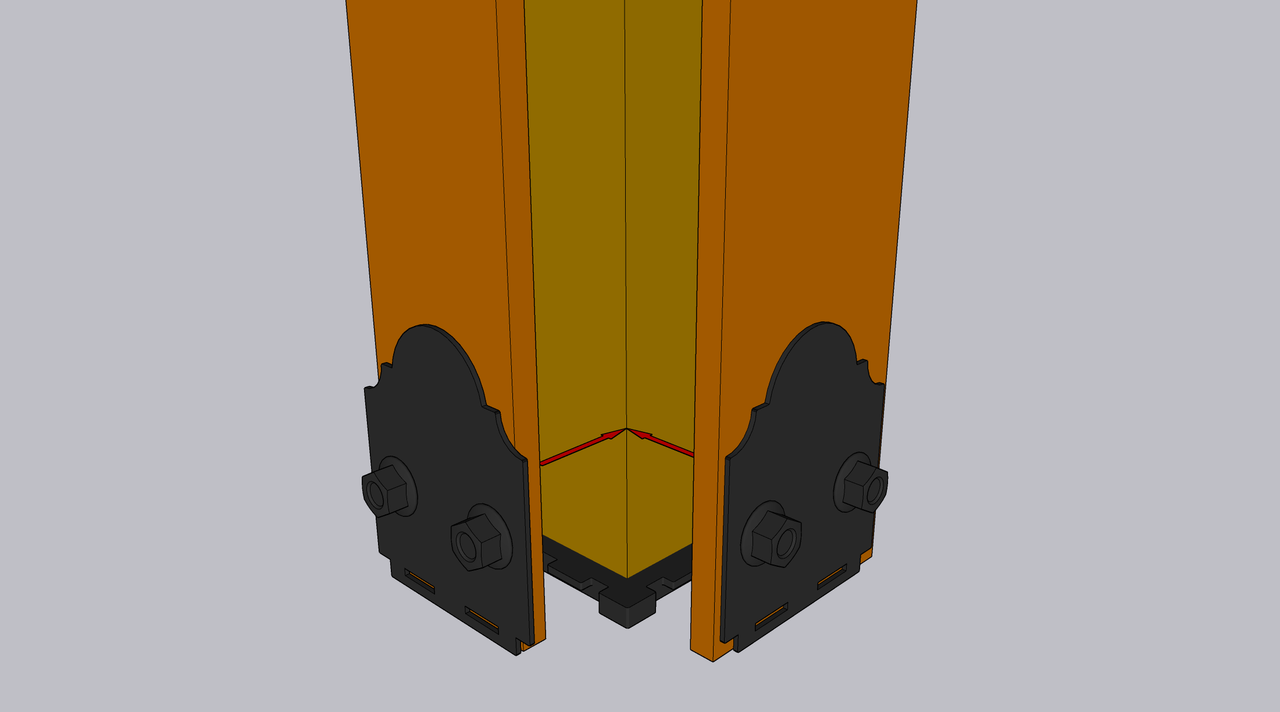
To anchor the 8x8 posts to the footings I’m using OZCO’s 8x8 post base kit in the Laredo design. I really like these because they are both functional and decorative, but also go together very easily. The base plate attaches to the concrete footing with a 3/4” expanding anchor bolt and then after lining up your post on top the plate, you secure each side plate to the post with included 1/4” lag screws that have a fake giant bolt head to give it that sturdy rustic look. The base plate has protrusions that go through the side plates, so the entire thing really is locked together once all of the screws are in.
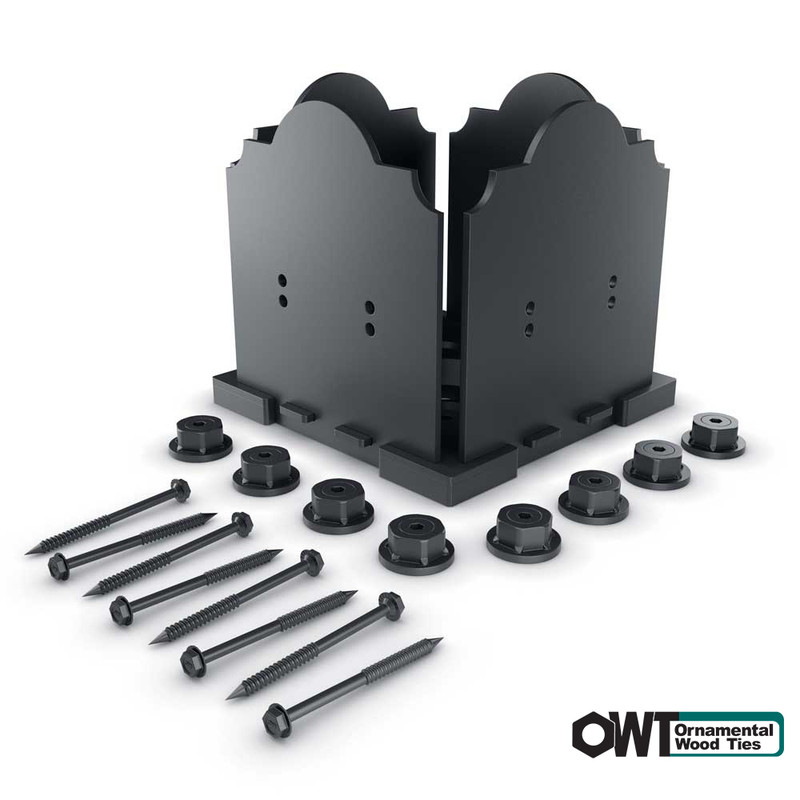 Image taken from www.ozcobp.com and is © 2021 OZCO Building Products
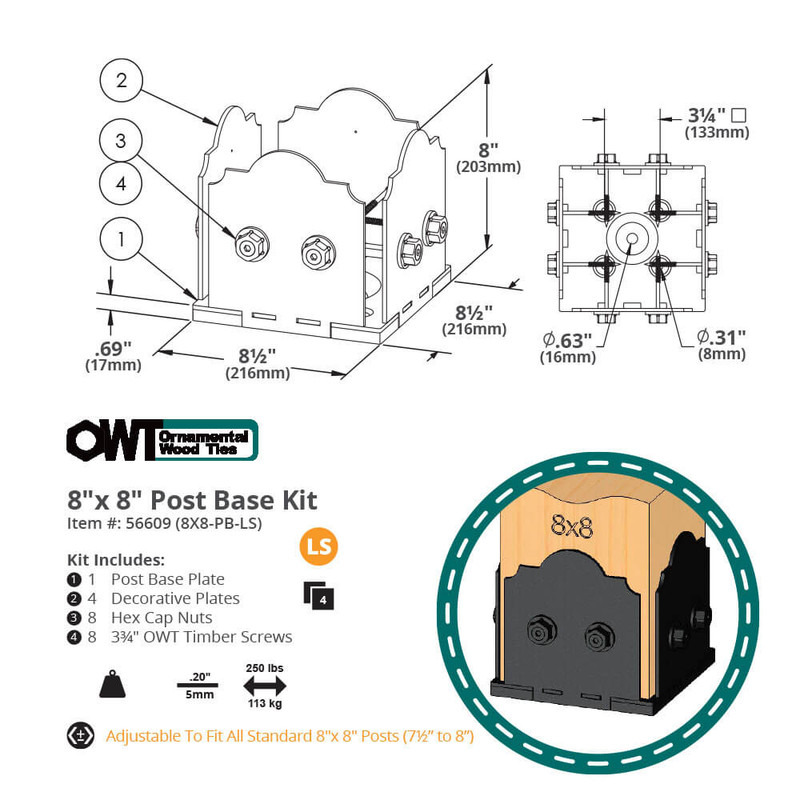 Image taken from www.ozcobp.com and is © 2021 OZCO Building Products
Each post is a pressure treated 8×8 and we ordered them 12′ long because at the time materials were ordered we hadn’t finalized the decision to use concrete footings instead of alternative methods. But these are only being cut down to about 10 feet so the loss in extra expense and waste is pretty minimal. We opted for pressure treated wood rather than Douglas Fir like the rest of the pergola because despite Douglas Fir’s excellent abilities to withstand the outdoor elements, water contact at ground level was still a concern. The working long term plan is to possibly cover these with Douglas Fir planks and possibly some faux bracket plates to maintain the same black metal aesthetic of the existing post brackets.
Turning the posts effectively into 10×10’s is kind of crazy, after all 8×8’s are beefy enough as it is. But then again I doubt I’d find a single person that actually likes the green aesthetic of pressure treated lumber, especially when paired against the beautiful red of Douglas Fir.
With the posts in place tomorrow the crew should be starting work on the beams. I’m very curious to see how they handle the notching for four of the beams because not only are there a lot of notches to be cut, but the notches at the ends where the 4×12’s form a castle joint are much deeper than a typical circular saw blade can handle. Should be an interesting day.

