Solar Power: Day 6
We're gonna need a bigger forklift...
If you read my last post I’ll just mention that I posted it around 3AM last night. Both crews showed up before 8 this morning, but thankfully neither needed my input before getting started on things so I was able to sleep in a little bit. This morning the pergola crew set about getting the 4x12’s that they finished notching yesterday lifted into place and the solar crew worked on finishing the electrical connections for the interconnect (this is where the solar panels hook into my electrical service next to the meter) and the remaining rigging for the solar panels over the west side of my house plus the kitchen.
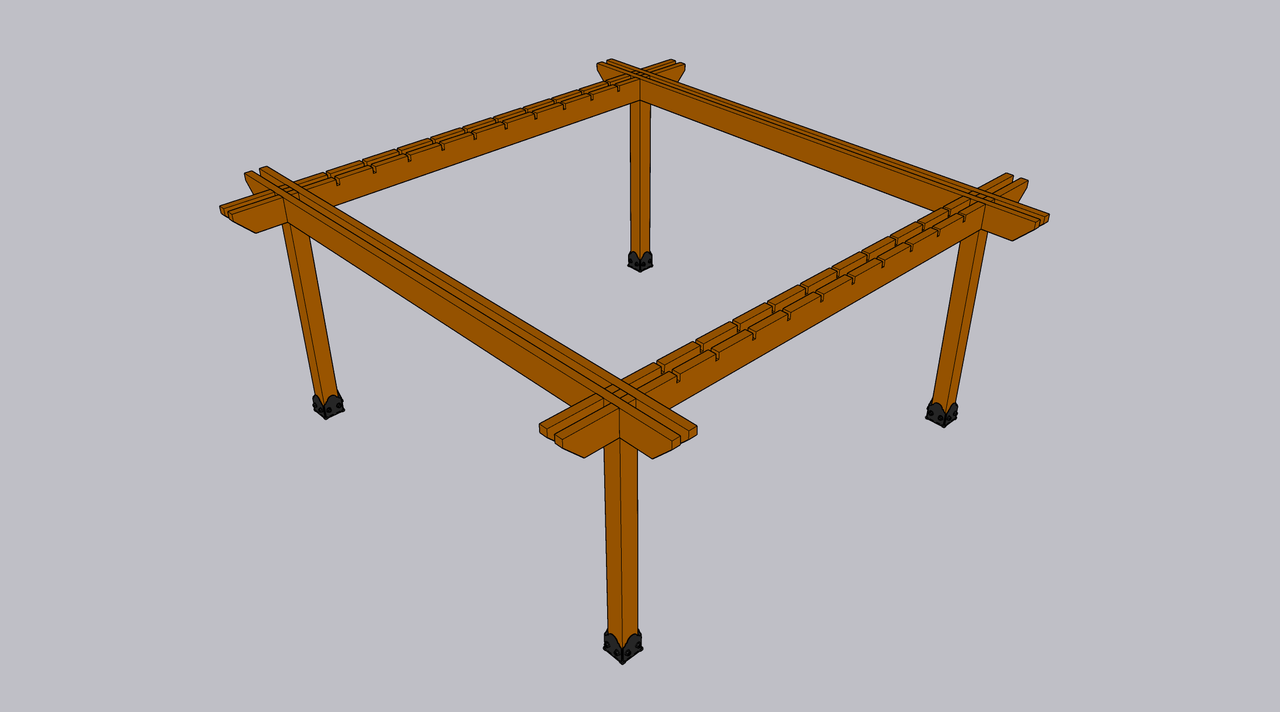
To my surprise the solar crew finished all of the panels they intended to install, which ended up being seven over my kitchen roof, and twelve more on the west side of my garage roof. I’m not sure how I ultimately feel about this arrangement. While there are still twenty eight panels to be installed on the pergola, making for a total of thirty five panels facing directly south, this is a little short of the forty two that my solar rep said would be needed to generate enough power to bring my power bill to zero, to say nothing of the six extra that I ordered for some surplus power. I know another row of four could fit on my kitchen roof, but I suppose it’s possible there wasn’t enough clearance at the bottom to meet fire code. But what’s done is done, nothing I can do about that now.
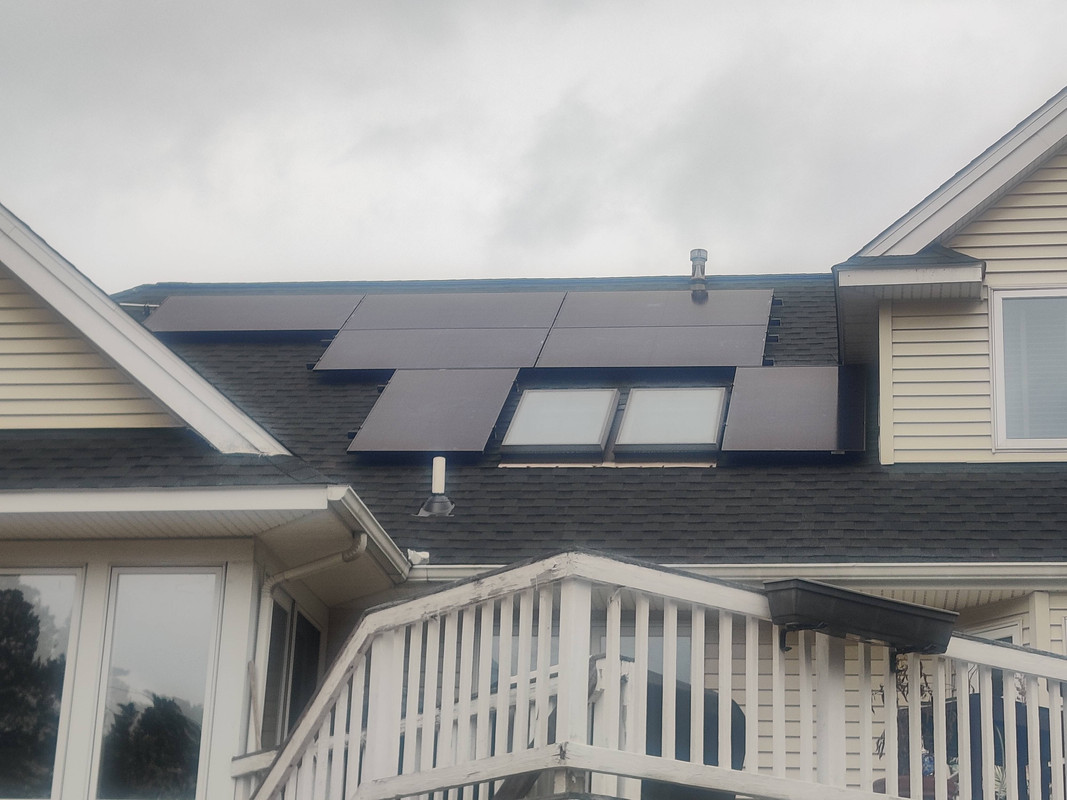 My kitchen roof with seven REC Alpha 410W panels installed
Long term I’ll be monitoring the output of the panels to make sure enough power is being generated, and since there are potentially two trees on the west side that could create some shade, we may end up removing or trimming a tree to eliminate that issue.
But let’s back up a bit to beginning of the day. When the solar crew arrived they split into two teams. The rigging team (that’s what I’m calling them) resumed installing the rigging for the panels on the roof while the electrician team continued working on the interconnect boxes and connections. Eventually they will need to shut the power off to my house to complete the connection at the house service disconnect, but I’m told this will happen on Monday next week.
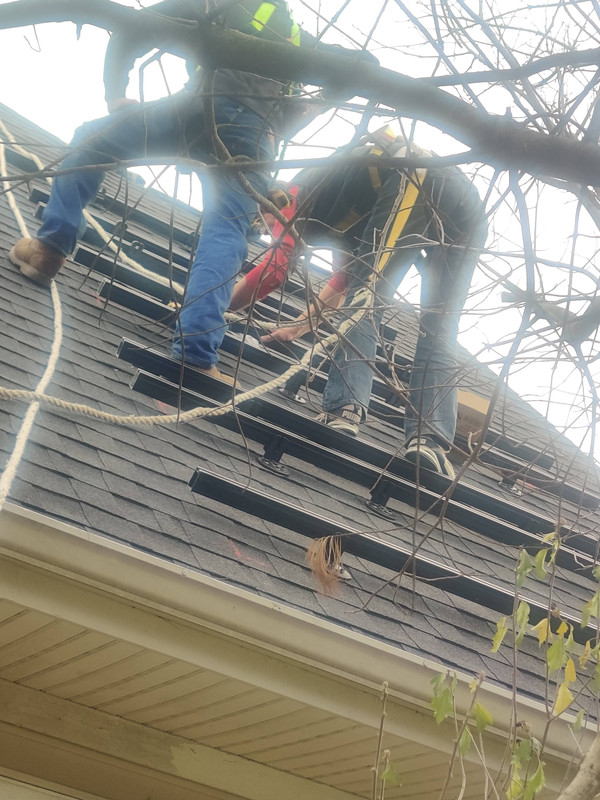 Rigging for four of the panels on the west garage roof, twelve were to be installed on this face
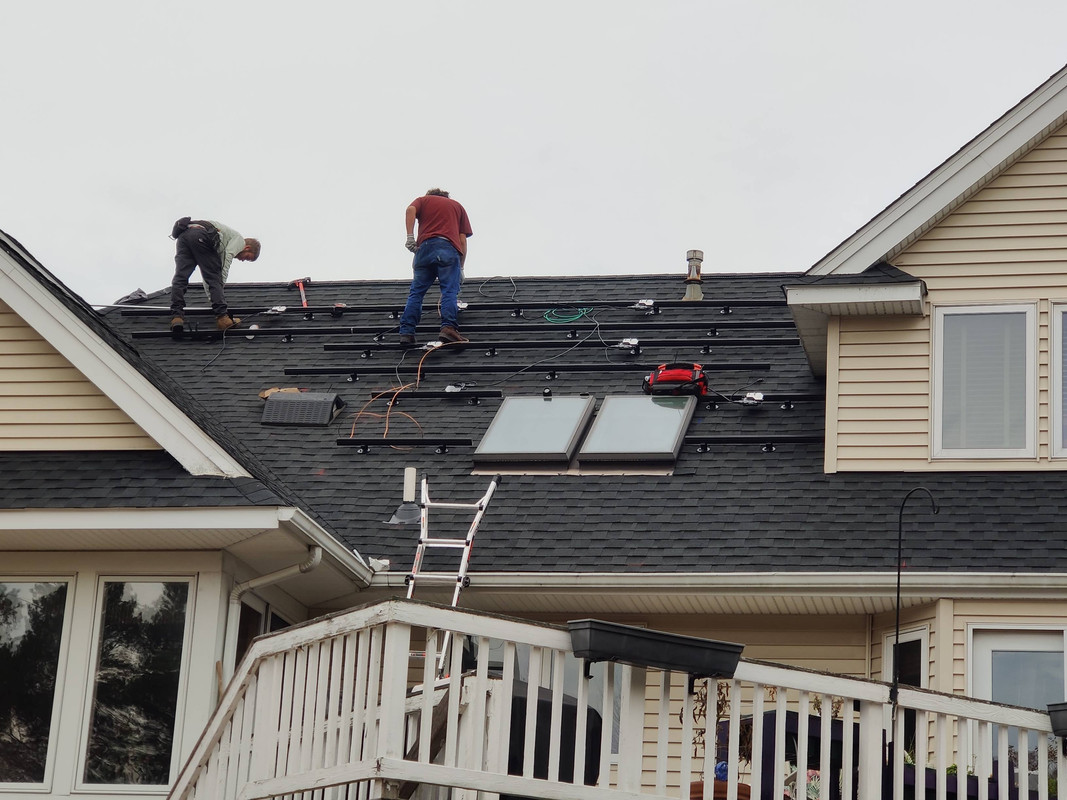 Rigging for the seven panels over my kitchen roof
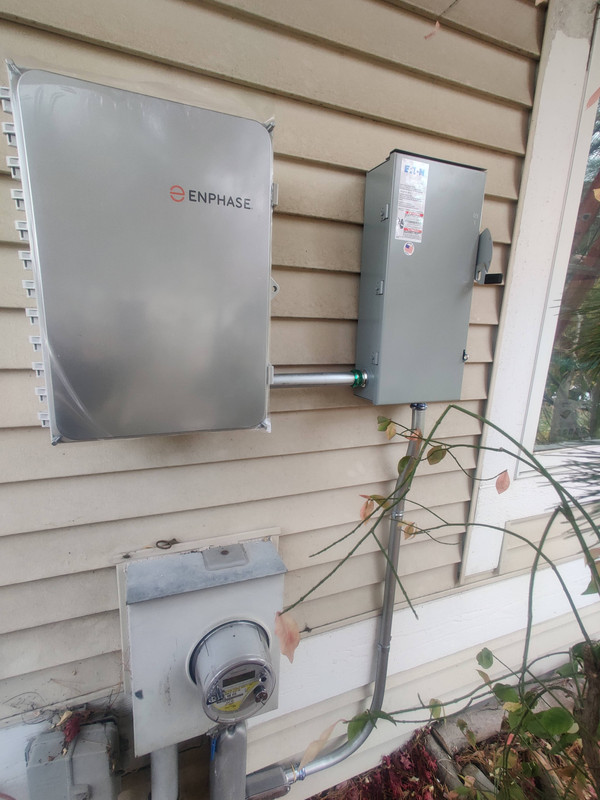 Enphase interconnect control box with knife switch disconnect. If we ever need to manually disconnect the entire array from the grid we can do so, but otherwise the array will back-feed the grid and the interconnect will automatically disconnect in the event of a grid outage.
Something I learned while one of the electricians was working inside the master disconnect box for the house (directly behind the meter pictured above), the ground wire for the box was actually completely disconnected because the connector came loose. I have NO IDEA how this is even possible, but I know from doing my own wiring in the wood shop that the ground system for the house is active, so at least the ground for my main load center is working. Still, YIKES! Five minutes and some thread lock and this issue was solved.
By the end of the day the seven panels pictured above and the twelve below were fully installed. My proverbial hat is off to everyone for both crews today since there were two hefty downpours in the last hour or so before everyone left for the day.
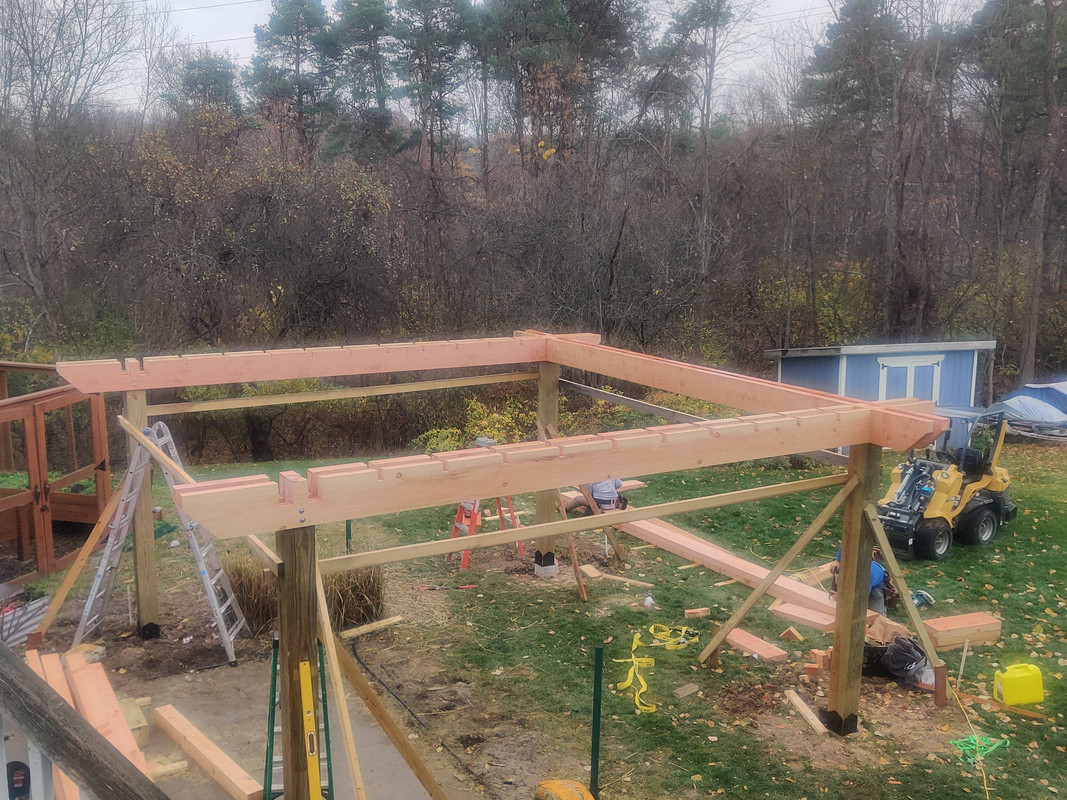
For the pergola side the goal was to get all of the beams lifted into position and secured together. Basically this is the progress everyone was hoping for:
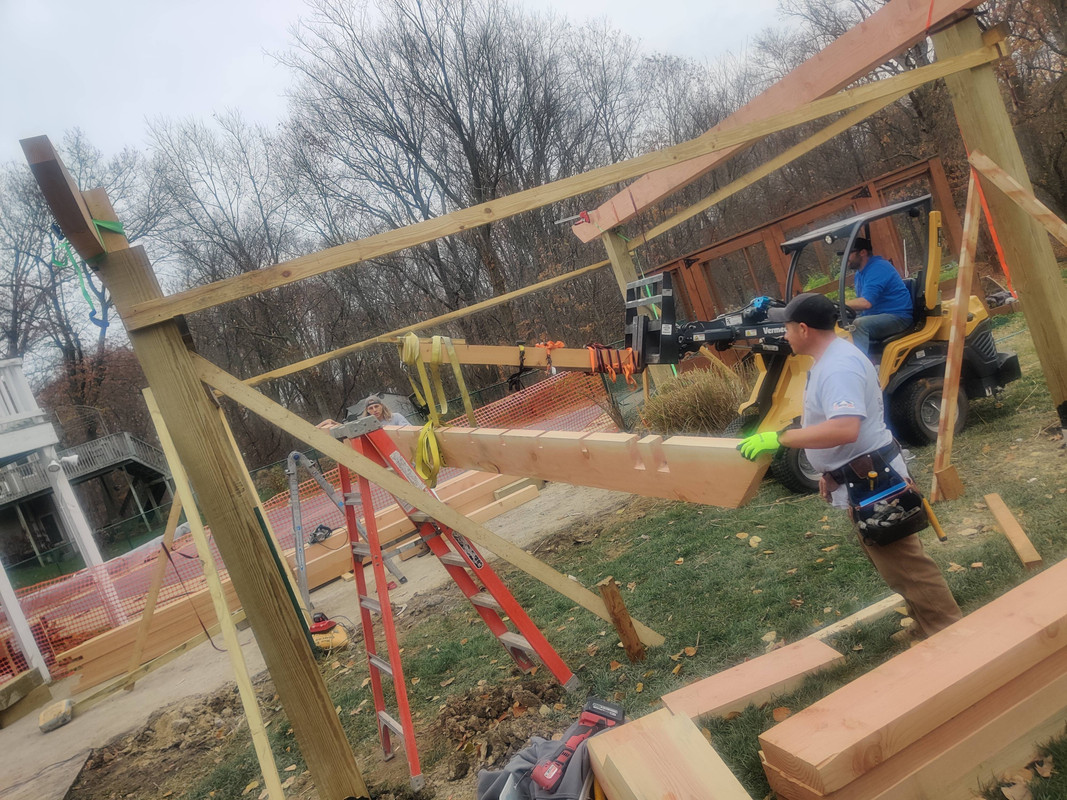
The pergola crew’s day started off with some improvisation. So I know their heavy machine isn’t a bobcat, but I don’t know what it is. But what’s kind of cool is that the body pivots in the middle allowing for some seriously tight turning, but the crew’s lead said that the downside of this is the machine will tip if you’re not careful. But back to the improvising. The vehicle had a forklift attachment already set up but its reach wasn’t enough to get a 4x12 beam fully lifted into position, so this is what the lead guy came up with:
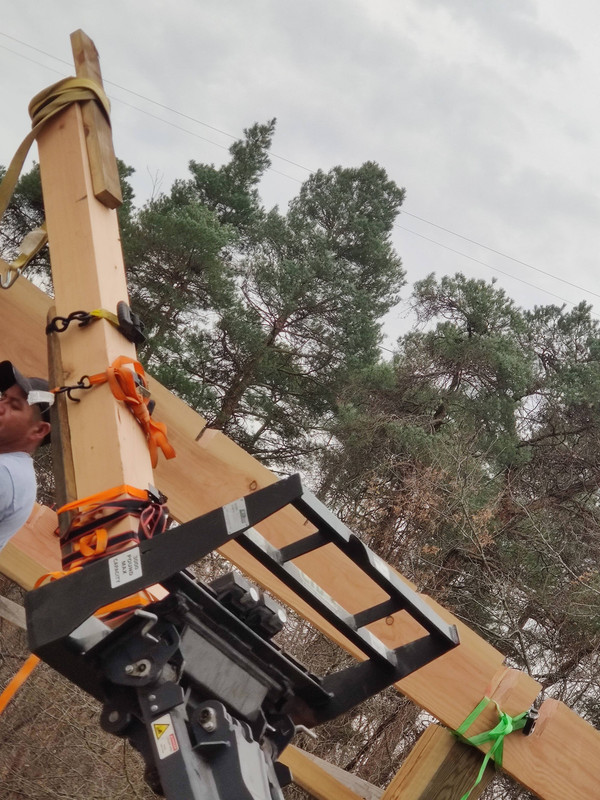 A cut down 6x6 post was heavily strapped to the forklift forks and then more ratchet straps were used to hoist each beam up onto the 8x8 posts
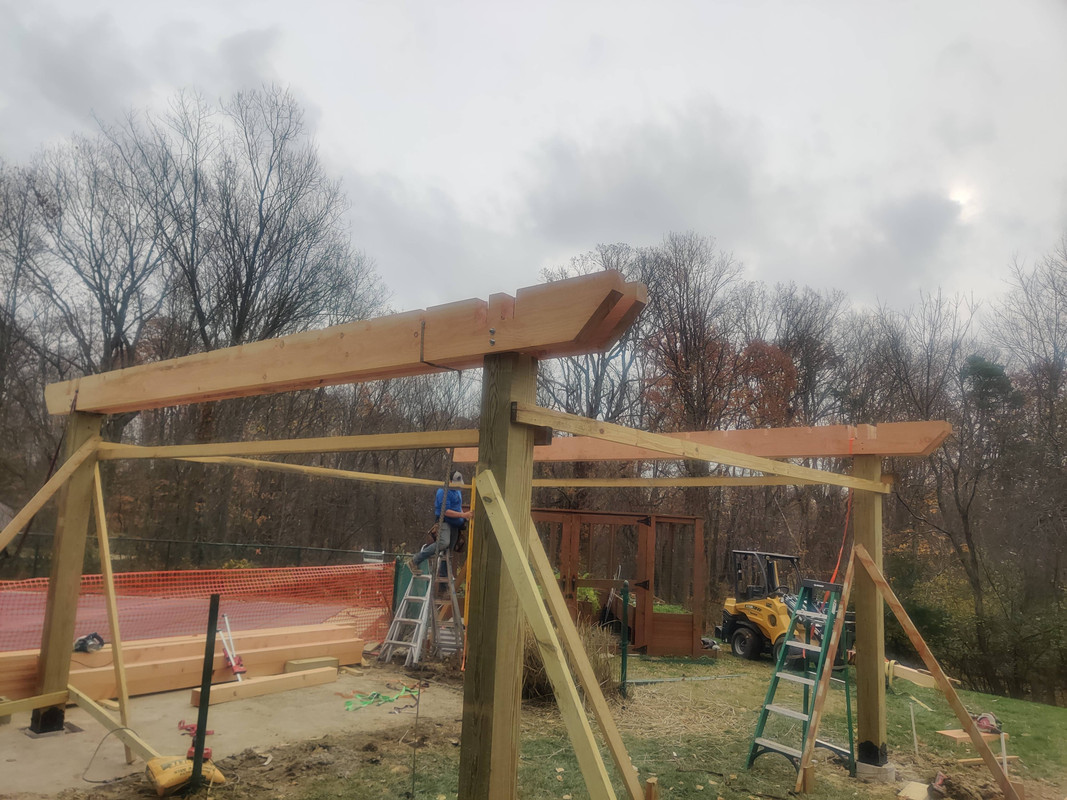
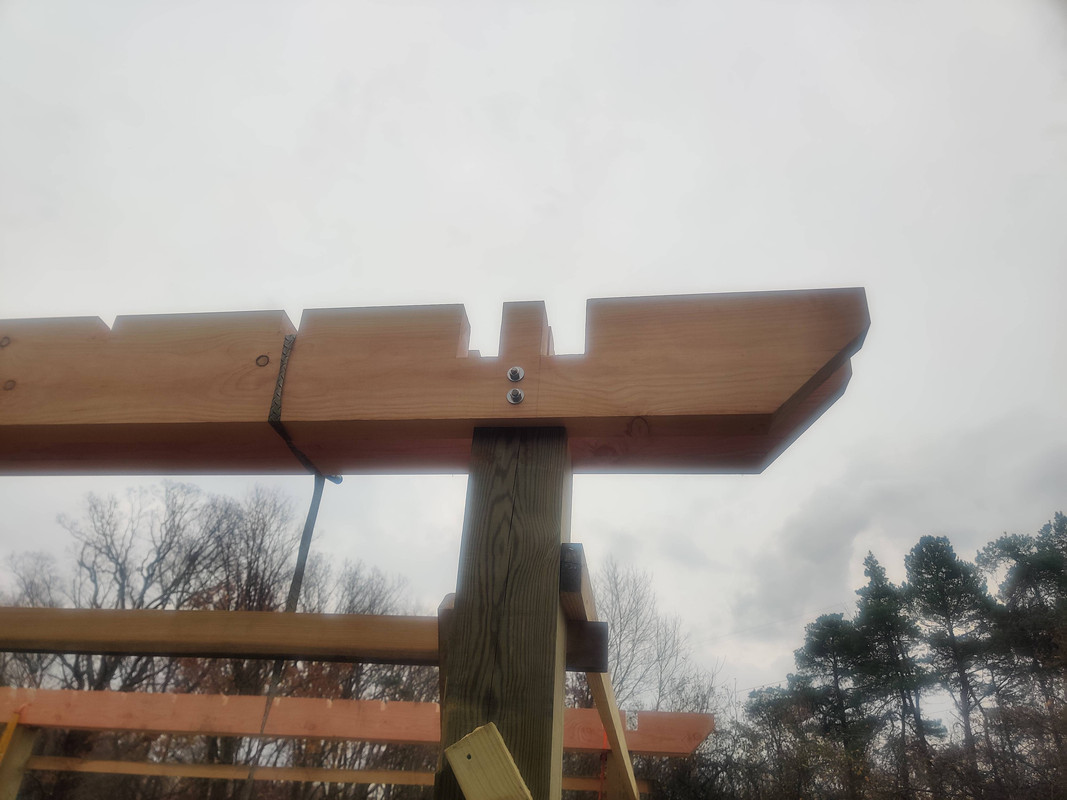 Once each pair of beams were in position threaded rod cut to length, nuts, and washers were used to clamp the beams to the posts to guarantee they would never fall
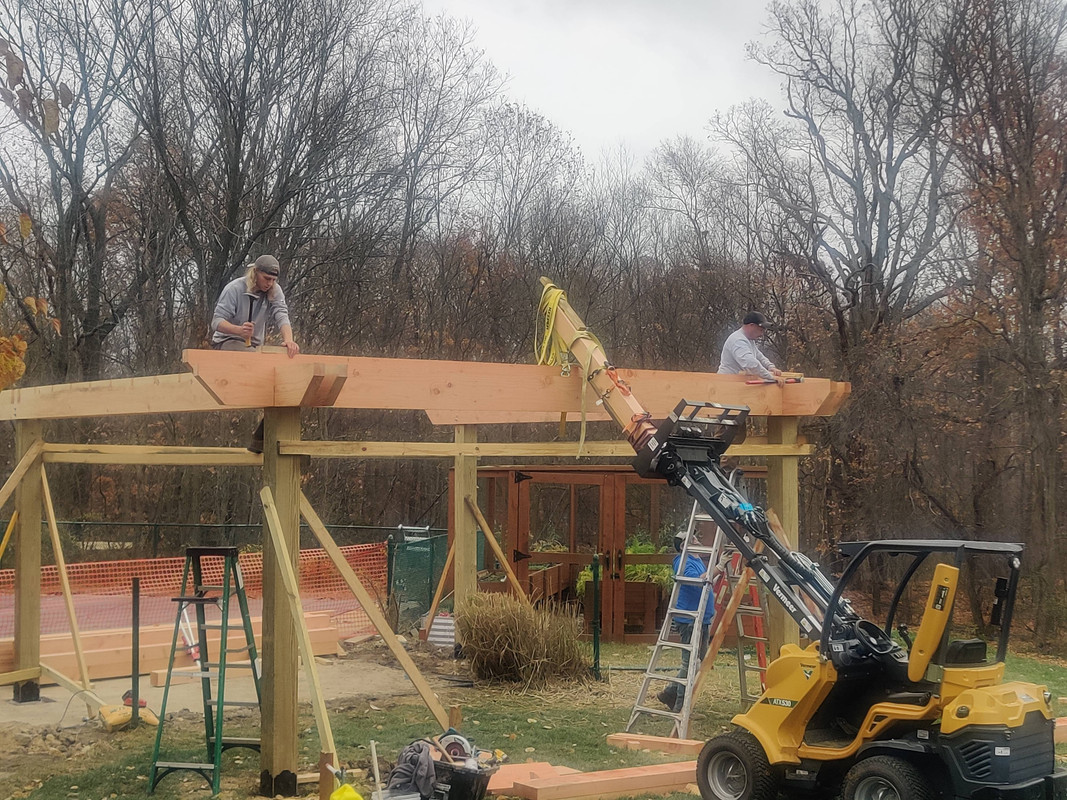 The sixth and final beam for today being pounded into place
Since the last beam wasn’t quite ready to install yet, the crew opted to get that milled up and then install the last pair on Monday. Just as well, too since it started raining while they were doing beams five and six.
And with that the second week of construction is over. For the pergola it may not look like much, but then just like classic pergola construction the posts and beams are what take the most amount of work because they support everything else. Once this phase is complete the rest should go very quickly. In the meantime I better get my woodshop ready, I’ve got a feeling my bandsaw and planer are gonna come in real handy for the next phase.

